Browsed by
Category: Recipes

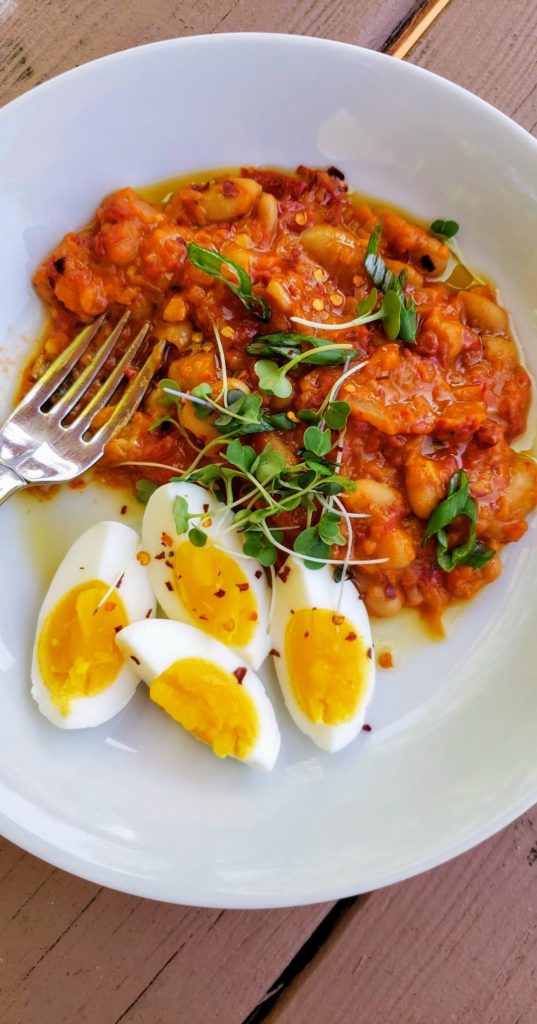
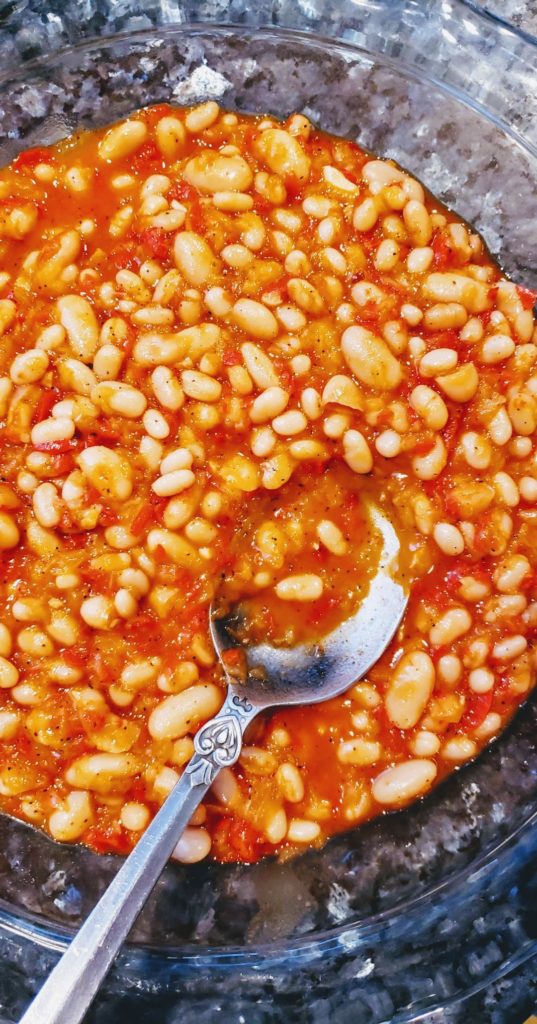
Sassy Sofrito Beans with Garliky toast
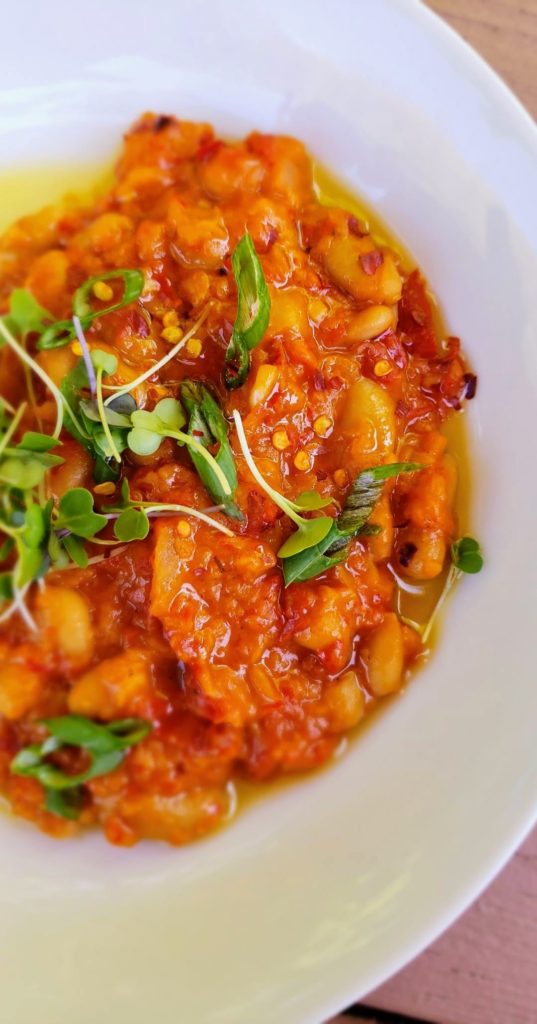
Sassy Sofrito Beans with Garliky toast

One of the silver linings of 2020 was learning to create delicious meals with pantry essentials and creating maximum flavor with minimal effort and ingredients. This recipe was born of the last remaining ingredients before the next bi-monthly food shopping trip. I haven’t stopped making it since, because it’s so darn delicious. It’s a hearty vegetarian dish on it’s own, super satisfying on thick pieces of toast, or as a side with soft boiled eggs for brunch. Make sure to serve it with a generous amount of olive oil for best results.

Ingredients

3 medium yellow onions, chopped

2 red bell peppers, seeded and chopped

1/2 cup extra-virgin olive oil plus more

½ teaspoon red pepper flakes

4 garlic cloves, 3 finely chopped, 1 kept whole

2 teaspoons tomato paste

2 15-ounce cans cannellini beans, rinsed and drained

2 cups vegetable broth or water

1/2 teaspoons balsamic vinegar or juice of 1/4 a lemon

Kosher salt, freshly ground pepper

1-inch-thick slices of toasted bread of choice

2 tablespoons chopped fresh chives or flat-leaf parsley

Preparation

  1. Pulse onions in a food processor until finely chopped and transfer to a bowl. Repeat with pulsing the red pepper separately in the food processor.
  2. Heat oil in a large skillet over medium heat. Add onion mixture, stirring often for 2-3 minutes.
  3. Add the peppers to the onion mixture, season with red pepper flakes, salt and pepper and continue to sauté for another 15 minutes until vegetables have softened and little liquid remains in the pan.
  4. Add finely grated garlic and tomato paste and cook, stirring often, until tomato paste turns to a deep red, about 3 minutes. If the pan is dry, add a bit of oil to help caramelize the tomato paste and prevent garlic from burning.
  5. Add the beans to the vegetables and combine all of the ingredients together.
  6. Add broth to the beans, scraping any brown bits from the bottom.
  7. Drizzle balsamic vinegar or lemon juice to the mixture and season to taste with salt and pepper. 
  8. Cook for another 10 minutes until the sauce thickens and reduces slightly. You can crush a few of the beans in the pan to make the broth creamier.
  9. While the beans finish cooking, toast thick slices of bread and rub the warm bread with remaining whole garlic clove.
  10. Serve beans with a nice drizzle of olive oil and garnish with fresh chives or parsley along with warm garlic bread.

~Tip
You can char the red peppers by roasting under the broiler prior to mixing with onions to achieve an added depth of flavor.
Holding on to Summer, for just a bit longer…

Holding on to Summer, for just a bit longer…

The Harvest Moon was magnificent in New York last night- signaling the official arrival of Fall with the Autumnal Equinox arriving in 1 Day, 4 Hours and 42 Minutes from now- marking the end of summer.

But I’m not ready for pumpkin spiced lattes quite yet. Don’t get me wrong, I love Autumn and live for the color and beauty that will soon serenade us. But this year, there’s a desire to hold on to summer, just a bit longer.

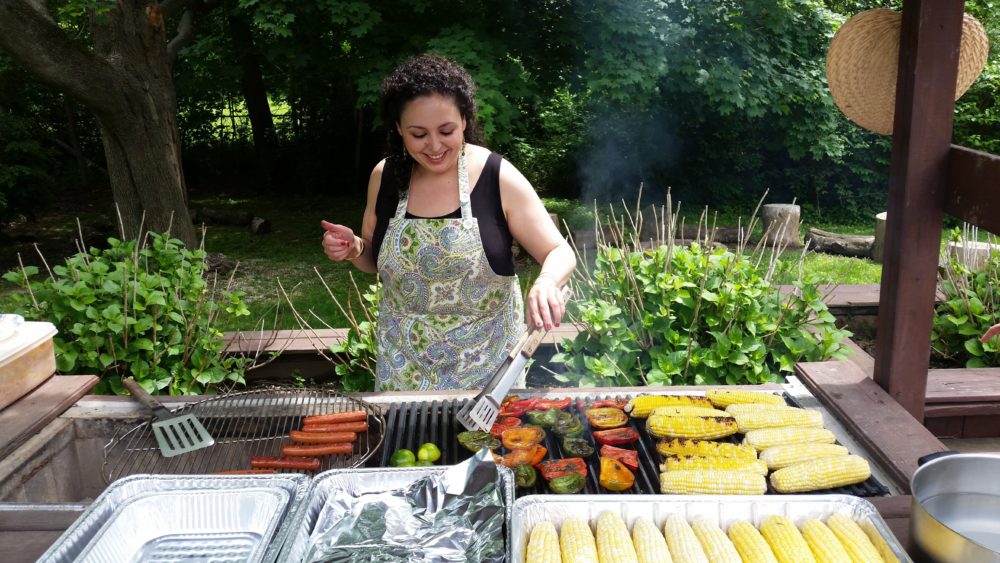
After months indoors and away from loved ones earlier in the year, outdoor gatherings were more special this summer. Aside from a fondness for grilling and backyard soirees, I love the simple joys of the summer- including the garden erupting with color. After June’s blooms and July’s long days, the garden’s glory in the month of August was, exactly that, glorious.

The roses perfumed the oasis. The hydrangeas courted the bumble bees, and the marigolds echoed the scent of the earth while murmuring the colors of the sun. And amidst the garden’s complete unawareness of a global pandemic, we were able to come together. In backyards and parks and beaches, slightly less weary of the difficulties brought on by the crisis. Summer is synonymous with joy… this summer we went into it with hopes it would be better than the last and looked forward to reuniting with friends and family. And of course, we shared delectable meals together.

The gatherings were smaller, but the flavors were big none the less. From beautiful salads with fresh herbs, to gorgeous grilled vegetables or citrusy seafood served with chilled wine and casual elegance. There were times we deferred to a classic American burger too, but whatever we ate, we enjoyed it together and felt alive again.

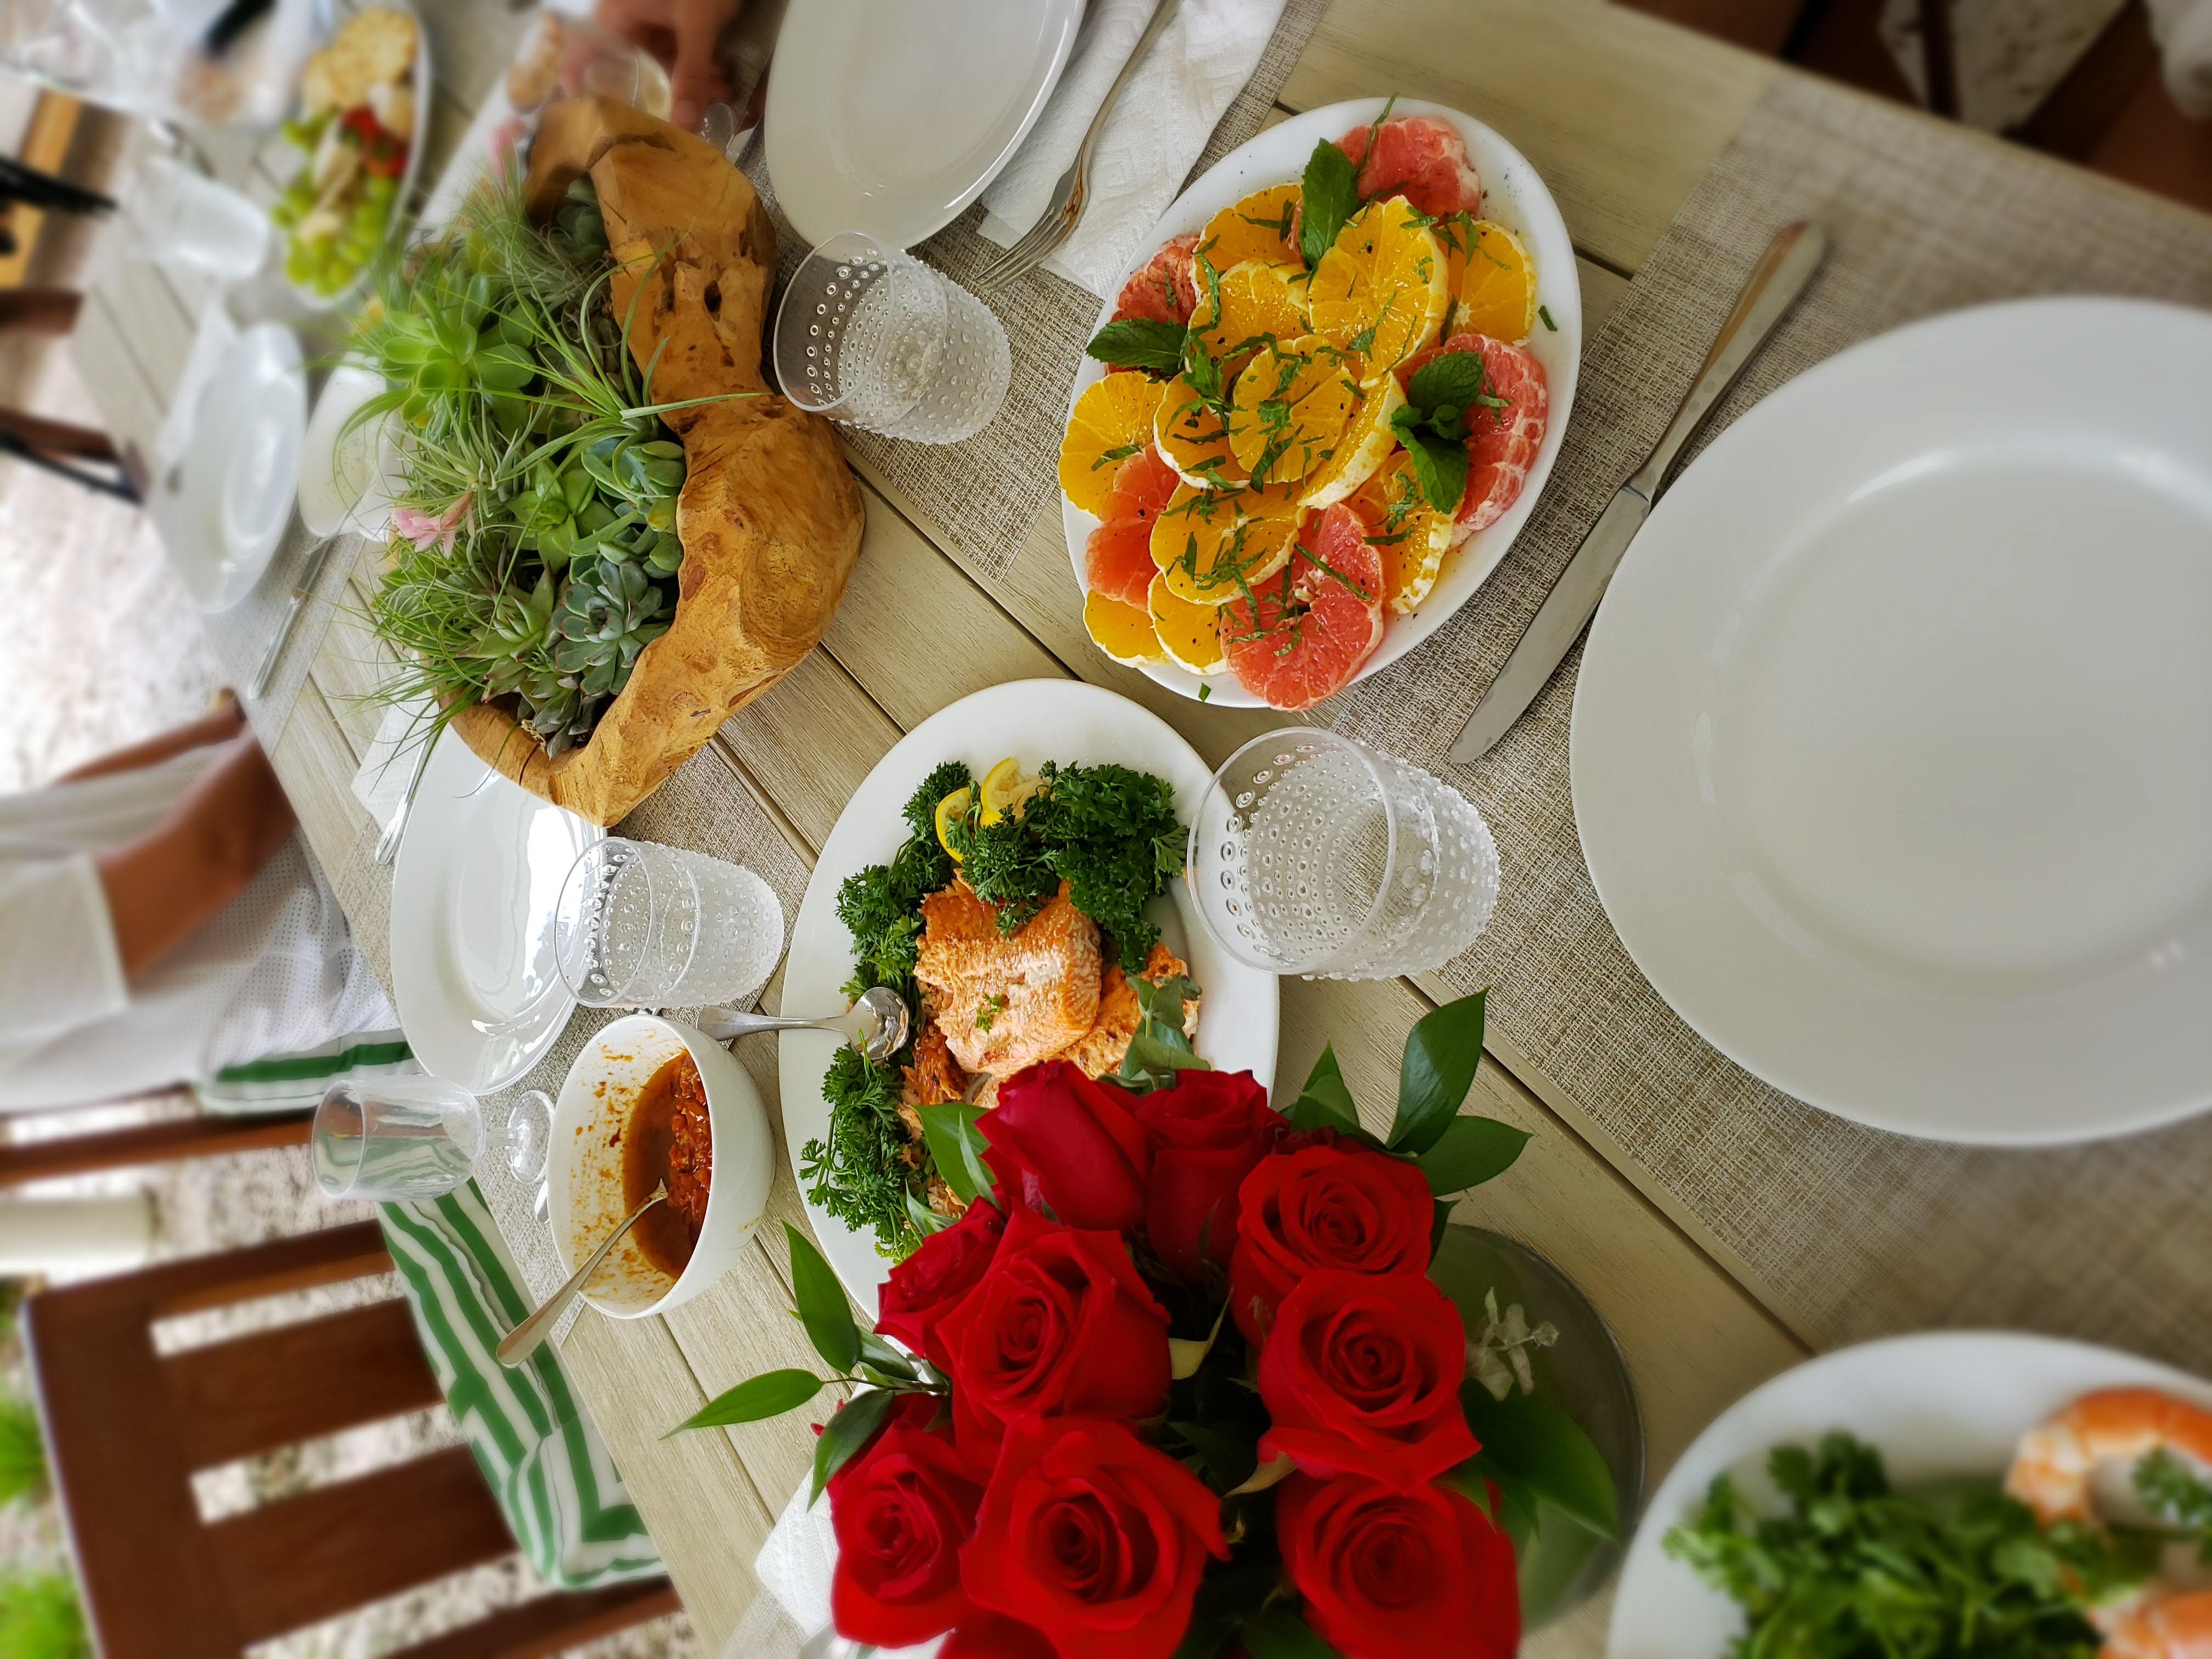
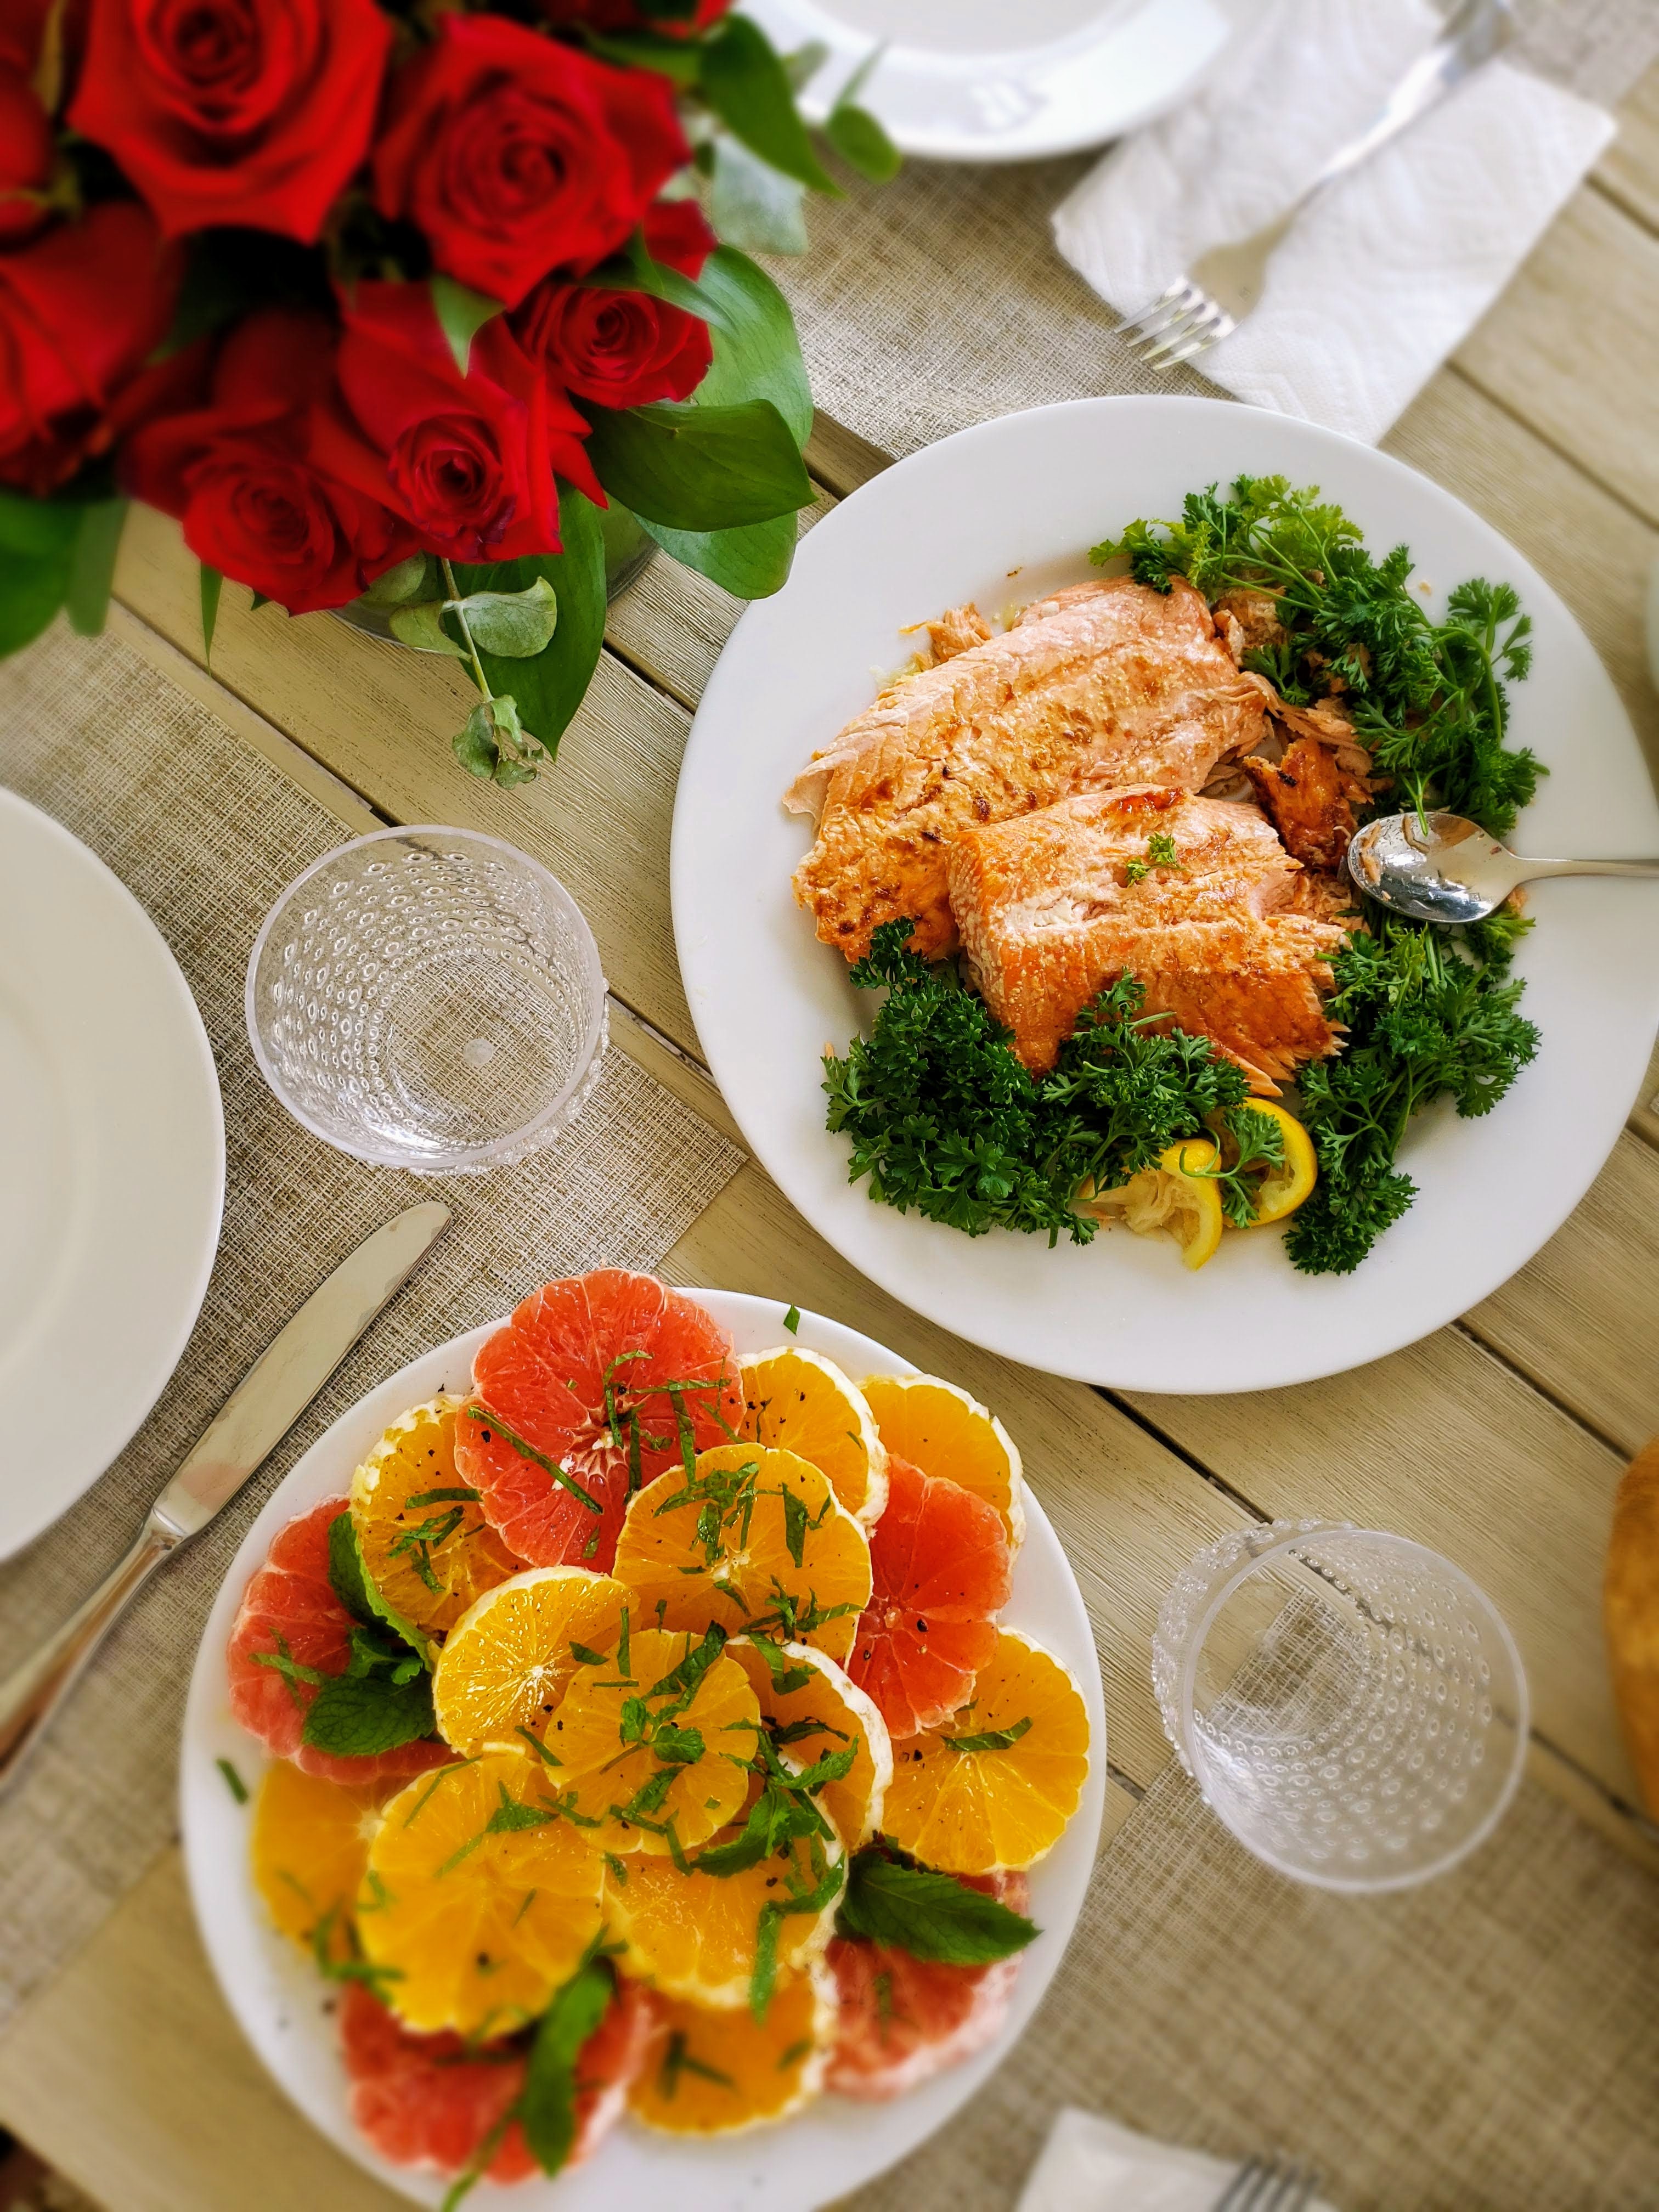
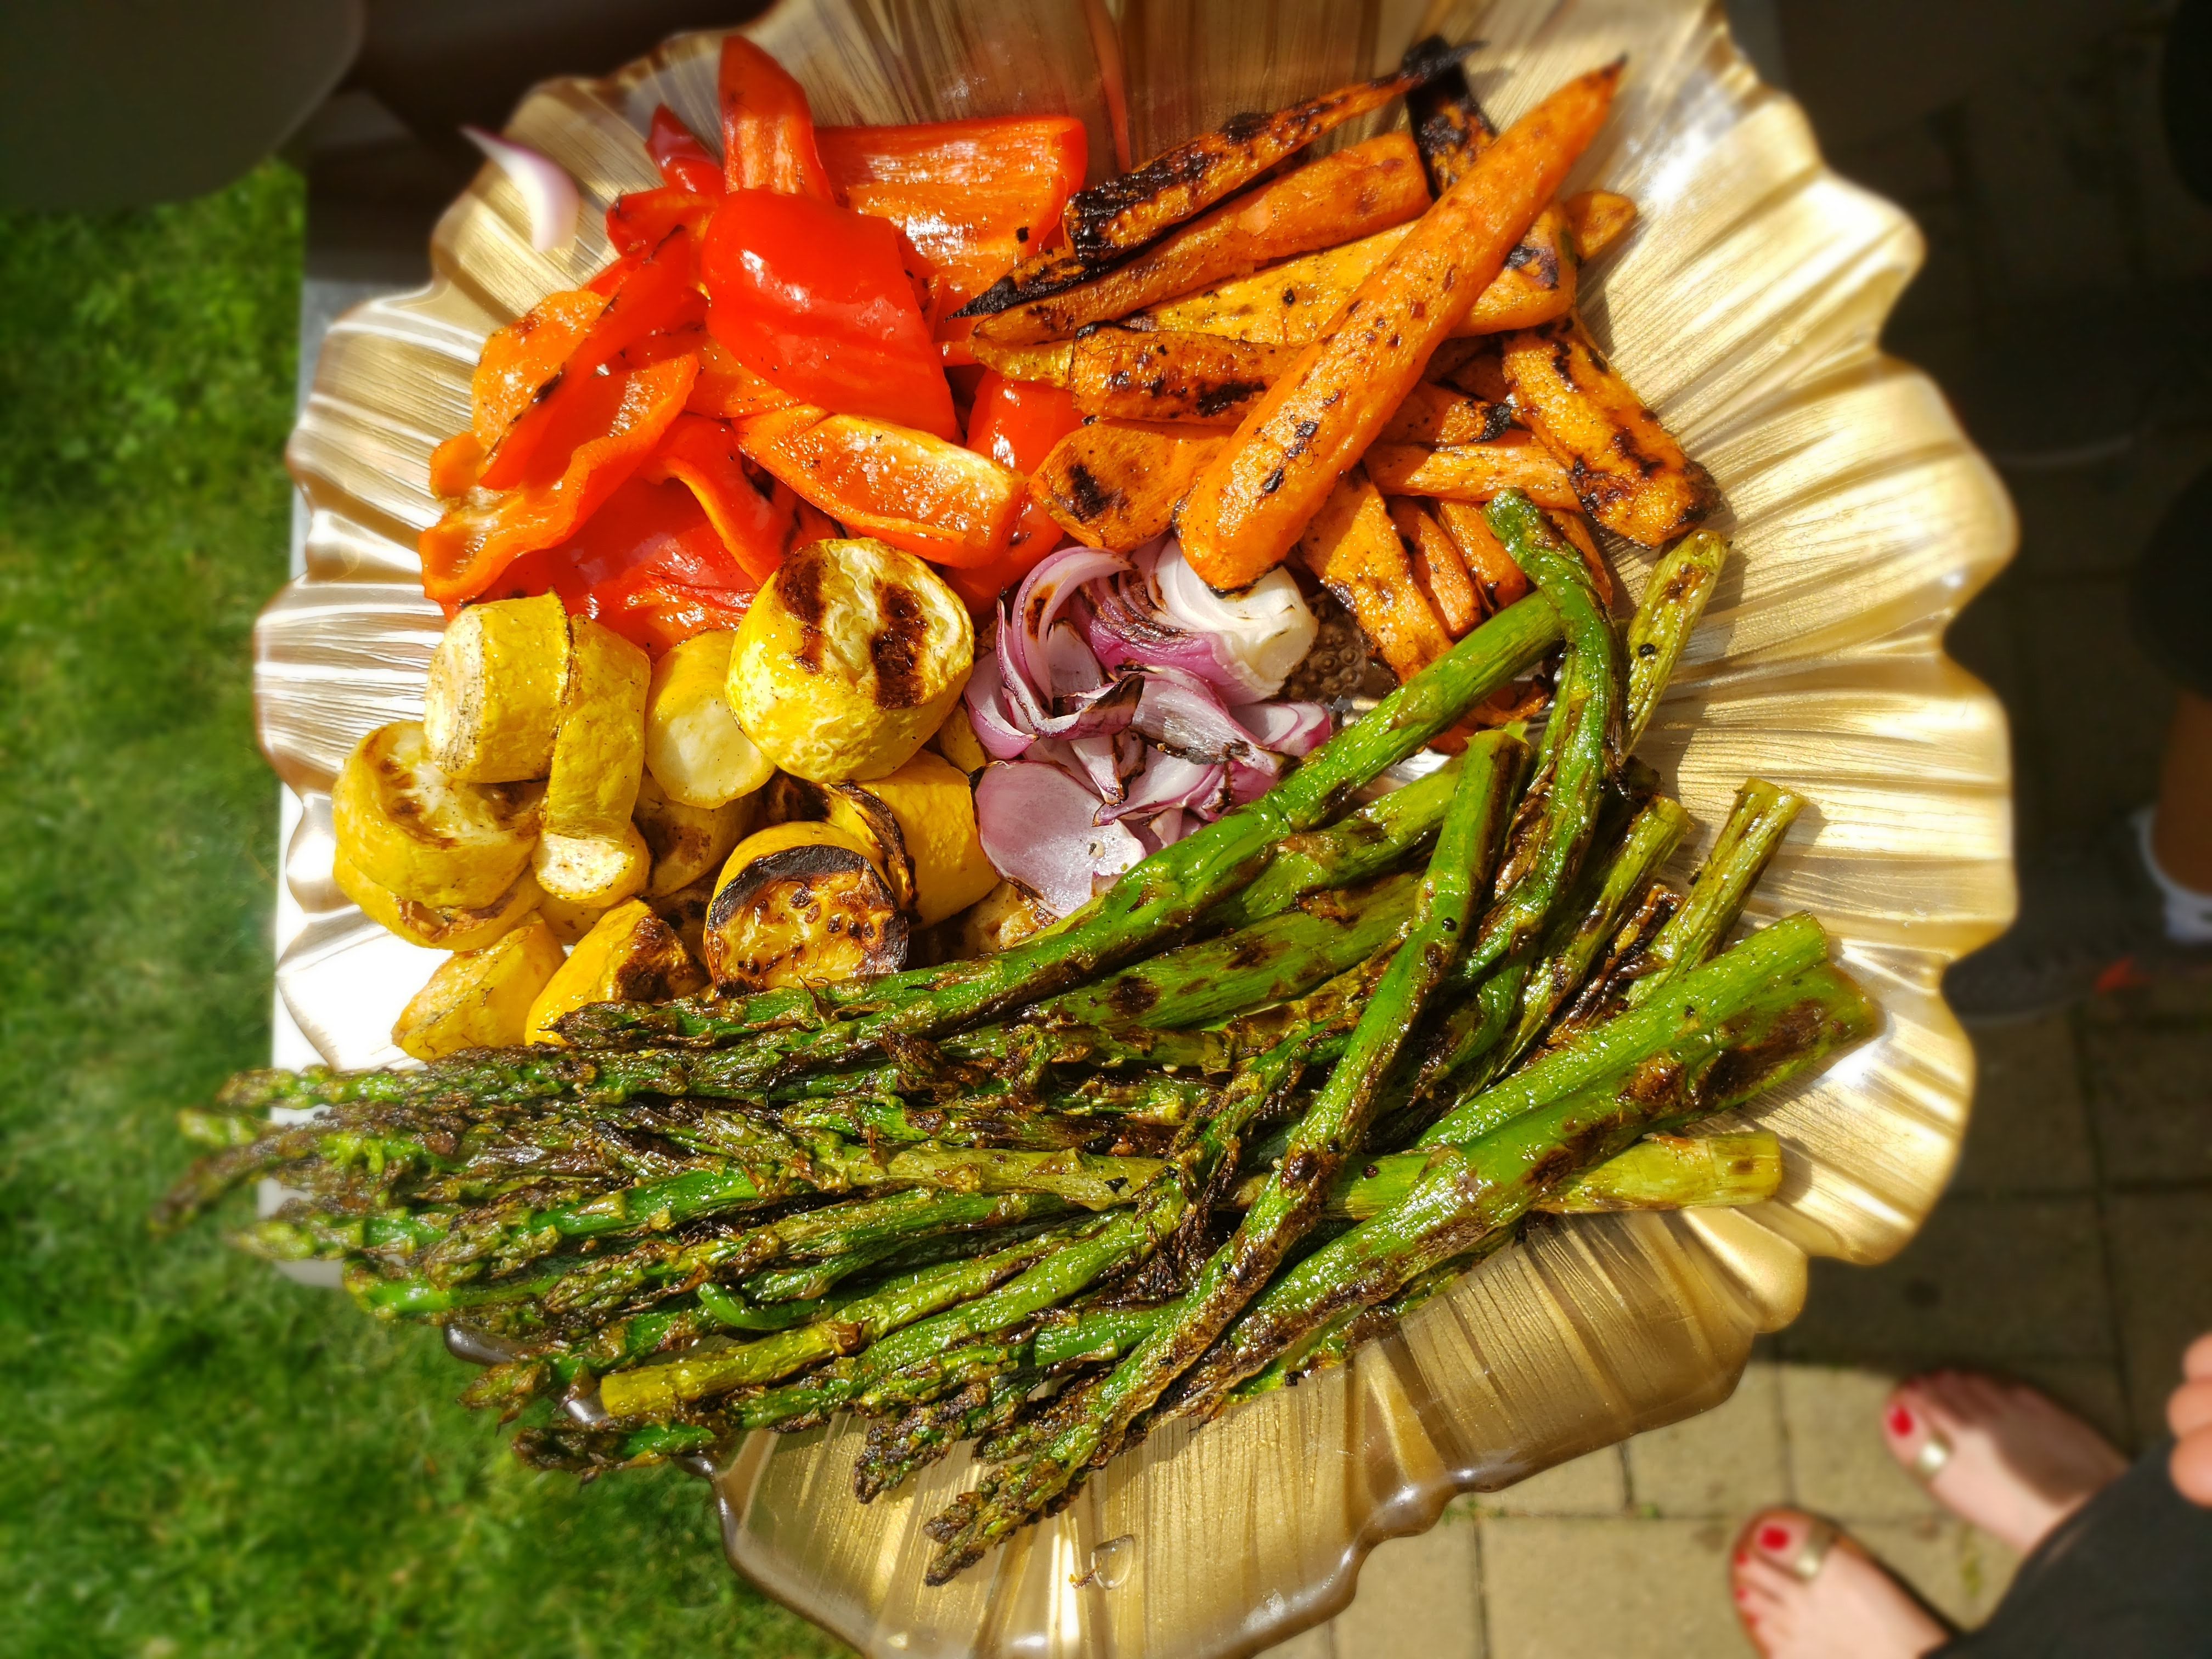
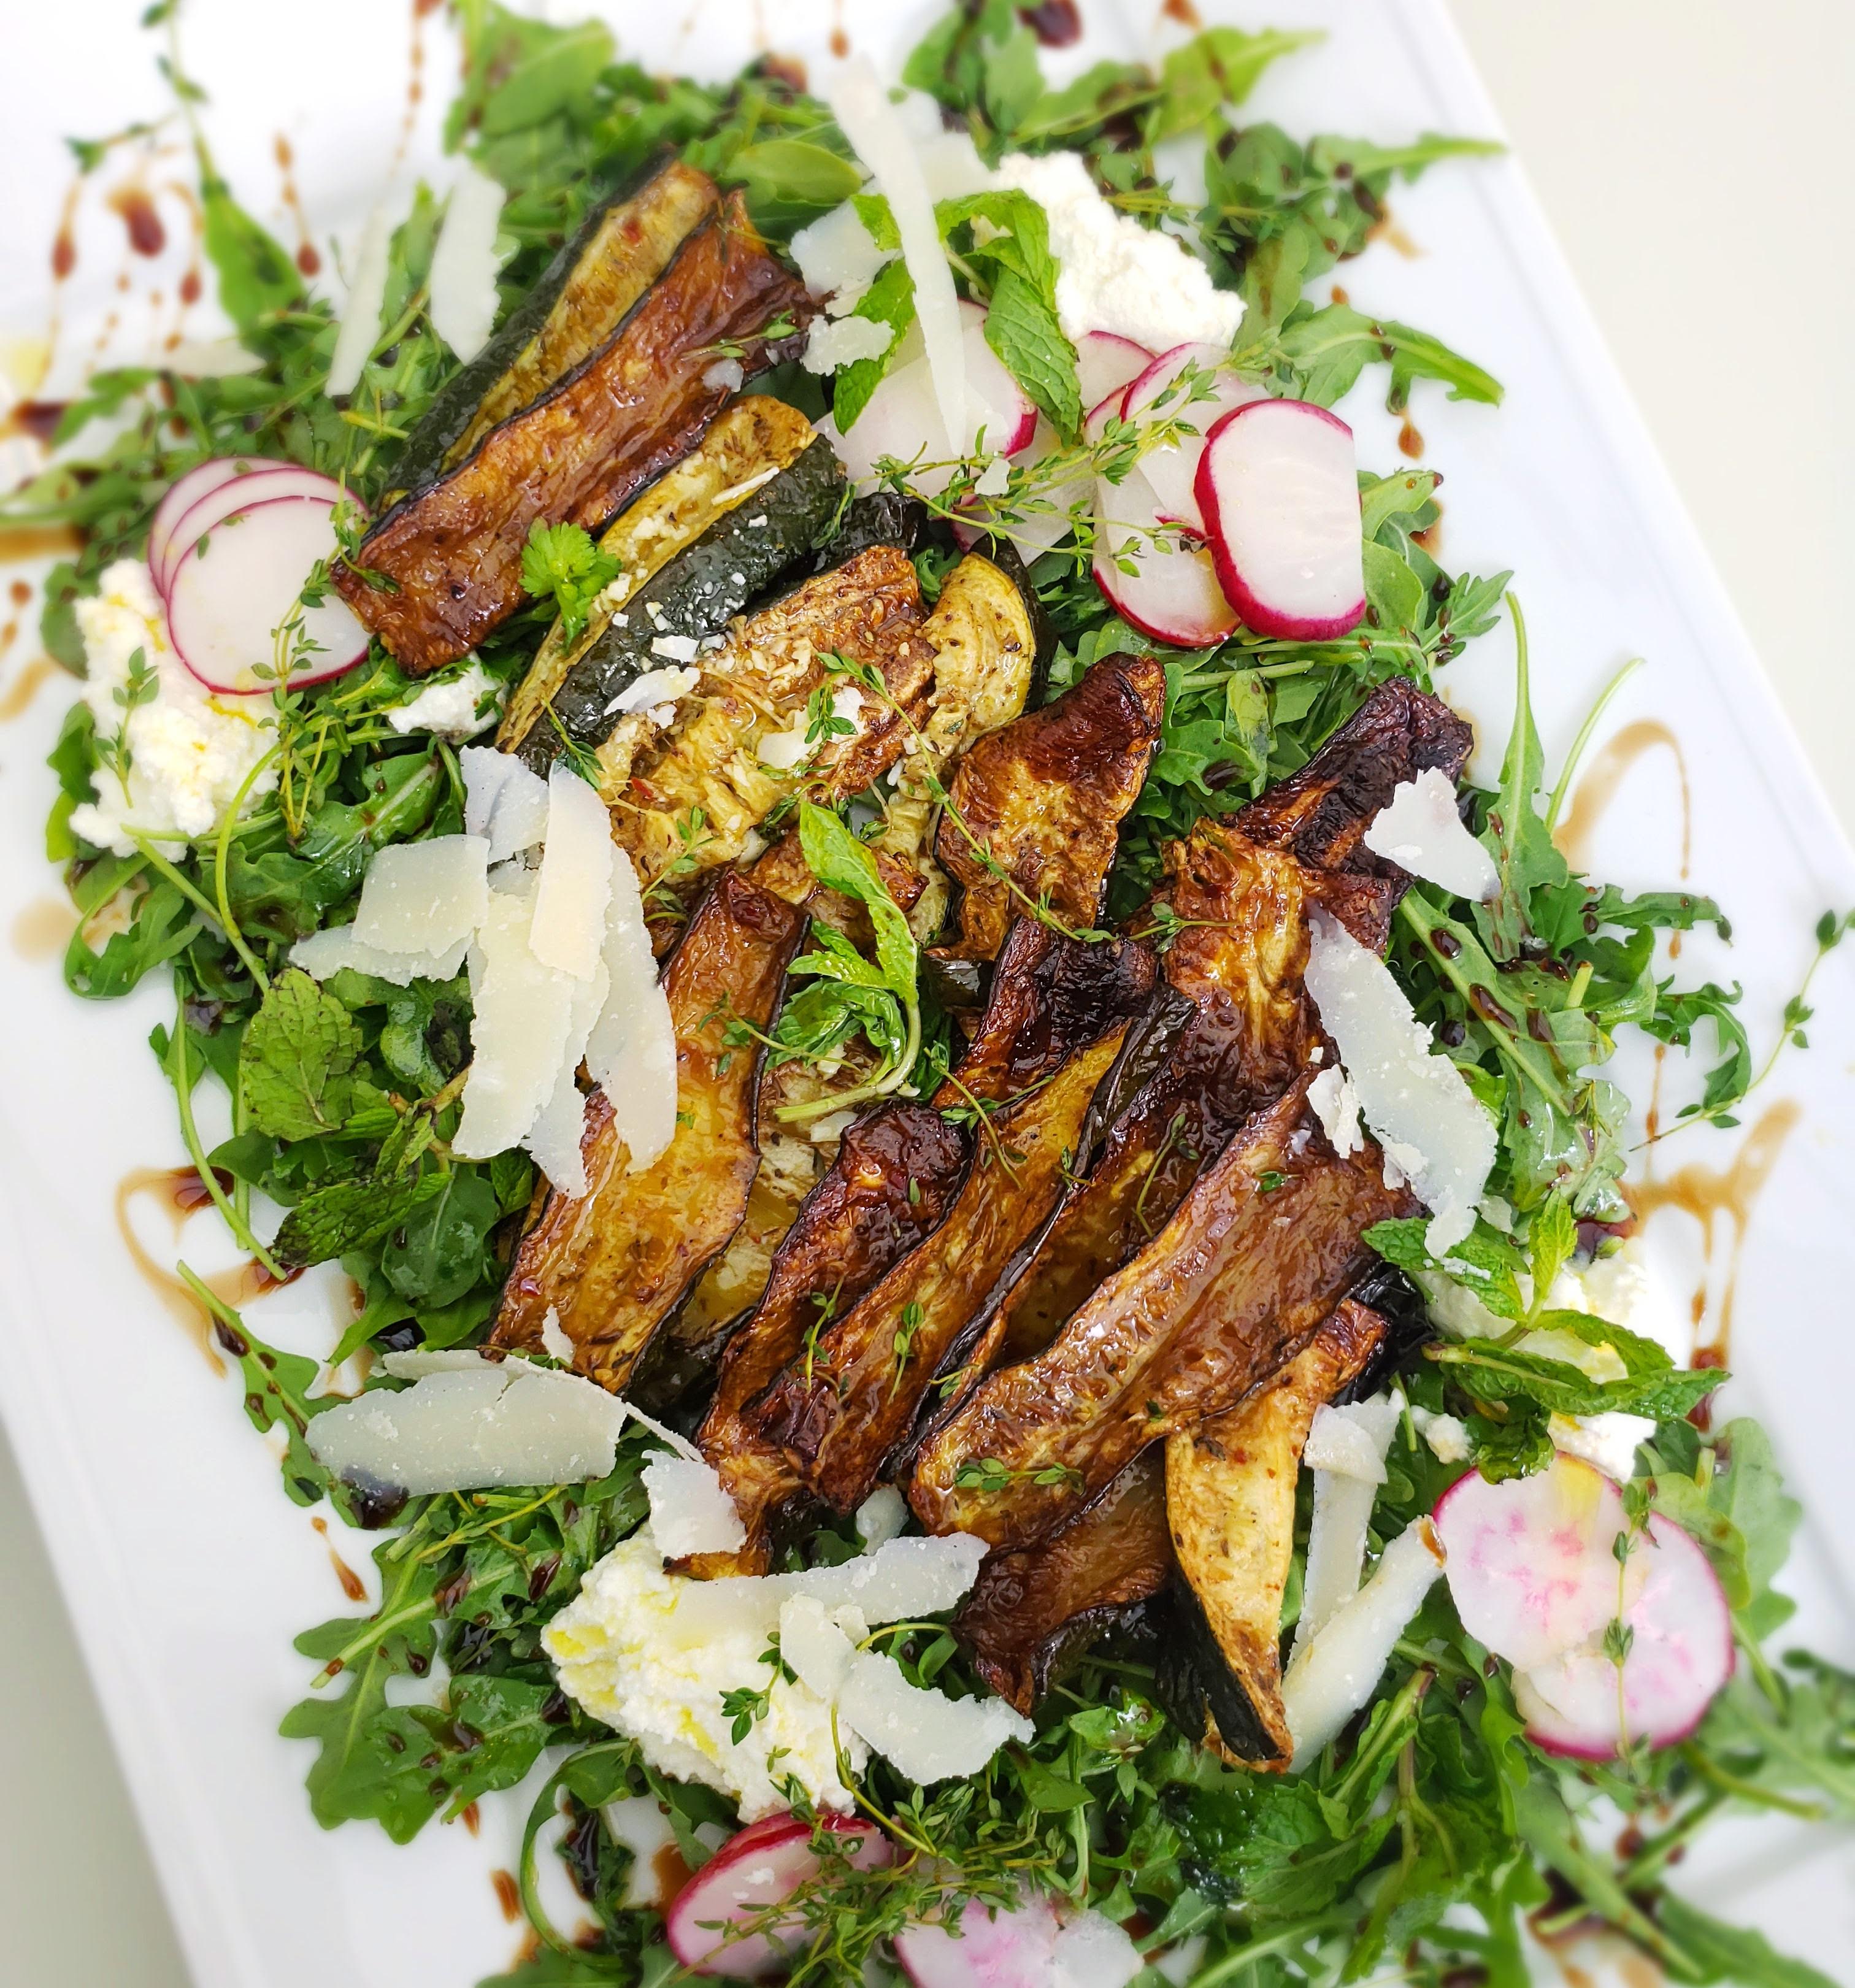
Savory Salmon with Herbs, Sweet Rainbow Grilled Vegetables, Refreshing Watermelon and Feta Salad, and Roasted Zucchini Salad with Parmesan and Balsamic Greens are a few favorite recipes which capture the ethos of summer.

And while Autumn may be 1 Day, 4 Hours and now 32 Minutes away, we can capture the spirit of summer at any time by making these recipes and remembering fondly the smiling faces we shared them with once upon a summer.

Summer is casual so big doesn’t mean complicated, rather bold flavors highlighting the flavors of the season prepared along with family favorites.

Savory Salmon with Fresh Herbs

Rainbow Grilled Vegetable Platter

Roasted Zucchini Salad with Parmesan and Balsamic greens

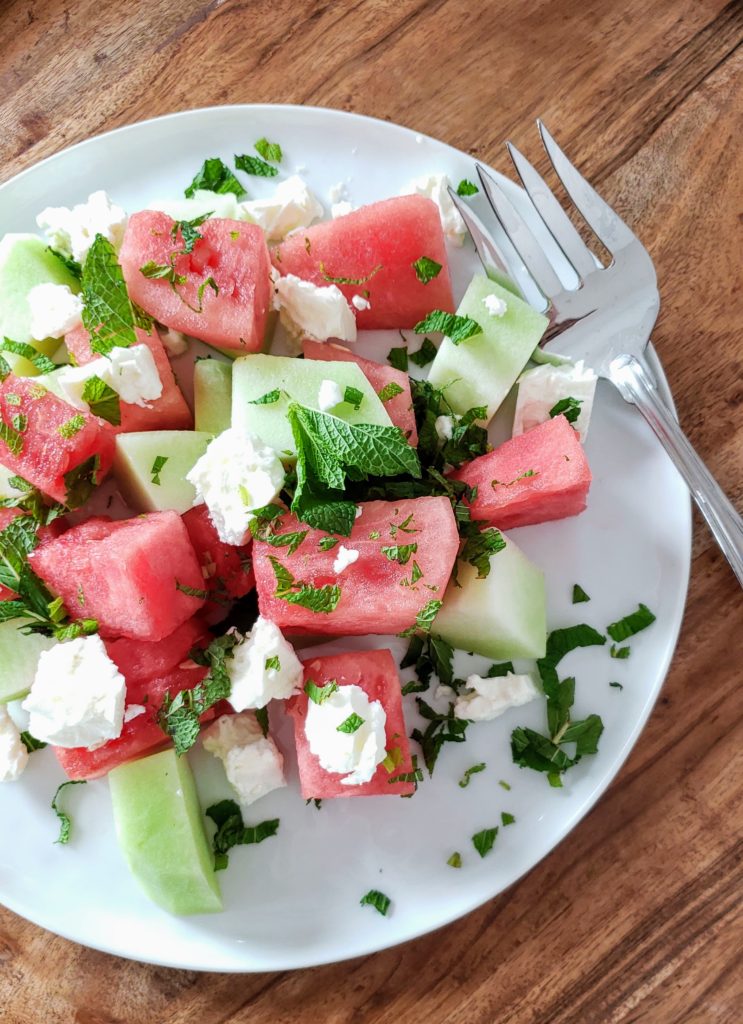
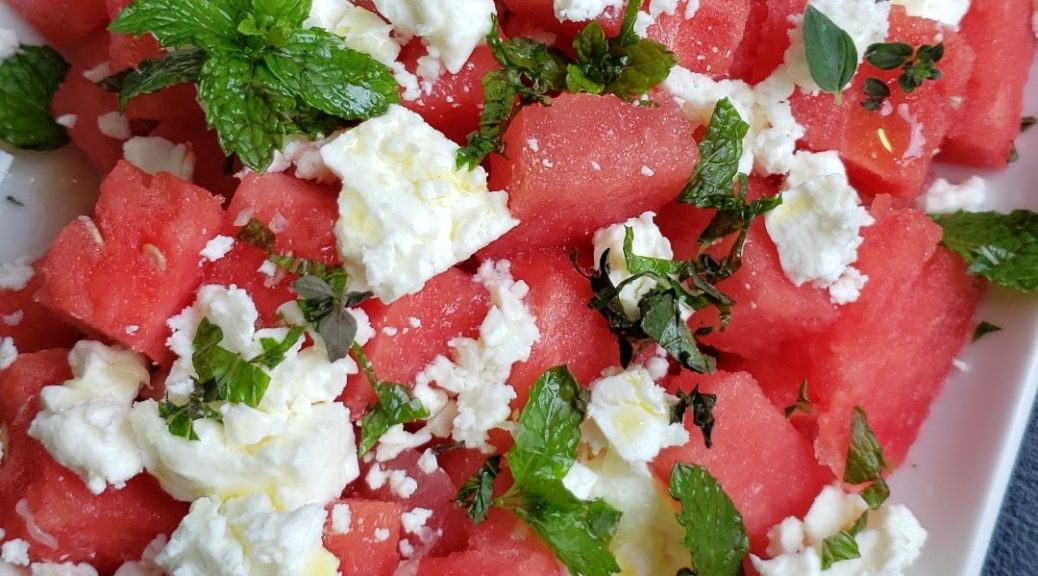
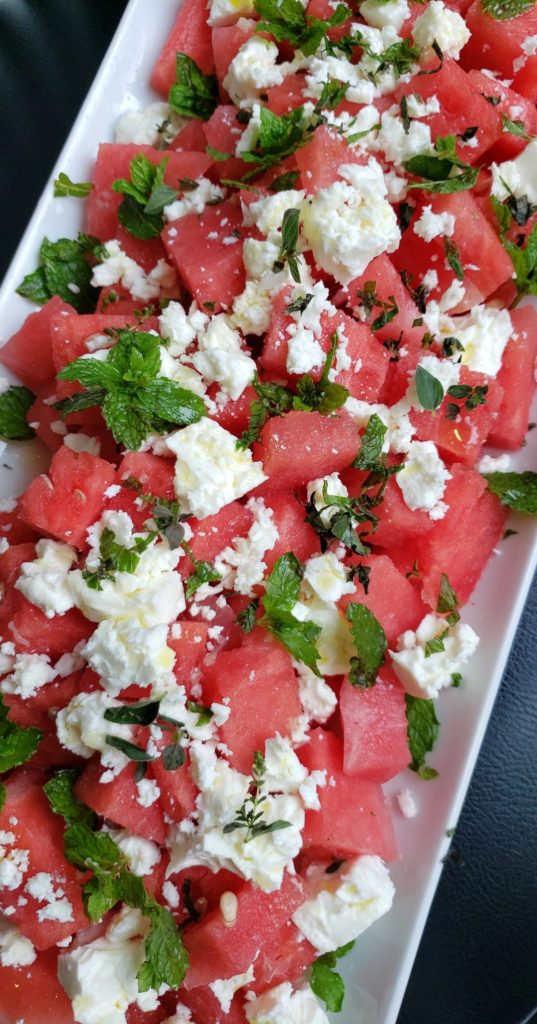
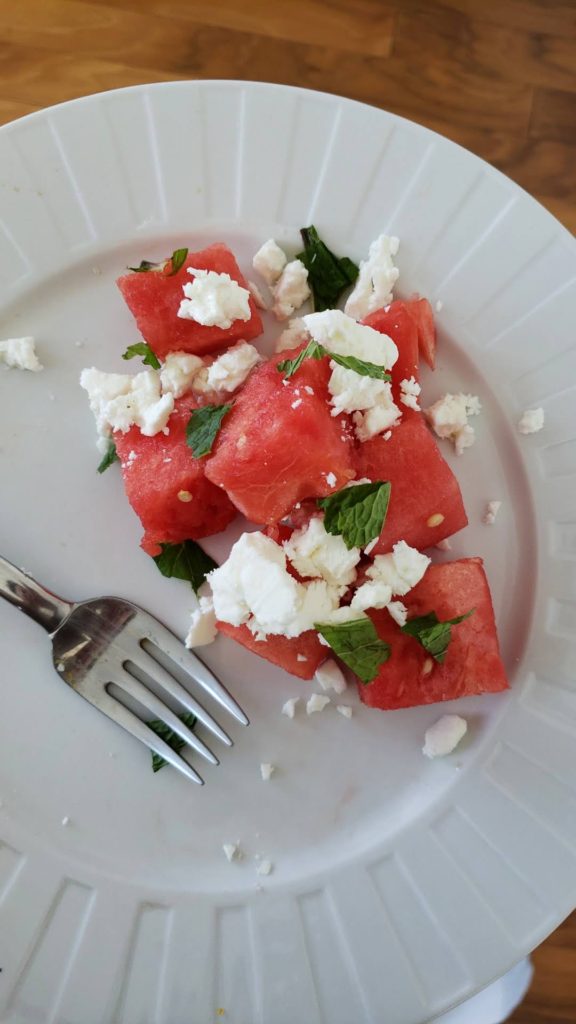
Watermelon Feta Salad

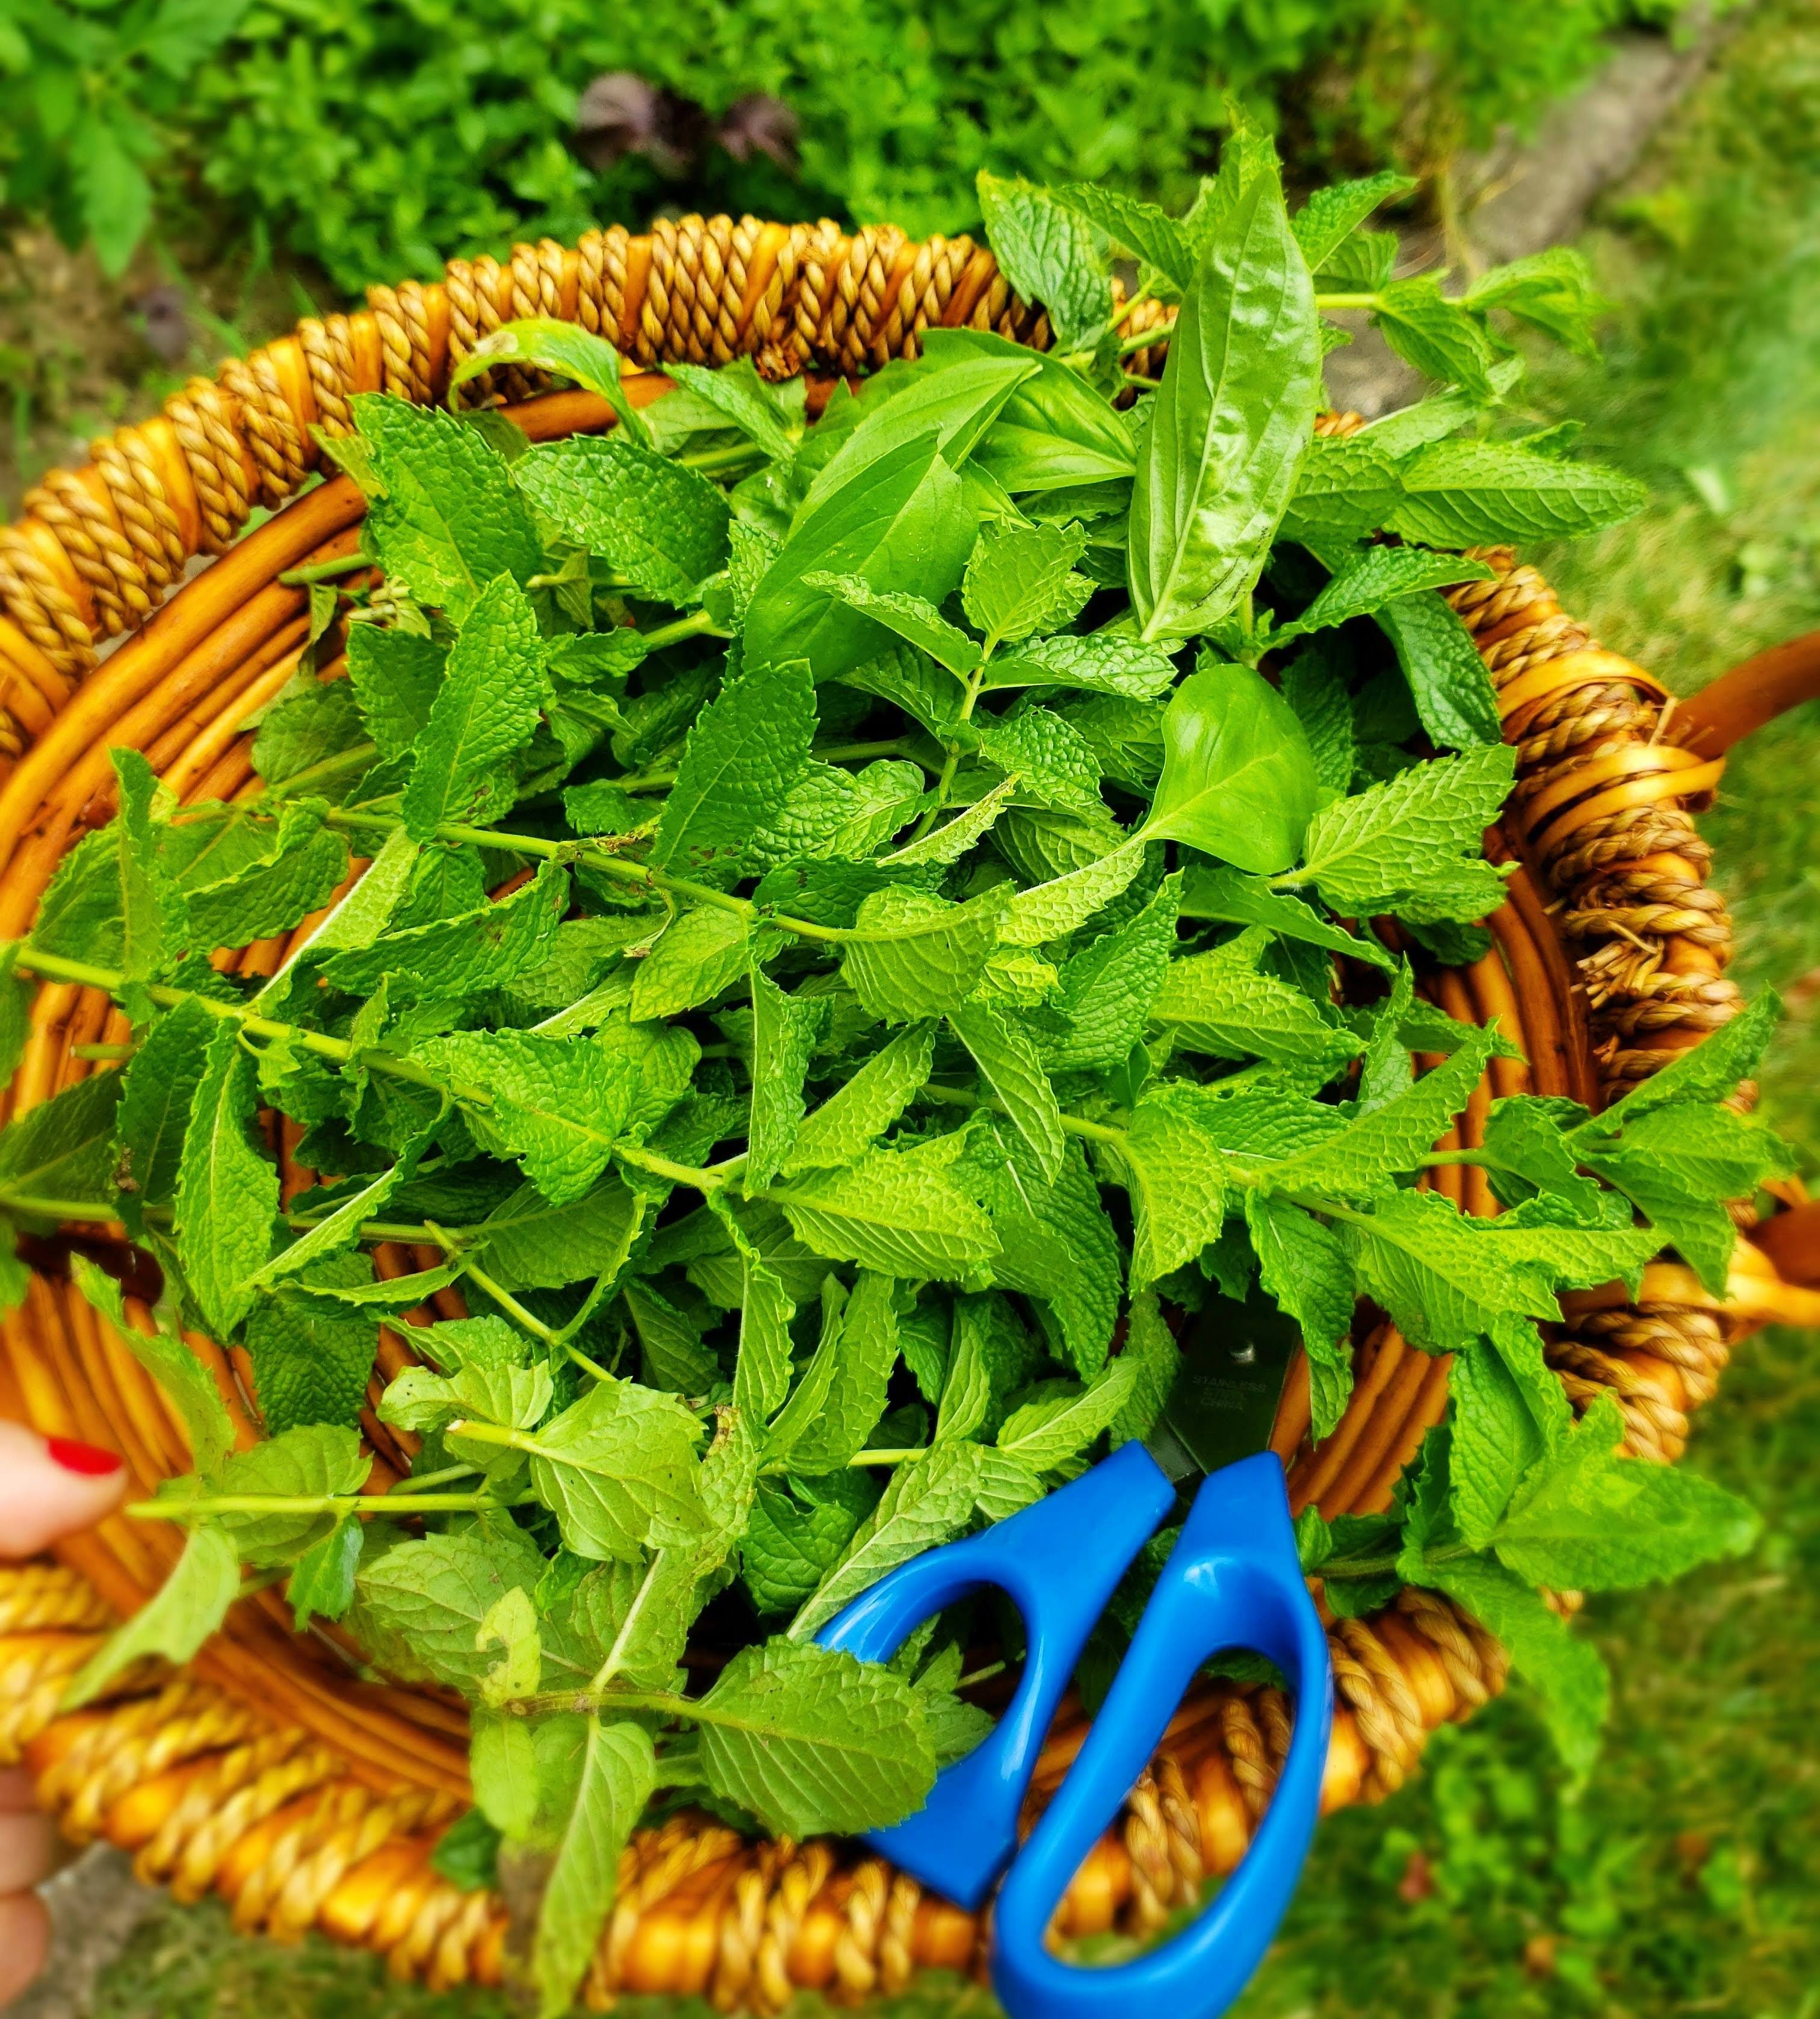
Fresh Mint and Basil from the Garden
The Ever-Ethereal Knockout Roses
French Lavender adored by Bumble Bees & Butterflies
Lavender + Mint Iced Tea
Golden Marigolds with their heavenly earthy scent

Musical Inspiration: “Harvest Moon” by Neil Young

Savory Salmon with Fresh Herbs

Savory Salmon with Fresh Herbs

Salmon can be prepared in a myriad of different ways with equally delicious results.

Naturally tender and easy to prepare it’s a go-to in my home all year round. In the summer, I love the smokey char of grilled salmon on a charcoal fire. But that method of cooking is the exception. I also love pan seared salmon with crispy skin action, but that method can be a bit messy and smokey. So I often turn to roasting salmon in the oven. The preparation could not be simpler. And it works even in the warmer months when oven use is not ideal, given how quickly salmon cooks.

Salmon baked or broiled in the oven is a quick way to weeknight dinner bliss or an elegant dinner party main course. My Butter Salmon and Spicy Saffron-Dill Salmon recipes are only second to this Savory Salmon baked with lemon, olive oil and herbs. It’s the simplest option which guarantees a wonderful meal in less than thirty minutes.

While perfectly delicious as is, this is a blanc canvas of salmon recipes and I encourage you to experiment with flavors. Make it your own by trying different herbs, adding a spice rub, dusting with zaatar, coating the salmon with sesame seeds. Maybe a mix of teriyaki sauce and sesame oil. Soy sauce and brown sugar, better yet, a mixture of Dijon mustard and brown sugar, yum! Tangerine and Thyme is a nice combination, but I usually save that for Red Snapper. Lemon zest and chives… Parsley, Sage, Rosemary and Thyme! You get it, the options are endless so have fun with it!

Ingredients

1 ½ pounds skin-on, center-cut salmon fillet
¼ cup fresh lemon, lime or orange juice, plus additional wedges, for serving
2 tablespoons olive oil
½ teaspoons kosher salt
½ teaspoon black pepper
Handful of fresh dill, about 4 tablespoon, chopped


Preparation

Heat the oven to 425 degrees with the rack in the center position.
Place salmon skin-side down on a lightly oiled baking sheet.
Spoon over lemon juice all over the fish. Let sit for 10-15 minutes.
Drizzle with olive oil and season with salt and pepper in that order.
If using, sprinkle chopped herbs on top of the salmon while reserving some for garnish.
Roast the salmon skin-side down until cooked through to your liking, about 12-15 minutes for medium.
Garnish with more dill and serve with extra citrus wedges and enjoy!

Roasted Zucchini Salad with Parmesan and Balsamic Greens

Roasted Zucchini Salad with Parmesan and Balsamic Greens

Sweet grilled zucchini is a delight and while wonderful on its own or as a side dish, on this salad it holds the starring role. It’s simple to make, healthy and qiuet delicious once caramelized after roasting.

Ingredients

2 large zucchini, sliced in 1/2 inch thick, 4 inch long pieces

1 Tablespoon extra virgin olive oil, plus more for serving

4 cups fresh arugula

Good quality Parmesan cheese

A handful of fresh mint

3-4 radish, thinly sliced

1 Tablespoon good quality Italian balsamic vinegar

Salt and pepper to taste

Preparation

Preheat oven to 425 degrees

Slice zucchini and dress with olive oil, salt, pepper, mixing to coat evenly

Arrange zucchini slices on a baking sheet, taking care not to overlap them (this will cause them to steam instead of getting golden brown).

Roast until the zucchini is tender and nicely browned and caramelized, 13 to 15 minutes.

Remove from the oven and let cool while you assemble the salad.

In a large serving plate, spread the arugula and some fresh torn mint leaves. Drizzle greens with olive oil and sprinkle with salt.

Layer cooked zucchini, shaved parmesan cheese, radish. You can also add or substitute crumbled feta or ricotta cheese.

Drizzle the salad with more olive oil and balsamic vinegar and season to taste with salt and fresh cracked black pepper.

Garnish with more mint leaves and serve.

Watermelon Feta Salad

Watermelon Feta Salad

The quintessential salad of summer! Watermelon with feta, fresh mint, a drizzle of olive oil and a sprinkle of sea salt. Sweet watermelon and salty feta compliment each other beautifully  and the fragrant mint takes the refreshing flavors to new levels of delight. 

This is a no-recipe recipe. Ingredient quantities don’t have to be exact for great results. You can also play with adding peppery arugula, chopped cucumber, cherry tomatoes, thinly sliced red onion or some diced chilies for a bit of heat. Add a squeeze of lemon or red wine vinegar if you add these other vegetables.  Feel free to substitute fresh basil or oregano for mint, all work nicely. A drizzle of olive oil and balsamic vinegar could be a nice addition to this salad- if you do add those make sure to serve and eat immediately.

Ingredients

  • 2 ½ -3 pounds seedless watermelon (about 1 small or 1/4 large), rind removed, cut into 2-inch chunks or varying sized triangular pieces.
  • ½- ¾ cup cup feta cheese
  • ½ cup chopped fresh mint leaves, plus more for garnish.
  • 2 tablespoons olive olive oil, plus more for drizzling
  • 2 cups arugula (optional)
  • Kosher salt and pepper to taste

Preparation

  • Place watermelon chunks in a large bowl. 
  • Add olive oil, mint, and arugula (if using) and gently toss until watermelon is evenly dressed. 
  • Season lightly to taste with salt and pepper. (The feta will add saltiness, so be light handed with the salt).
  • Transfer salad to a wide, shallow platter and spread out evenly. 
  • Crumble feta over the top. Drizzle with more olive oil and a few grinds of black pepper.
  • Garnish with remaining herbs and serve immediately.

~Tip
Ideally you want to use Greek or Bulgarian sheep’s-milk feta for a creamier and tangier flavor than what most domestic cow’s milk cheeses provide.

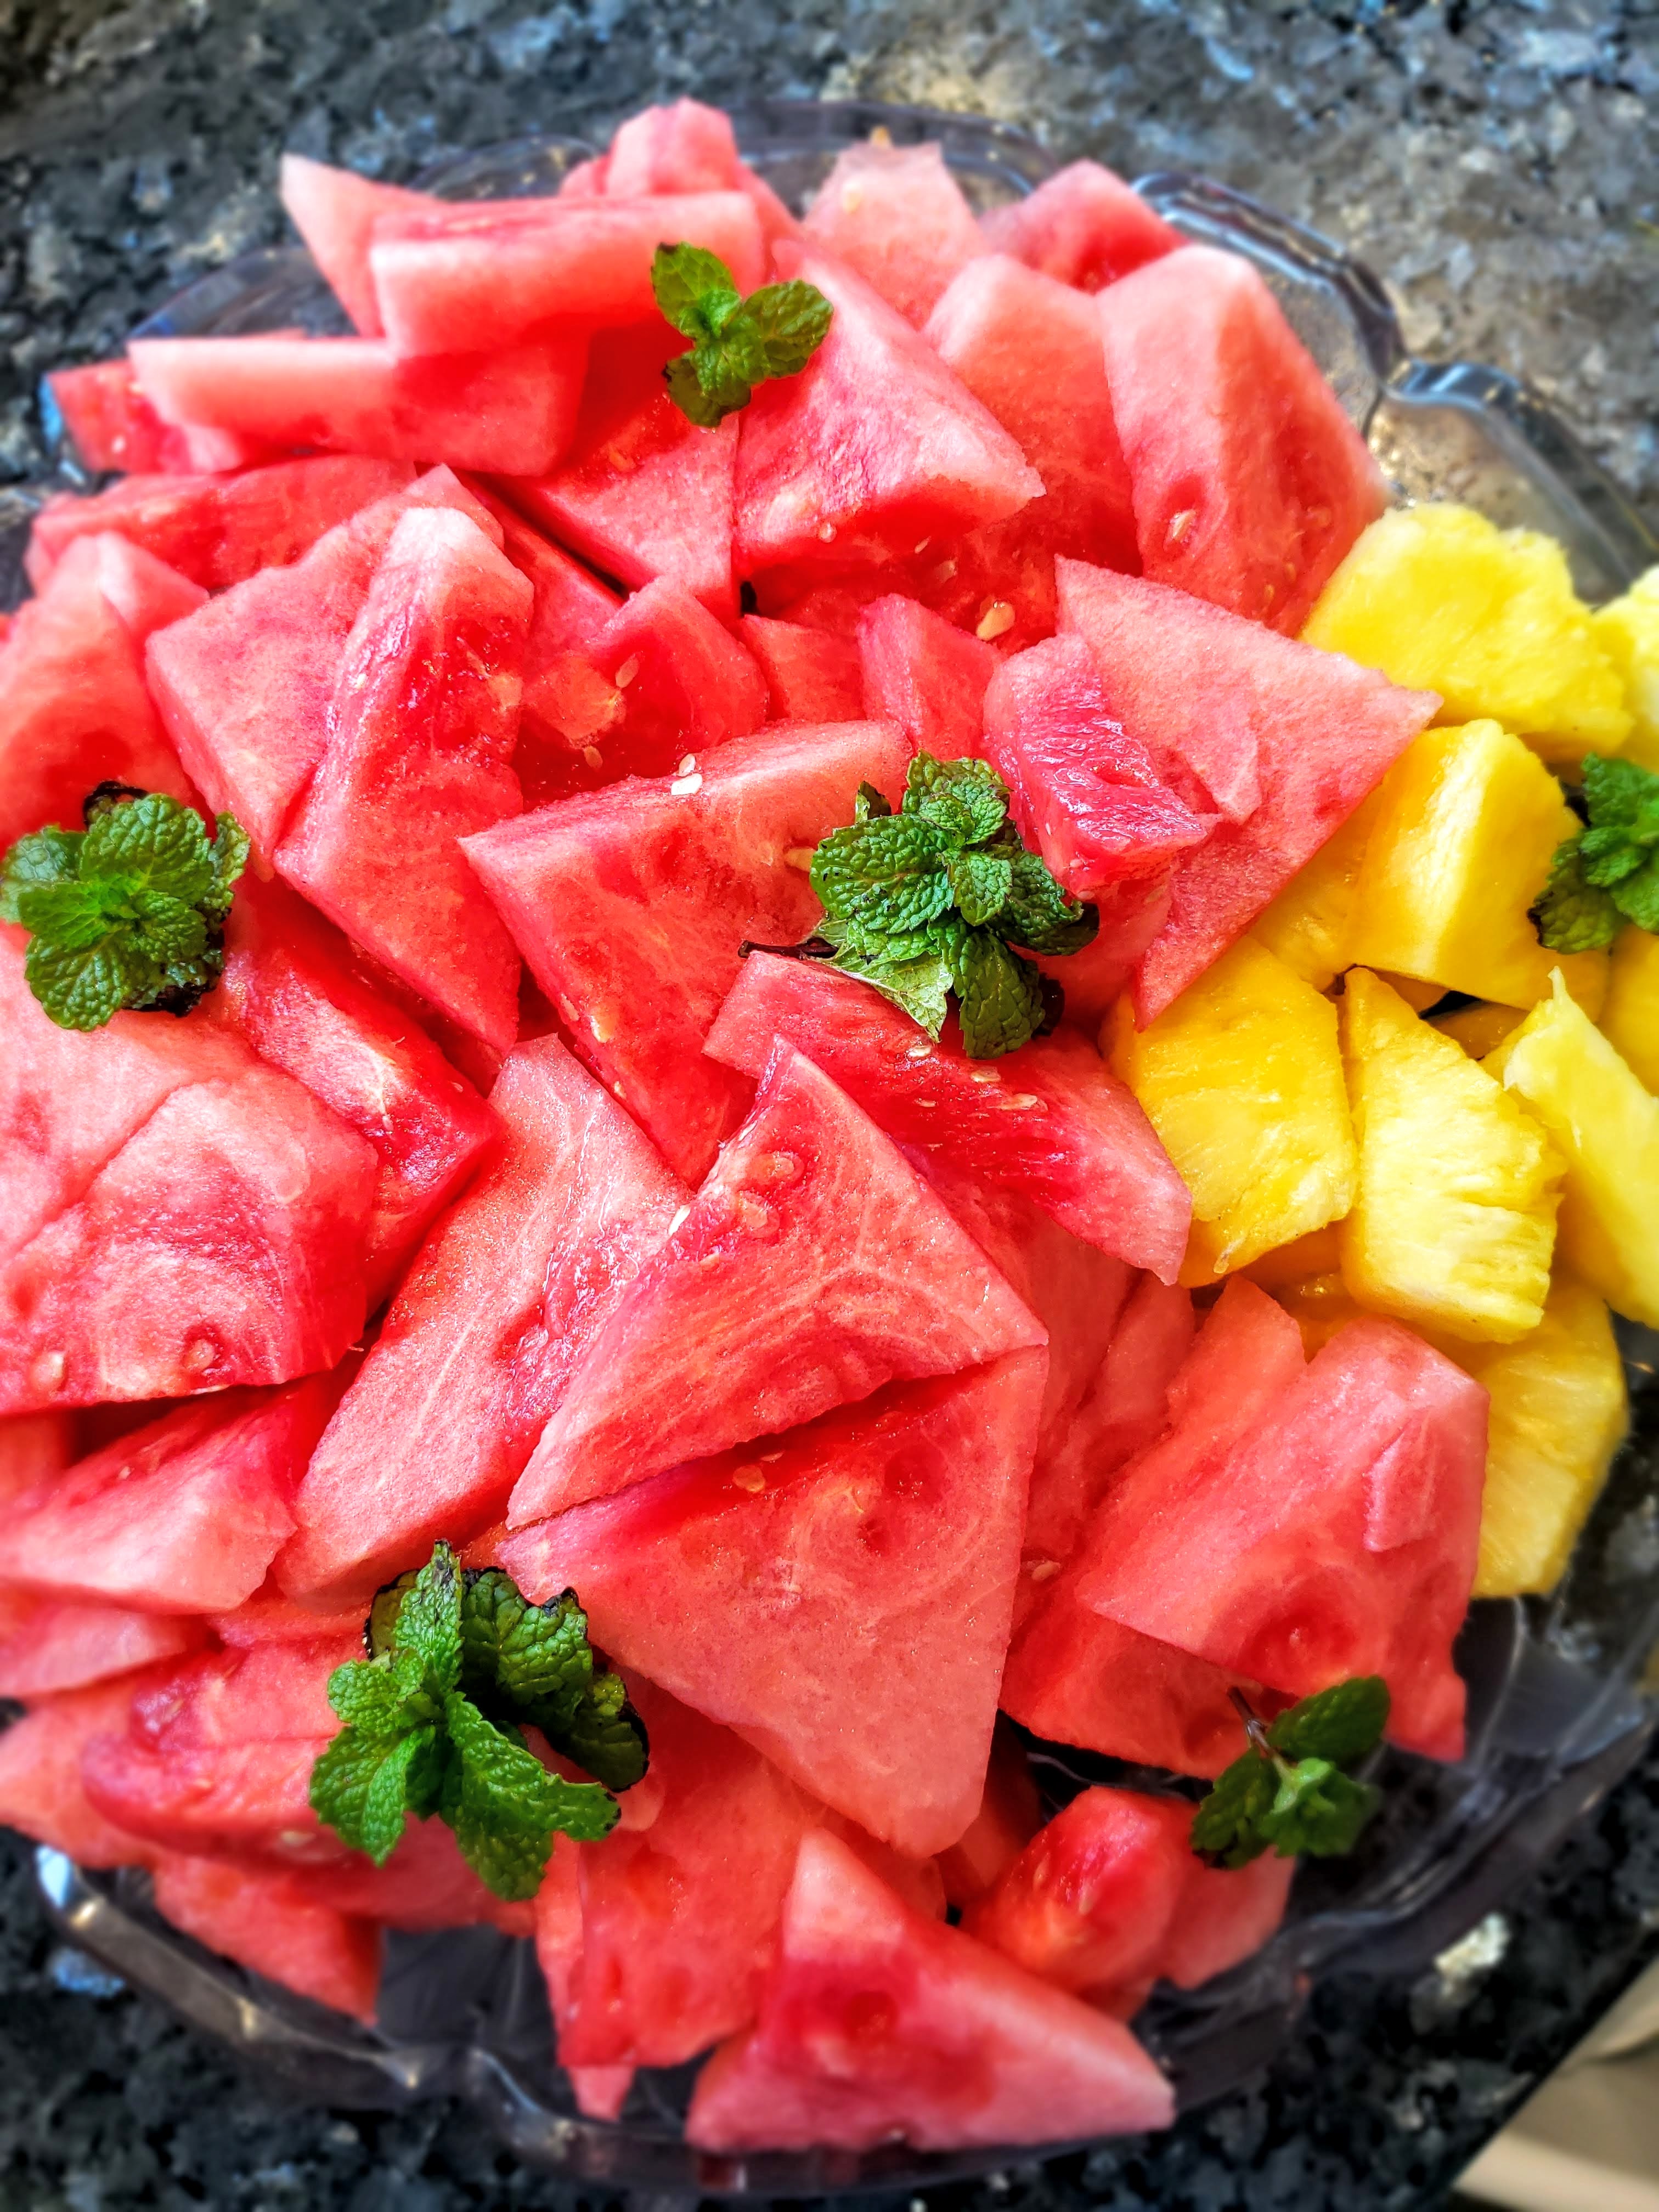
Watermelon is wonderful. We love enjoying it all summer long. Just as it, along with fresh mint from the herb garden, or in the recipe highlighted above with creamy feta cheese. Happy Summer!


The Perfect Burger Recipe

The Perfect Burger Recipe

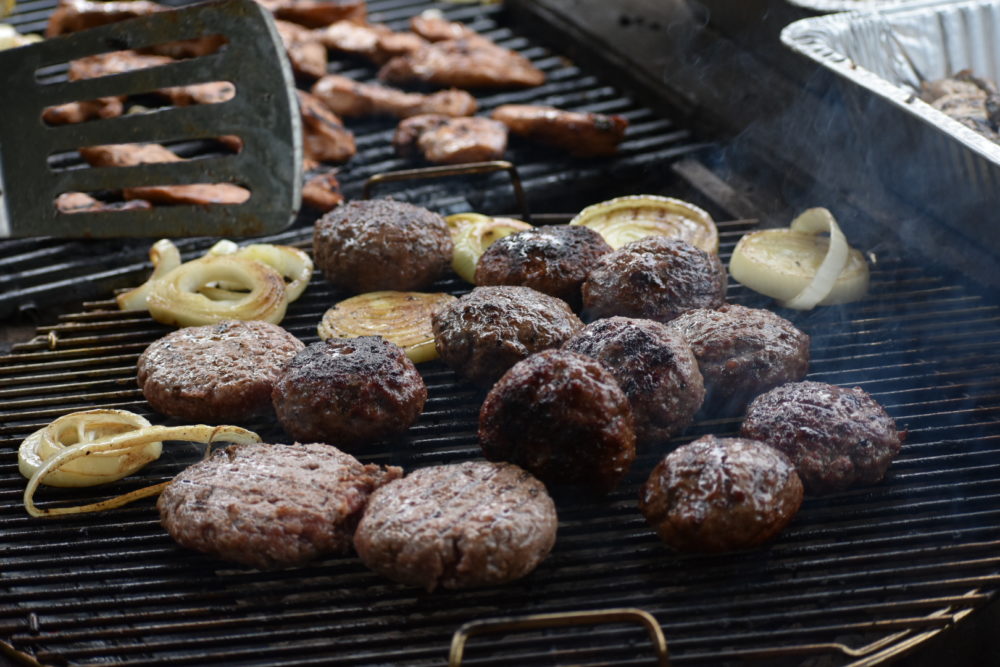
For years I hosted a big Memorial Day BBQ for our friends and family. The menu was simple but the flavors were big. So was the guest list. The menu featured classics like burgers, hot dogs, grilled chicken and veggies, along with salads and condiments like homemade pickles.

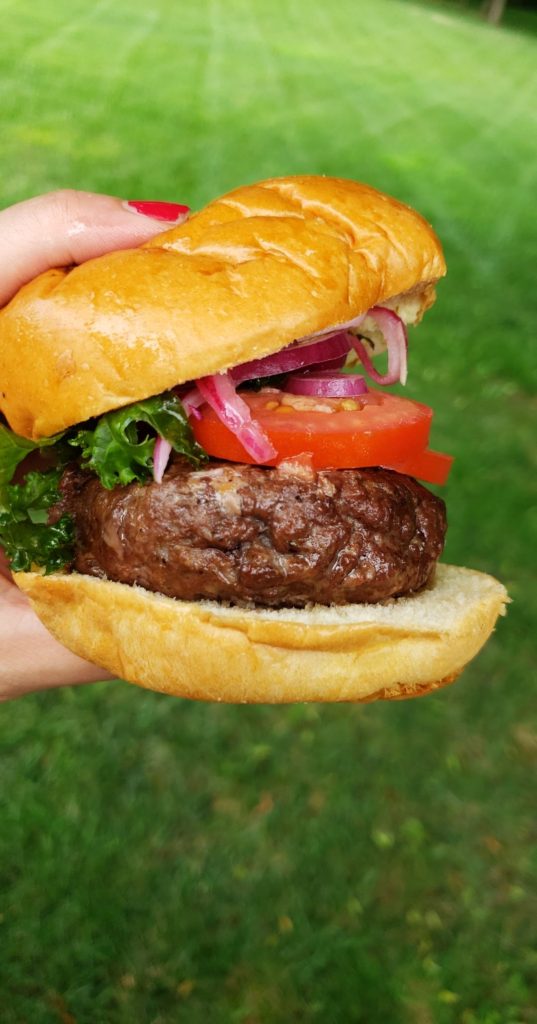
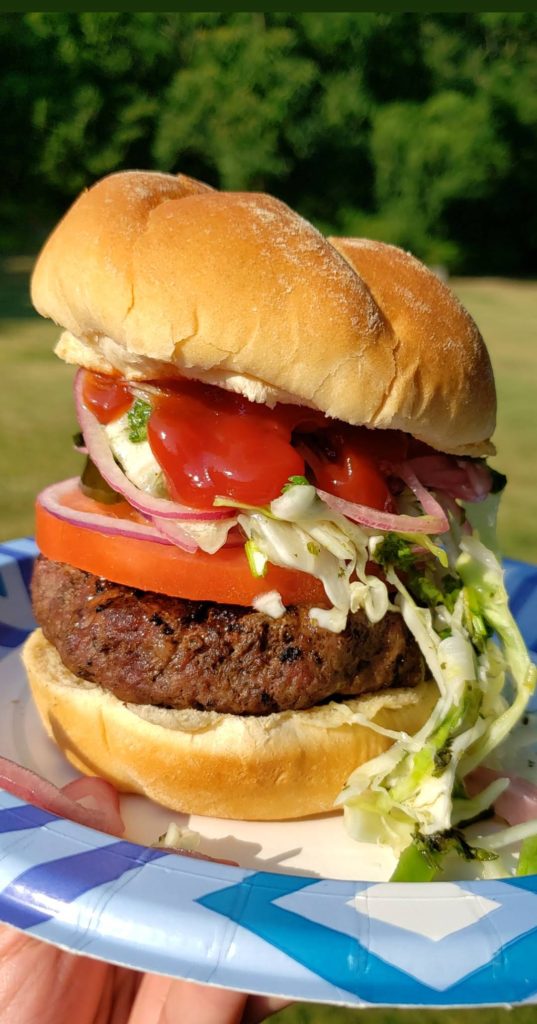
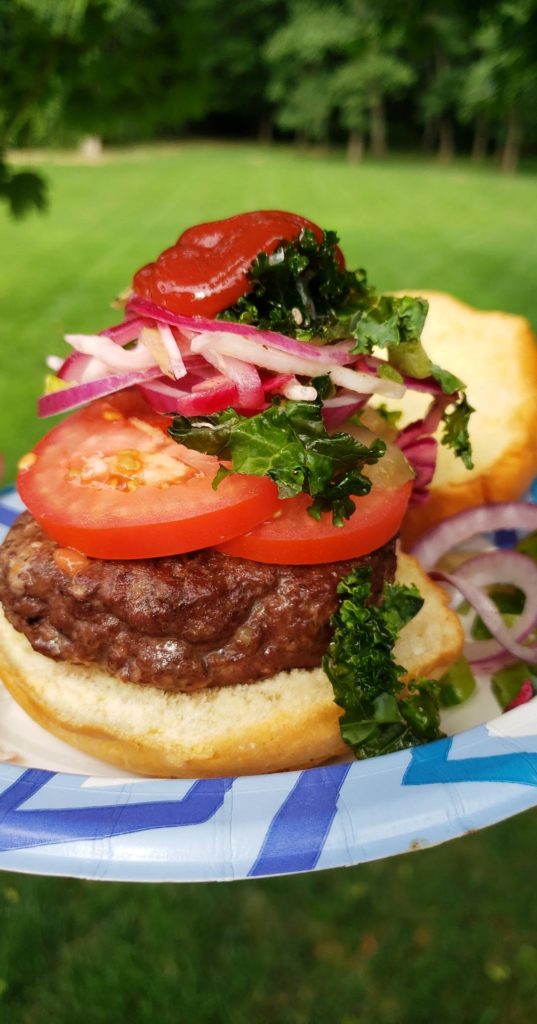
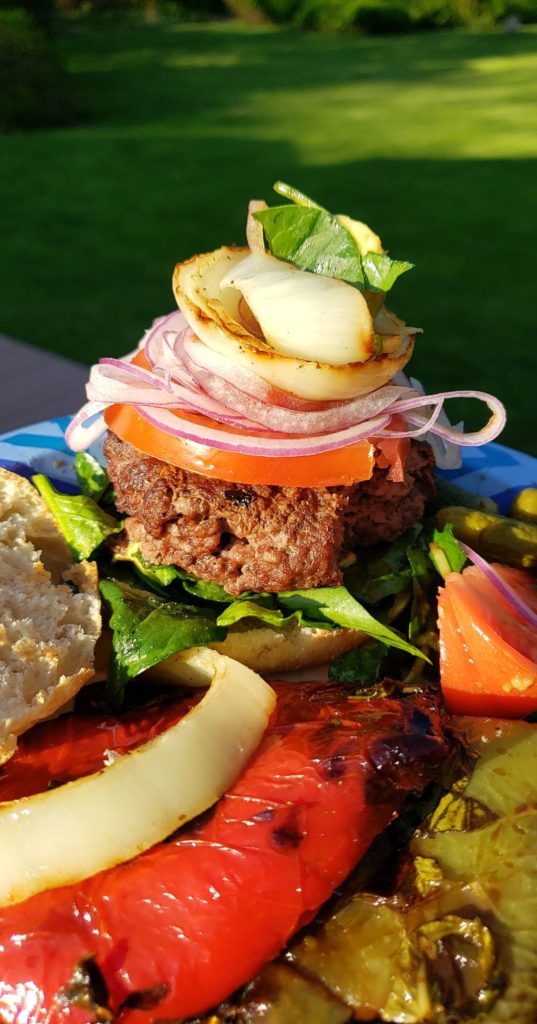
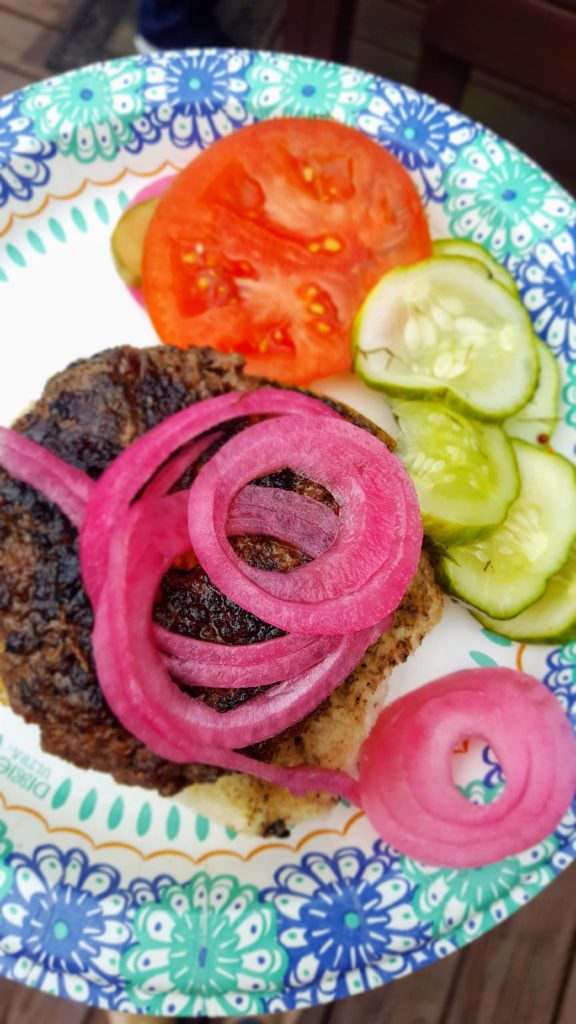
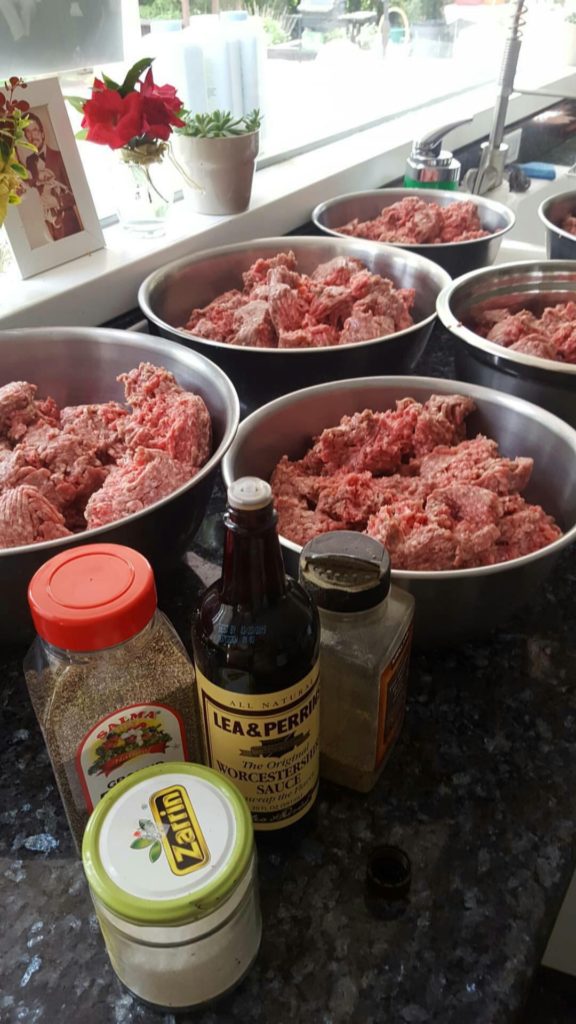
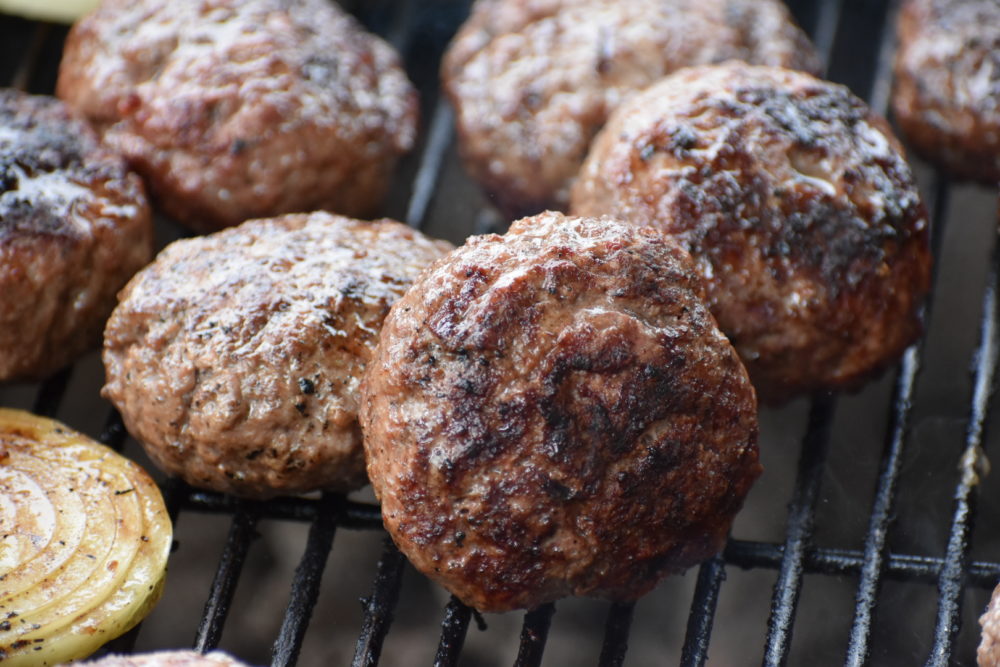
The star of the show, a classic American Hamburger. Over time I perfected what friends light-heartedly call “The Naz Burger”. It’s simple to make and a crowd pleaser. I may pride myself on the hundreds I’ve made, but the truth is anyone can make a great burger if you use good quality meat and keep the seasoning minimal. My not-so-secret-anymore secret recipe is quality beef, Worcestershire sauce, salt and pepper. That’s it. Four ingredients to bliss. 

In my opinion, a charcoal grill is best. Of course you can make burgers on any grill or even on an indoor skillet, but to capture the true essence of a good old American cookout, a smokey grilled burger is it.

Tips~

  • For maximum flavor, ideally you want meat that is composed of at least 20 percent fat.
  • Keep meat in the fridge until ready, cooking burgers cold keeps bits of fat solid, resulting in great flavor.
  • Make evenly shaped patties, ensuring one side is not thicker than the other for even cooking.
  • Creating an indentation in the center of the patty prior to cooking helps prevent bulging once on the grill. 
  • No matter what you’ve seen on TV, resist the urge to press down on the burgers with a spatula, this only spews juices on the fire, causing the burger to dry out and the flames to flare up, charring the meat. If burger is cooking too quickly, simply move to a colder side of the grill.

Ingredients
3 pounds ground chuck beef, 20% fat
3 teaspoons Worcestershire sauce
2 teaspoons kosher salt
1 1/2 teaspoons ground black pepper
6 Brioche or regular hamburger buns

Preparation

  • Start a charcoal fire or turn on your gas grill to medium-high.
  • In a large bowel, combine Worcestershire sauce, salt and pepper with meat, gently mixing all ingredients by hand. Careful not to overwork the meat.
  • Form the patties into approximate 4″-diameter, 3/4″-thick burgers, simultaneously pressing the top and the side to ensure they are not too loose. Continue rotating and cupping the meat until you’ve formed a  patty.
  • Using your thumb make small indentation in the center of the burger without going all the way through (patties will resemble donuts).
  • Place burgers on the hot grill and cook, without moving for about 3-4 minutes. Use a spatula to turn the hamburger over and cook for another 3-4 minutes for medium.
  • Remove the burgers from the grill and rest them for a few minutes while you toast the buns.
  • Top the burgers with whichever condiments and toppings that you enjoy. 

[/print_this]

The Winters of Our Lives

The Winters of Our Lives

There is a chill in the air, but I can still sense spring. The days feel longer, the birds seem chirpier, and there is a whisper of optimism in the air accompanied by hope. Can you feel it? Of course this year’s springtime aspirations are deeper than winters past, with heavy hopes of collective healing from the pandemic trauma for our global village.

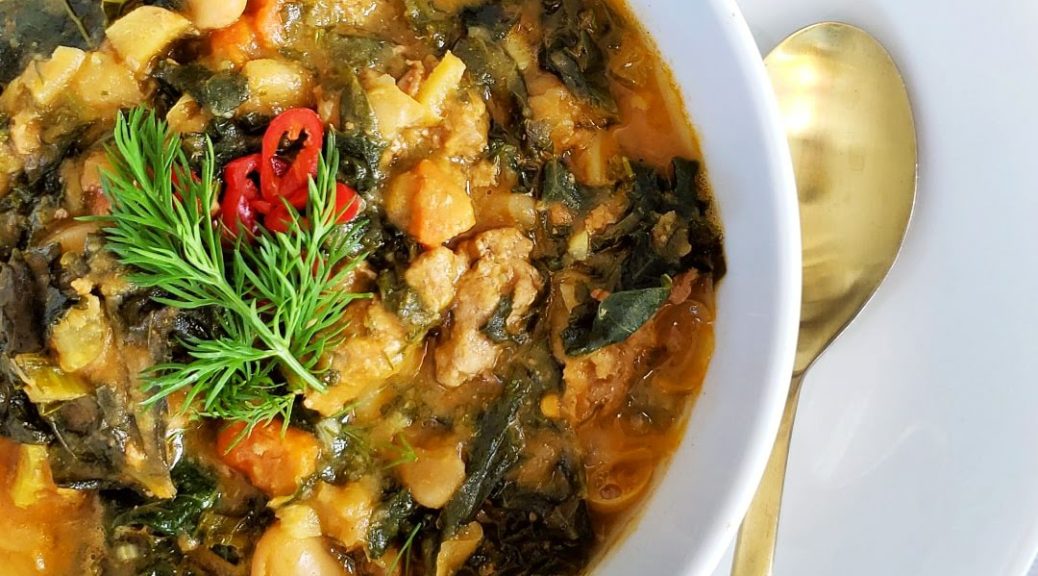
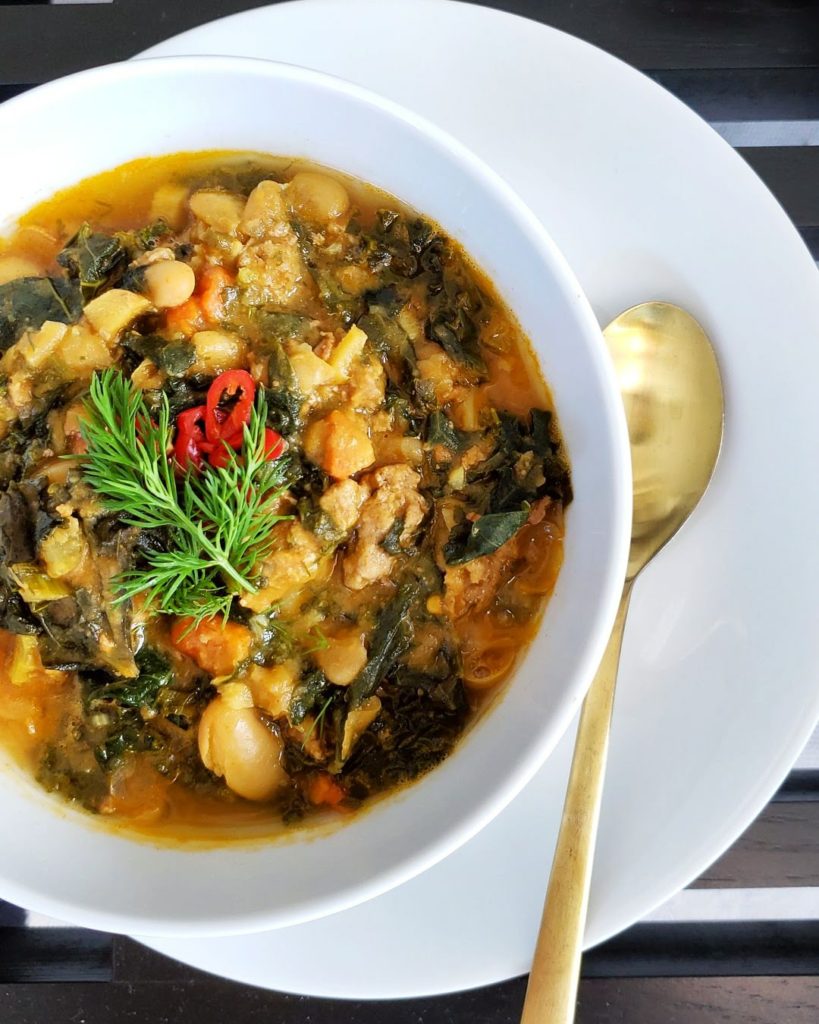
These days, this winter, I reflect often on the hibernation the pandemic has forced us into. Some, unfairly, into far more difficult circumstances than others. In these moments of quiet reflection, I cook, I read, and I listen to NPR . This New York Times Cooking recipe of Lemony beans with turkey and greens by Melissa Clark is brilliant, and perfectly warming for said cold winter nights. Recently as I cooked and listened to the soulful voice of Krista Tippett on the On Being podcast interviewing the brilliant Katherine May on her book “Wintering” and “how “wintering replenishes,” I was left in awe of this perspective. That winter is not the death of us, but a time of regeneration.

“Plants and animals don’t fight the winter; they don’t pretend it’s not happening and attempt to carry on living the same lives they did in the summer. They prepare. They adapt. They perform extraordinary acts of metamorphosis to get them through. Wintering is a time of withdrawing from the world, maximizing scant resources, carrying out acts of brutal efficiency and vanishing from sight; but that’s where the transformation occurs. Winter is not the death of the life cycle, but it’s crucible…

“…It’s a time for reflection and recuperation, for slow replenishment, for putting your house in order. Doing these deeply unfashionable things- slowing down, letting your spare time expand, getting enough sleep, resting- is a radical act now, but it’s essential.”

That winter is a necessity with rewarding opportunities for growth was a paradigm shift for this lover of nature. I had never thought of winter that way. This profound lesson from nature humbled me. So often we are taught that life and self-growth consist of a linear movement through time. I’m realizing more and more that is not the case. Life is cyclical. It has seasons. Like nature’s Spring, Summer, Autumn and Winter, so go our lives. Some winters are bigger than others, some Springs may carry more joy and better new beginnings that the ones past. But onward we go, through the winters and the seasons of our lives, hopefully learning and building new and meaningful connections along the way.

A couple of years ago we had a series of tough storms in New York. One icy storm was particularly intense and sadly took down mighty trees. We were certain the sole rose which had miraculously made it to November would not make it through the icy cold attack on the garden. But somehow it did. Once the storm had passed, it stood majestically against the blue sky, rebellious, laughing at destiny. And while the rose is only a metaphor, I love how it represented getting through the storm with beauty and grace. Even if the flower had not been there, it’s roots would have been- replenishing deep within the soil and preparing for spring.


زندگی کوچه سبزی است
میان دل و دشت
زندگی حس شکوفایی یک مزرعه در باور بذر
زندگی رسم پذیرایی از تقدیر است

Life is a green pathway.
Meandering through love and Fields and deserts.
Life, is the plantations dream of blossoming in the imagination of the seedling.
Life, is the tradition of entertaining and welcoming destiny.

Above is a poem by beloved Persian Poet Sohrab Sepehri, which I humbly attempted to translate to English. I love it’s meaning and it’s promise. It beautifully captures the notion of the constant movement of life, the power of surrending to the seasons, and the infinite potential of imagination while tending to the gardens of our inner selves.

For further discovery on Wintering: Resilience and how trees illuminate the art of self-renewal in difficult times, read this incredible piece from Brain Pickings– one of my favorite corners of the world wide web, where Maria Popova shares wisdom drawn from literature, nature, science, art, philosophy, and the various nuance of the human experience.

I know I can be sentimental, and at the risk of being too cloying I had to share my sentiments on the literal and figurative winters of our lives. I’m grateful to the creators, writers, poets, recipe developers, and podcast engineers who provide ideas to support my season of self-renewal.

While restoring the spirit and nurturing the mind, nourishing the body also helps. Homemade feel-good food is an important part of self-care. You may want to try my Chicken & Rice Soup with Glorious Garlic Chili Chips. Rich and brothy with familiar flavors of home, this is a good-for-the-soul kind of delicious soup.

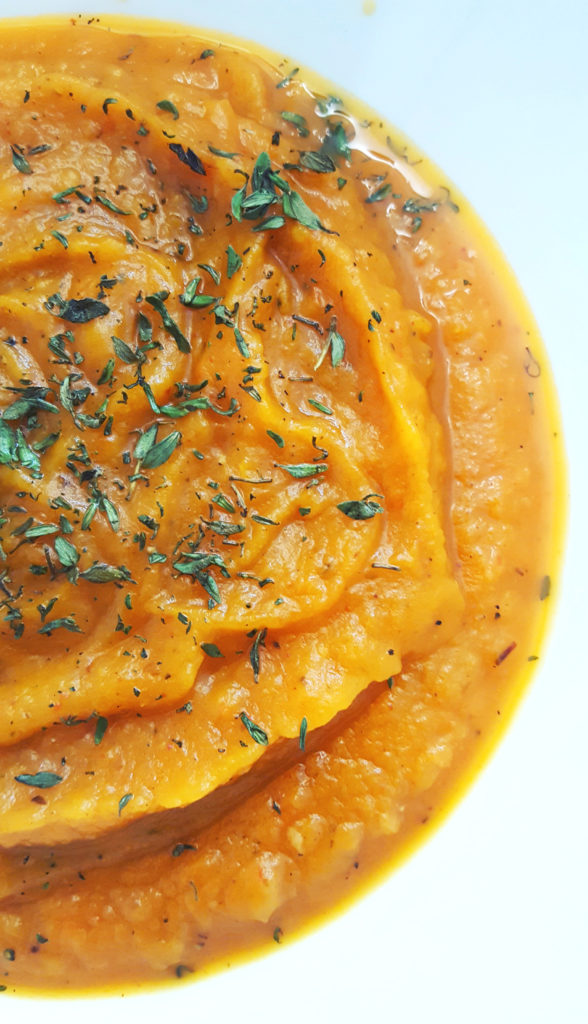
Or this creamy, dreamy butternut squash soup for a vegetarian option.

Meanwhile in the garden, Spring perseveres with it’s underground revolution…

Braised Brisket

Braised Brisket

The holidays are around the corner and although this year may be different than the rest- those of us who are fortunate enough- can still take solace in cooking a delicious meal. I’m grateful to be one with that privilege to indulge. According to the Oxford dictionary, “indulge” means to “allow oneself to enjoy the pleasure of.” I find pleasure in the simple things. Especially in a recipe which allows flavors to develop with the assistance of time.

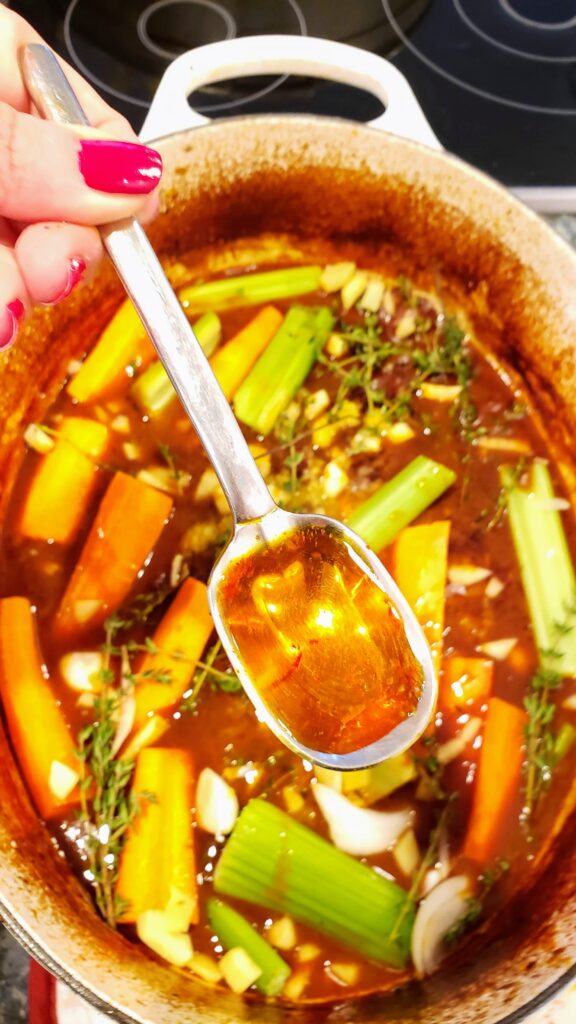
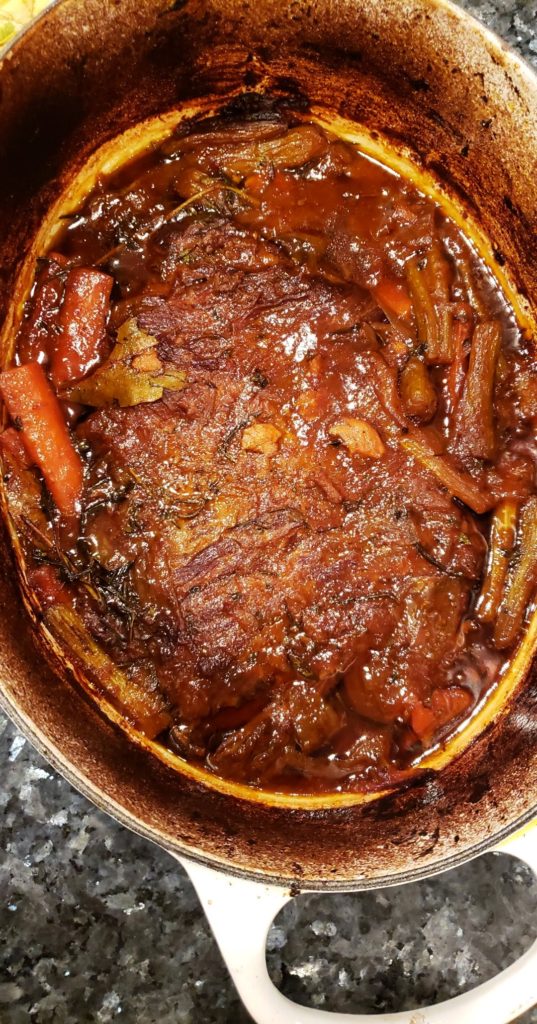
Classic brisket is one of those simple pleasures. You sear the meat. Remove it. Add veggies and aromatics. Add meat back to the pot along with your braising liquid, then let time and heat do the work. The end result is tender, deeply flavored beef which takes its character from whatever you add to the pot. Magic!

This recipe is wonderful to cook for a small gathering, it serves about around 6, with a bit of leftovers for sandwiches the next day to boot. You cans add another piece of brisket to feed a larger group. Just add enough liquid to submerge all the meat while cooking.

~Tip – Try to find second cut brisket — It has slightly more fat marbling than the lean first cut variety and results in more flavor and tenderness.

Ingredients:

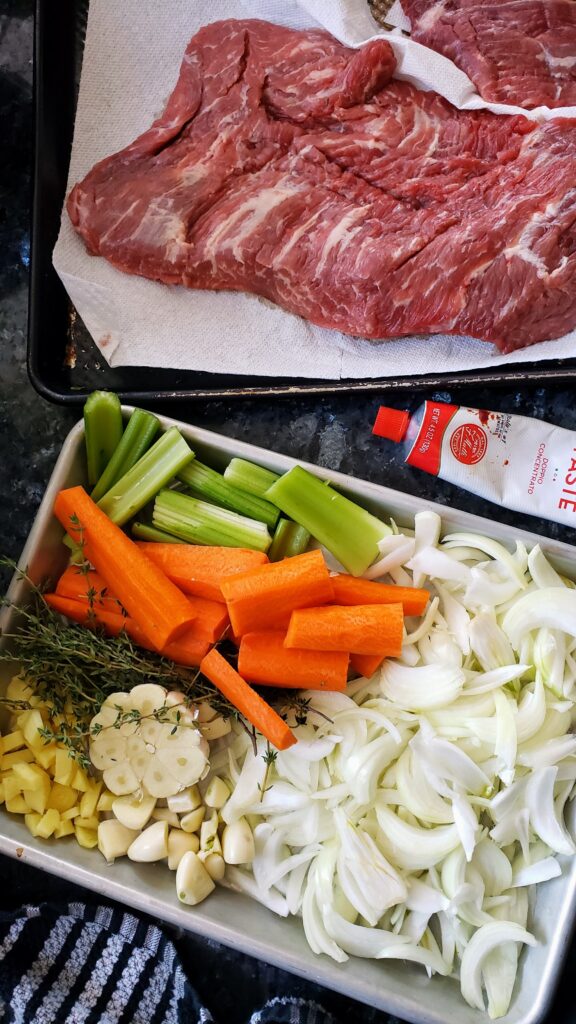
1 (5-7 pound) beef brisket, preferably second cut
3 tablespoons extra-virgin olive oil, divided
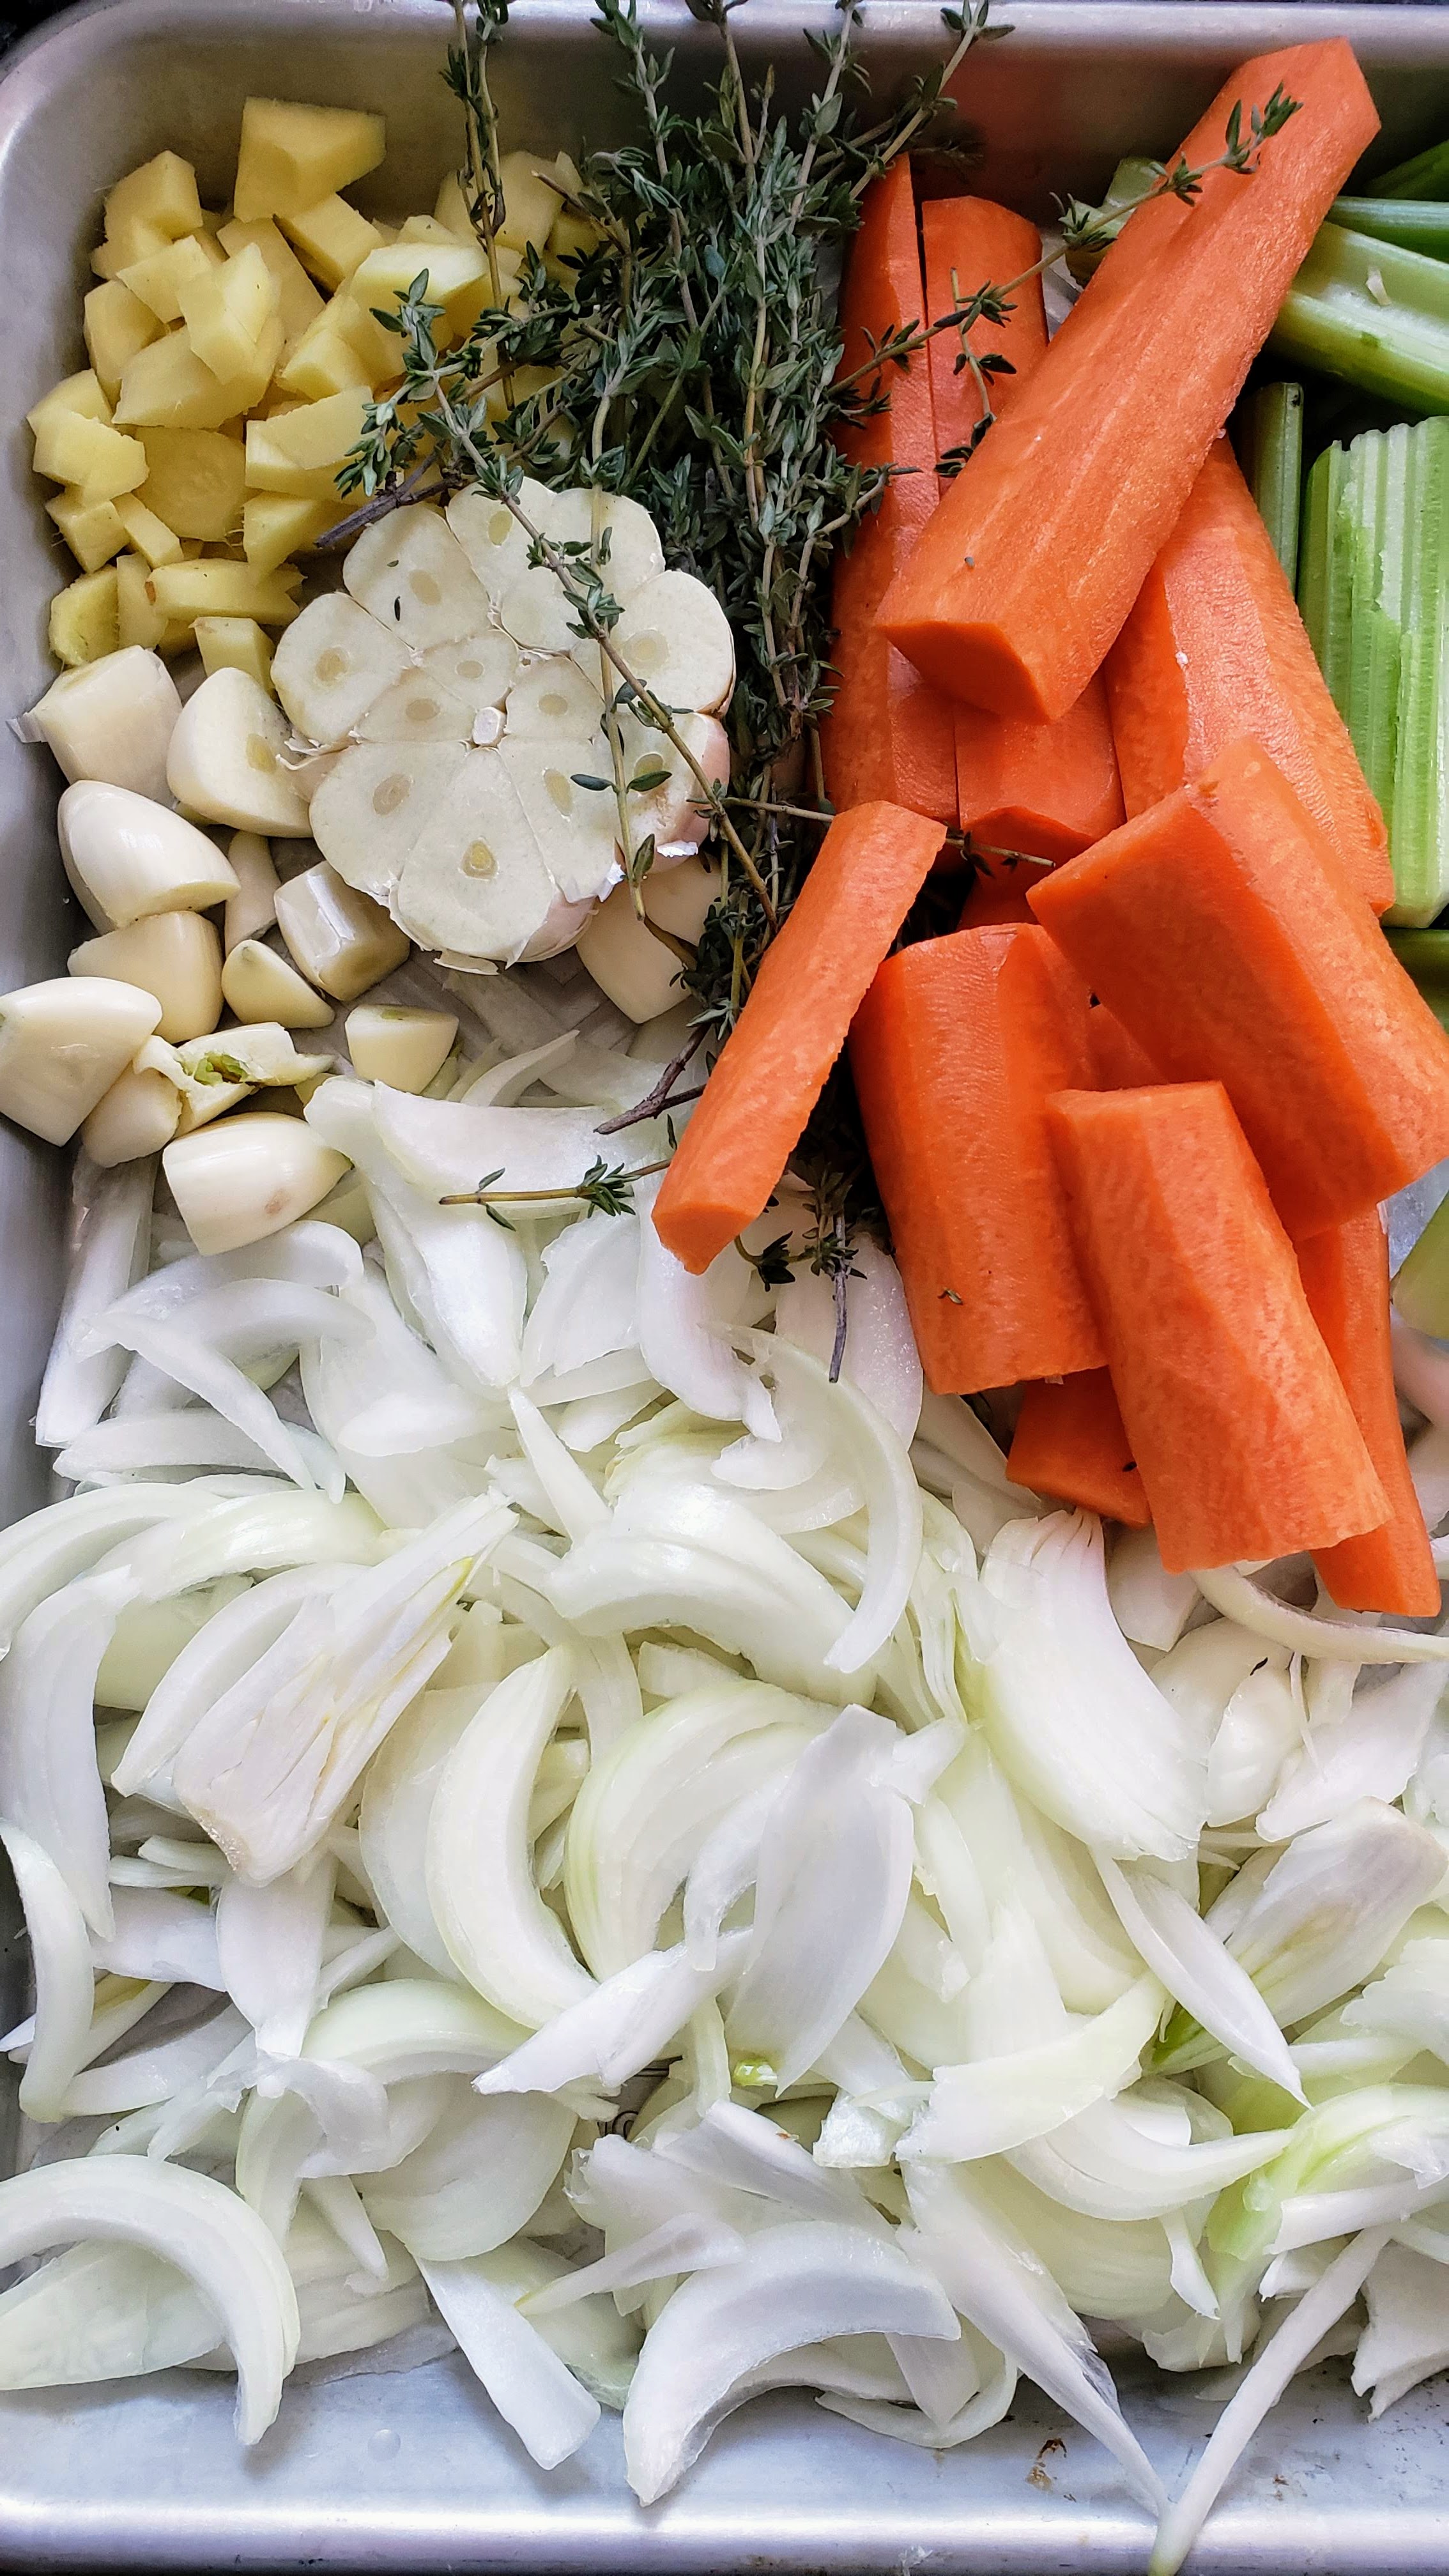
10-12 garlic cloves, smashed or an entire head of garlic with the top cut off
2 medium onions, sliced
3 medium carrots, cut into 3-inch pieces
3 celery stalks, cut into 3-inch pieces
6-8 sprigs fresh thyme
2-3 sprigs fresh rosemary
2 whole bay leaves
2 tablespoons tomato paste
5-6 cups beef stock (or chicken stock or water)

Directions:

  1. Preheat oven to 350 degrees F and adjust a rack to the lower third of the oven.
  2. Let meat stand at room temperature for 30 minutes before cooking. Pat dry with paper towels. Season generously on both sides with salt and pepper.
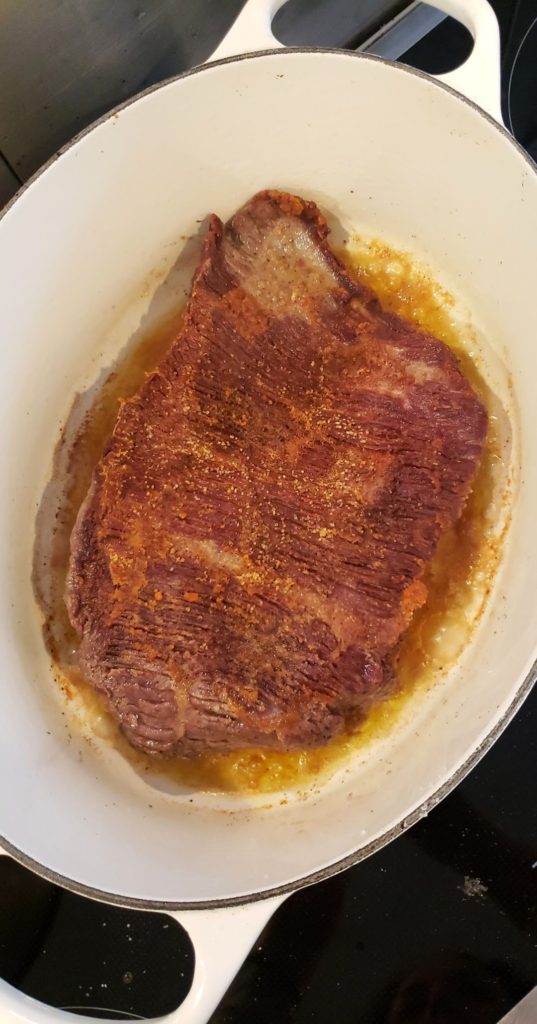
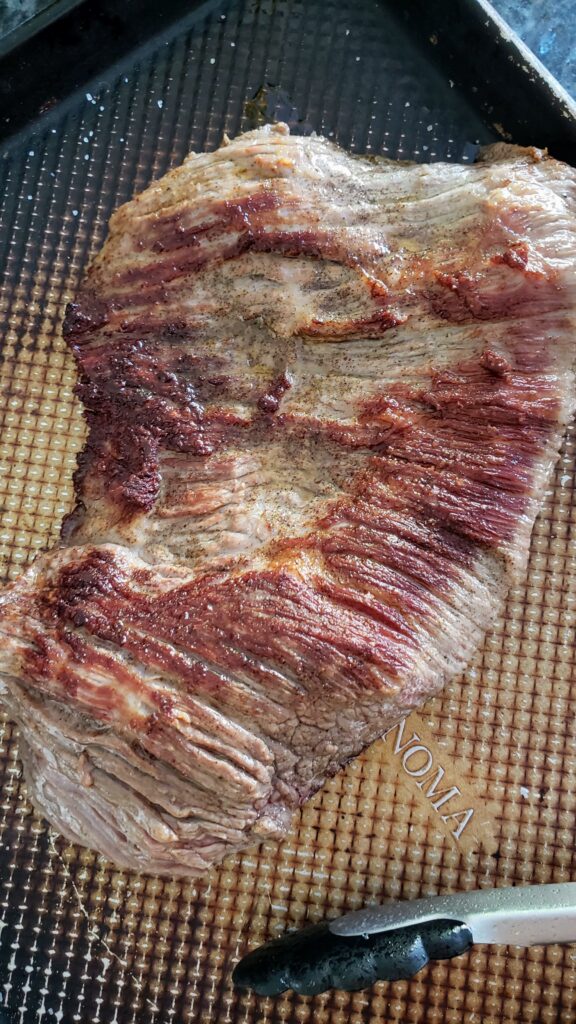
  3. Heat 2 tablespoons of the oil over medium-high heat in a large ovenproof enameled cast-iron pot or other heavy pot with a lid. Add brisket and sear, without moving, until golden walnut colored crusty brown areas appear, about 5 minutes per side. Transfer to a plate and set aside.
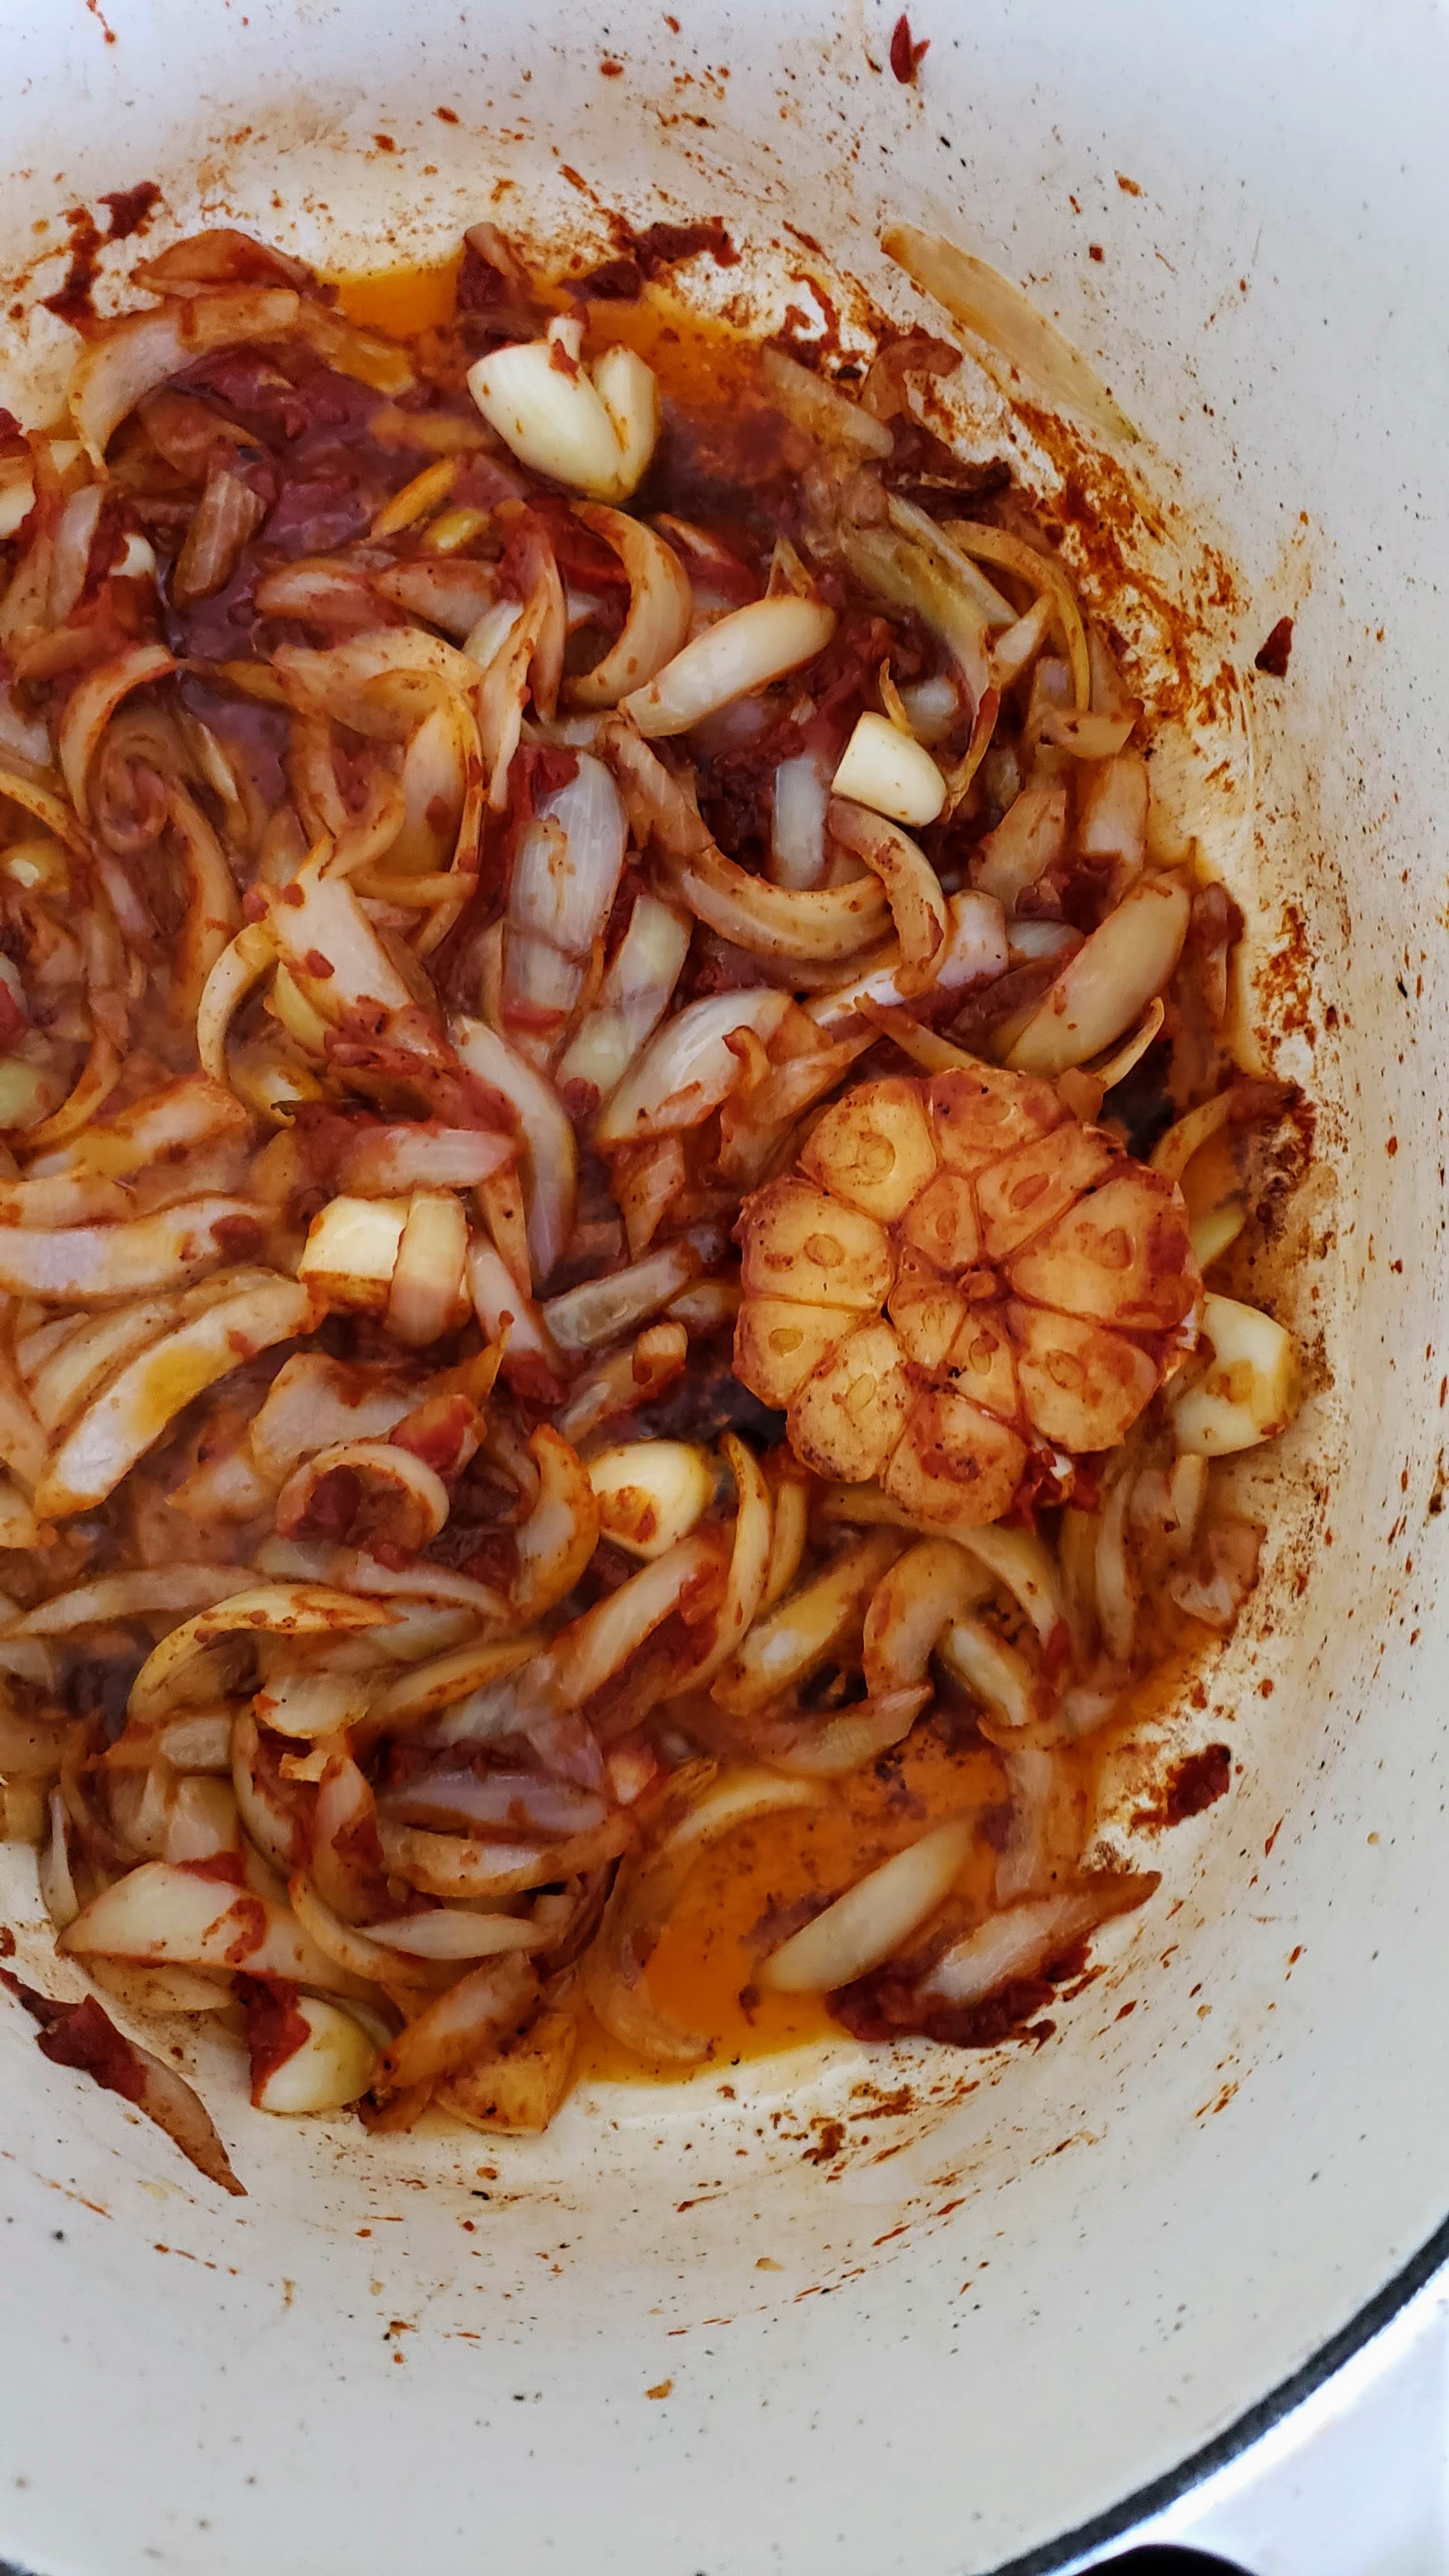
  4. Add the remaining 1 tablespoon of oil, garlic, onions, carrots, celery, thyme, rosemary and bay leaves to the pot. Sauté for approximately 5 minutes until unions have softened but not caramelized.
  5. Stir in tomato paste and cook for 2 more minutes.
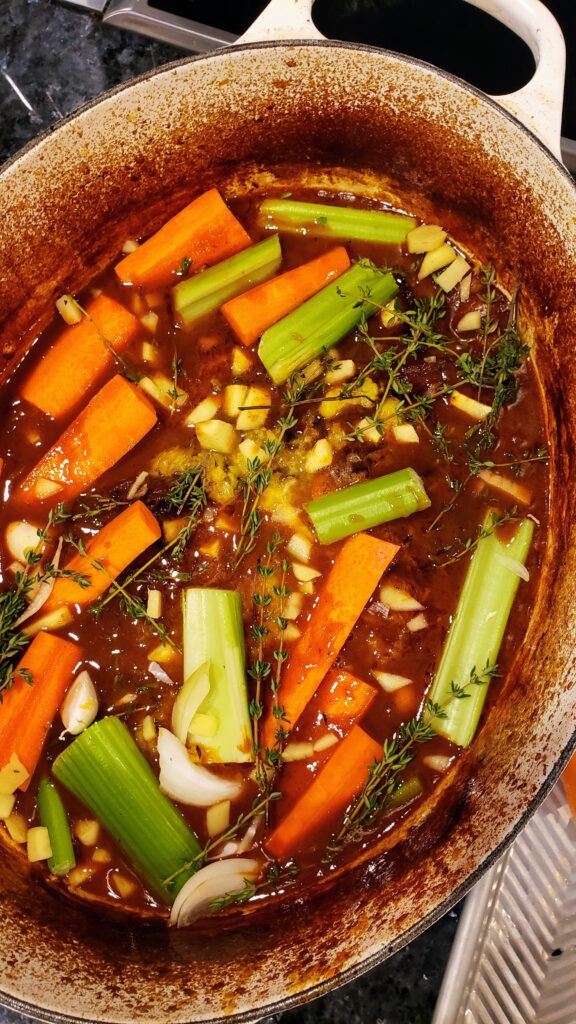
  6. Add stock and bring to a gentle simmer, scraping up any brown bits stuck to the bottom of the pan with a wooden spoon.
  7. Place the brisket back in the pot, cover and place in the oven.
  8. After 3 hours, remove the lid from the pot and continue cooking uncovered so some of the liquid can evaporate and sauce can thicken. Continue braising for about 1 hour more, or until the brisket is fork tender. If the sauce starts to get too thick before the meat is tender, cover the pot again.
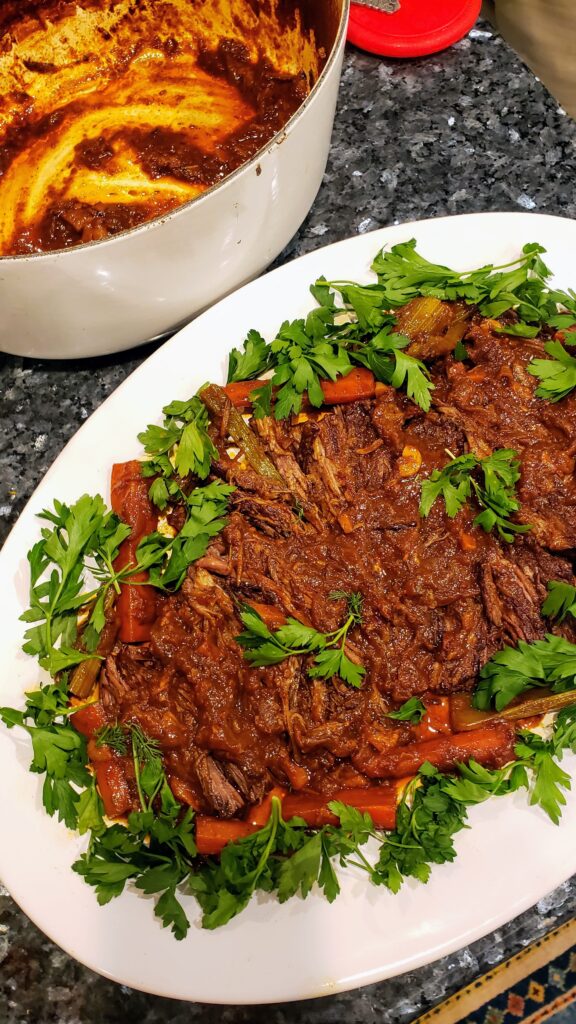
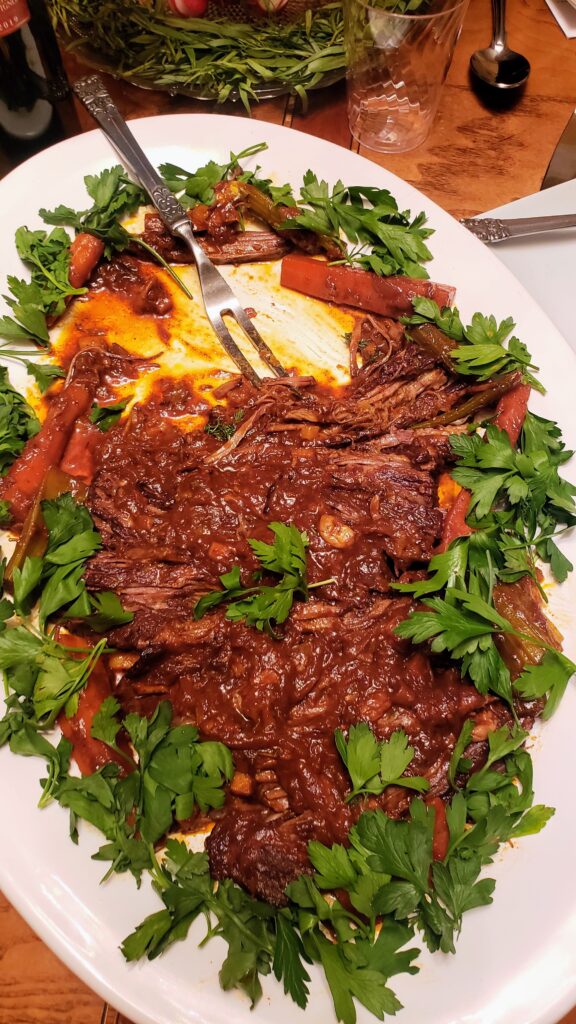
  9. Remove from oven and transfer meat to a cutting board; cover loosely with aluminum foil and let rest 15- 20 minutes before slicing against the grain into thick slices. Arrange sliced meat on a serving platter.
  10. Discard rosemary, thyme and bay leaves from the sauce. Using a slotted spoon, remove vegetables and arrange around the brisket. Spoon desired amount of pan juices over the brisket and serve.
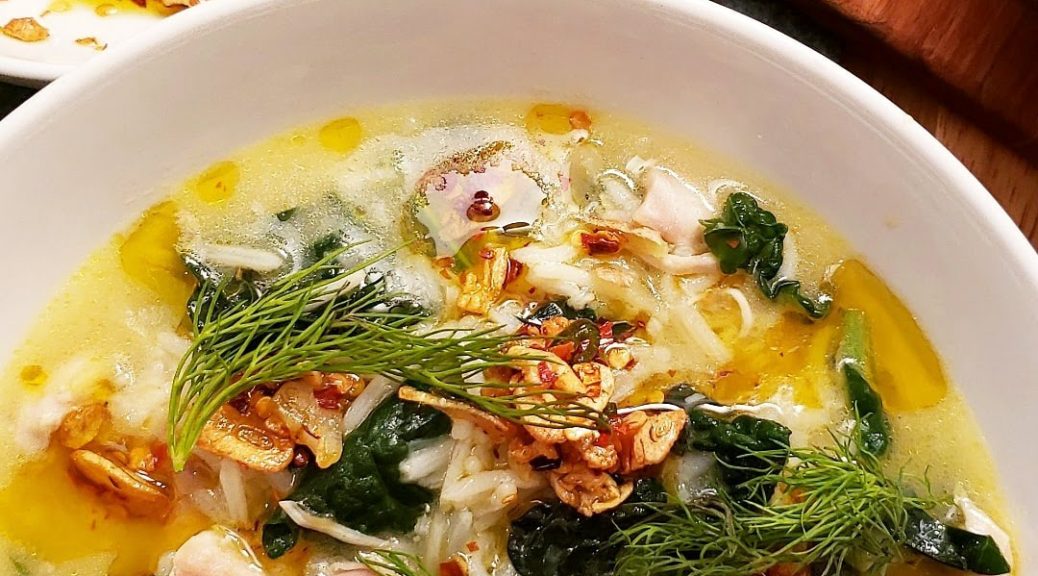
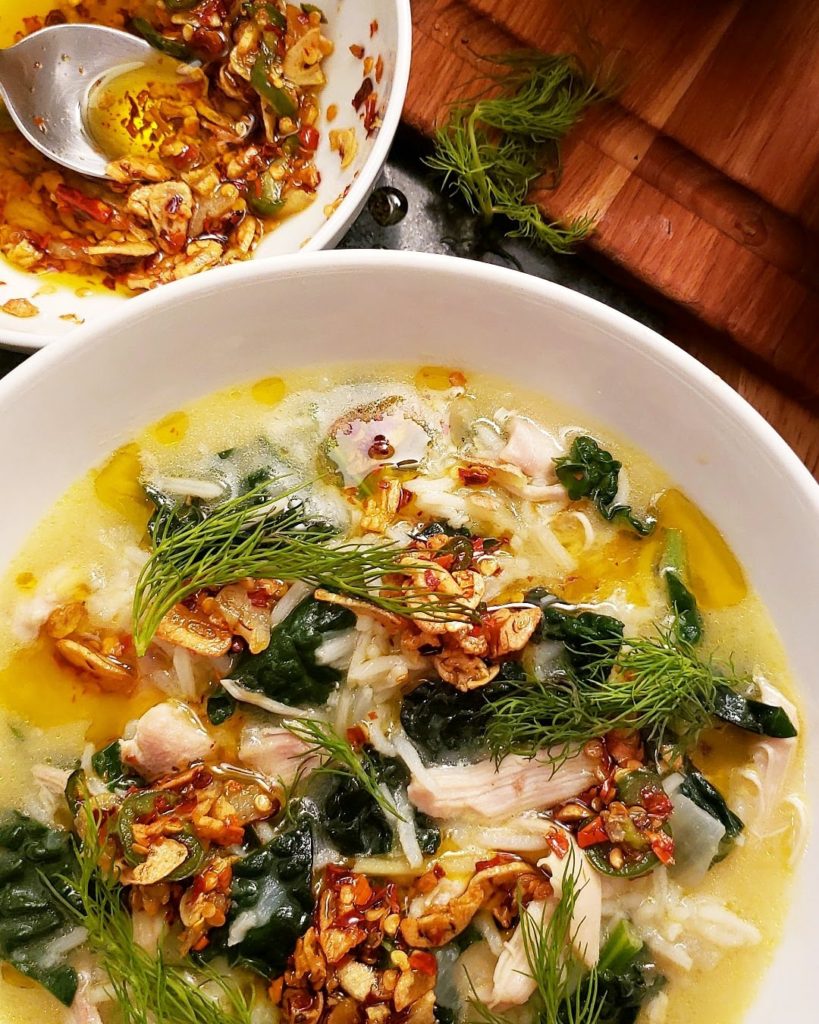
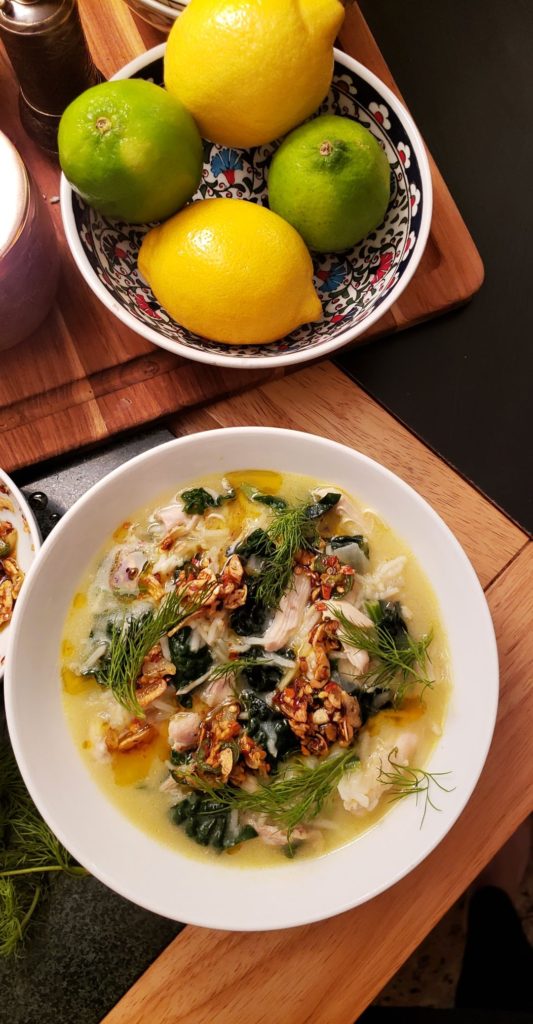
Chicken & Rice Soup with Glorious Garlic Chile Chips

Chicken & Rice Soup with Glorious Garlic Chile Chips

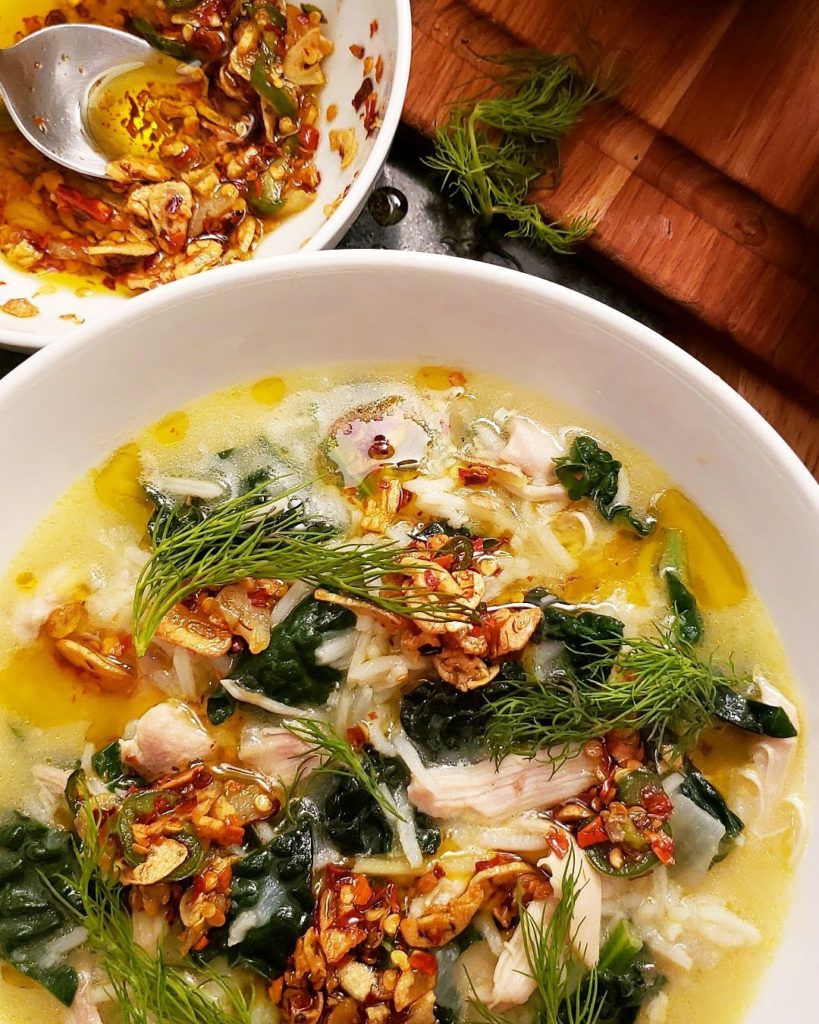
Rich and brothy with familiar flavors of home, this is a good-for-the-soul kind of delicious soup. It’s a simple and comforting recipe that I go back to repeatedly- a personal favorite which I’m excited to share with you.

This recipe is chicken soup for the soul. Earthy, filling and nutritious, it tastes like home. Like something grandma made. The soup has body and richness. And the finishing drizzle of chile oil with garlic chips will make your taste buds dance!

The flavor combination of ginger and dill is unique, and equally heavenly. The union of all the other ingredients create several layers of flavor. It starts with the punch of the sweet and spicy garlic chili chips in the first spoonful. Hello! A delightful top note, followed by the heart of the flavor accomplished by the unique harmony of ginger and dill. Finally, the lasting base notes of the magic created by the marriage of chicken and rice. All of the flavors thrive on this foundation of flavor, resulting in something great.

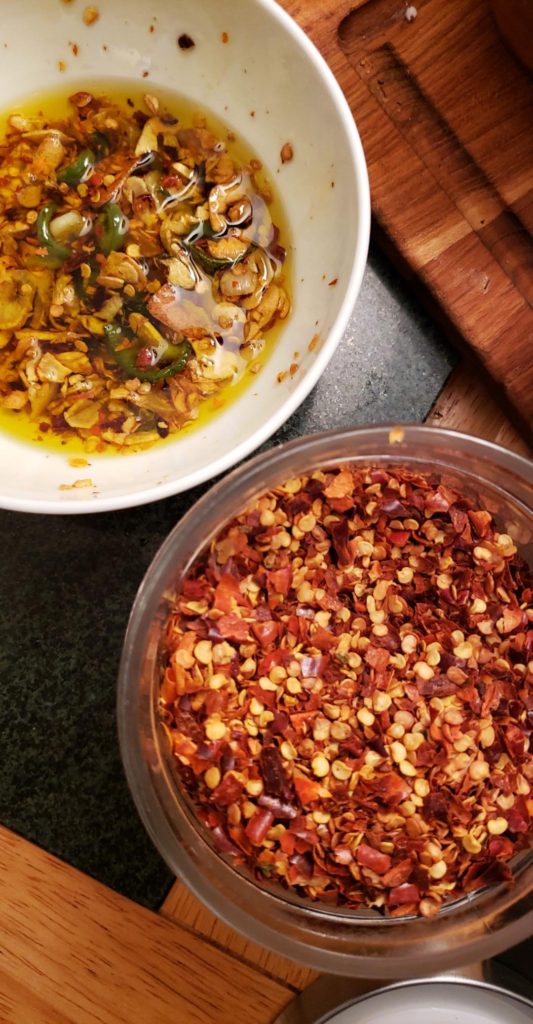
This soup is nutrient-rich- garlic, onion, ginger, kale, broth, and dopamine-spiking garlic chile oil. The garlic chips take a simple soup to an entirely new level. The aroma and textural contrast of the garlic gives complexity to the soup while the heat balances with the otherwise mellow flavor of the stock made velvety by the natural starches of rice. It is garliky, but, I love that, and hope you enjoy it as much as I do. Fair warming, its addicting and you may find yourself coming back to it over and over again too.

“Only the pure of heart can make good soup” — Beethoven


INGREDIENTS

  • 8-10 garlic cloves, thinly sliced
  • 3 tsp. crushed red chile flakes (adjust to taste)
  • 1/3 cup extra virgin olive oil
  • 1 large white or yellow onion, chopped
  • 4-5 inches fresh ginger, chopped
  • 1 cup white rice, preferably basmati for added aroma
  • 1 1/2 – 2 pounds skinless, boneless chicken thighs
  • 3-4 big handfuls kale or spinach
  • 8 cups water, chicken or vegetable stock
  • 1 lemon
  • Handful of fresh dill
  • 2 tsp. kosher salt

    ~Note this is a large batch soup which makes about 8 servings. Opt for a half recipe if you desire a smaller portion. I like to make a big pot, enjoy it for dinner and have leftovers for a couple of days after. You can also adjust the heat levels and reduce chili flakes for less spicy results.

INSTRUCTIONS

  1. Wash basmati rice 2-3 times until the water runs clear. Prep your veggies.
  2. For the garlic chile chips- Heat 1/3 cup olive oil to medium-low heat in the same large pot you’ll be making the soup in. Add garlic, stirring often, until light golden brown, 3–5 minutes. Pay attention to avoid burning garlic (it can happen fast!). Garlic will continue to cook in the hot oil after removing from the pan. Transfer to a bowl, leaving a bit of oil in the pot. Stir 2 tsp. crushed red pepper flakes into garlic oil and set aside.
  3. Add ginger and onion to oil remaining in the pan. Add a bit more oil if pan is dry. Stirring occasionally, cook over medium heat, until onion is a light golden brown, 4-5 minutes. The kitchen will smell heavenly at this point.
  4. Pour your cooking liquid of choice into the pot. Add chicken thighs, rice and 1 teaspoon of salt to the cooking liquid and bring to boil. Then lower to a temperature to maintain a gentle simmer.
  5. Cover the pan partially and cook for about 15-20 minutes until chicken is cooked through.
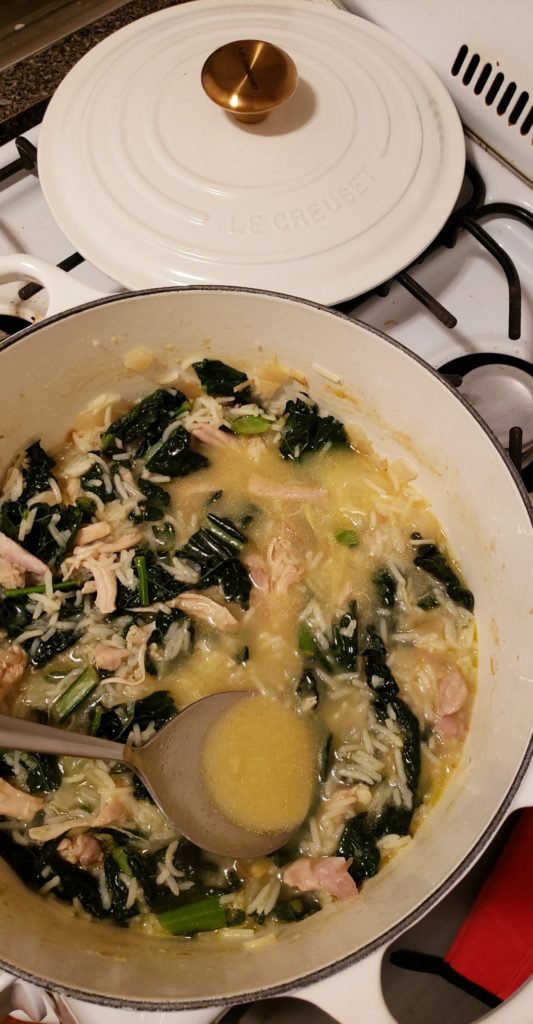
  6. Once chicken is cooked through, transfer to a plate and shred the meat using two forks. In the meantime keep simmering soup uncovered to continue building flavor. The natural starch of the rice beautifully thicken the broth for silky and full bodied richness.
  7. Add shredded chicken back into the pot. Follow with adding a few generous handfuls of chopped kale into the liquid. Be even more generous if using spinach and stir to mix all ingredients. It will look like a lot of greens but they wilt down quickly.
  8. At this point add more broth or water if liquid has reduced too much. You can adjust based on the desired consistency you want. I prefer soup to be dense (not watery) for a rich end result.
  9. Continue to simmer, stirring occasionally, until liquid is reduced to the desired thickness, 4-5 minutes.
  10. Finally give the soup a nice squeeze of fresh lemon juice  and season to taste with more salt if needed. Stir to combine.
  11. Serve soup in bowls, drizzle with garlic-chile chips and fresh dill (it’s heavenly and “dill-licious,” trust me!).