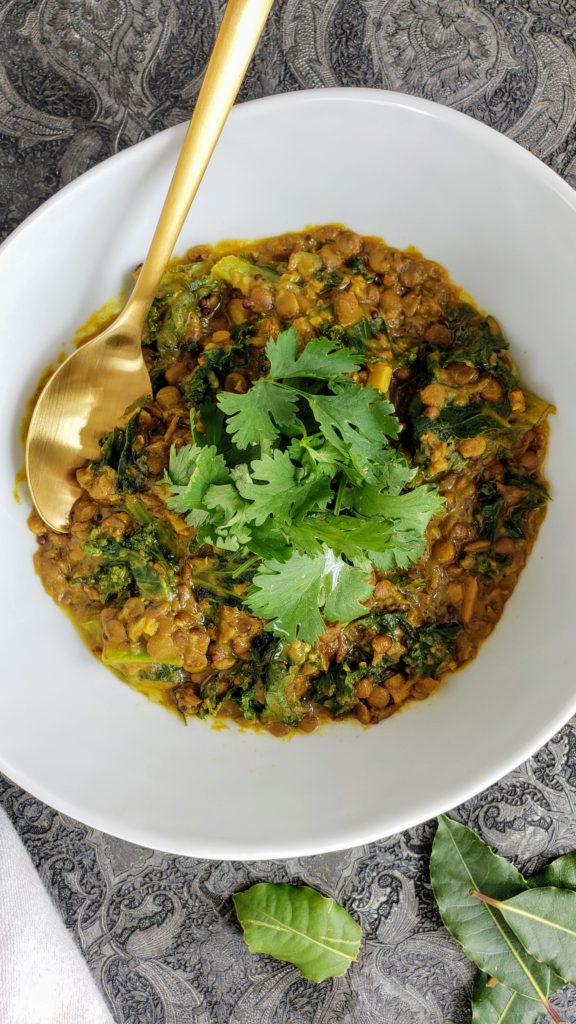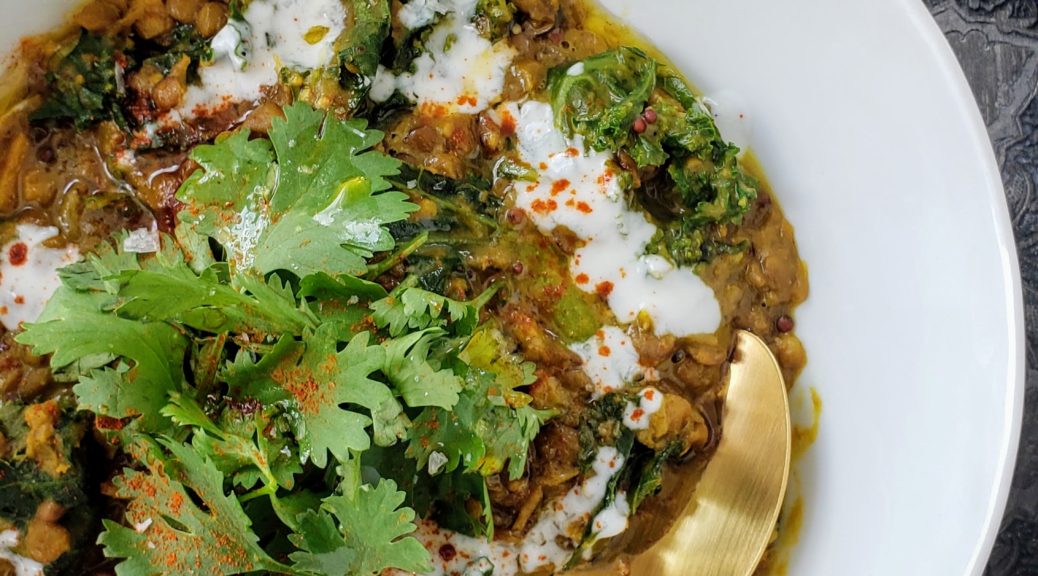
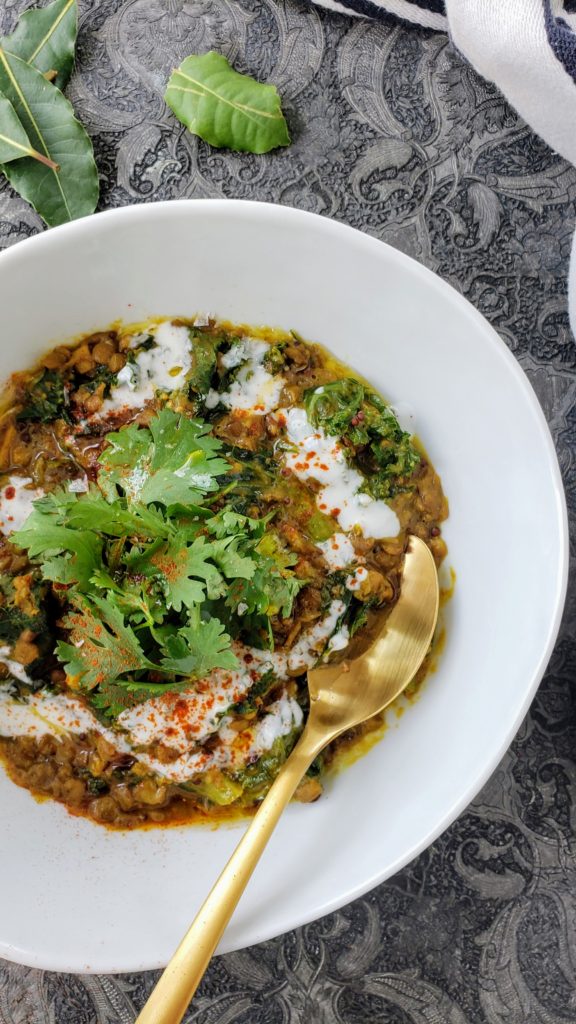
Curried Lentils with Kale, Ginger and Spices
Fall is flirting with us and slightly cooler evenings summon cravings for cozy dinners. There is still time to enjoy heirloom tomatoes and summer bounties ripe with flavor from the local farmer’s markets- but a hearty pot of curried lentils is a delightfully delicious and vegetarian dinner any time of year.
Lentils are a versatile blank canvas to build flavor upon. Here, creamy coconut milk, copious amounts of ginger and a medley of aromatic spices adorn the lentils. A nutritious and fragrant one-pot wonder perfumed by coriander, cumin and turmeric, and dramatized by heat from cayenne pepper and ginger, all of which is somewhat mellowed out by the handfuls of fresh kale added at the end. All of these flavors harmoniously come together in the luscious and slightly sweet coconut milk for a satisfying meal. It’s a forgiving recipe so feel free to play with your favorite spices, adjust the heat levels and substitute kale with spinach.
~Tip:
*This recipe holds up well for 2-3 days in the fridge hence why the big-batch volume. It feeds 6-8 servings so feel free to cut the recipe in half for smaller portions. But the leftovers are even better the next day so we recommend making a full pot and enjoying it for several days.
* The recipe uses 2 different kinds of lentils for added texture. Green lentils have a harder exterior and take longer to cook but hold their shape better. Brown lentils are softer and will become more mashed during cooking. You can use either individually, or combine as the recipe indicates for textural contrast. Just make sure you cook long enough so the green lentils have cooked through.
Ingredients-
2 tablespoons olive oil, plus more if needed
1 large yellow onion, chopped
6-8 garlic cloves, minced
4-6 inch ginger knob, finely chopped
1 tablespoon brown mustard seeds
1 tablespoon ground turmeric
2 teaspoon ground coriander
2 teaspoon ground cumin
1 teaspoon cayenne pepper, adjust to taste
1 cup brown lentils
1 cup green lentils
8 cups water
2-3 bay leaves
1-2 small red chilies, finely chopped (optional)
1, 13.5-ounce can unsweetened coconut milk
5-6 full handfuls roughly chopped kale, or spinach
Juice of 1 lemon
1 teaspoon sea salt, plus more if needed
Fresh ground black pepper to taste
Fresh Cilantro for garnish (optional)
Kefir or Greek Yogurt for serving (optional)
Preparation-
- Heat 2 tablespoons olive oil in a large pot over medium heat, stirring occasionally for 2-3 minutes until fragrant.
- Add the garlic and ginger, season with salt and pepper and saute for another 2-3 minutes until onion has softened and is just beginning to color. Add more oil if needed an lower the heat to ensure garlic doesn’t burn.
- Stir in the mustard seeds, turmeric, coriander, cumin and cayenne pepper. Cook, stirring often, until fragrant, about 1 minute.
- Add the lentils, water, chili pepper, bay leaves and 1 teaspoon salt, then bring to a gentle boil.
- Reduce to medium-low, cover and simmer, stirring occasionally, until the lentils have cooked through and most of the water has evaporated, about 30-40 minutes.
- Once the lentils have cooked add the coconut milk and mix to combine. Follow by adding the kale to the pot. It may seem like a lot but the kale will whilt down quickly.
- Season with lemon juice, more salt and pepper, adjusting to taste as desired.
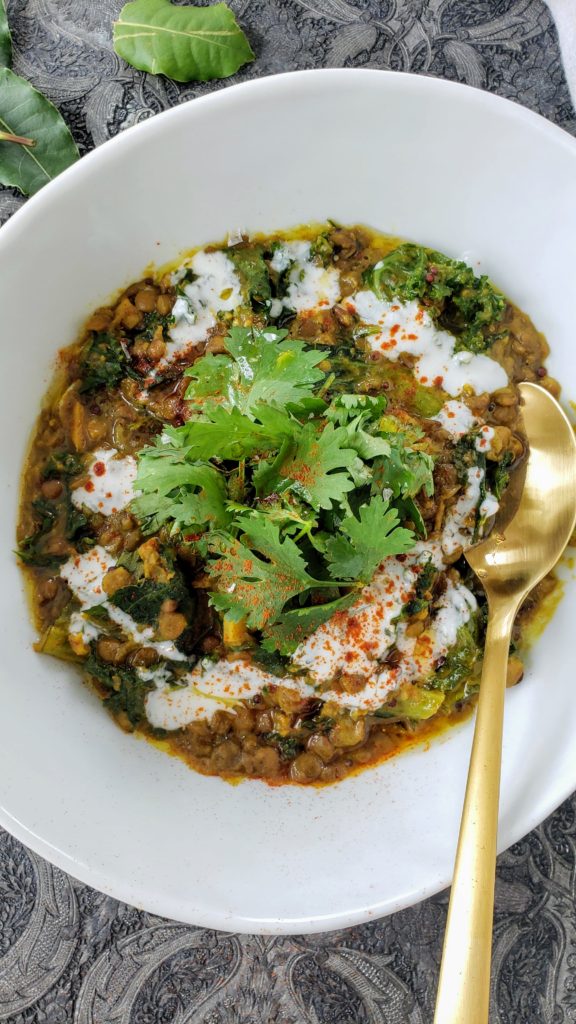
- Served with fresh cilantro and a drizzle of kefir and olive oil, if using, and enjoy.