Browsed by
Tag: simple and delicious

Classic Roast Chicken

Classic Roast Chicken

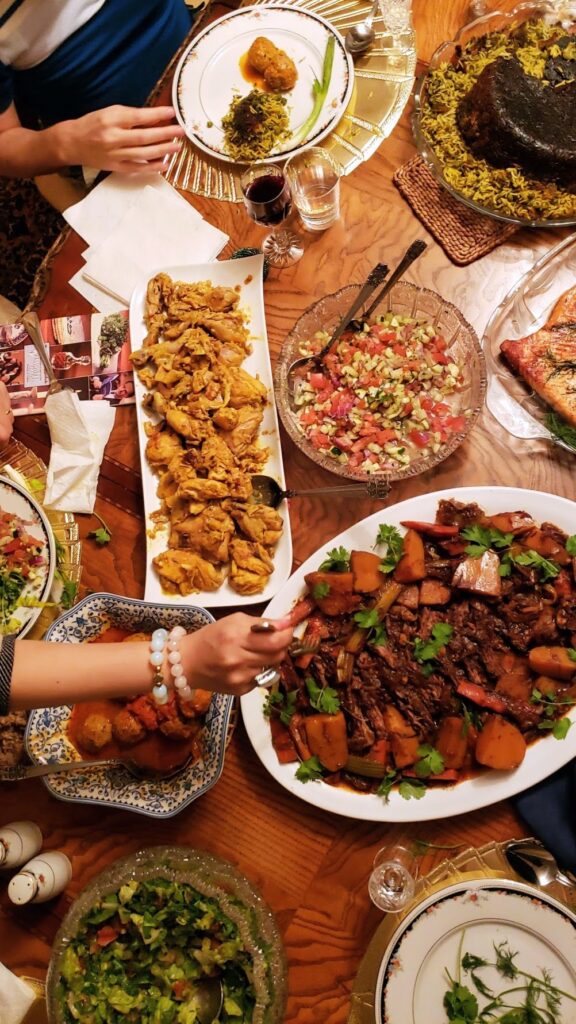
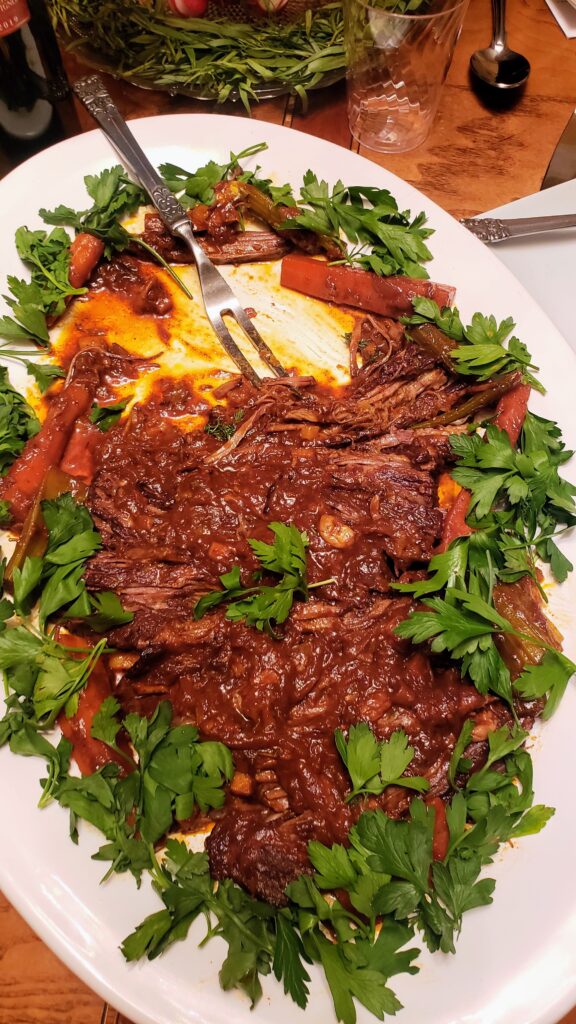
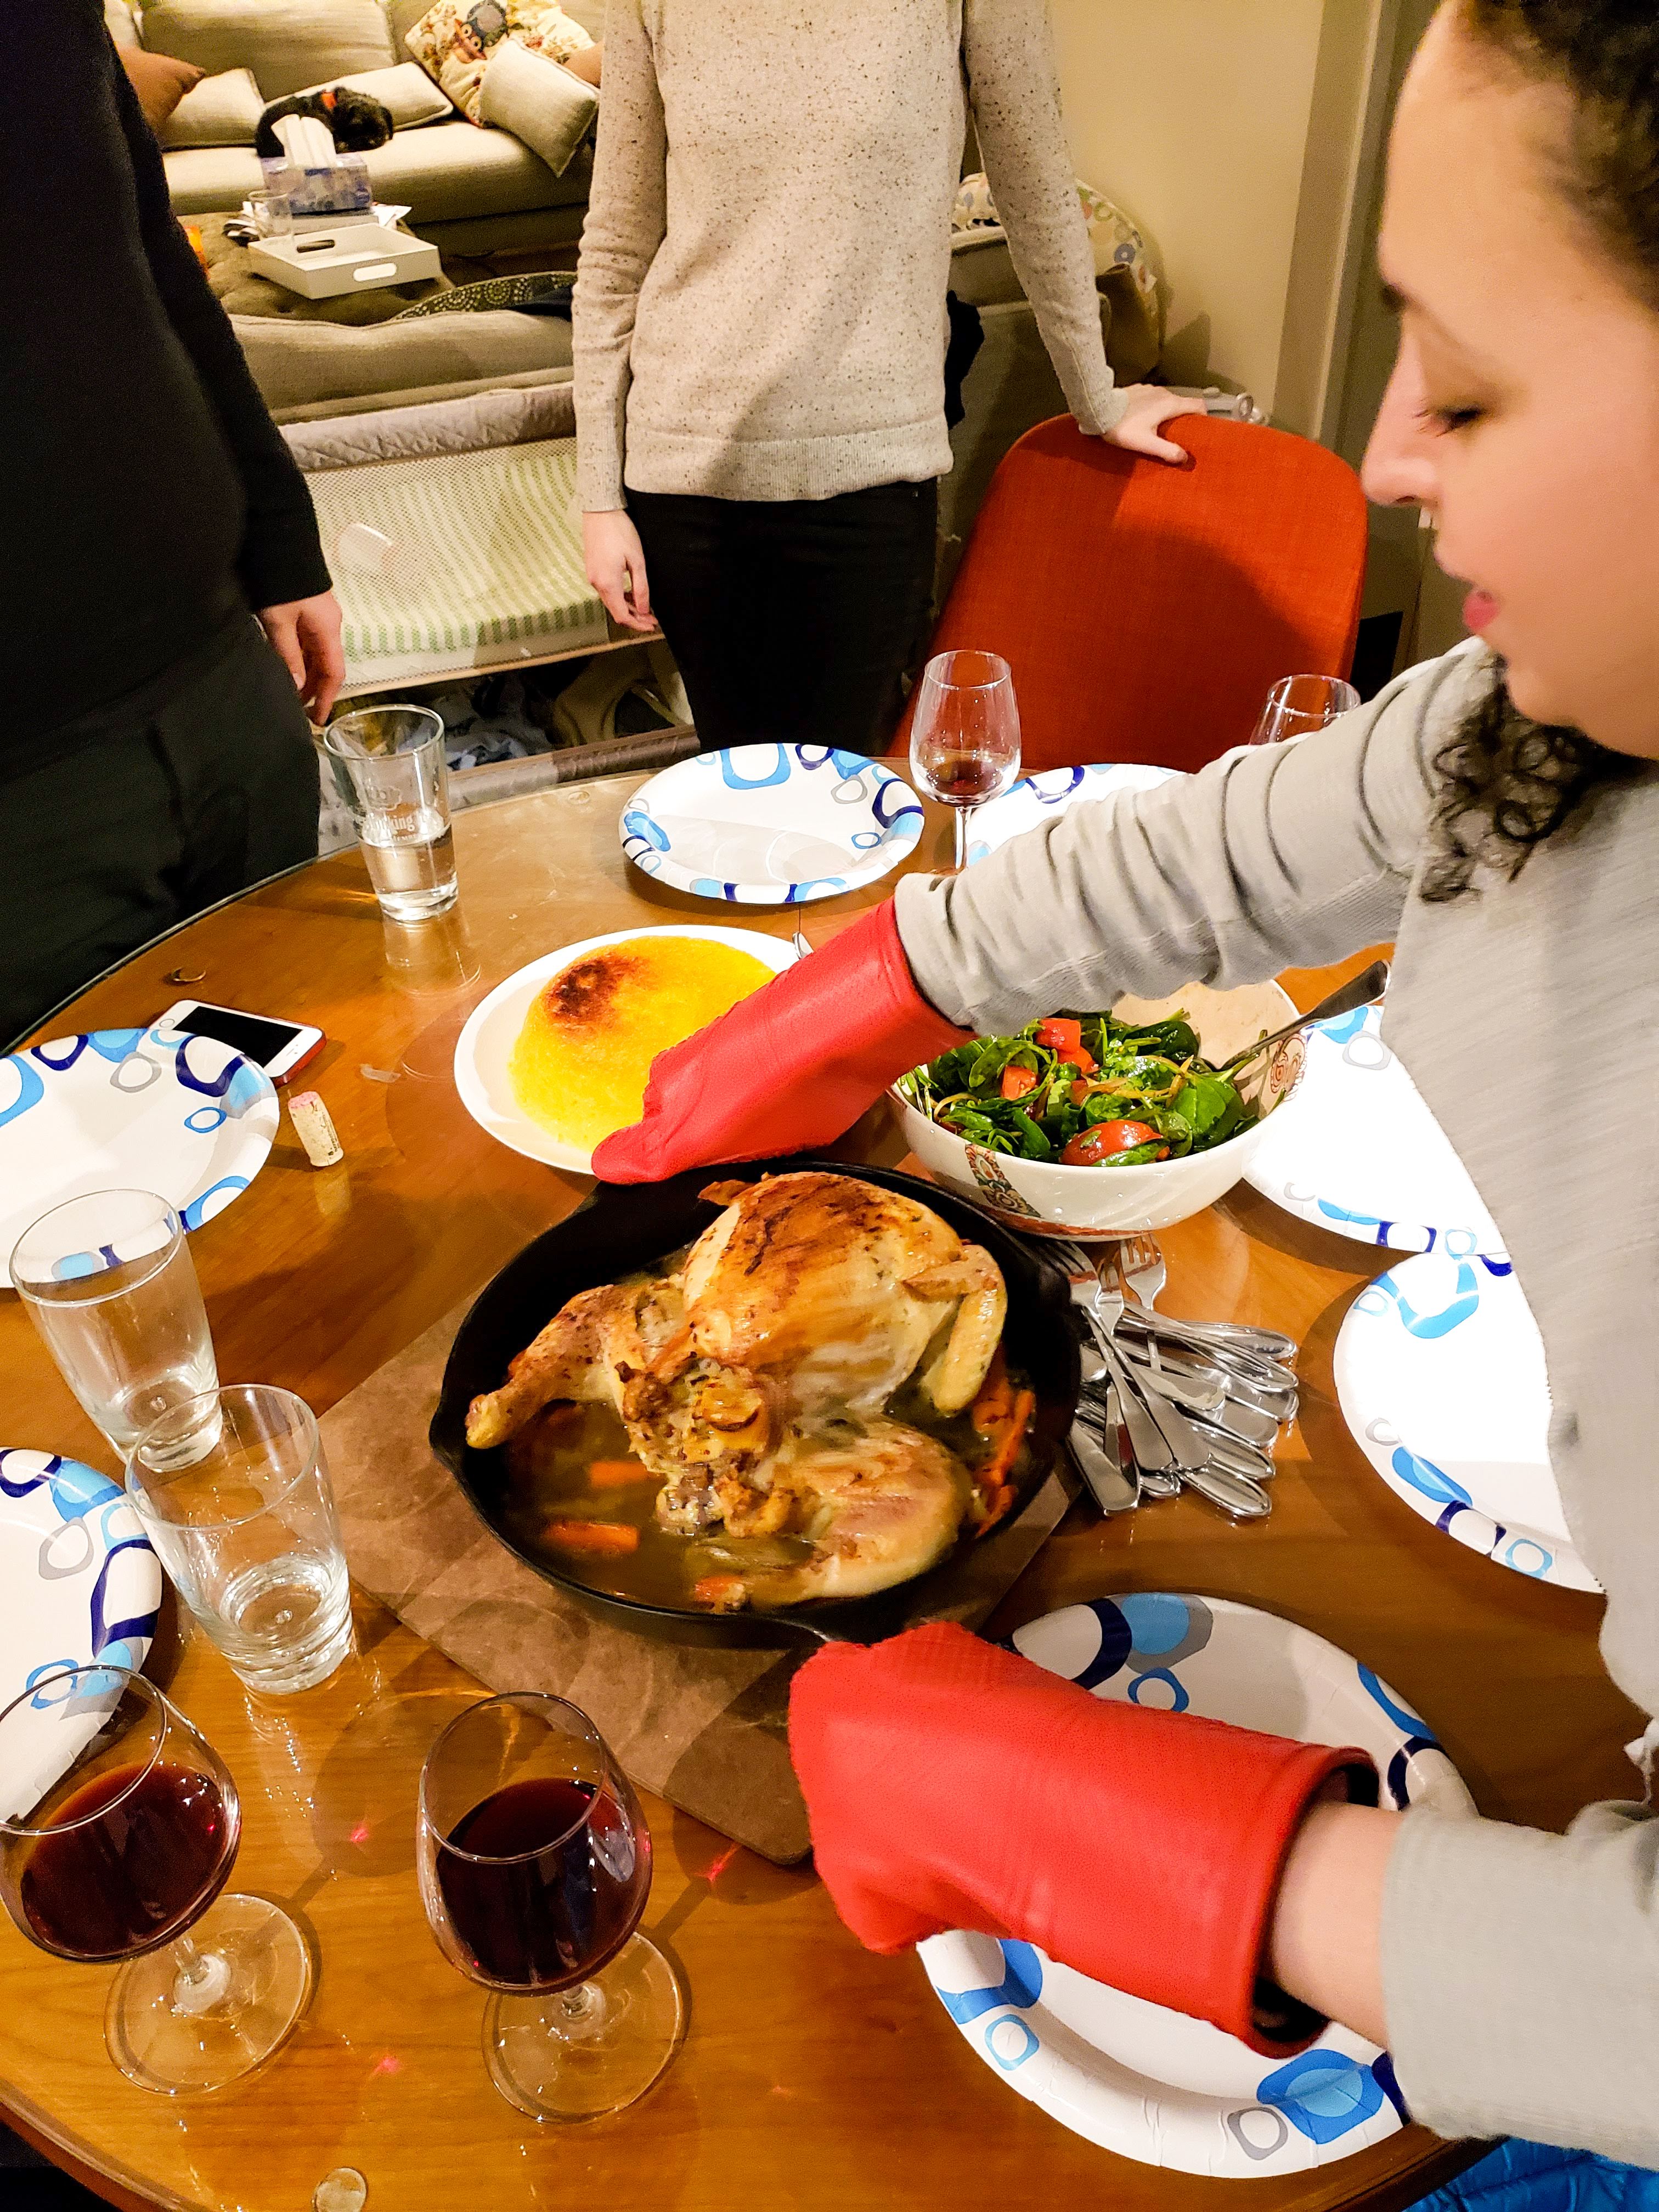
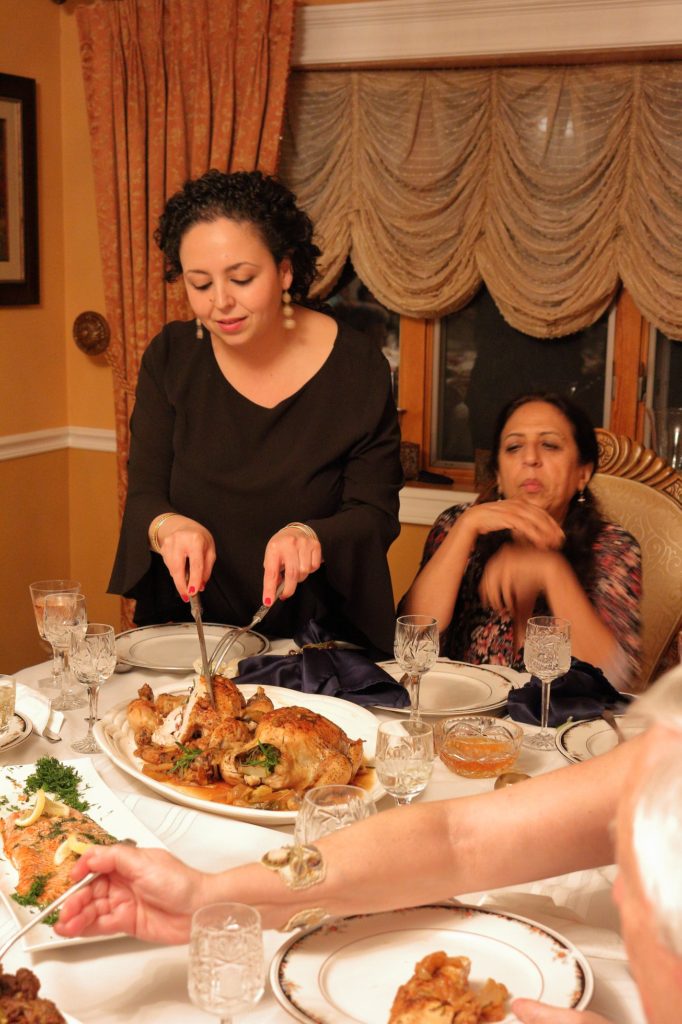
Fall is fully upon us and with that comes a desire for warming roasts and slow cooked hearty dishes. The days are shorter, temperatures cooler, and we crave comfort. The truth is chicken roasted in the oven, in the endless iterations it can be prepared, is good all year round. It’s a dish synonymous with home cooking and perhaps the one dish I’ve share most with loved ones. From family feasts to fabulous fetes with friends, a golden roasted bird is always a win. Either prepared simply or adorned with vegetables and aromatics.

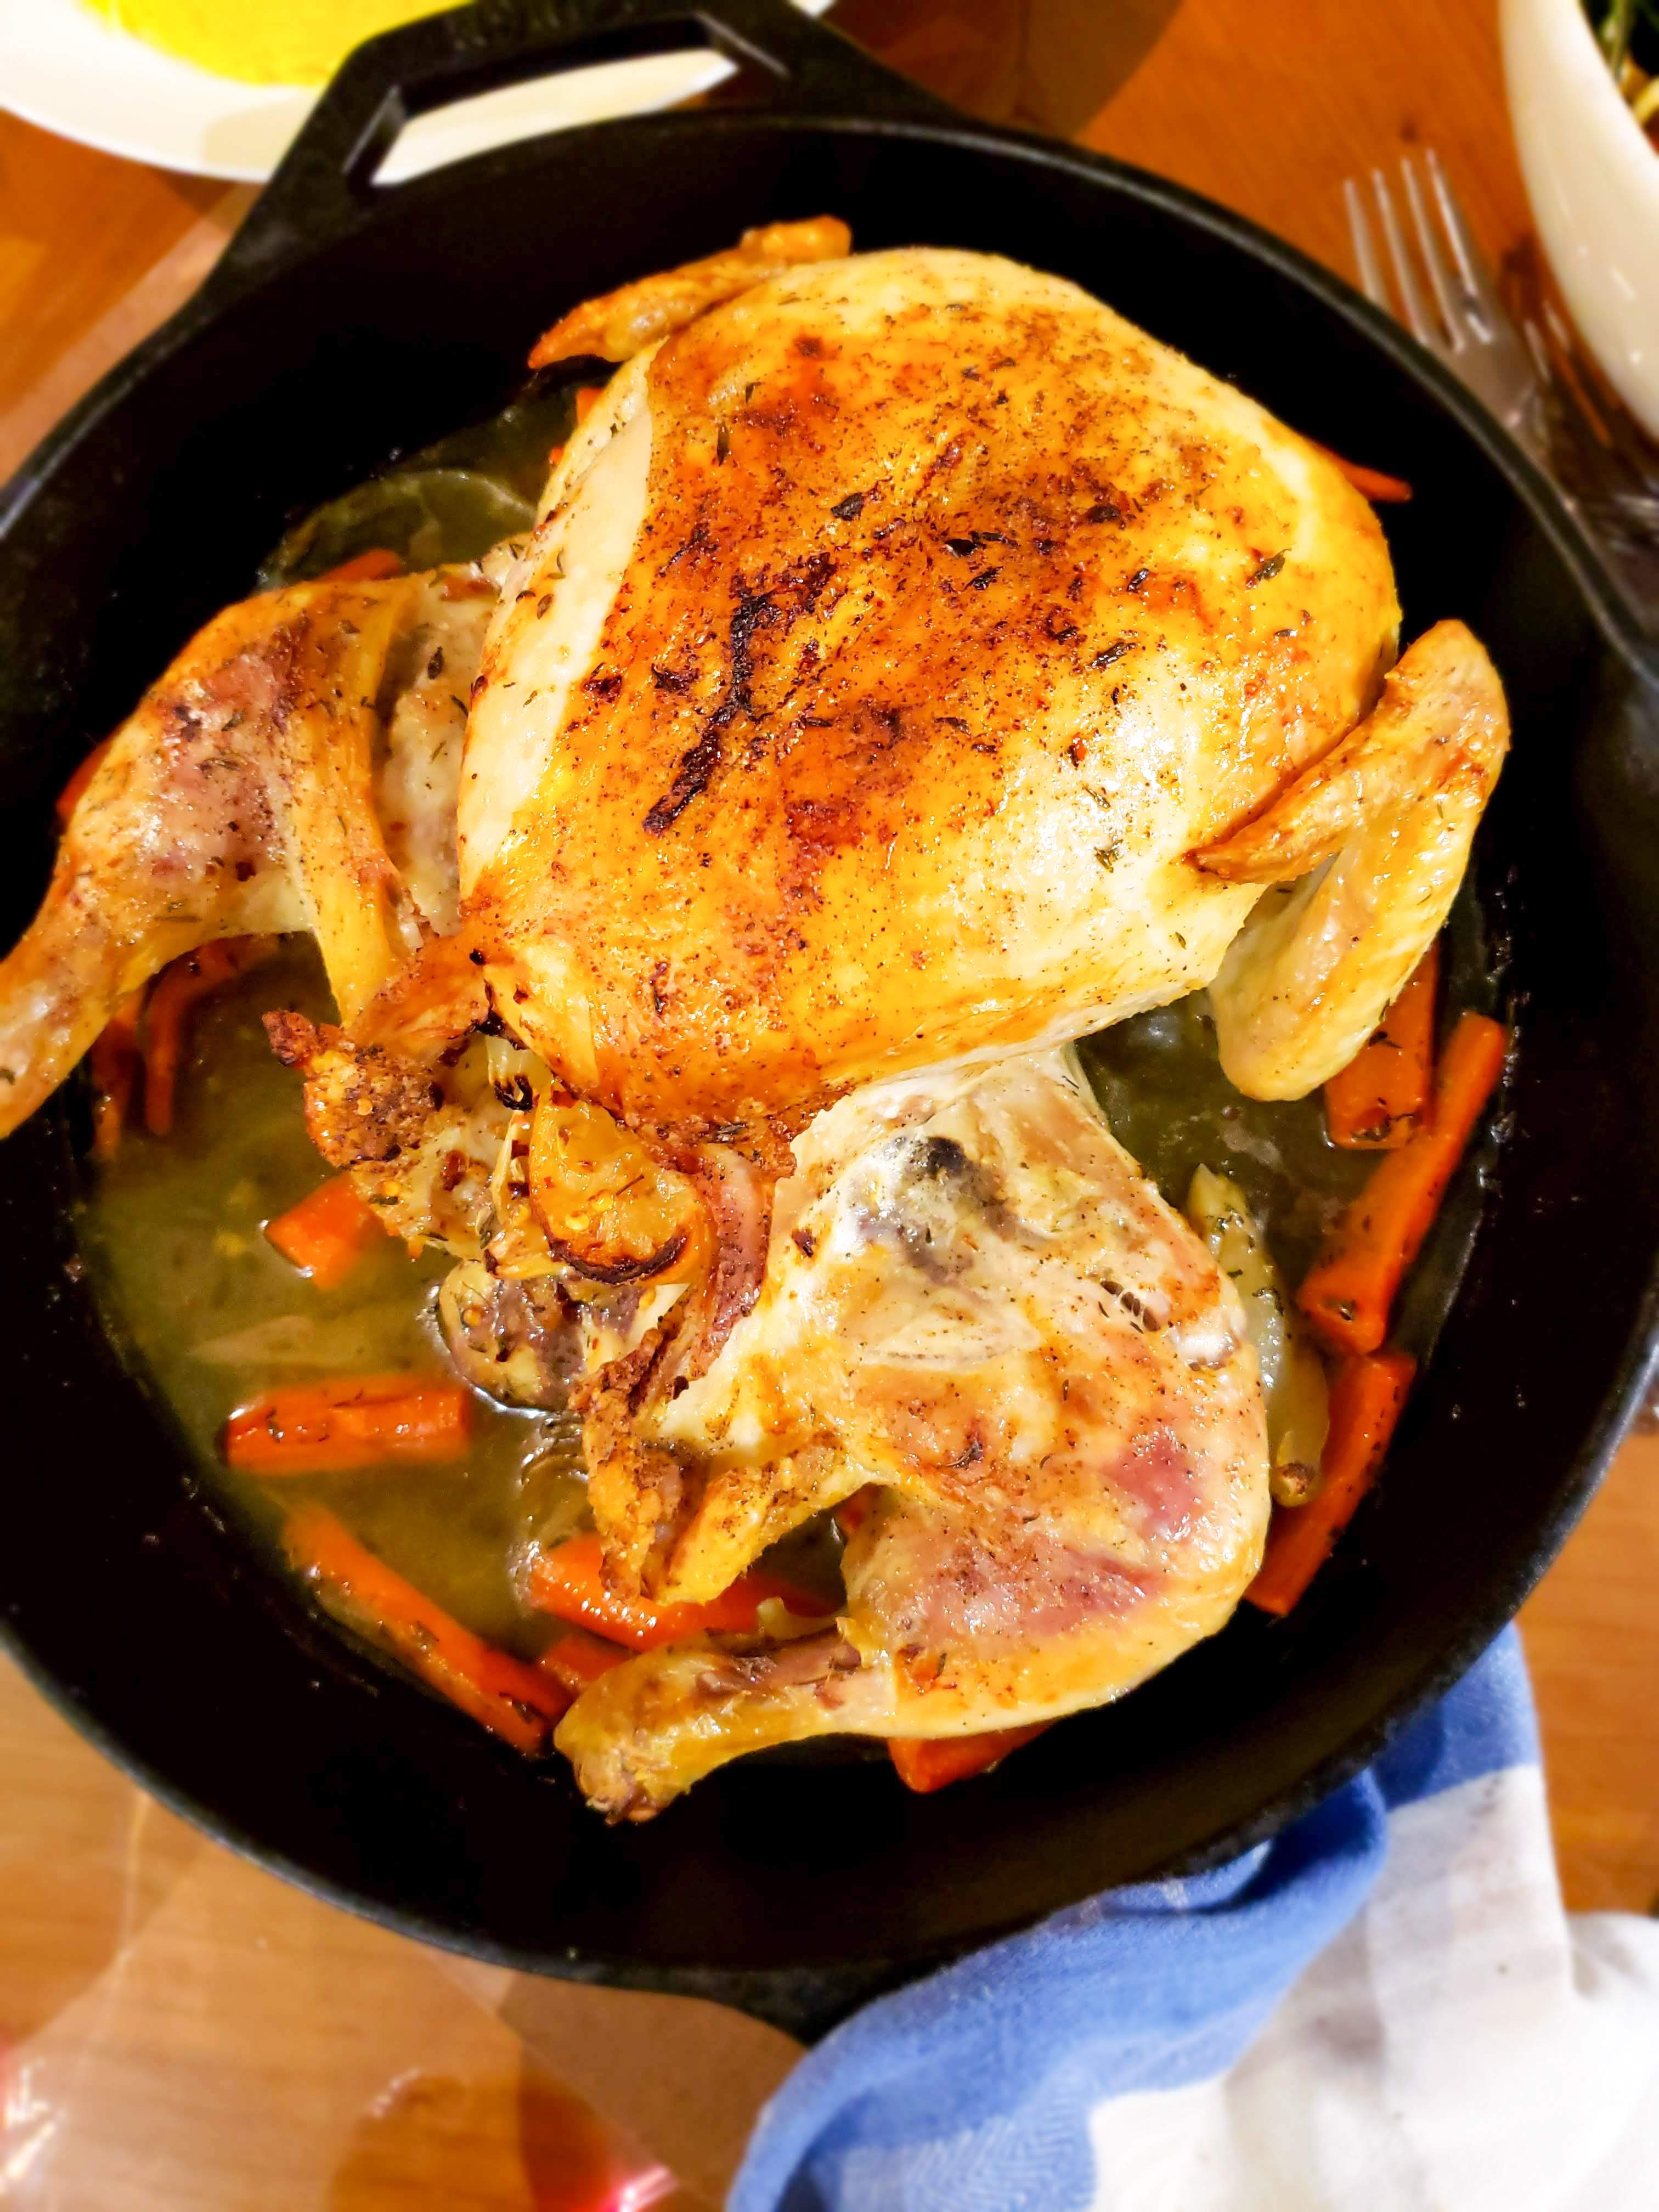
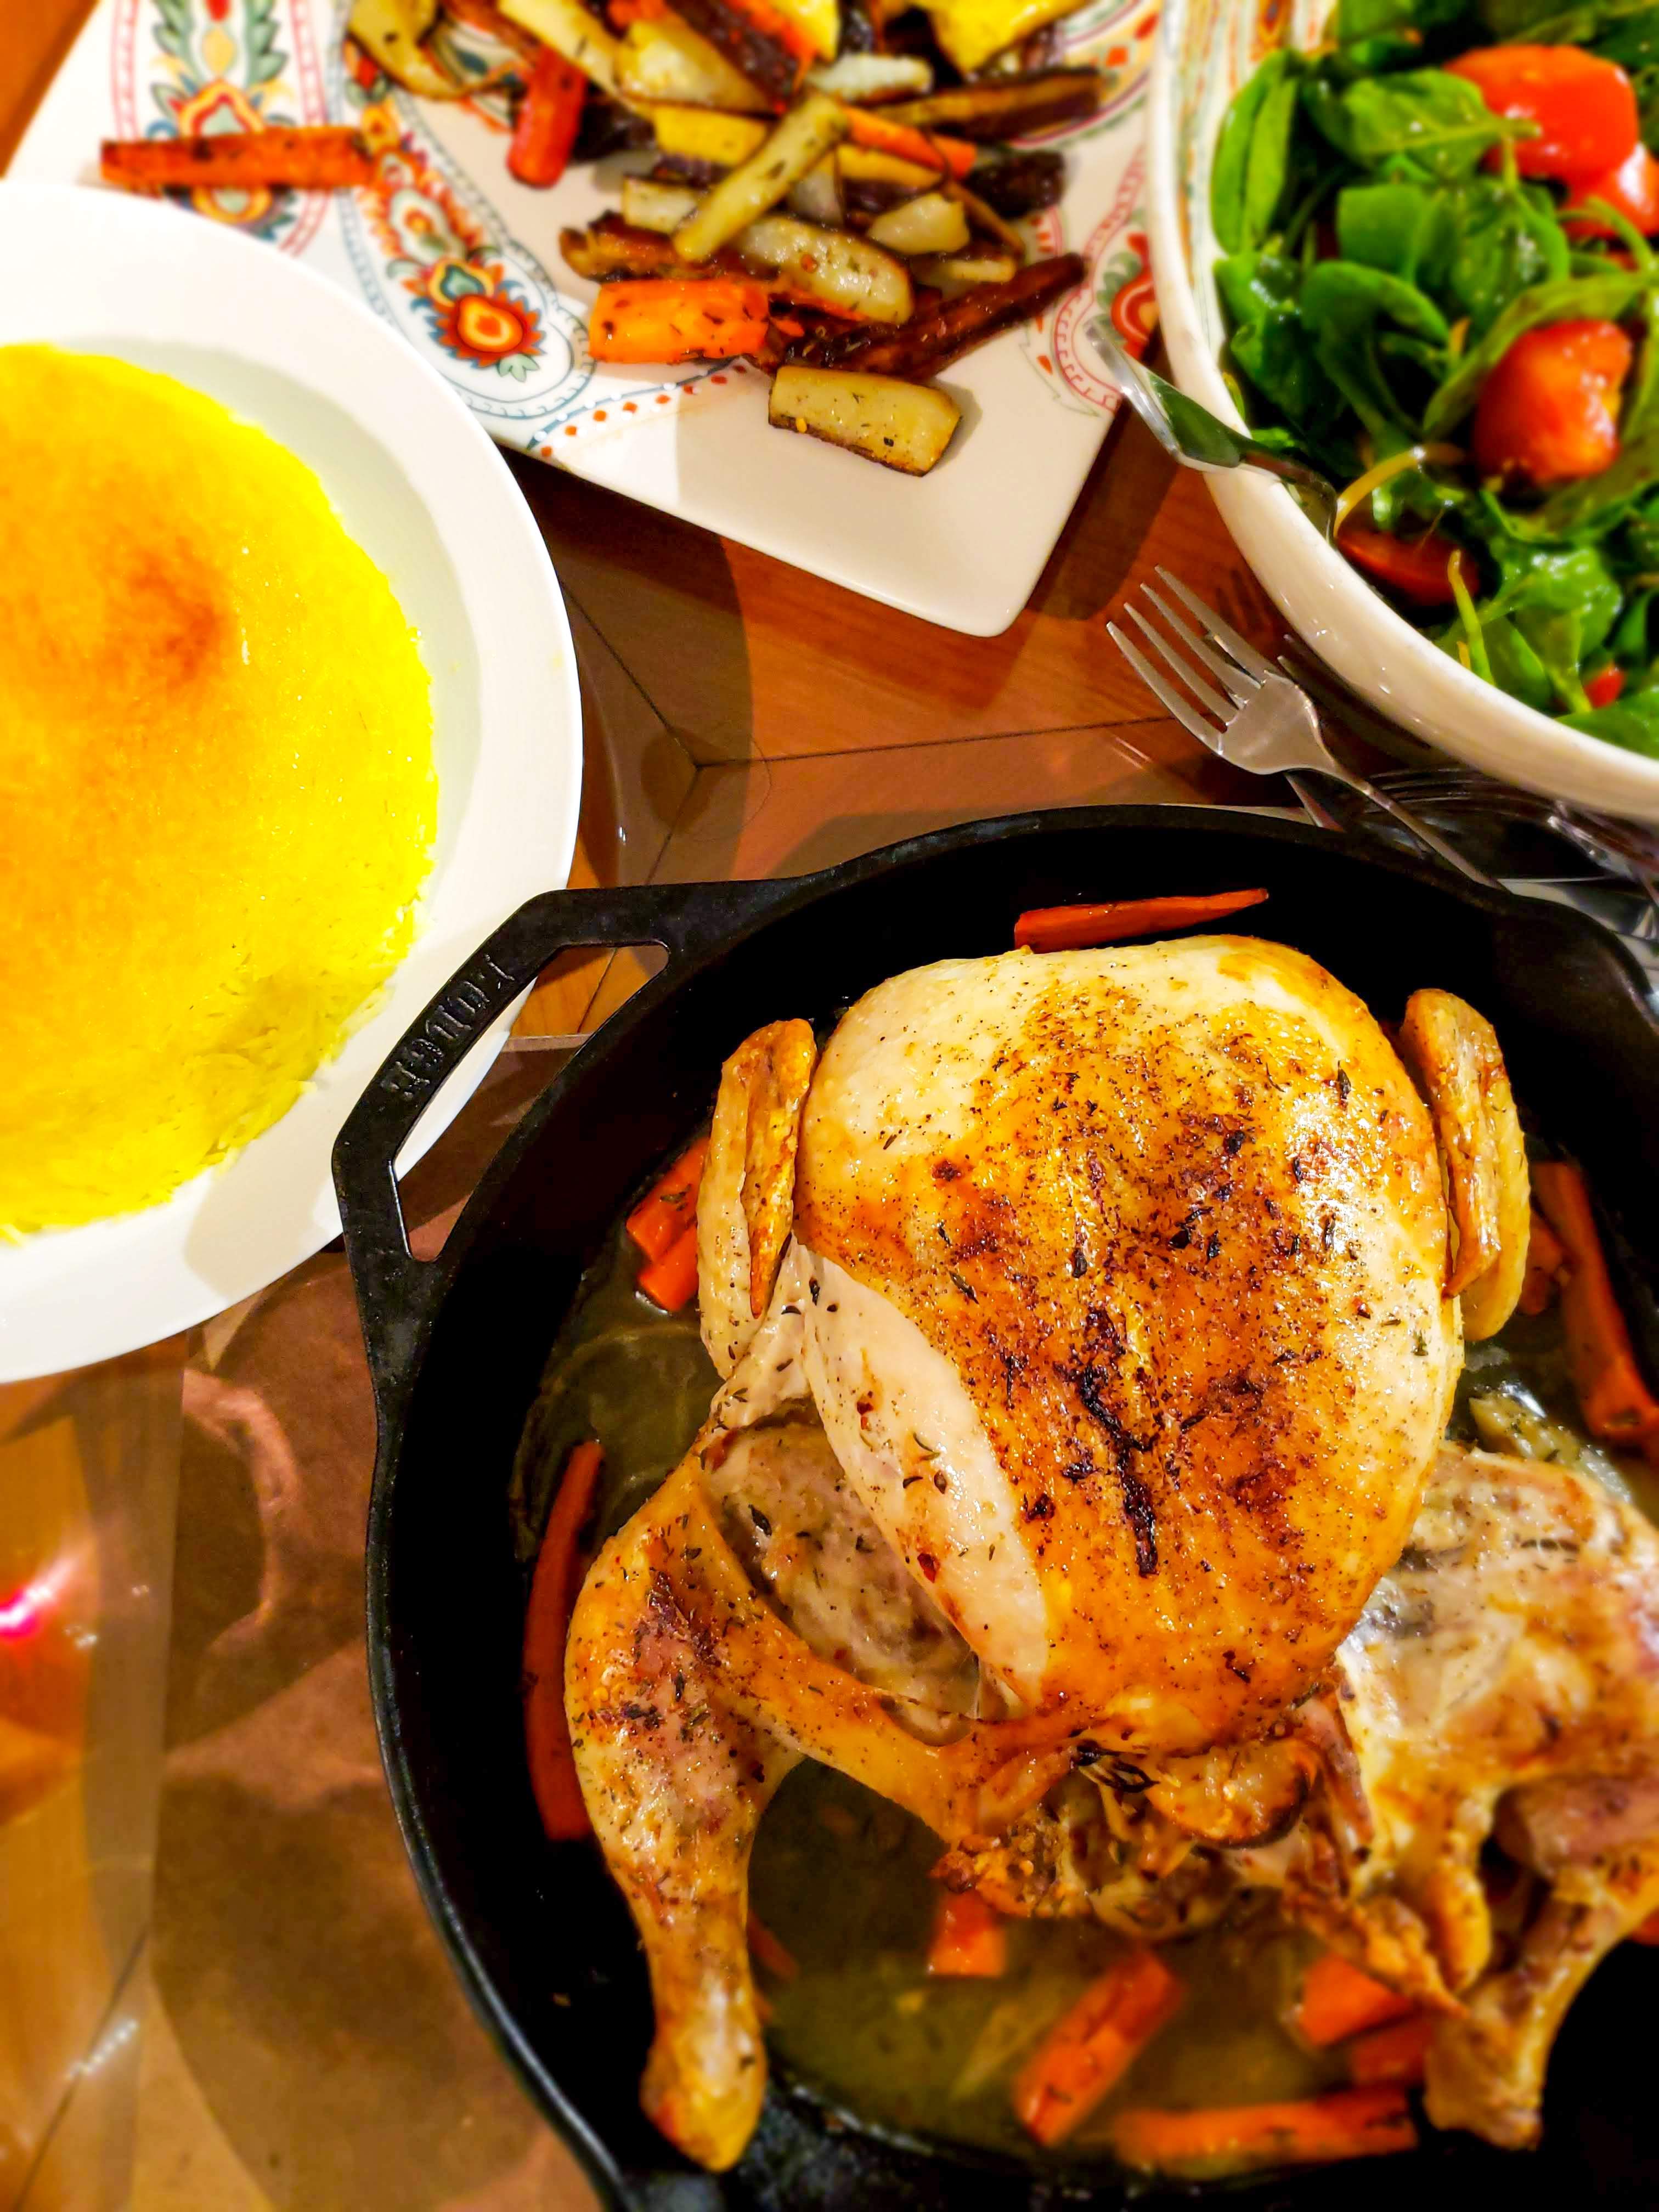
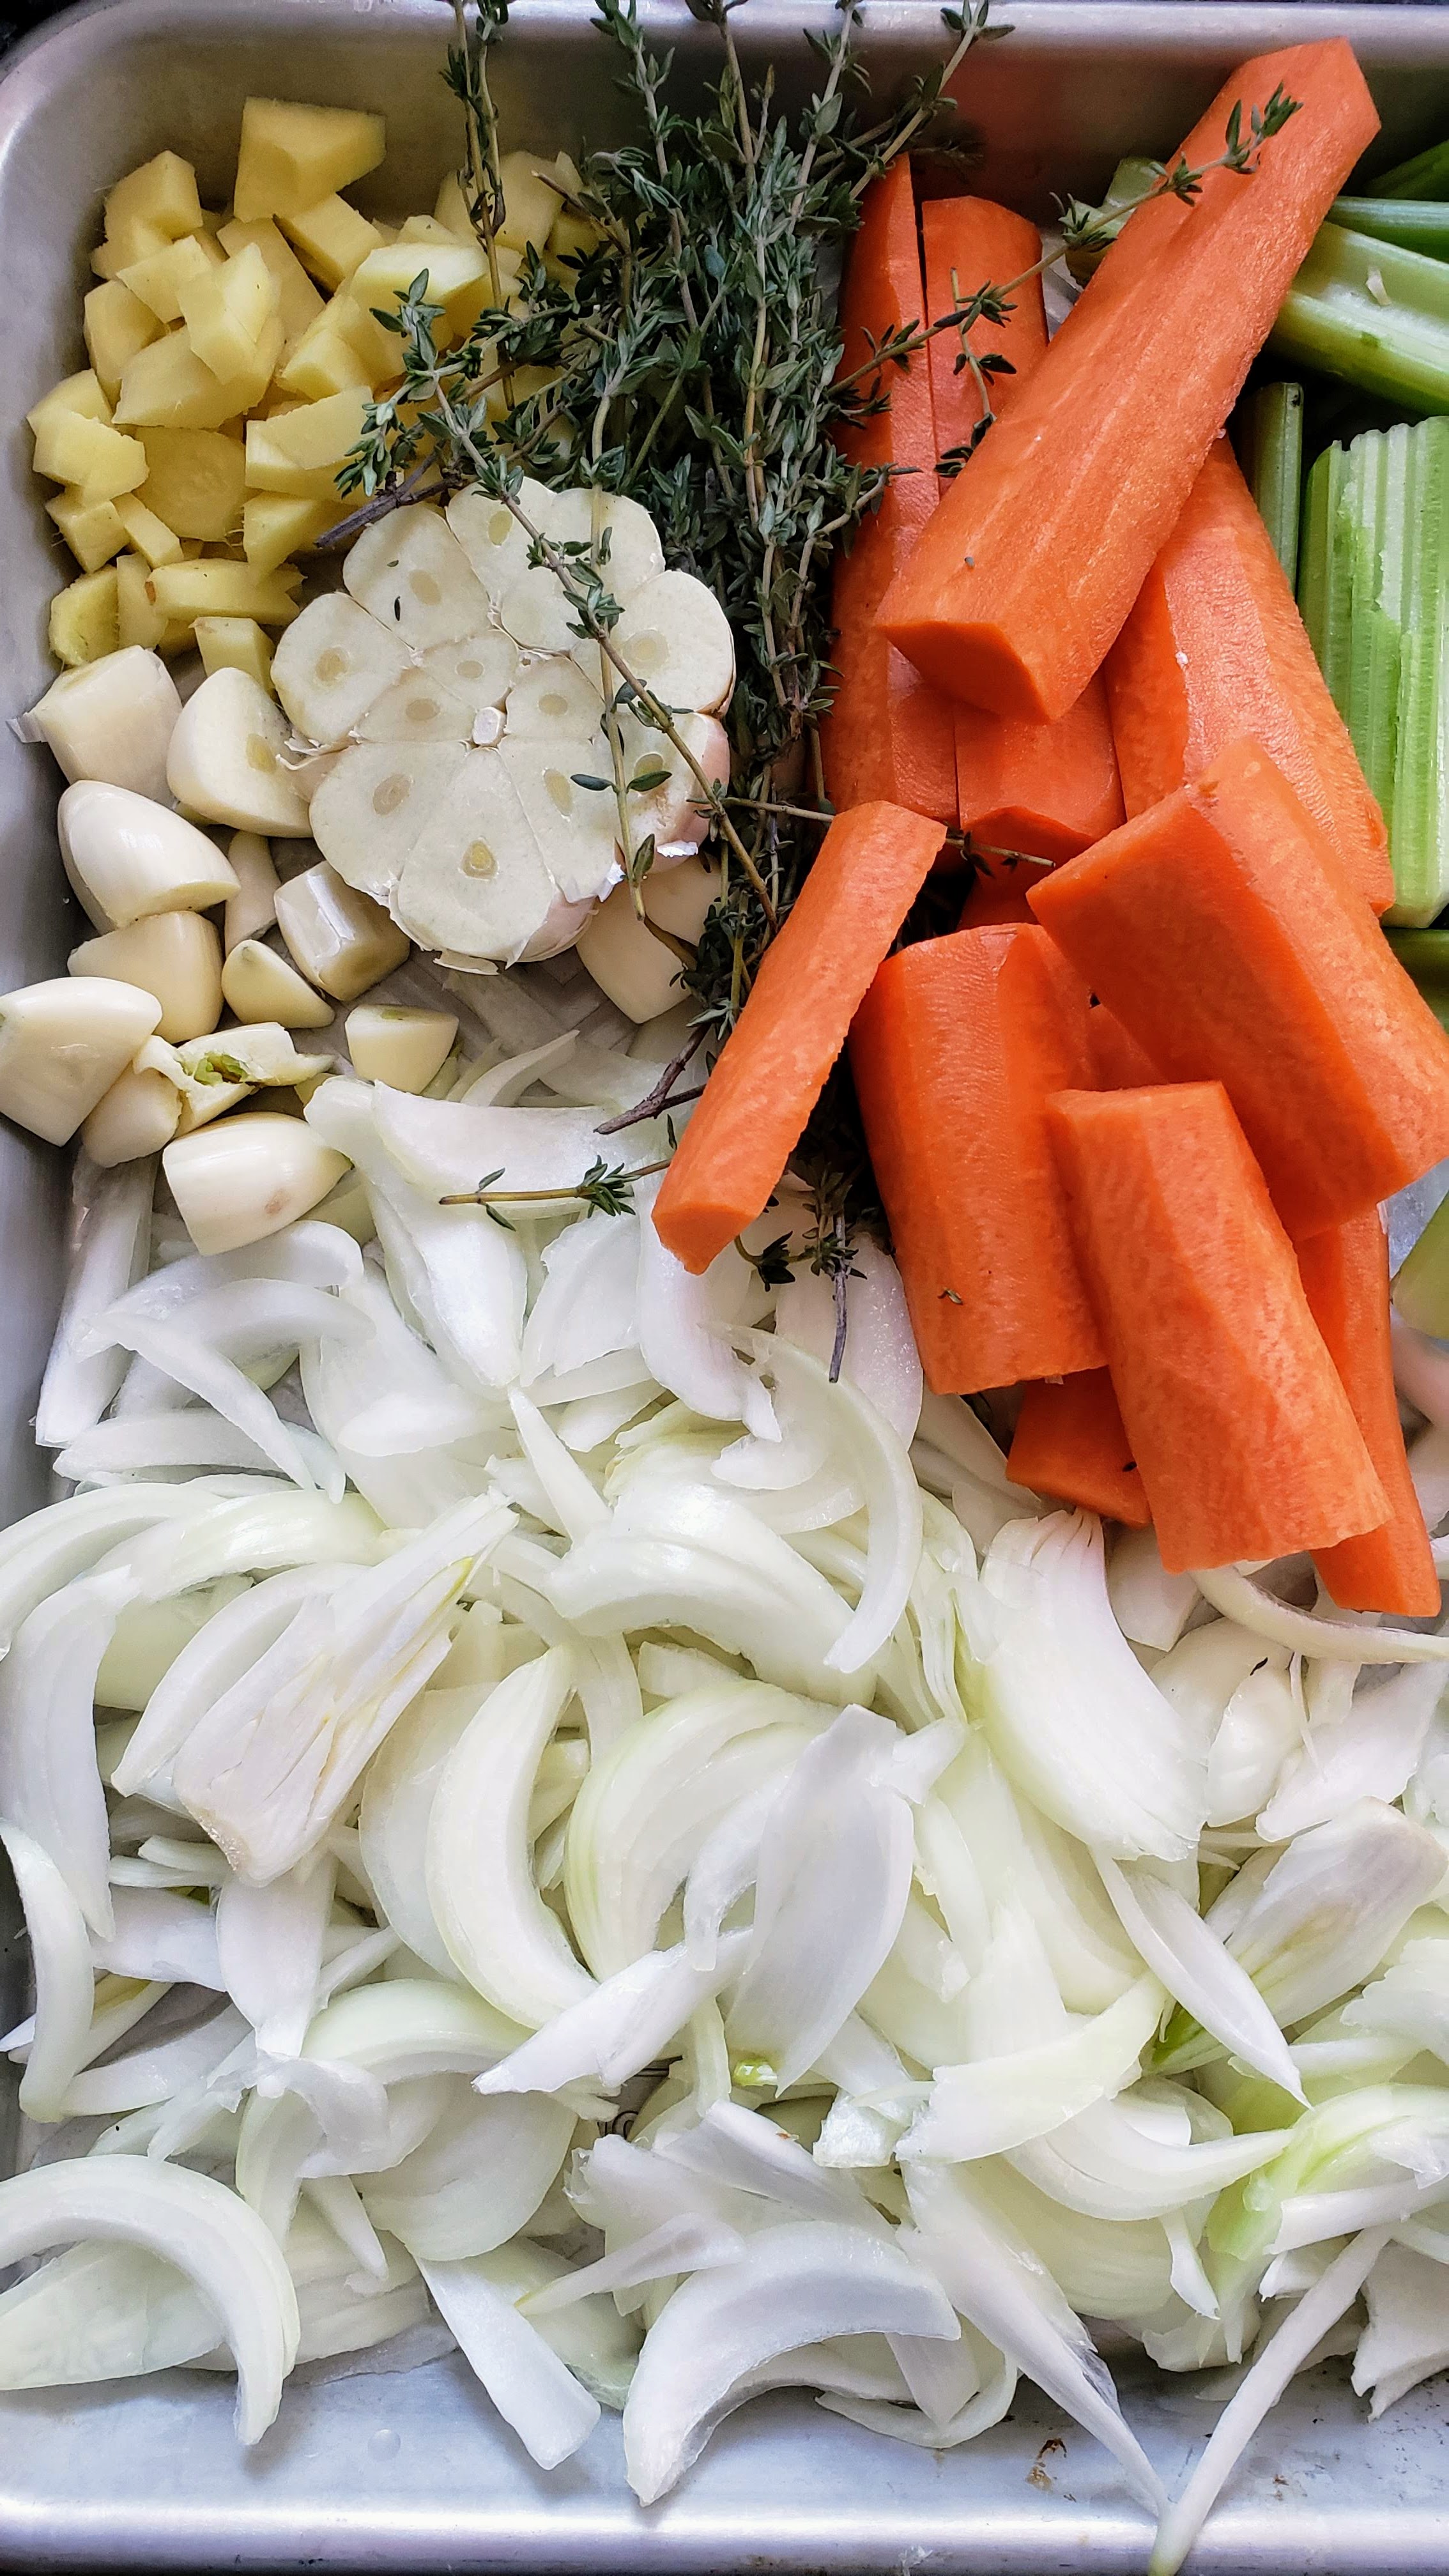
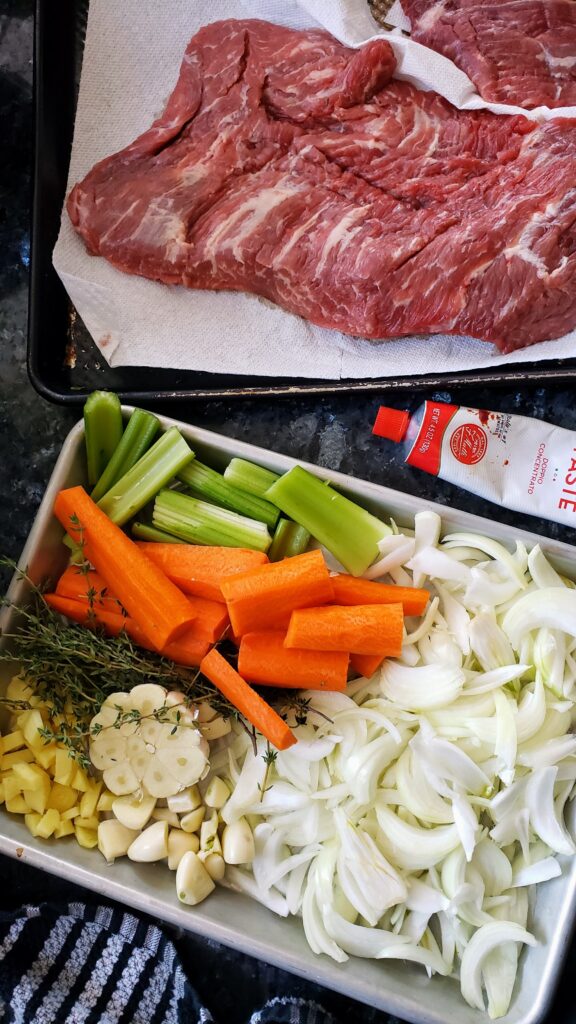
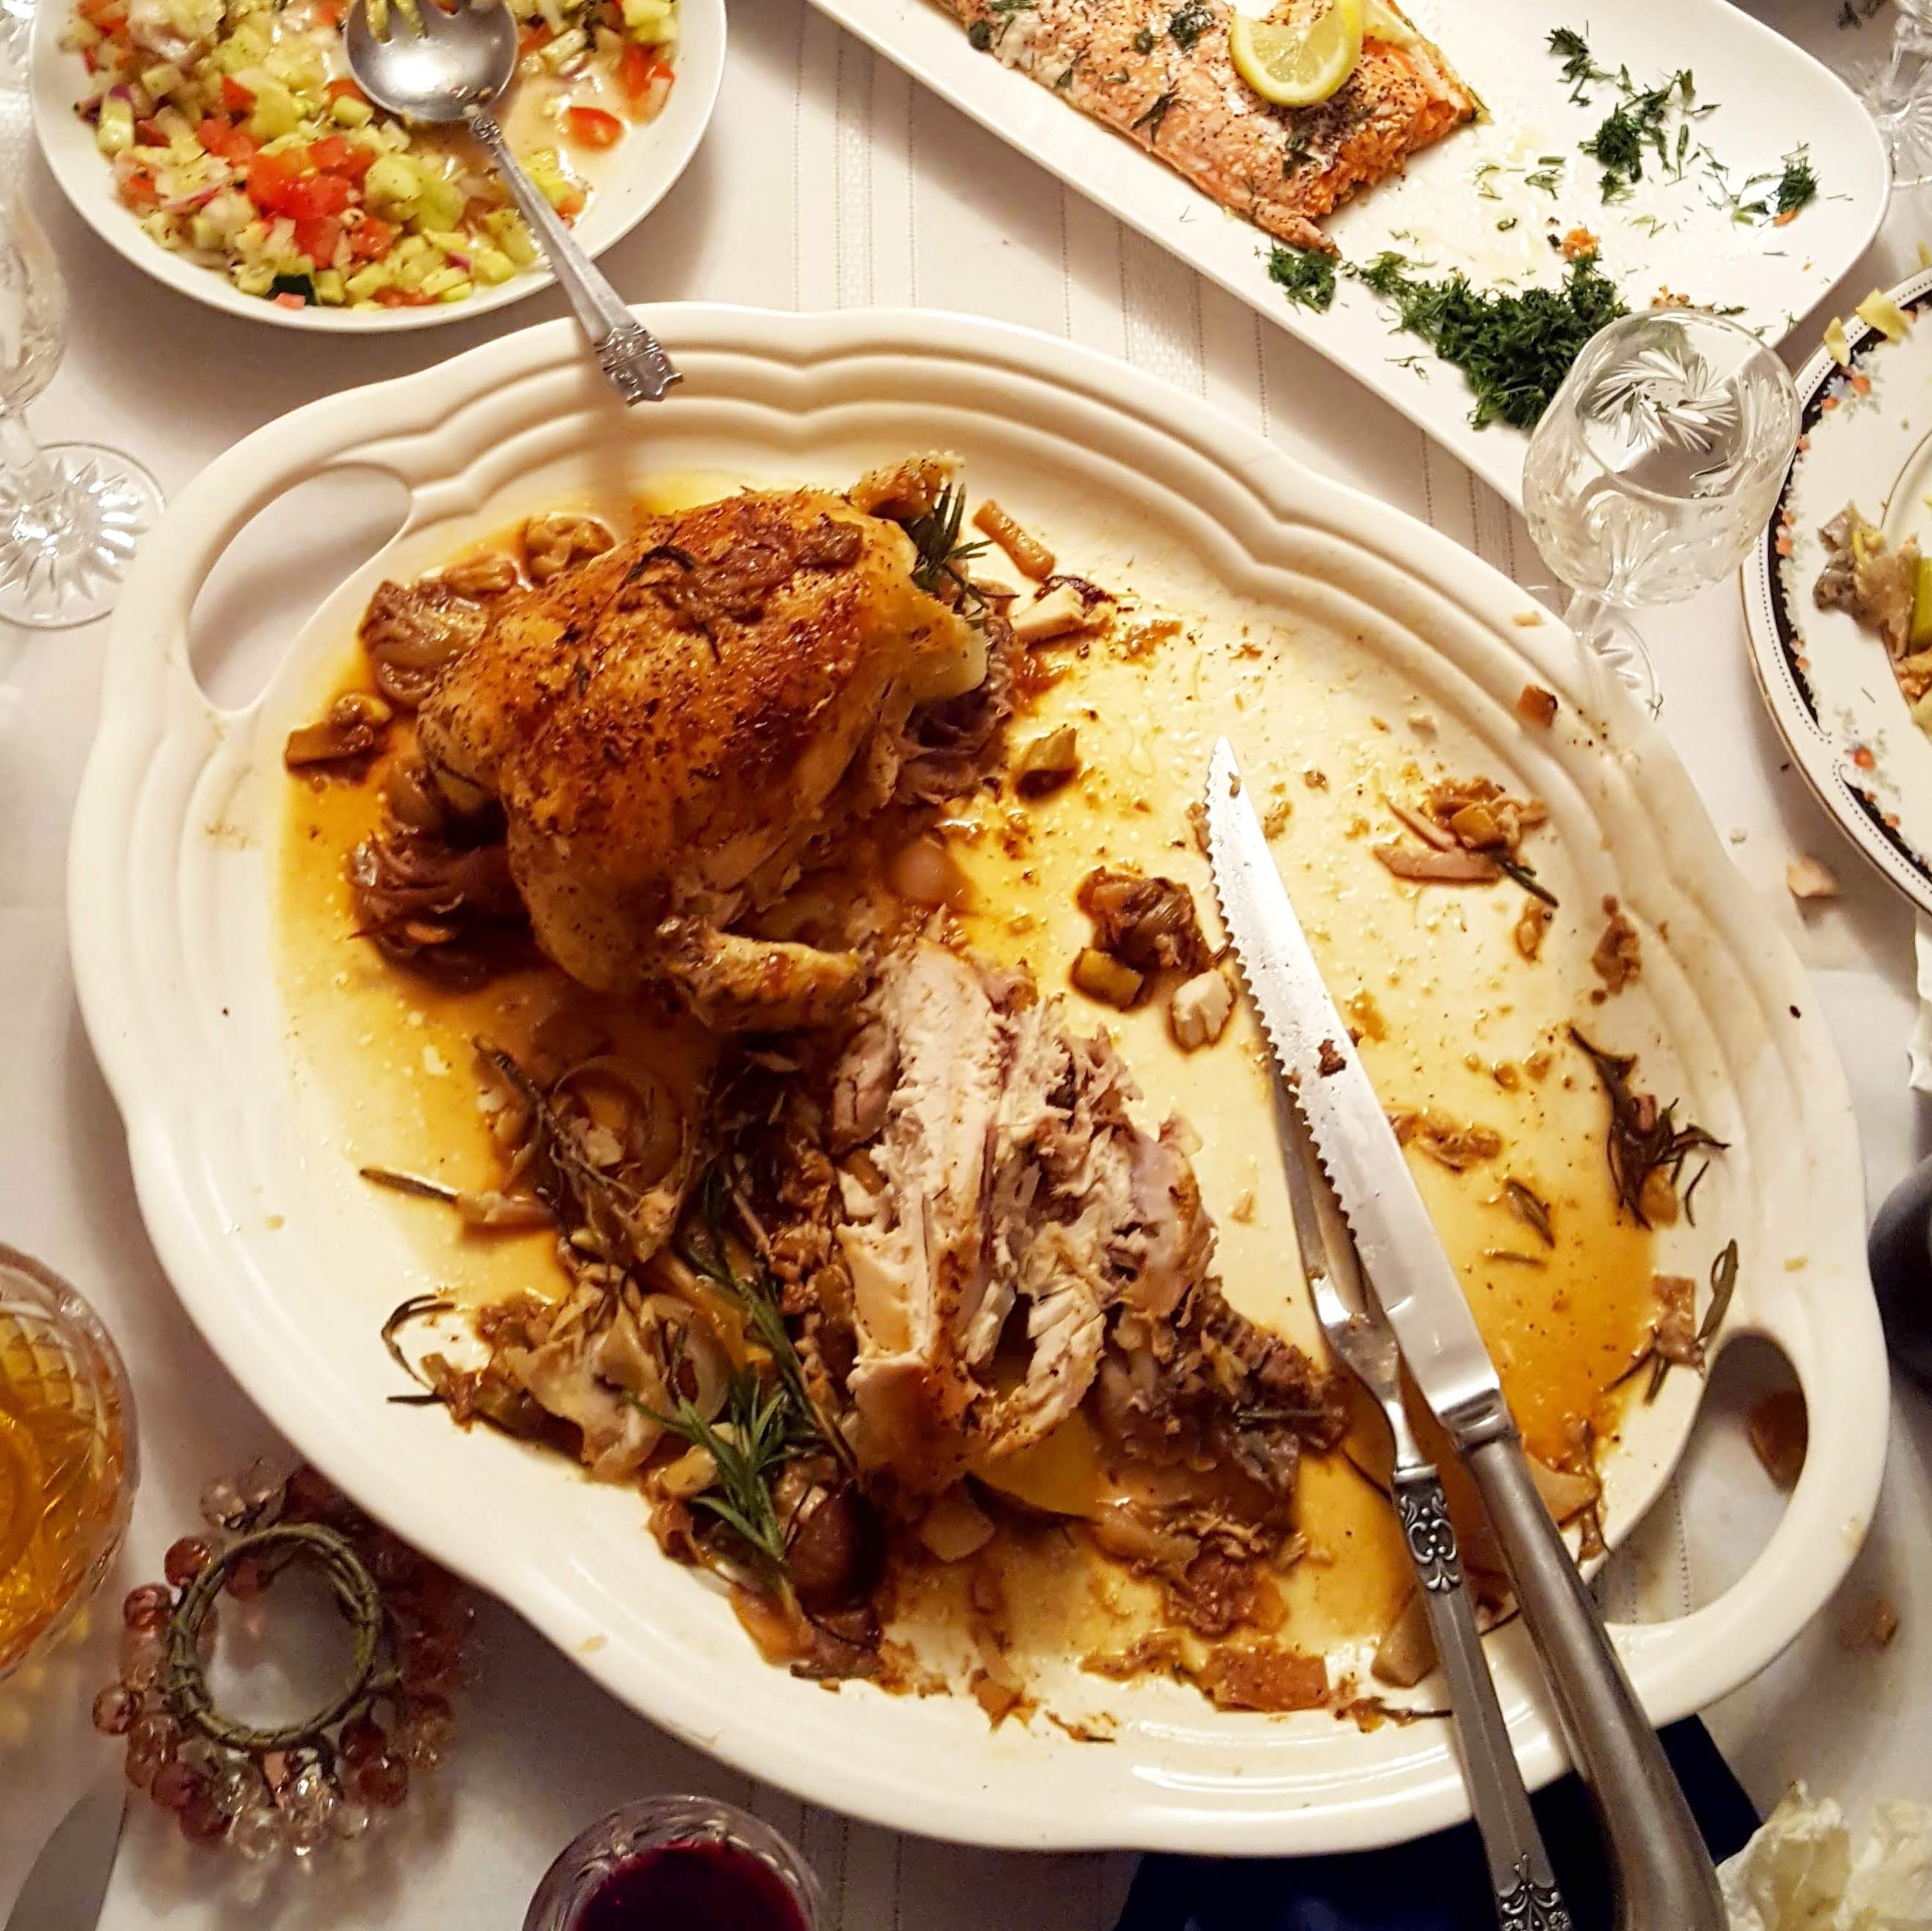
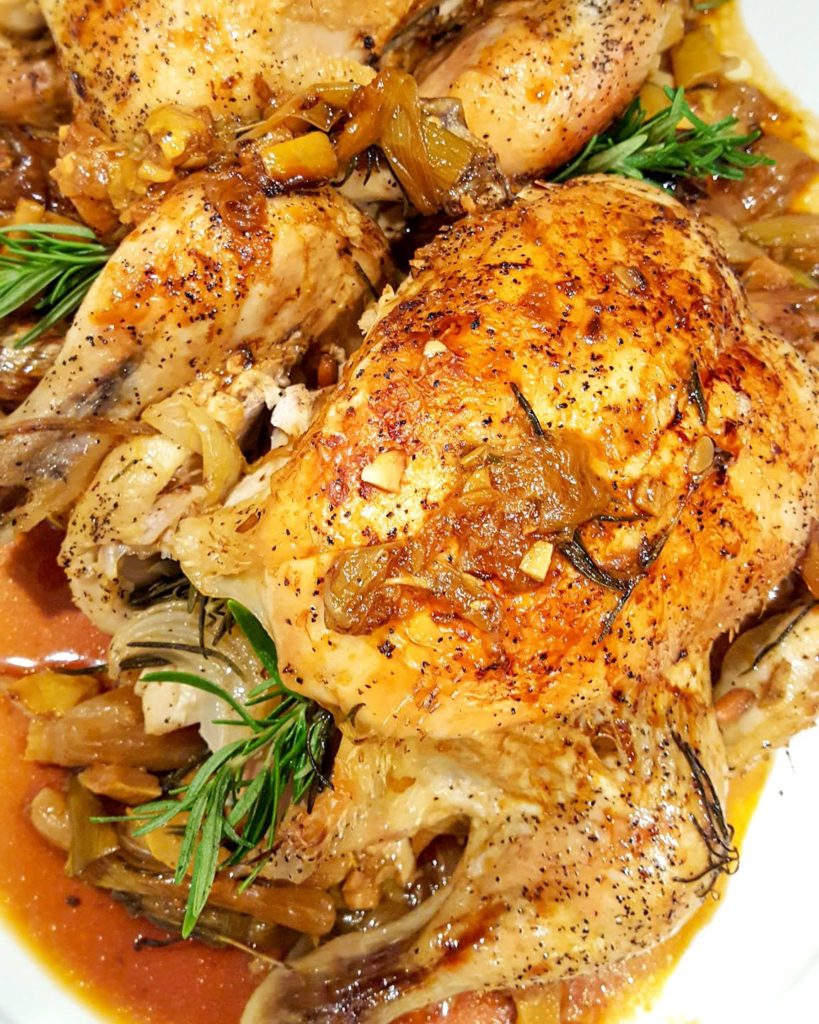
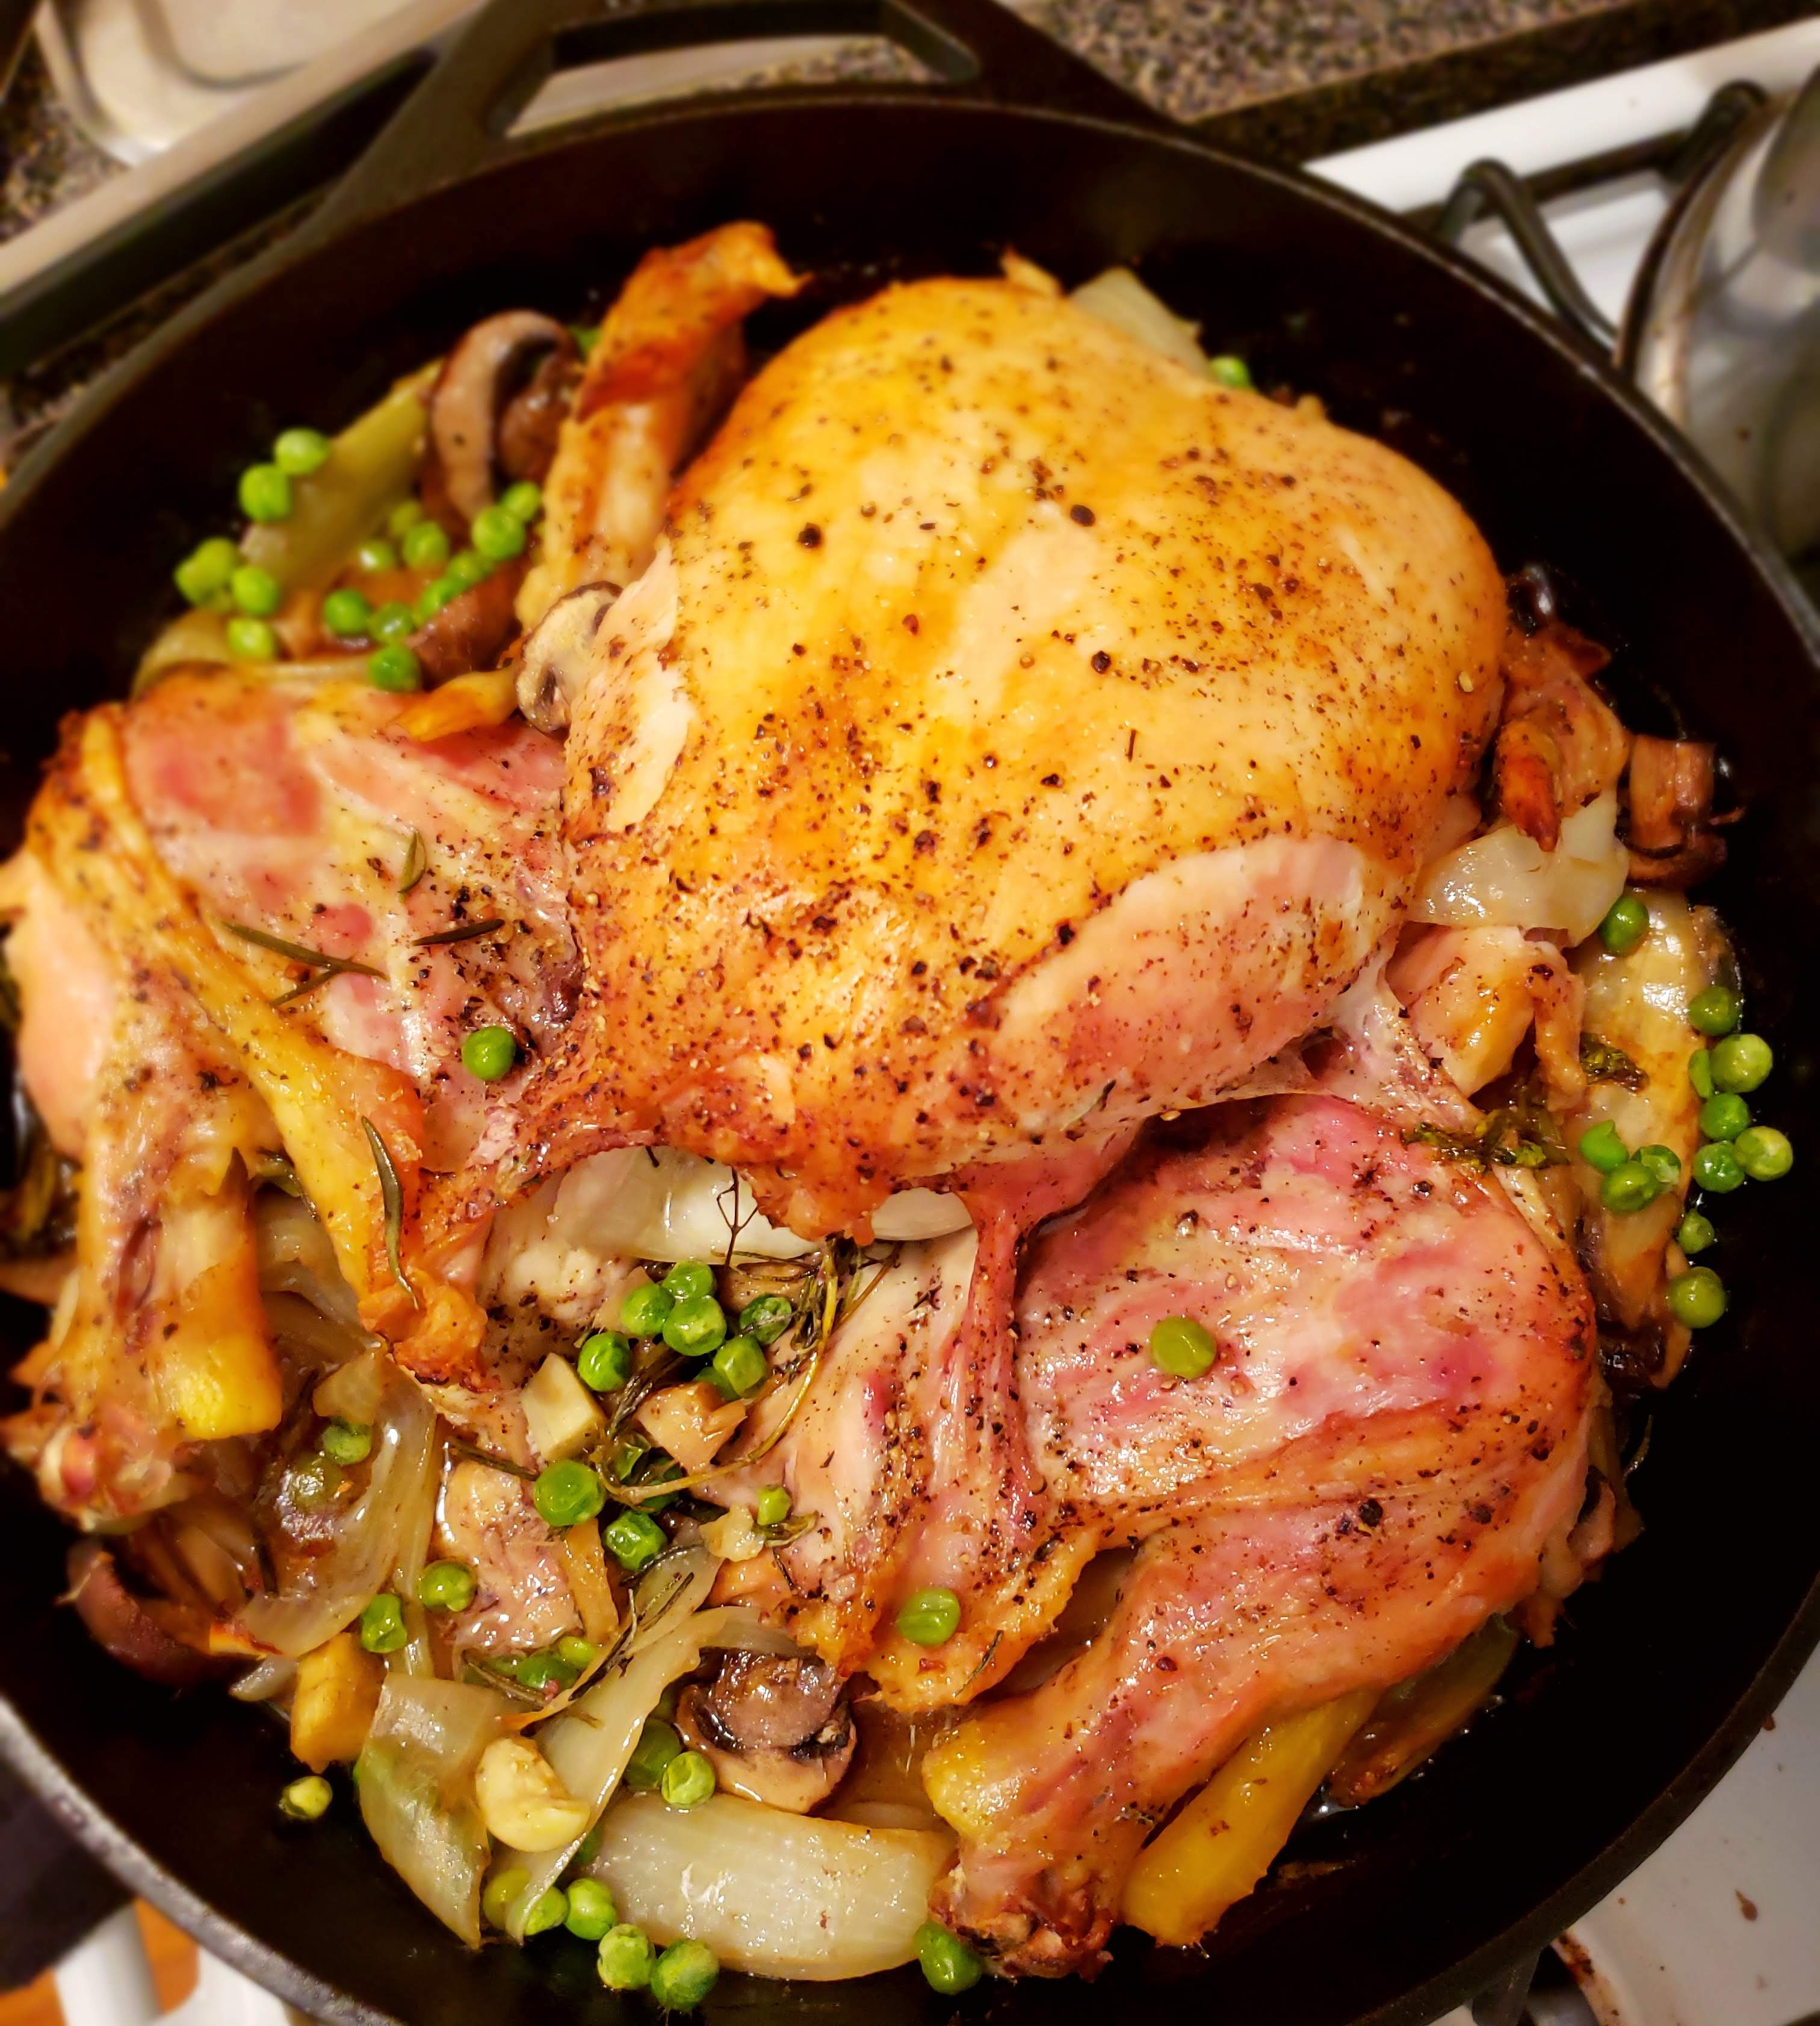
All you need is chicken, olive oil, salt and pepper. You can play with many different combinations to utilize the transformative power of things cooked in natural chicken fat. Add lemon, herbs and a trio of onions, carrots and celery for a classic option. Garlic is always a good idea, so are woodsy herbs like rosemary and thyme. Green peas add a touch of sweetness. Leeks are lovely, paired with potatoes and lots of black pepper. Potatoes cooked in chicken fat are mouthwateringly tasty.

Stuffing the chicken with rice has a wonderful homey vibe- it adds slightly to cooking time but greatly to satisfaction. Not to mention it can be a great alternative to a more labor-intensive Thanksgiving Turkey. Another delightful flavor combination, chicken baked with scallions, ginger, lemon and white wine. And of course there are a myriad of spices that can makes a chicken dinner exciting- paprika, white pepper and herbs de Provence to name just a few.

Holiday Entertaining Made Simple – Chicken Roasted w/ Rosemary, Lemon, Wine, Mushrooms, Ginger & Scallion

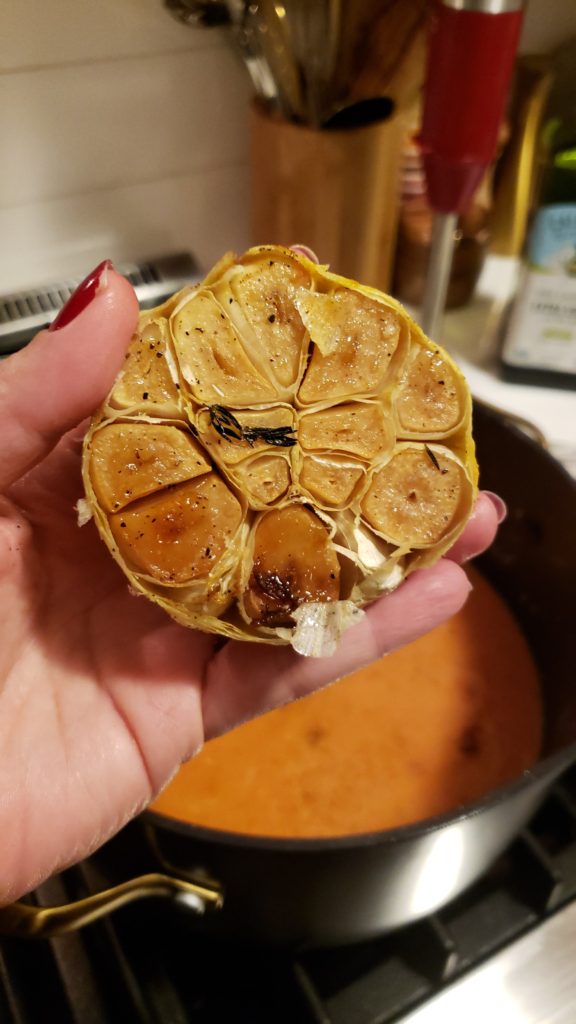
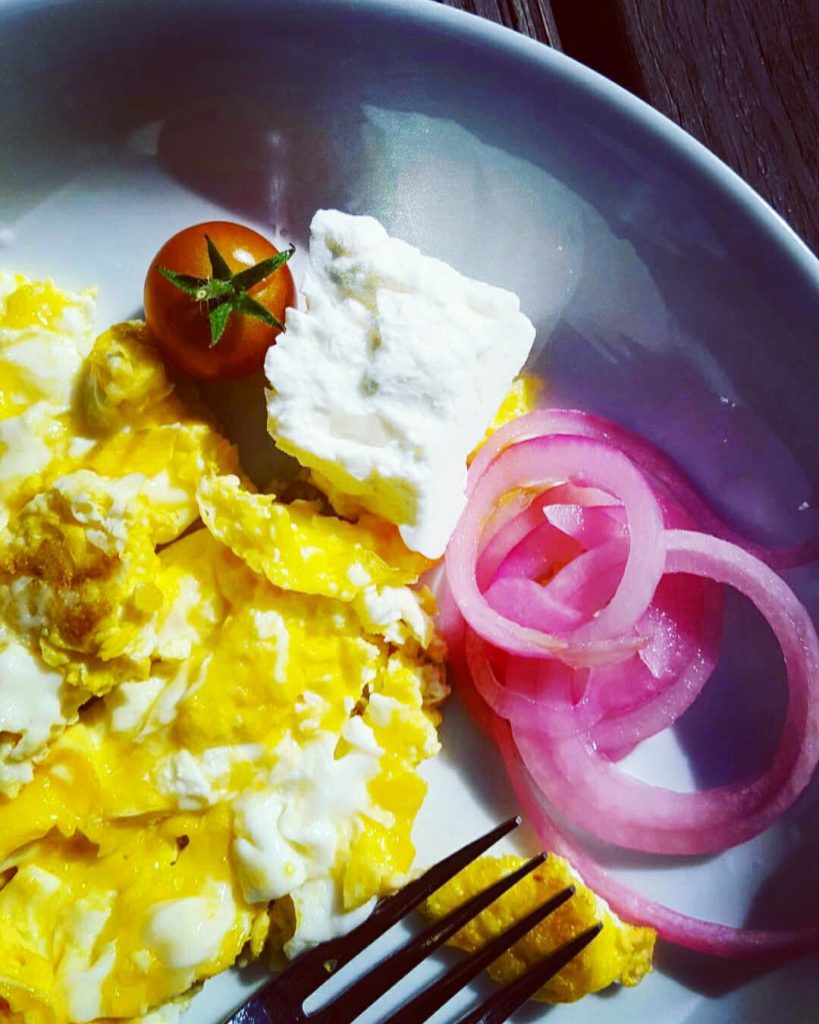
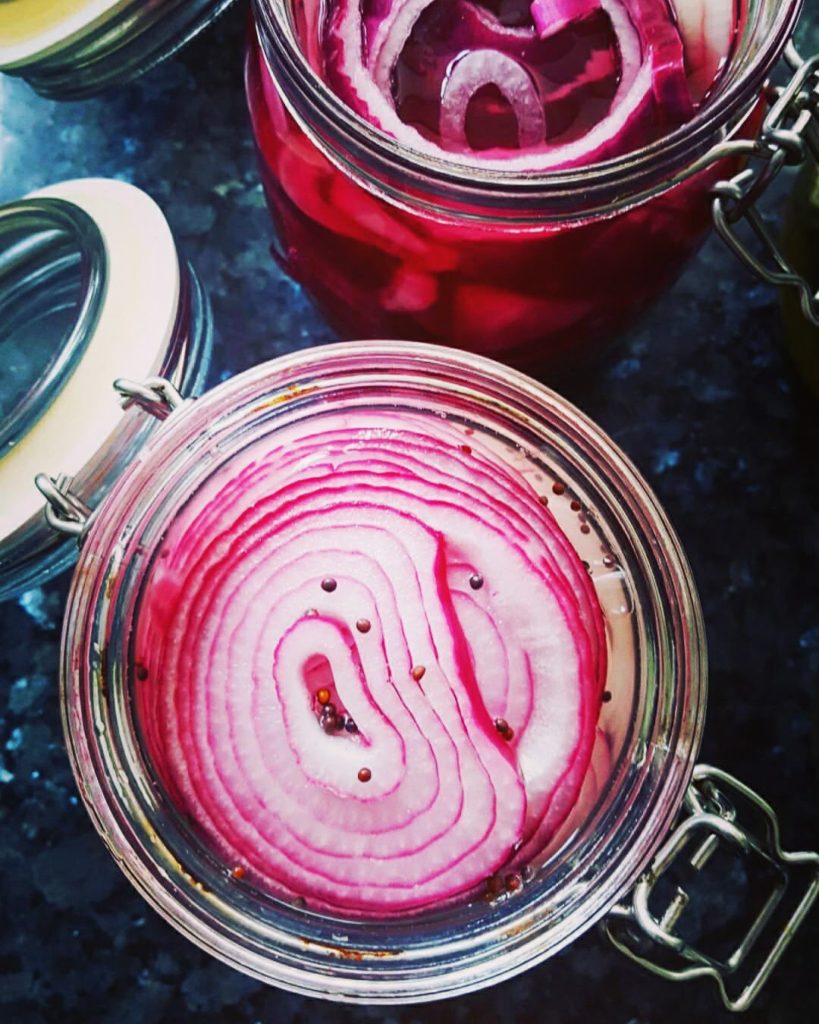
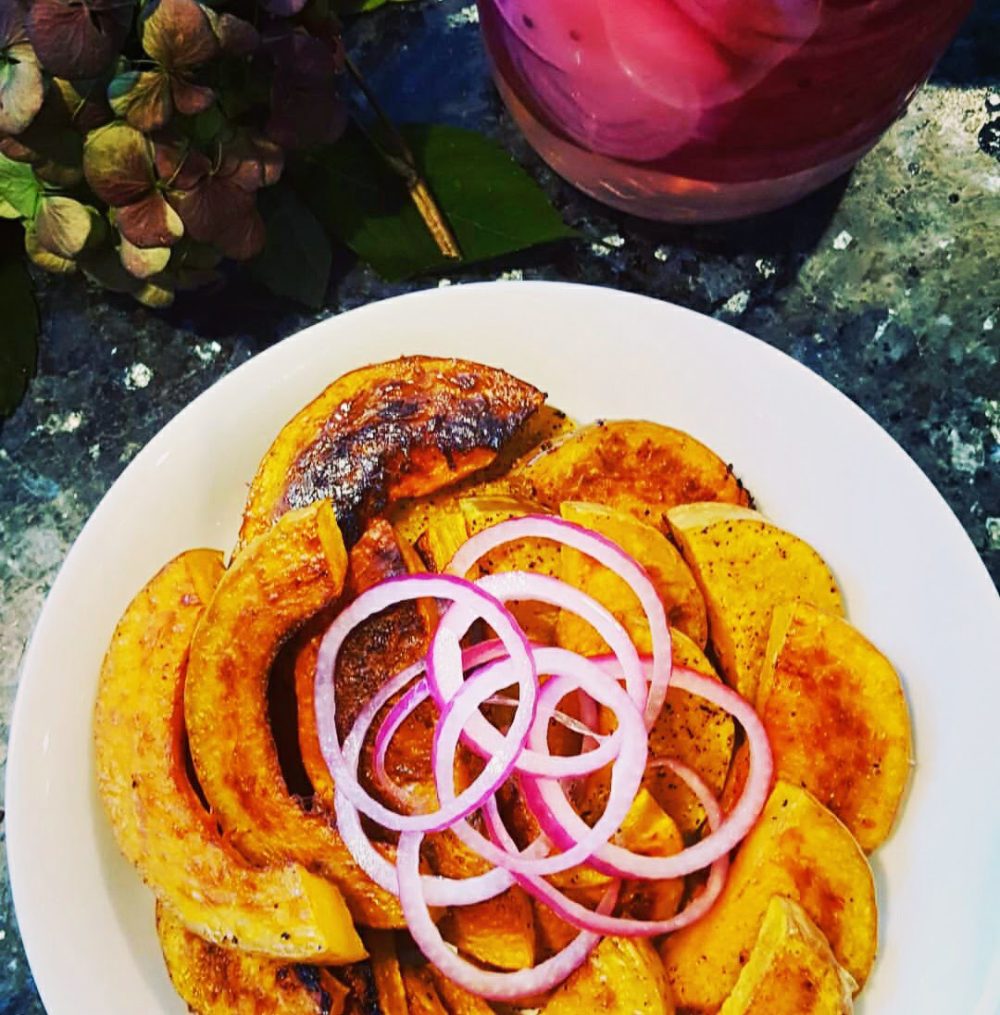
For the more casual renditions, I serve the chicken with either rice or, thick toasty bread, spread with a generous amount of sweet and creamy garlic- roasted whole (see preparation below). Briny Persian pickles are a must. A nice green salad too- maybe some radishes and you have a perfect meal. If you’re going the whole roasted garlic route, it cooks in the oven simultaneously as the chicken and becomes a sweet savory garlic cream to slather on the bread or the chicken.

Ingredients

1 (3-4 pound) whole chicken
3 tablespoons extra-virgin olive oil
1 whole heads of garlic, plus 3 more cloves, thinly sliced
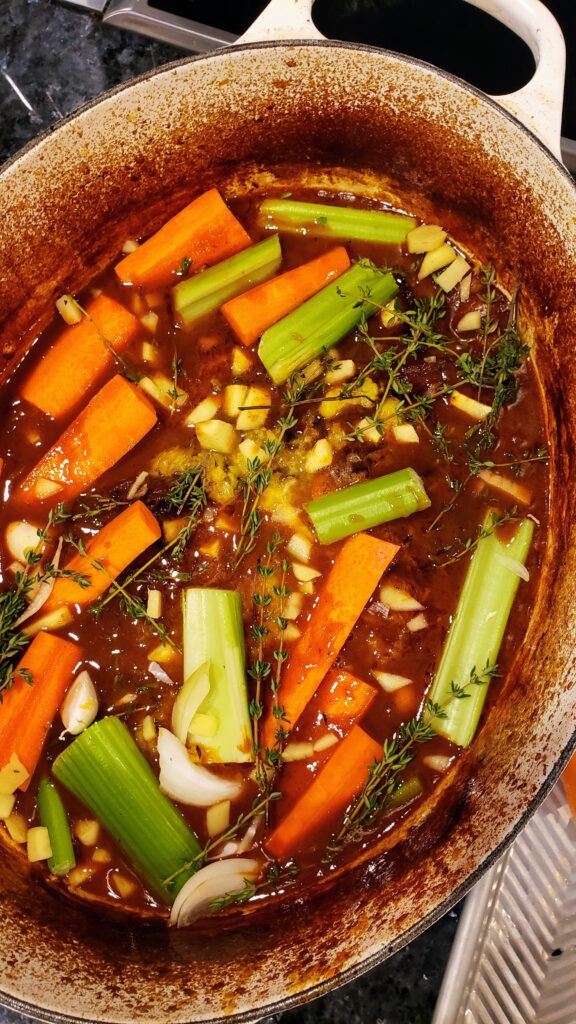
2 medium carrots, chopped into 2 inch pieces
2 stalks celery, chopped into 2 inch pieces
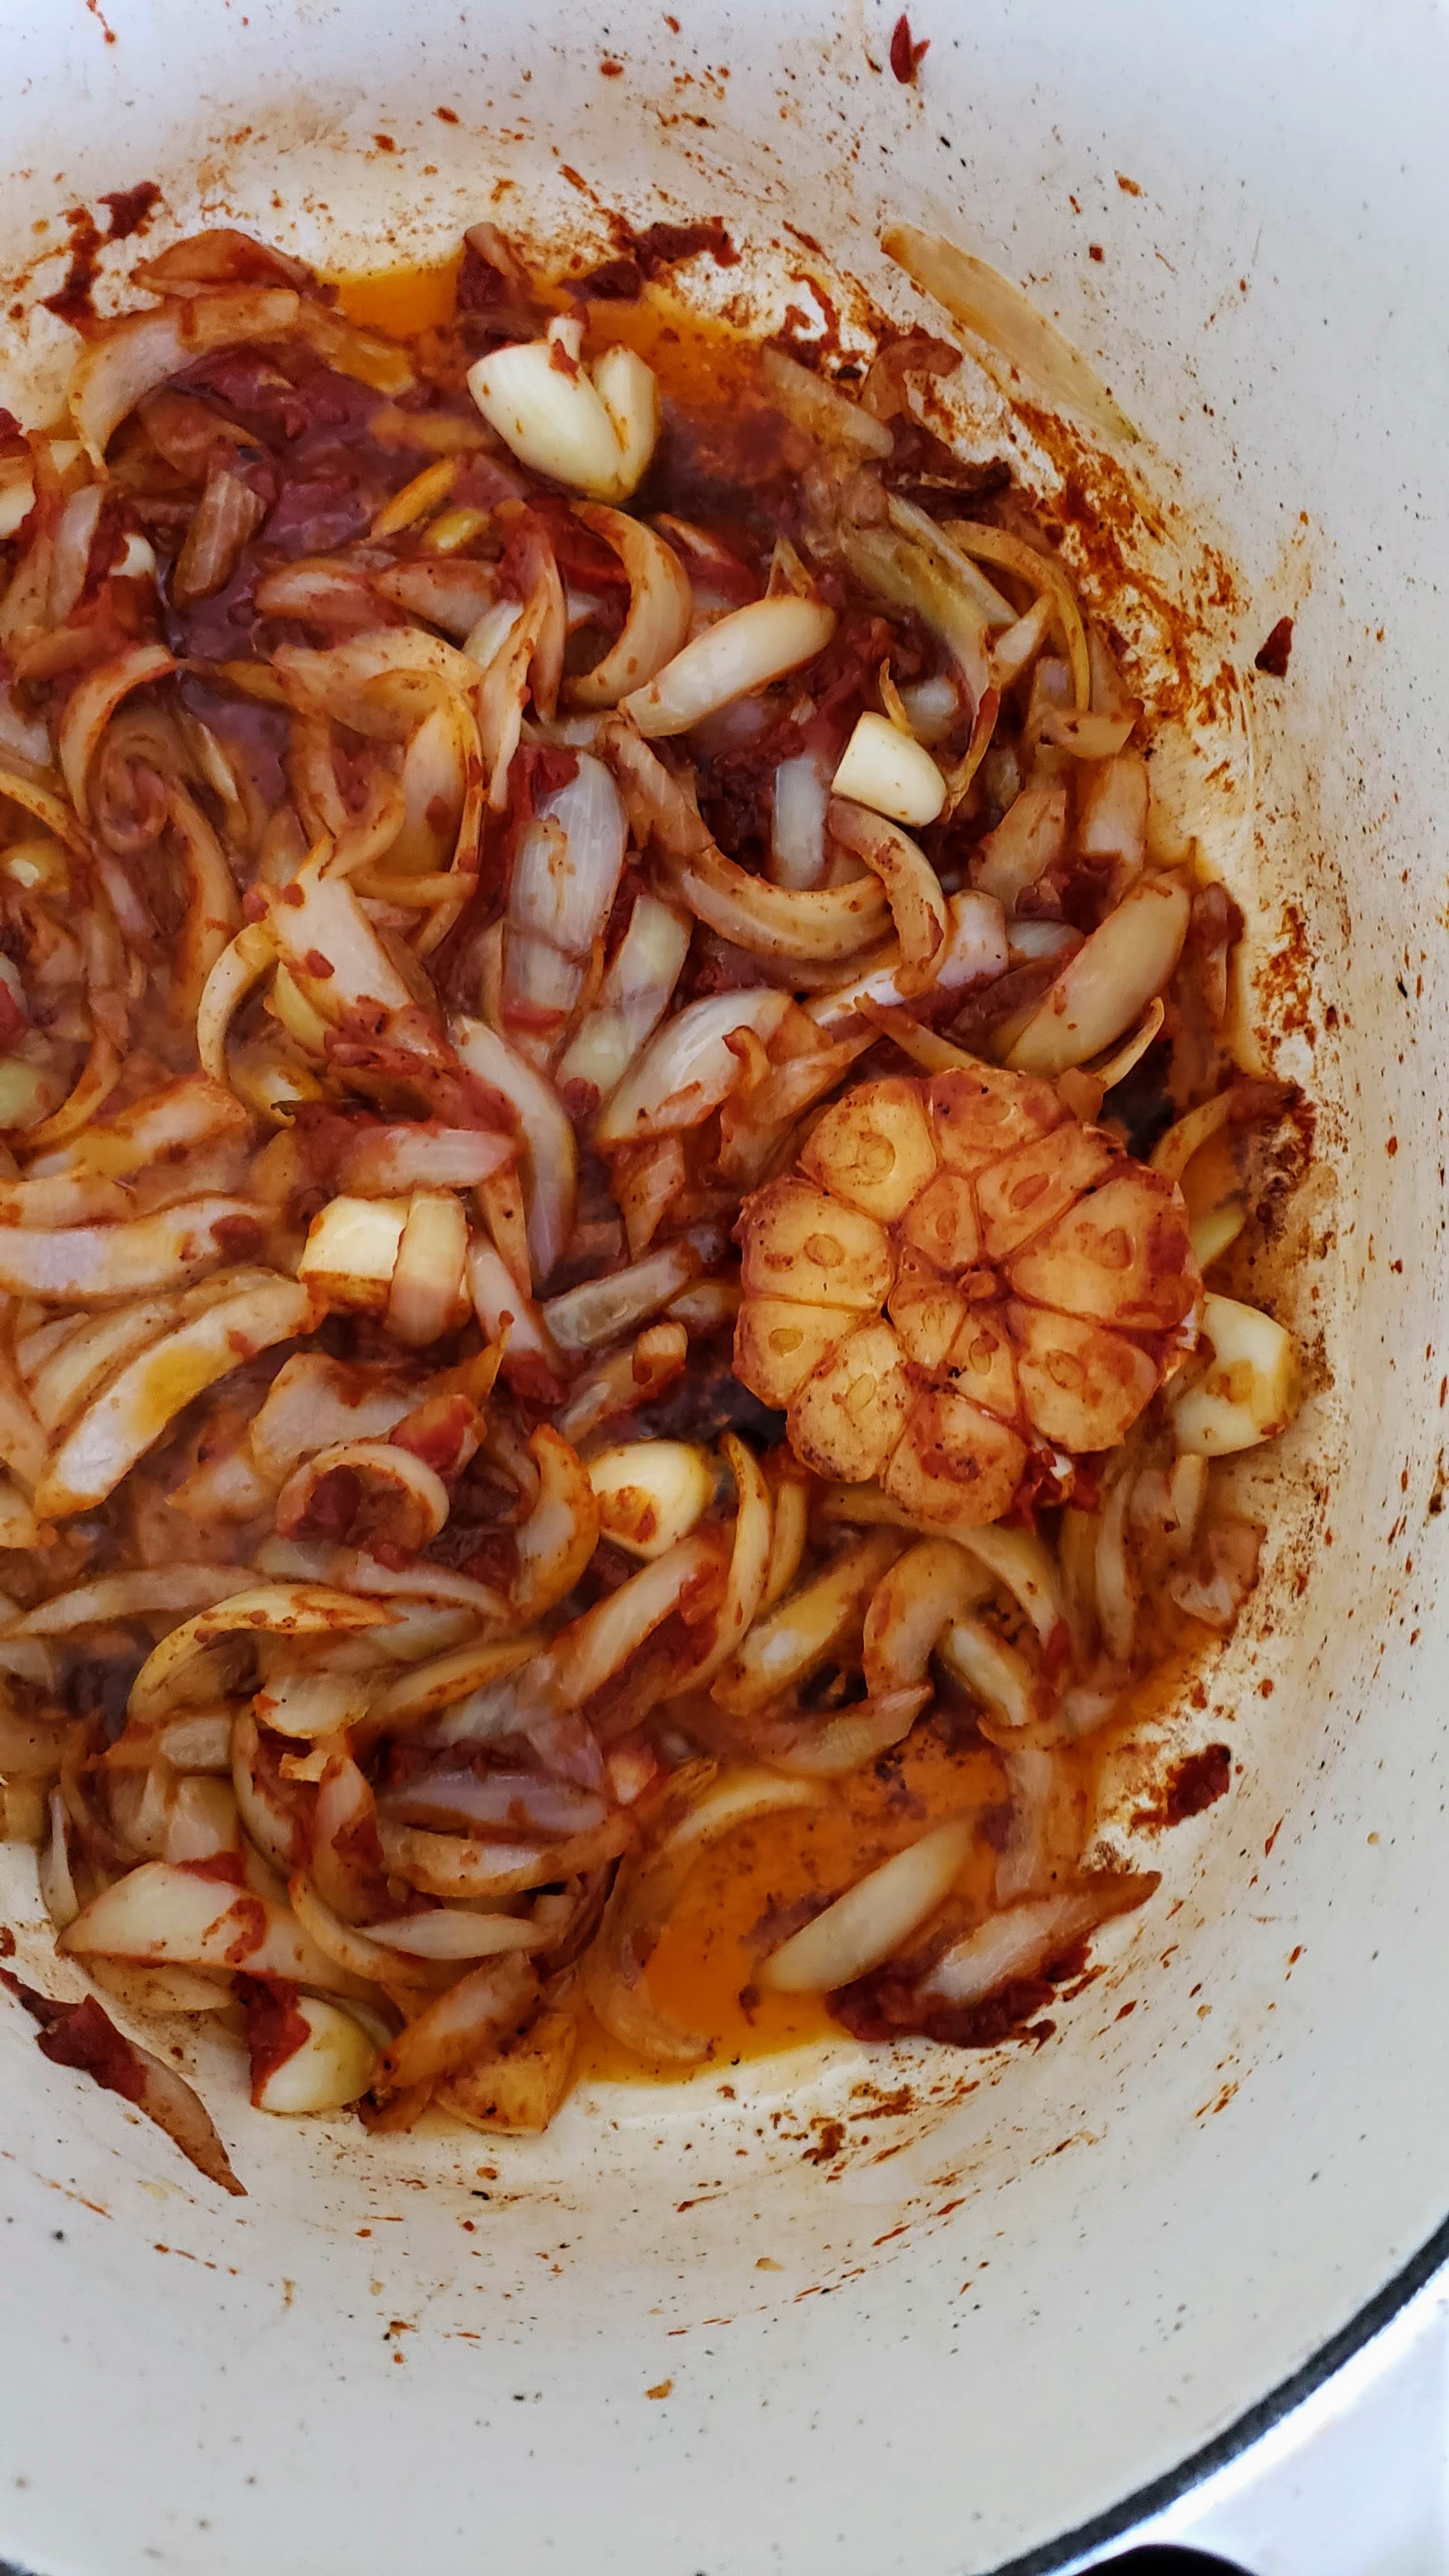
1 medium yellow onions, roughly sliced into 6-8 pieces
1 lemon
4-5 sprigs rosemary
5-6 sprigs thyme
Salt and freshly ground black pepper

Preparation

Roasted Chicken

  1. Heat the oven to 400 degrees.
  2. If using a cast iron skillet (recommended) place the skillet in the hot oven to heat up while you prepare.
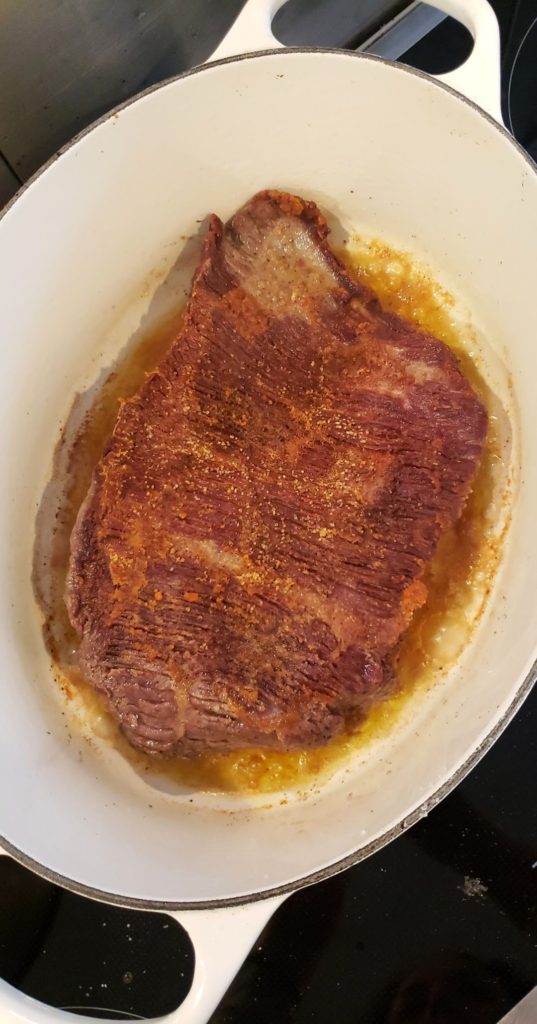
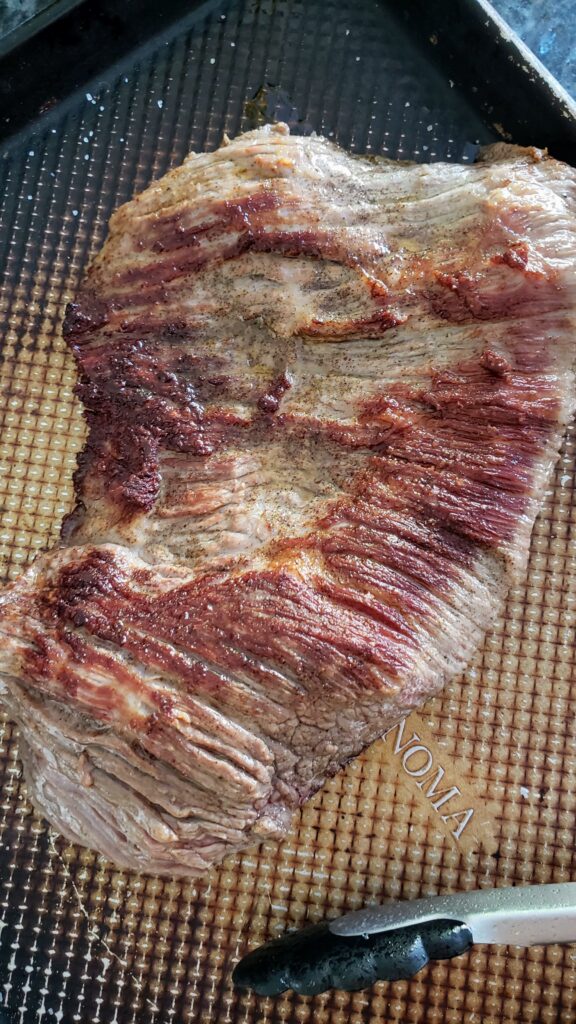
  3. Pat the chicken dry and season well with salt and pepper, both inside and out.
  4. Place chicken breast-side up in a cast-iron or ovenproof skillet and stuff the cavity with the lemon, 3 garlic cloves, and half of the rosemary and thyme.
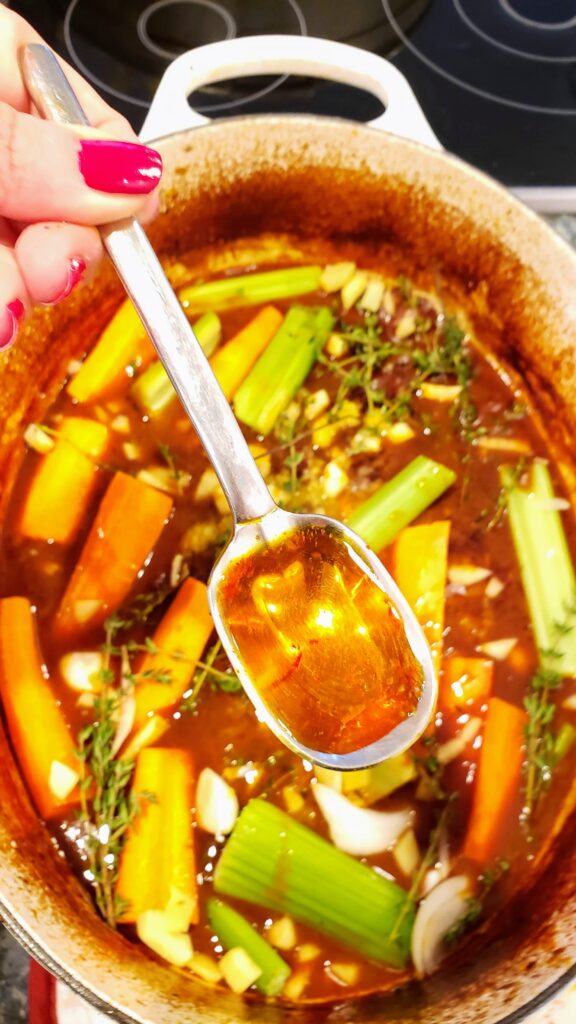
  5. Place carrots, celery, onion and remaining herbs around the chicken, drizzle with 1 tablespoon olive oil, season with salt and pepper.
  6. Rub the top of the chicken with another tablespoon of olive oil, using your fingers to cover breasts, legs and wings- this helps achieve golden brown skin.
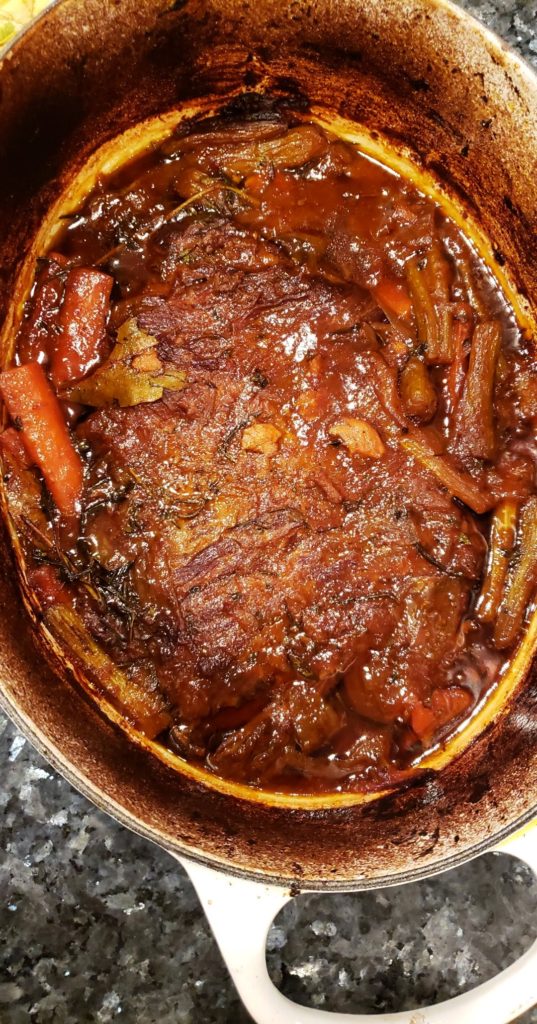
  7. Roast the chicken in the oven, basting every 20 minutes or so, for approximately one hour until golden brown and the dark meat registers 165 degrees on an instant thermometer. Half way through, mix the vegetables with any juices that accumulated in the skillet.
  8. Remove the skillet from the oven and baste on additional time.
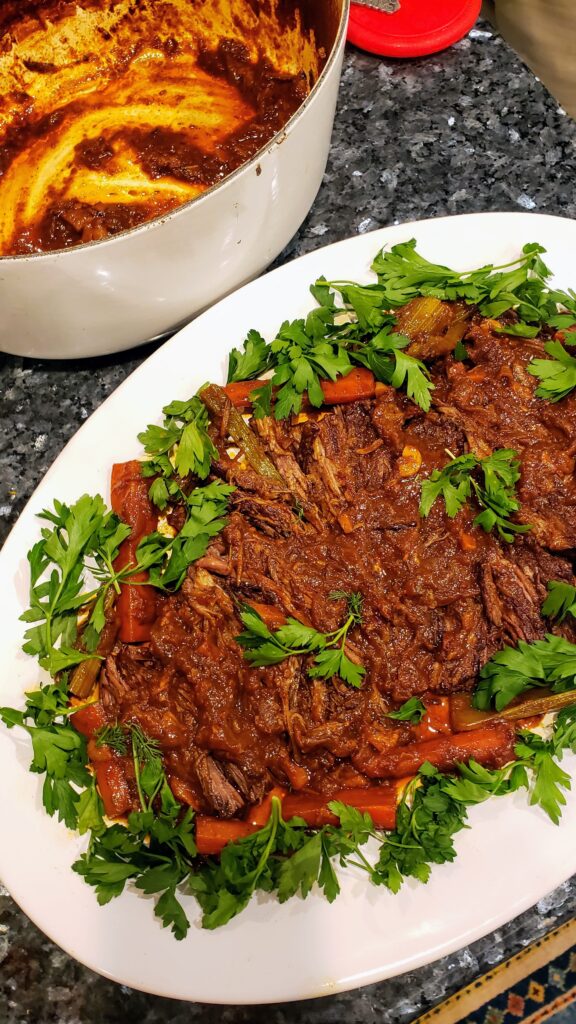
  9. Allow the chicken to rest for 10 minutes before carving and serving.

Roasted Garlic

  1. Heat oven to 400 degrees
  2. Remove the paper outer layers of the garlic bulb, leaving the skin intact on the cloves.
  3. Using a sharp knife, cut 1/4 to 1/2 inch from the top of the clove, exposing the tops of the individual garlic cloves.
  4. Place the garlic cut side up in a piece of aluminum foil big enough to wrap around the entire garlic.
  5. Drizzle about 1 tablespoon of olive oil on top of the exposed garlic, rubbing the oil in with your hands.
  6. Close the aluminum foil around the garlic creating a pouch the garlic will cook in.
  7. Roast for 30-40 minutes until soft, sweet and golden.
  8. Simply squeeze the soft cloves out of their shells or use a fork to easily remove and enjoy.

    Note~
    These creamy roasted garlic cloves don’t have the pungency of raw garlic and take on a lovely sweetness.

    You can rub them on bread, use for sandwiches or incorporate it in soups and pastas for fantastic added flavor!
Braised Brisket

Braised Brisket

The holidays are around the corner and although this year may be different than the rest- those of us who are fortunate enough- can still take solace in cooking a delicious meal. I’m grateful to be one with that privilege to indulge. According to the Oxford dictionary, “indulge” means to “allow oneself to enjoy the pleasure of.” I find pleasure in the simple things. Especially in a recipe which allows flavors to develop with the assistance of time.

Classic brisket is one of those simple pleasures. You sear the meat. Remove it. Add veggies and aromatics. Add meat back to the pot along with your braising liquid, then let time and heat do the work. The end result is tender, deeply flavored beef which takes its character from whatever you add to the pot. Magic!

This recipe is wonderful to cook for a small gathering, it serves about around 6, with a bit of leftovers for sandwiches the next day to boot. You cans add another piece of brisket to feed a larger group. Just add enough liquid to submerge all the meat while cooking.

~Tip – Try to find second cut brisket — It has slightly more fat marbling than the lean first cut variety and results in more flavor and tenderness.

Ingredients:

1 (5-7 pound) beef brisket, preferably second cut
3 tablespoons extra-virgin olive oil, divided
10-12 garlic cloves, smashed or an entire head of garlic with the top cut off
2 medium onions, sliced
3 medium carrots, cut into 3-inch pieces
3 celery stalks, cut into 3-inch pieces
6-8 sprigs fresh thyme
2-3 sprigs fresh rosemary
2 whole bay leaves
2 tablespoons tomato paste
5-6 cups beef stock (or chicken stock or water)

Directions:

  1. Preheat oven to 350 degrees F and adjust a rack to the lower third of the oven.
  2. Let meat stand at room temperature for 30 minutes before cooking. Pat dry with paper towels. Season generously on both sides with salt and pepper.
  3. Heat 2 tablespoons of the oil over medium-high heat in a large ovenproof enameled cast-iron pot or other heavy pot with a lid. Add brisket and sear, without moving, until golden walnut colored crusty brown areas appear, about 5 minutes per side. Transfer to a plate and set aside.
  4. Add the remaining 1 tablespoon of oil, garlic, onions, carrots, celery, thyme, rosemary and bay leaves to the pot. Sauté for approximately 5 minutes until unions have softened but not caramelized.
  5. Stir in tomato paste and cook for 2 more minutes.
  6. Add stock and bring to a gentle simmer, scraping up any brown bits stuck to the bottom of the pan with a wooden spoon.
  7. Place the brisket back in the pot, cover and place in the oven.
  8. After 3 hours, remove the lid from the pot and continue cooking uncovered so some of the liquid can evaporate and sauce can thicken. Continue braising for about 1 hour more, or until the brisket is fork tender. If the sauce starts to get too thick before the meat is tender, cover the pot again.
  9. Remove from oven and transfer meat to a cutting board; cover loosely with aluminum foil and let rest 15- 20 minutes before slicing against the grain into thick slices. Arrange sliced meat on a serving platter.
  10. Discard rosemary, thyme and bay leaves from the sauce. Using a slotted spoon, remove vegetables and arrange around the brisket. Spoon desired amount of pan juices over the brisket and serve.
Pretty Pickled Onions

Pretty Pickled Onions

Looking for a new condiment for the Ultimate Naz Burger.  I started experimenting with fun pickling ideas – these pickled onions have become a family favorite since.

We put them on everything. They work with countless dishes by adding a refreshing zing. Perfect on tacos, simple eggs, avocado toast, or to add a tangy crunch to salads and sandwiches. They also offer balanced flavor to anything rich or sweet such as caramelized roasted butternut squash, a creamy soup, or fresh avocados.

Pickled onions have been an indispensable ingredient in my kitchen for years. Not only do they turn into a gorgeous magenta jewel-toned color in the brine mixture, their crunchy tangy goodness adds new levels of delicious to the party.

They take about 10 minutes to make. Full instructions are below, but you basically slice onions and submerge in a bath of vinegar, water, sugar and salt. The ratio in this recipe is seeking the perfect balance but it’s a forgivable recipe which you can make your own by adjusting sweetness and acid levels or playing with different vinegars. Just know basic white vinegar is good enough.

This is a quick pickle recipe so it comes together “quickly.” Within about 20 minutes it will taste great. Even better overnight in the fridge. You can add aromatics like garlic, thyme and peppercorns if you like, but this simple, four-ingredient version will be just as great without the extras.


Like the recipe? Feel free to share with us your rendition on our Basil and Roses Facebook page or @basilandroses on Instagram using the hashtag #PrettyPickledOnions