Braised Brisket
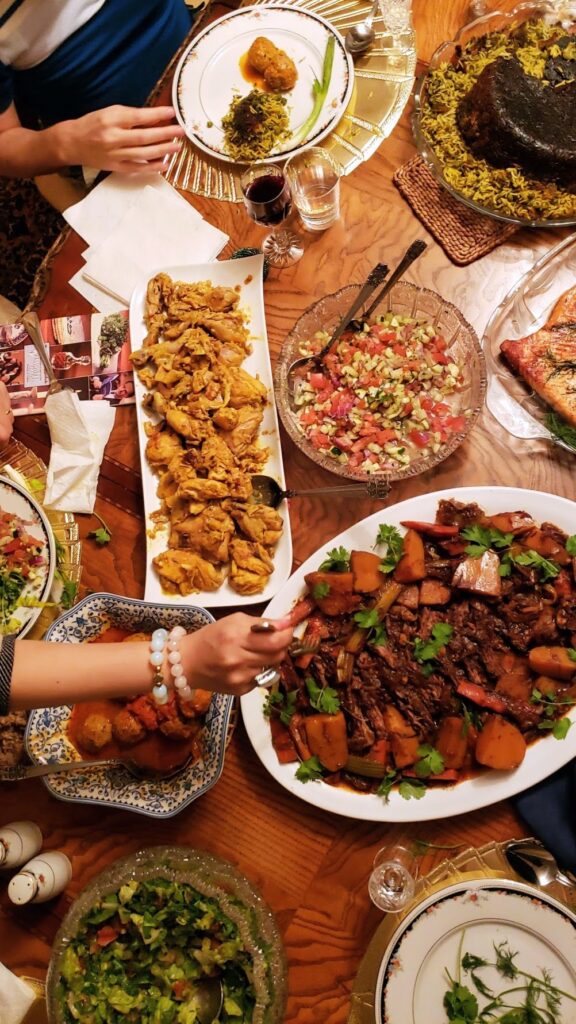
The holidays are around the corner, and though this year may look different than those past, those of us who are fortunate can still take comfort in the kitchen. Cooking has always been more than food to me—it’s a way of gathering, of carrying forward traditions, and of showing love.
The Oxford dictionary defines “indulge” as allowing oneself to enjoy the pleasure of. For me, that pleasure is found in the simple things: preparing heart-warming family dinners, honoring traditions like Passover, Rosh Hashanah, or Nowruz with those I love, and slowing down long enough to share a meal and stories at the table.
Cooking for a group is no small task, but it is one of my greatest joys. Feeding my people is how I express care, and when it comes to larger gatherings, I lean on recipes that welcome time into the process—dishes that deepen in flavor the longer they rest and simmer.
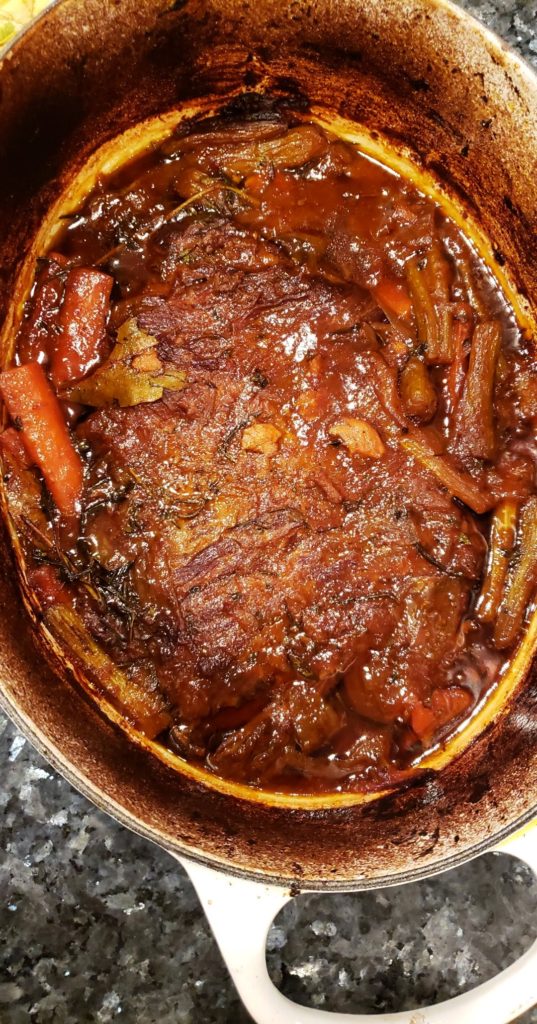
Classic brisket is one of those recipes. The method is humble: sear the meat, remove it, build a base of vegetables and aromatics, return the meat with its braising liquid, then let patience and heat work their quiet magic. The reward is tender, richly flavored beef, infused with the essence of everything in the pot—a dish as much about time and love as it is about food.
This recipe is wonderful to cook for a small gathering. It serves about six, with a little left over for the best sandwiches the next day. To feed a larger group, simply add another piece of brisket, making sure there’s enough liquid to submerge all the meat as it cooks.
Tip: Try to find second cut brisket — It has slightly more fat marbling than the lean first cut variety and results in more flavor and tenderness.
Ingredients:
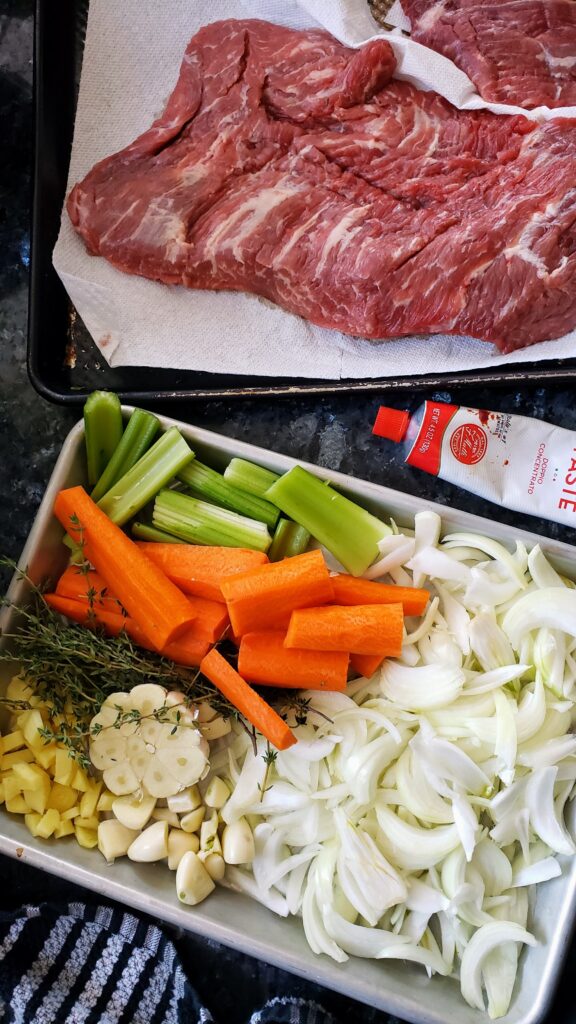
1 (5-7 pound) beef brisket, preferably second cut
3 tablespoons extra-virgin olive oil, divided
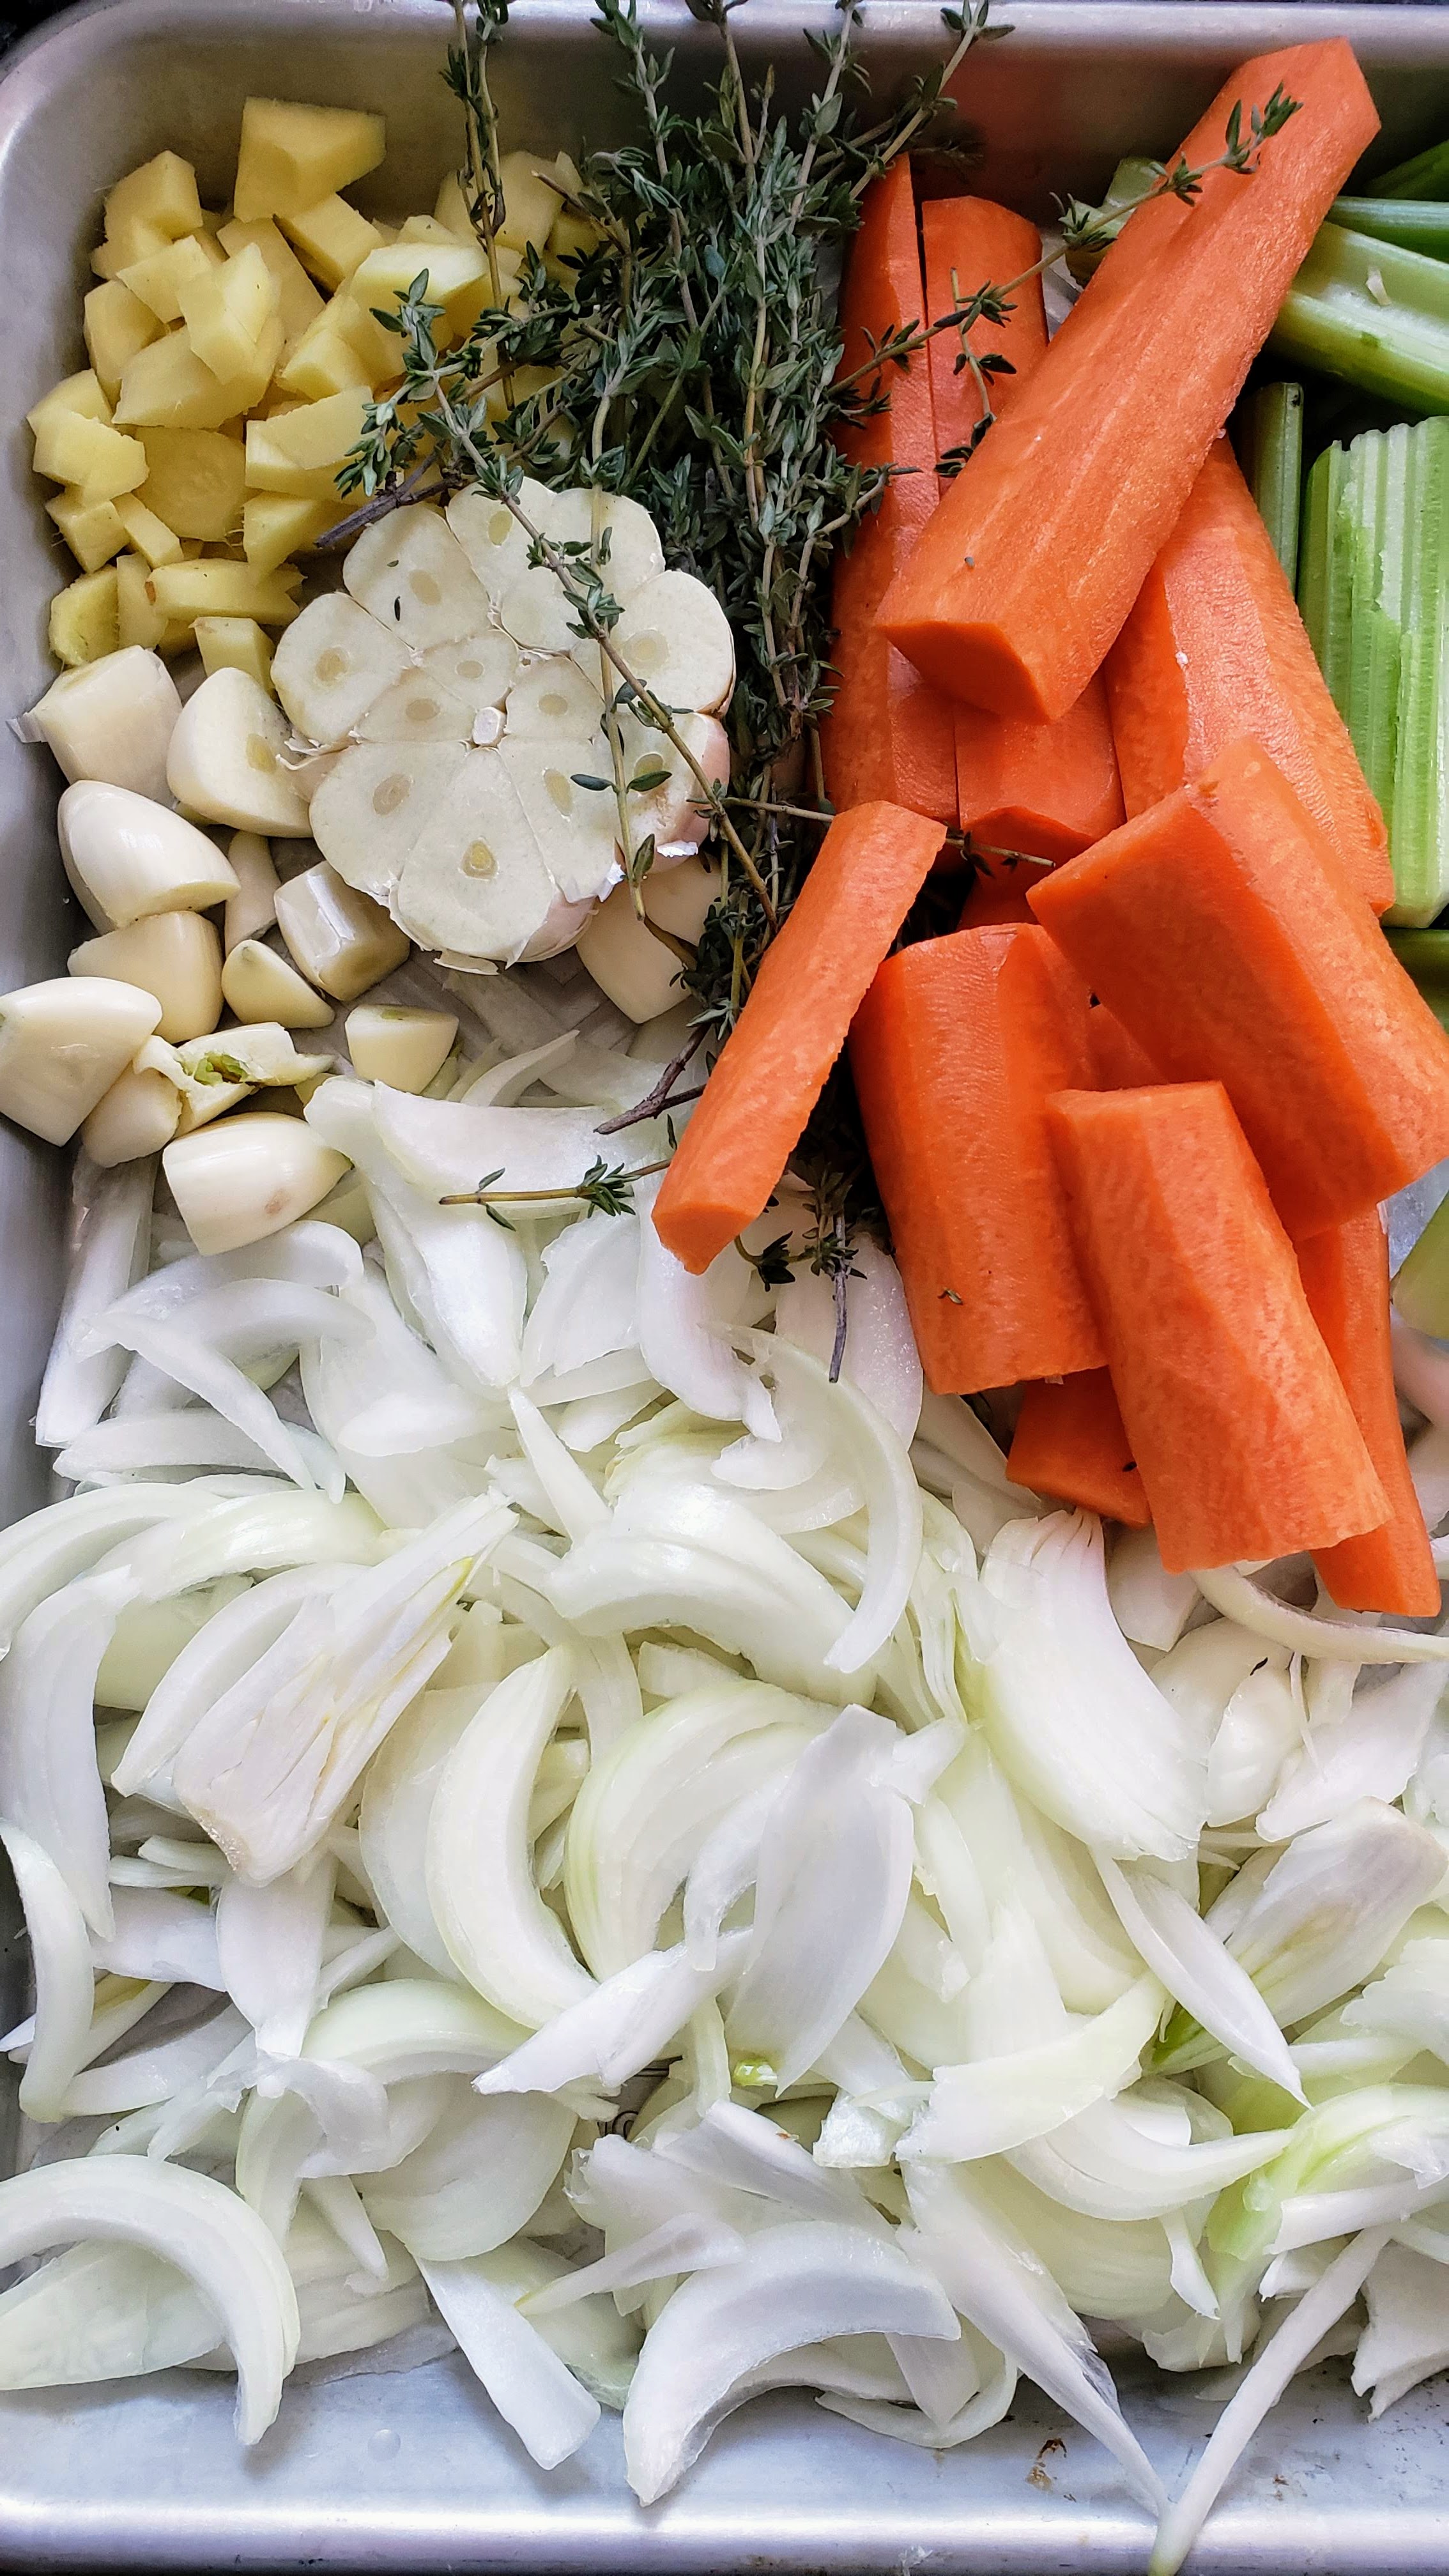
10-12 garlic cloves, smashed or an entire head of garlic with the top cut off
2 medium onions, sliced
3 medium carrots, cut into 3-inch pieces
3 celery stalks, cut into 3-inch pieces
6-8 sprigs fresh thyme
2-3 sprigs fresh rosemary
2 whole bay leaves
2 tablespoons tomato paste
5-6 cups beef stock (or chicken stock or water)
3 inch piece of ginger, chopped into small pieces (optional)
Directions:
- Preheat oven to 350 degrees F and adjust a rack to the lower third of the oven.
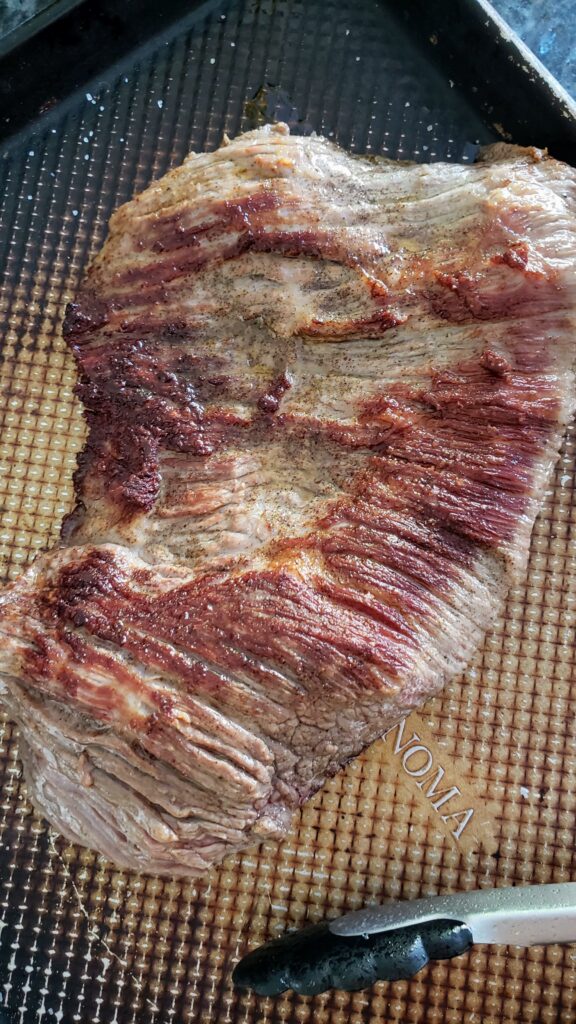
- Let meat stand at room temperature for 30 minutes before cooking. Pat dry with paper towels. Season generously on both sides with salt and pepper.
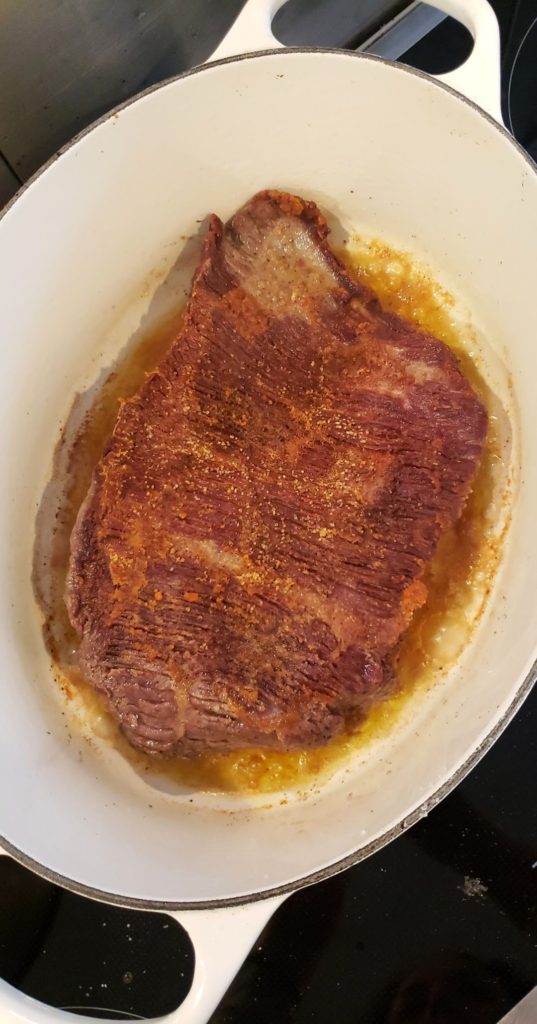
- Heat 2 tablespoons of the oil over medium-high heat in a large ovenproof enameled cast-iron pot or other heavy pot with a lid. Add brisket and sear, without moving, until golden walnut colored crusty brown areas appear, about 5 minutes per side. Transfer to a plate and set aside.
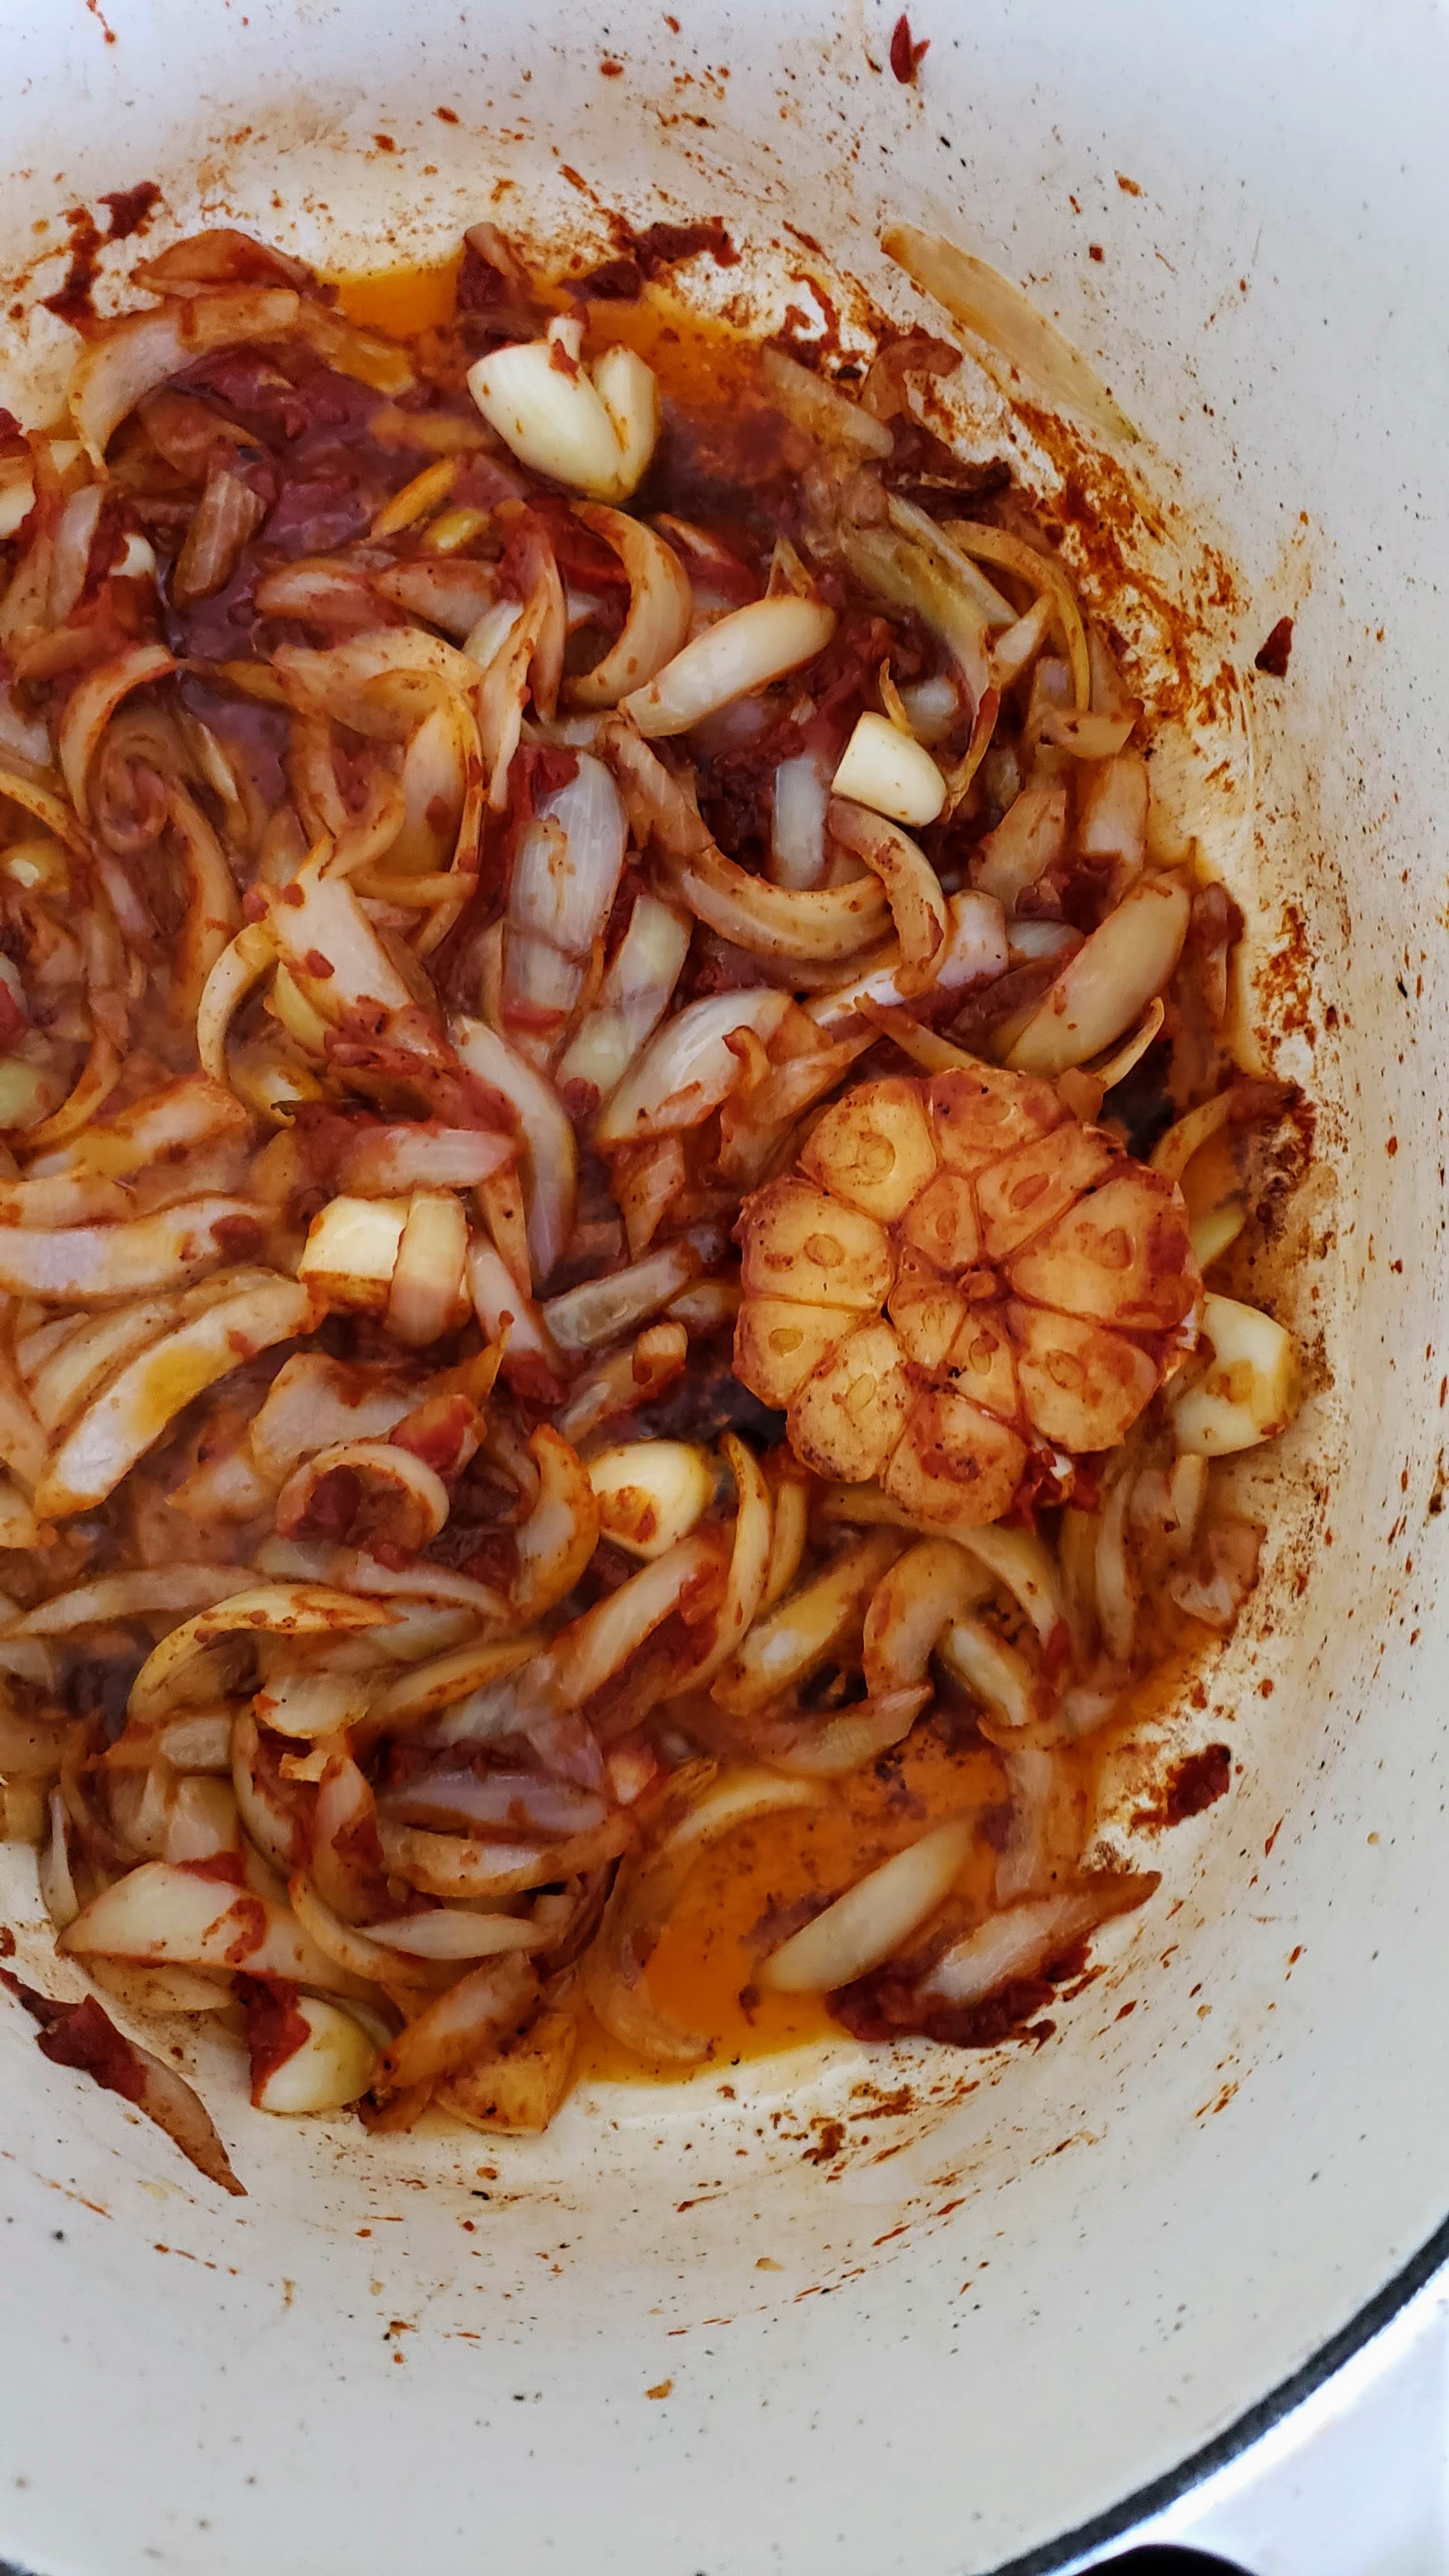
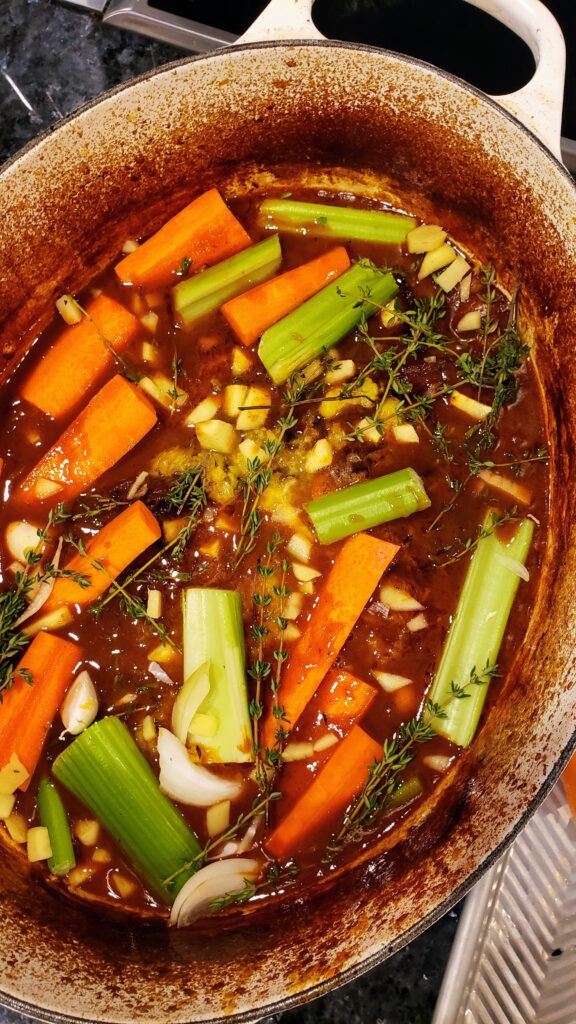
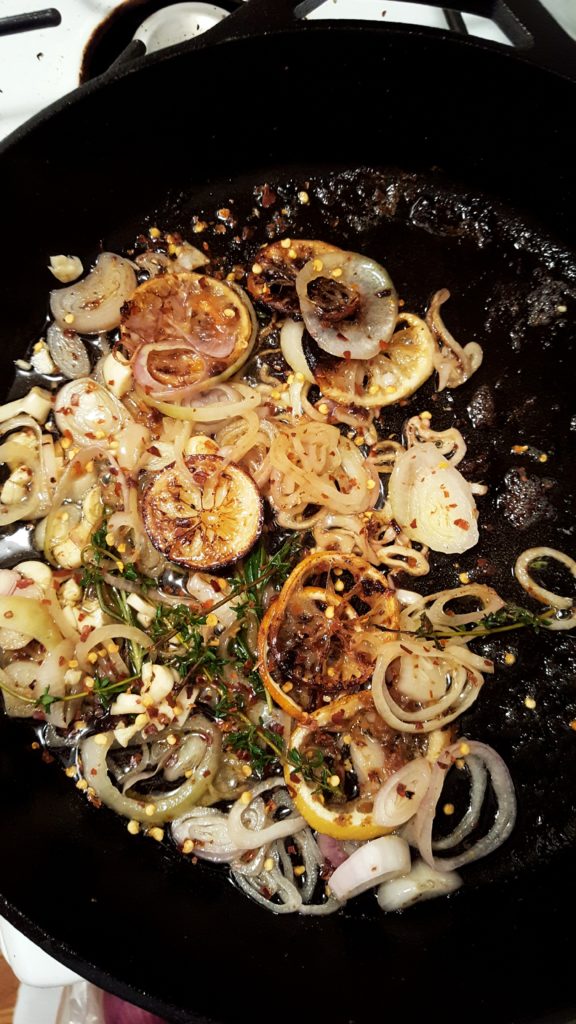
- Add the remaining 1 tablespoon of oil, garlic, onions, carrots, celery, thyme, rosemary bay leaves, and ginger, if using, to the pot. Sauté for approximately 5 minutes until unions have softened but not caramelized.
- Stir in tomato paste and cook for 2 more minutes.
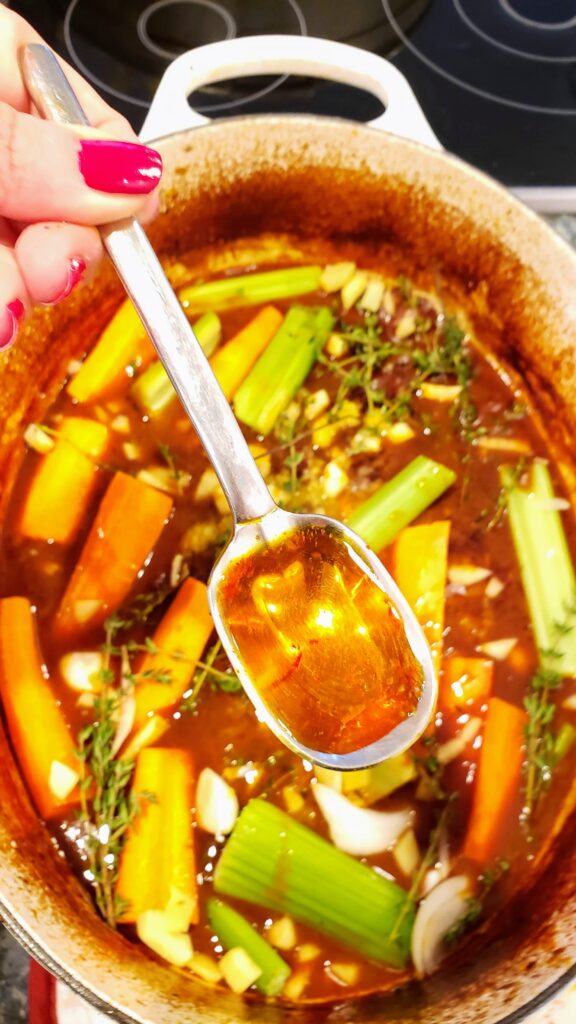
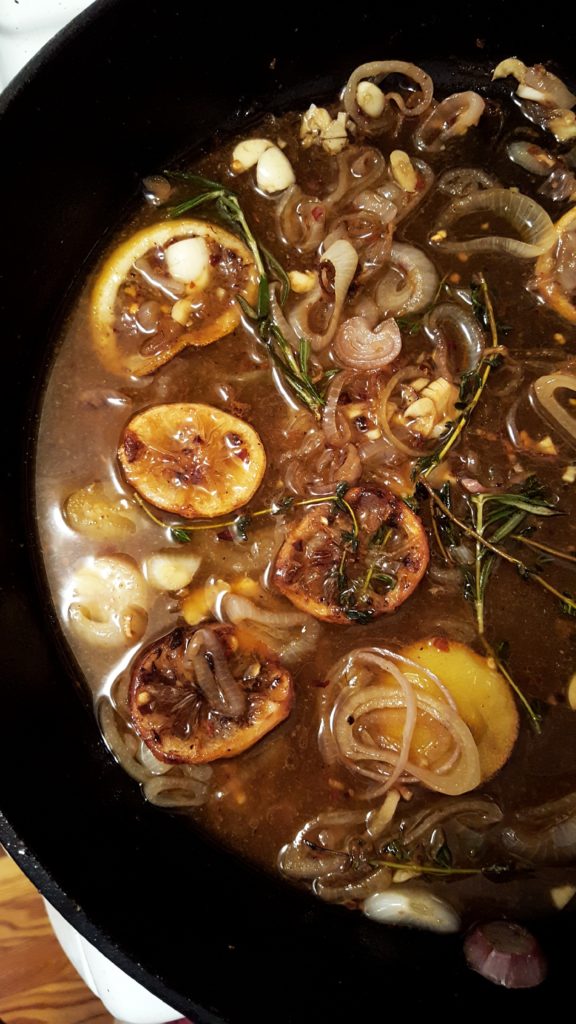
- Add stock and bring to a gentle simmer, scraping up any brown bits stuck to the bottom of the pan with a wooden spoon.
- Place the brisket back in the pot, cover and place in the oven.
- After 3 hours, remove the lid from the pot and continue cooking uncovered so some of the liquid can evaporate and sauce can thicken. Continue braising for about 1 hour more, or until the brisket is fork tender. If the sauce starts to get too thick before the meat is tender, cover the pot again.
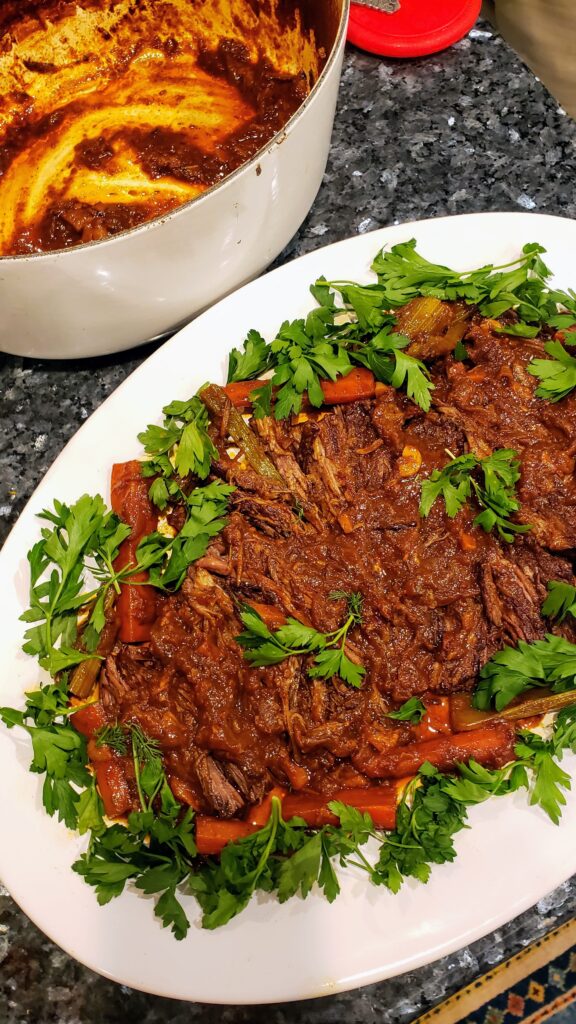
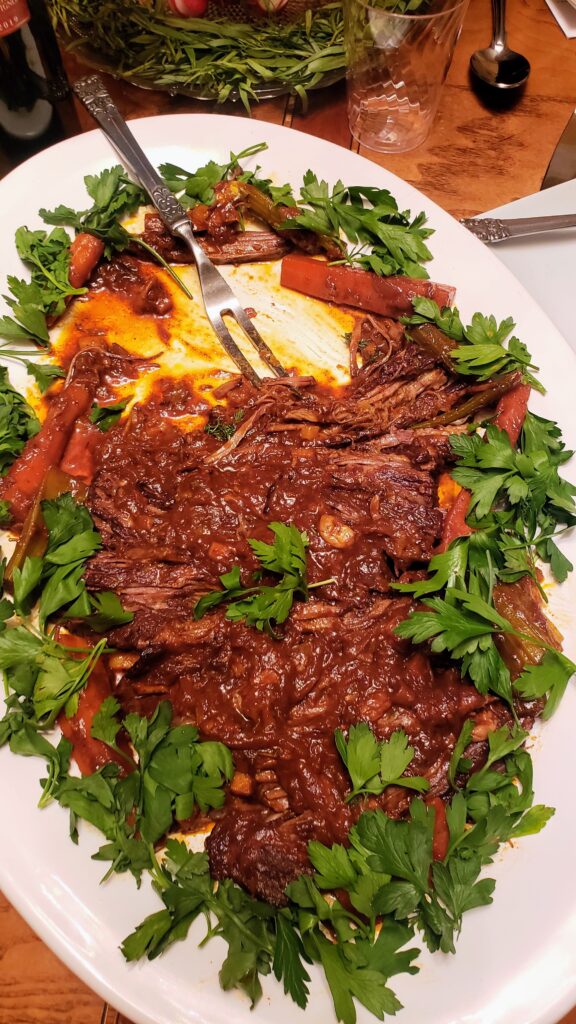
- Remove from oven and transfer meat to a cutting board; cover loosely with aluminum foil and let rest 15- 20 minutes before slicing against the grain into thick slices. Arrange sliced meat on a serving platter.
- Discard rosemary, thyme and bay leaves from the sauce. Using a slotted spoon, remove vegetables and arrange around the brisket. Spoon desired amount of pan juices over the brisket and serve.