Browsed by
Tag: holiday recipes

Classic Roast Chicken

Classic Roast Chicken

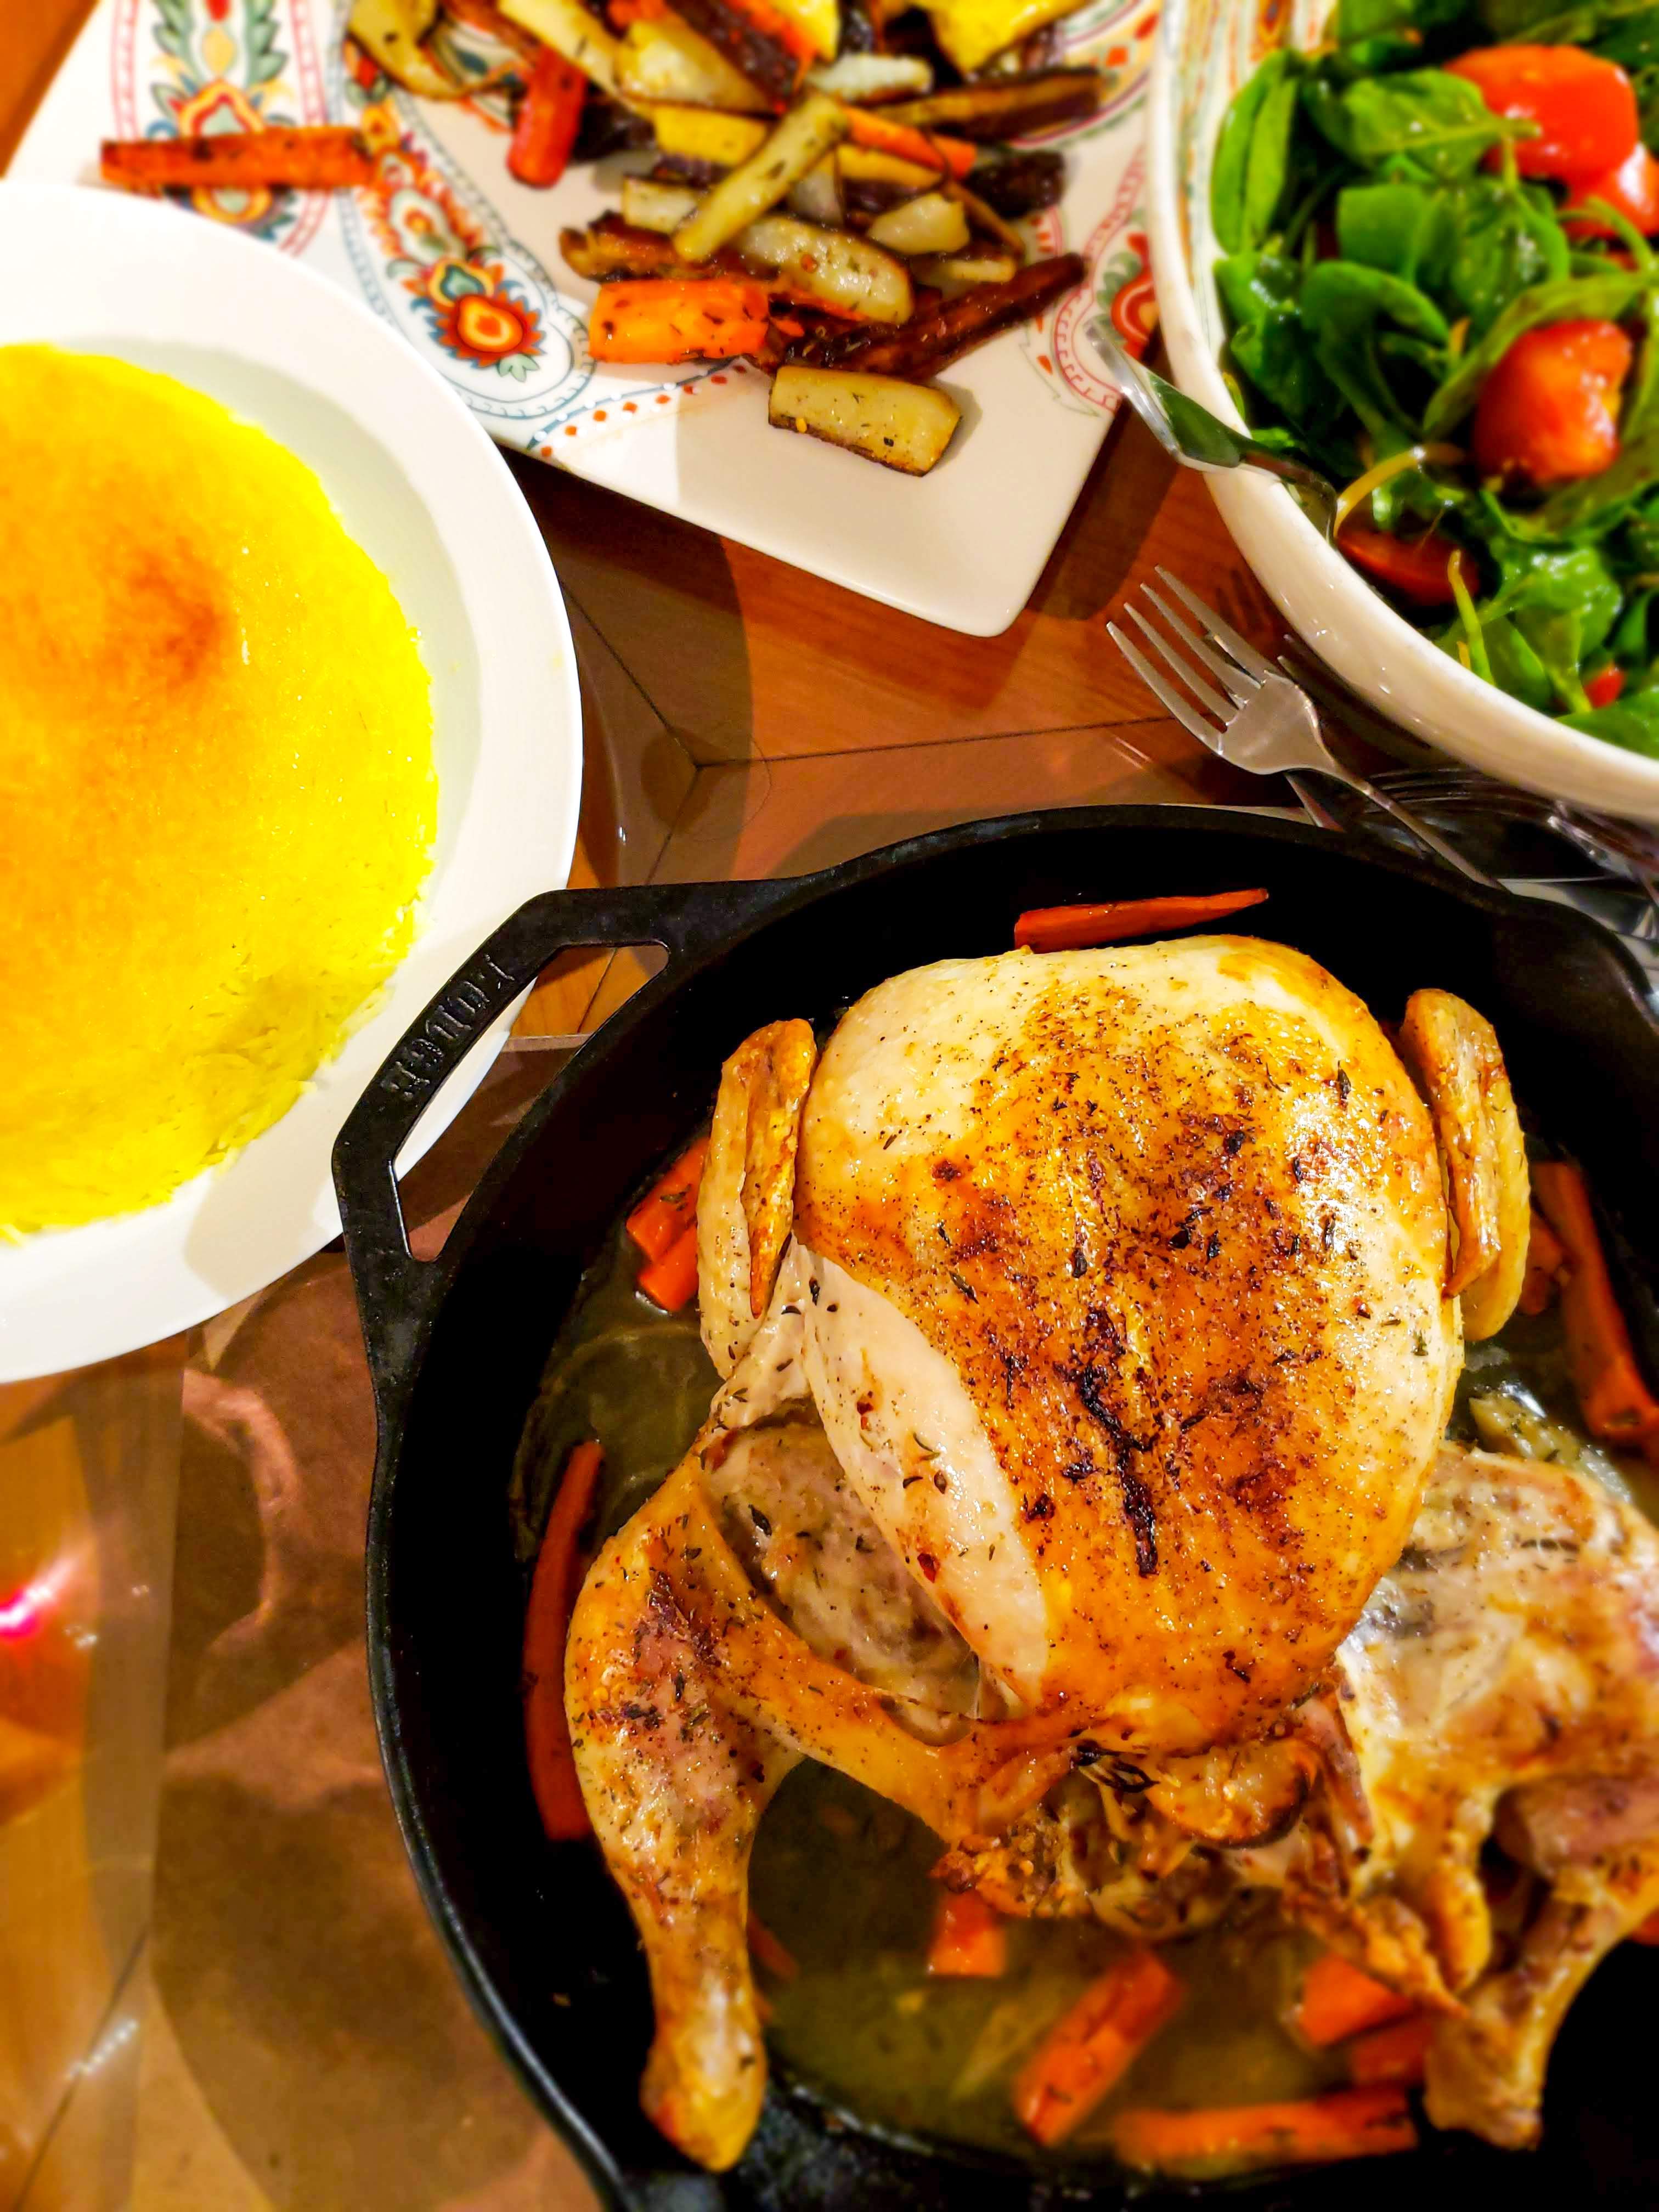
Fall is fully upon us and with that comes a desire for warming roasts and slow cooked hearty dishes. The days are shorter, temperatures cooler, and we crave comfort. The truth is chicken roasted in the oven, in the endless iterations it can be prepared, is good all year round. It’s a dish synonymous with home cooking and perhaps the one dish I’ve share most with loved ones. From family feasts to fabulous fetes with friends, a golden roasted bird is always a win. Either prepared simply or adorned with vegetables and aromatics.
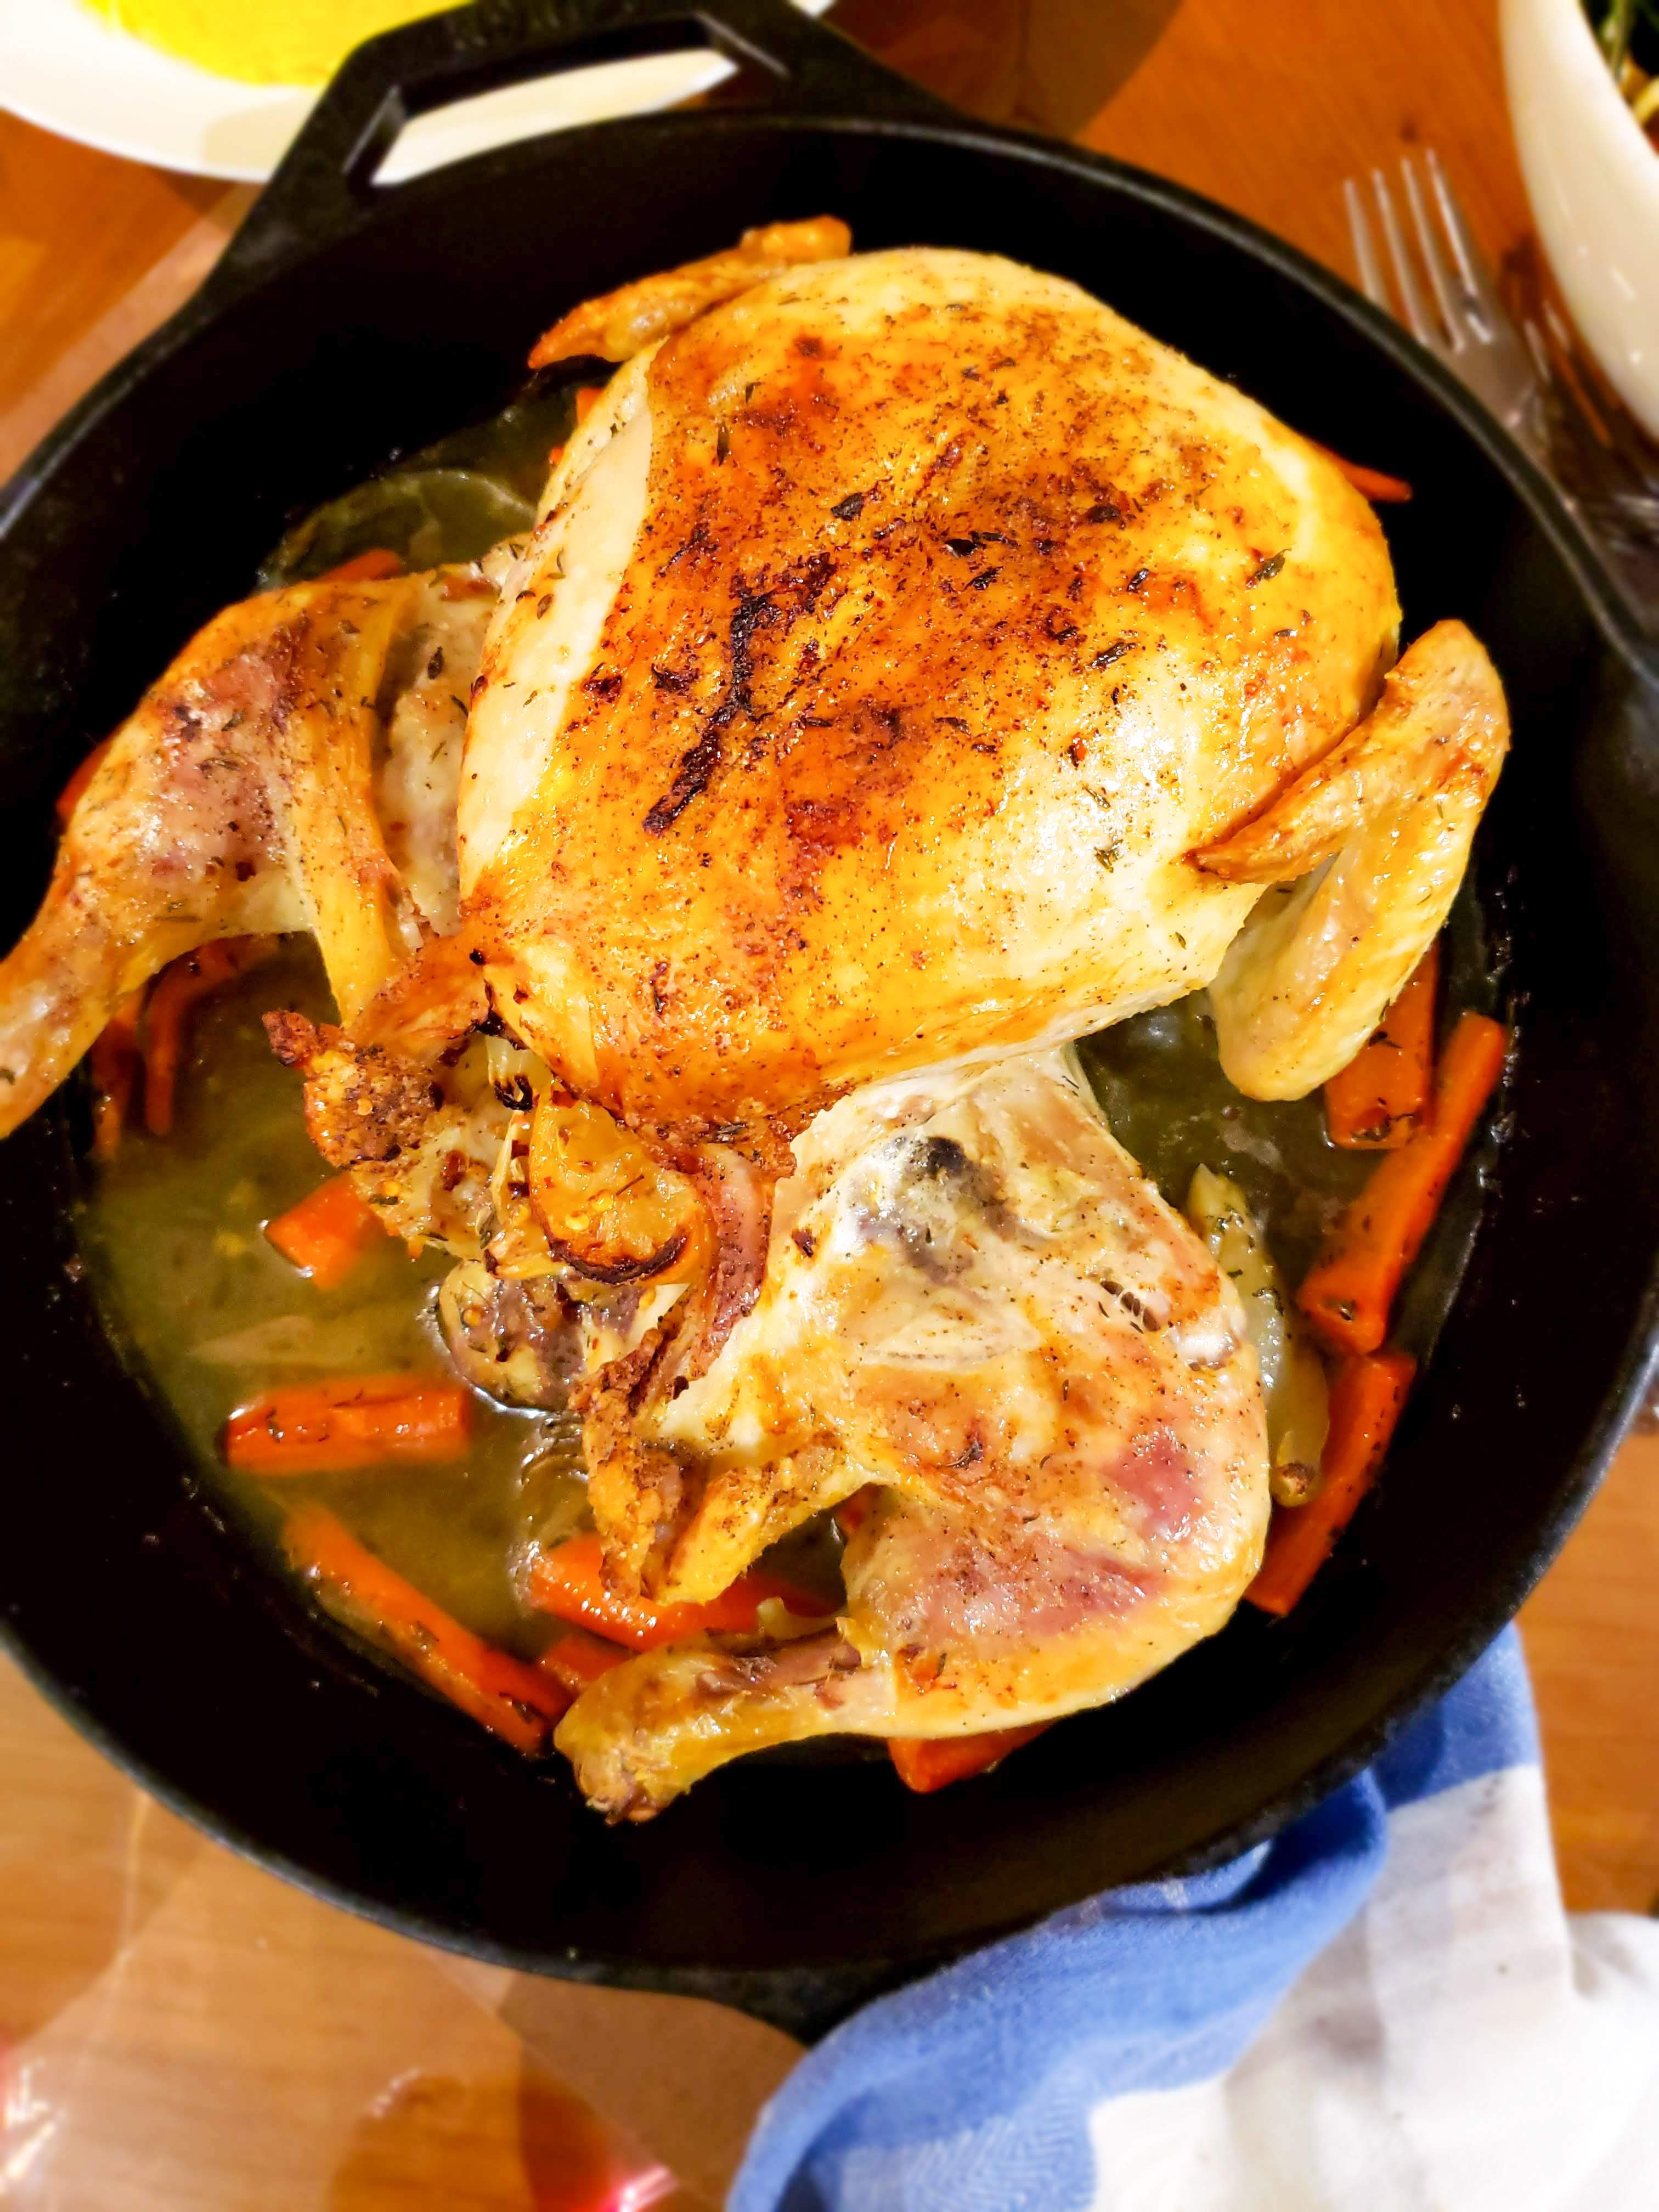
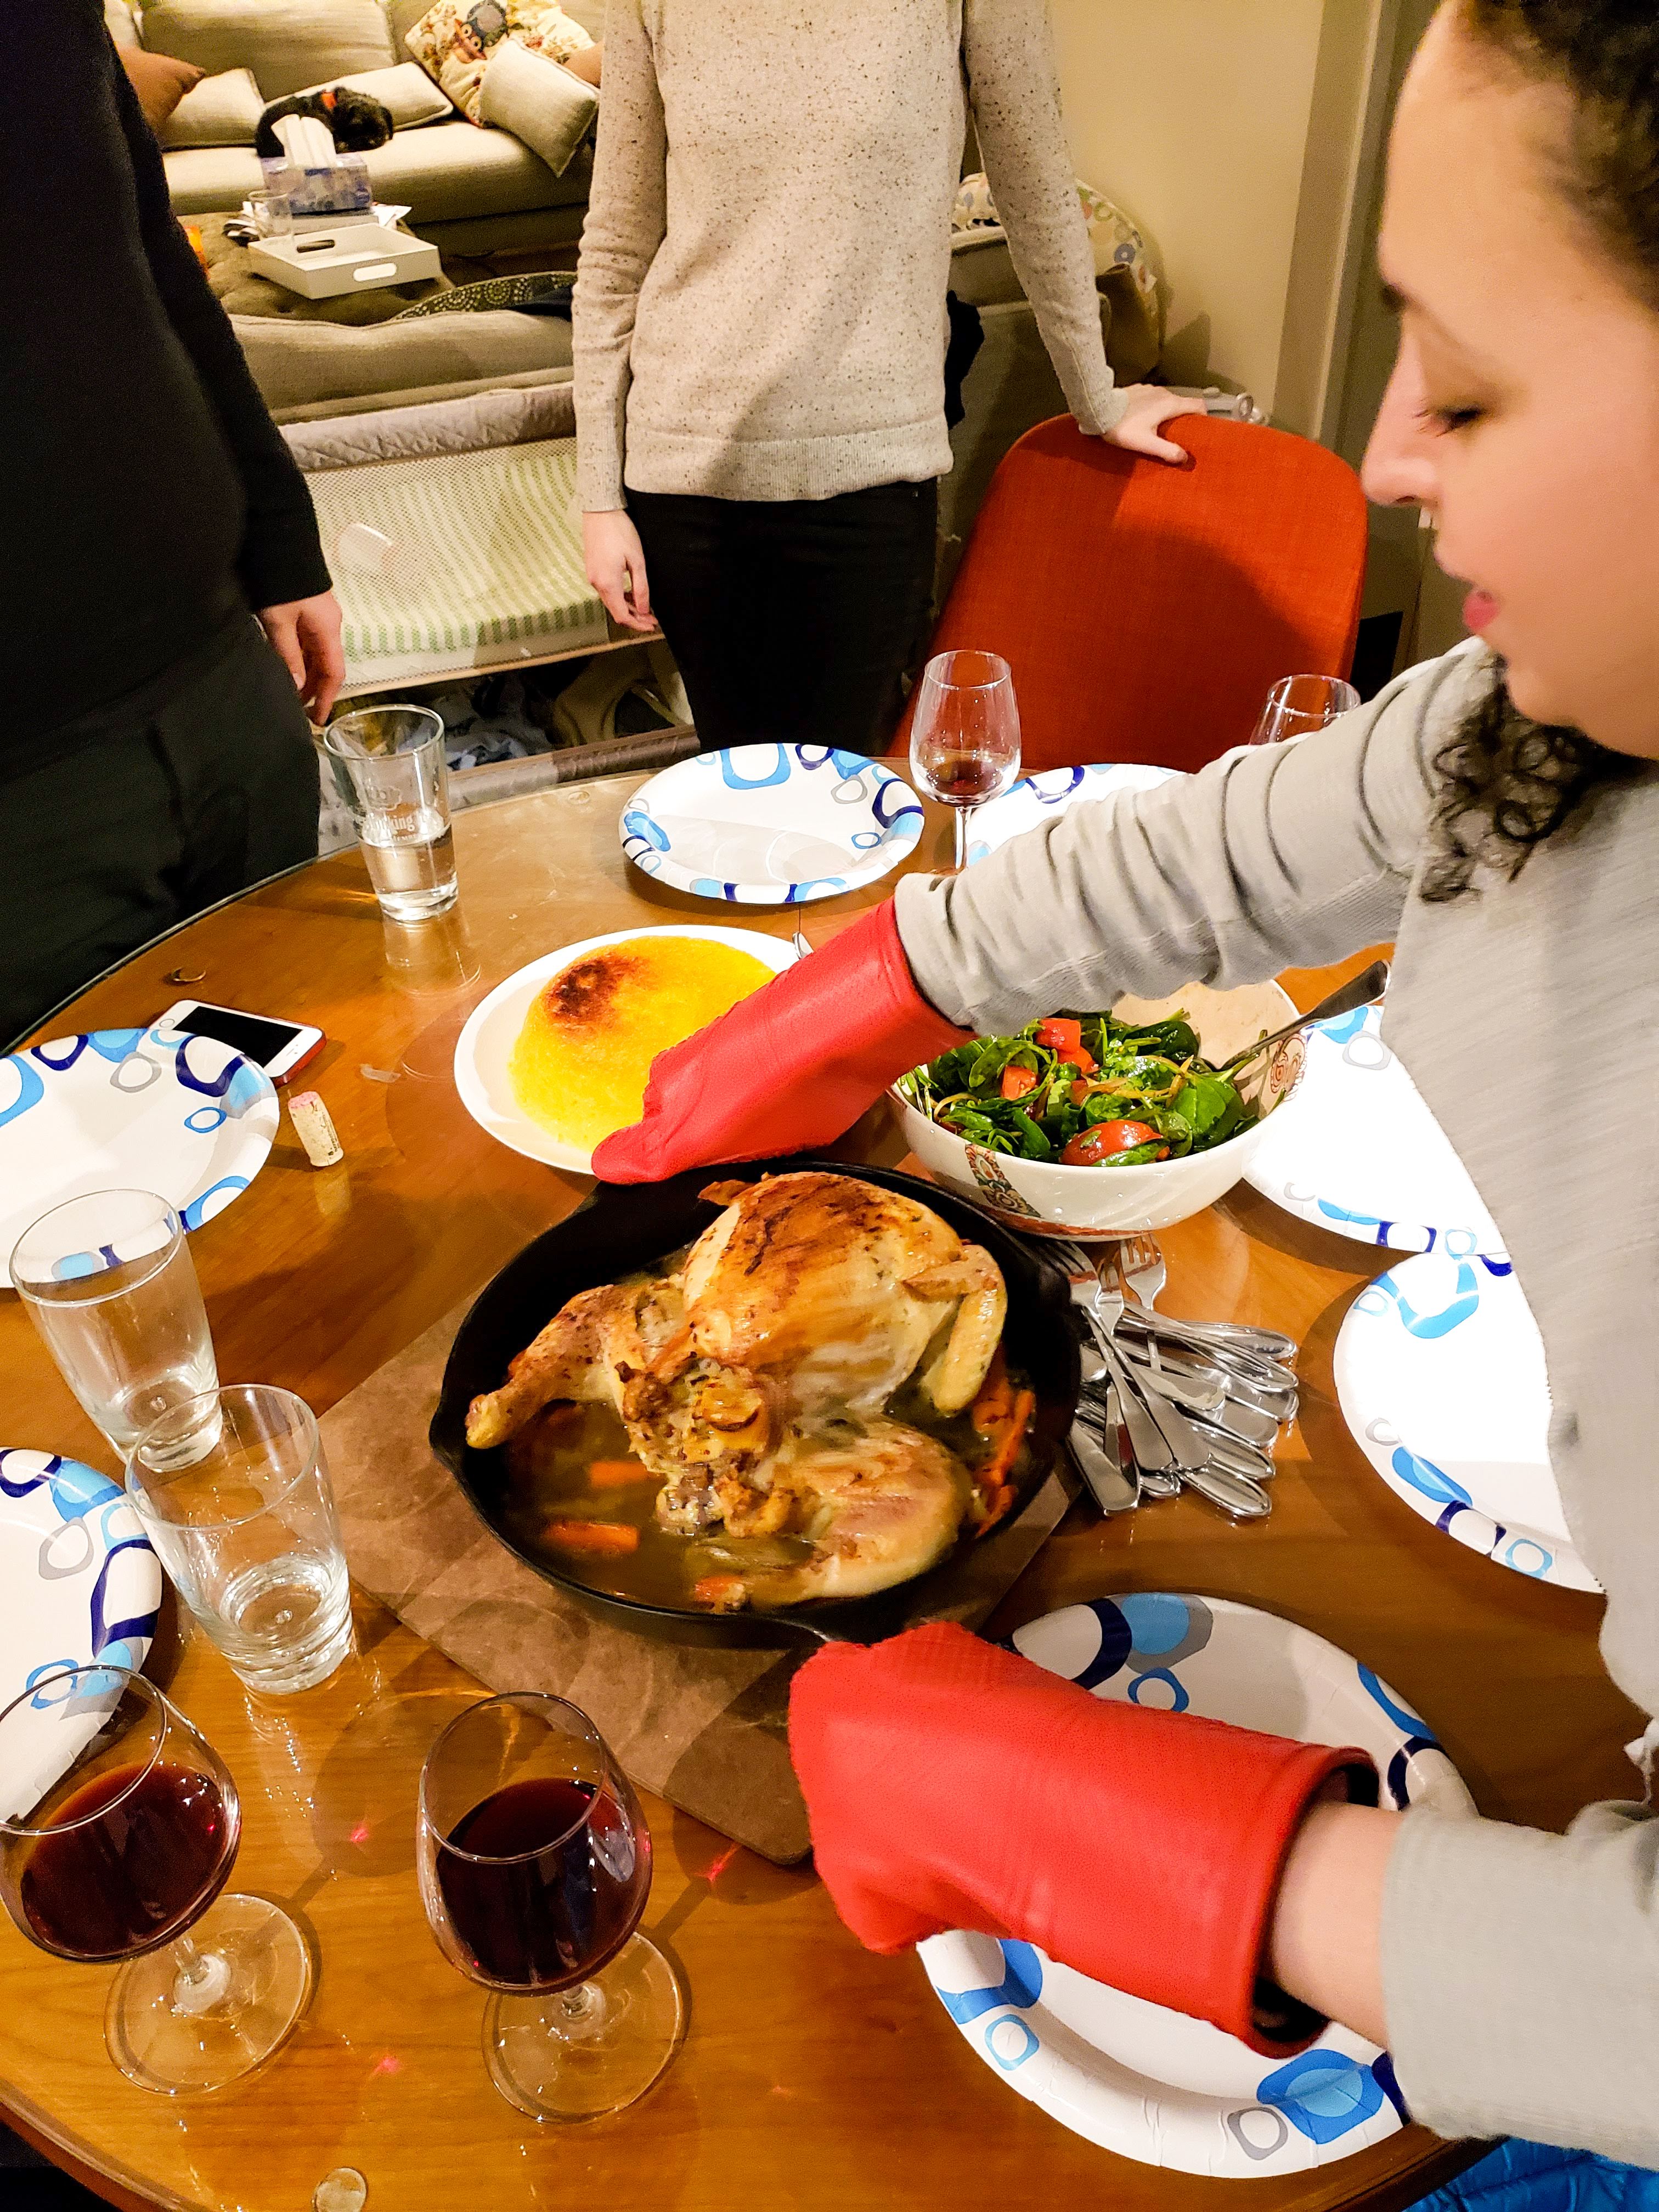
All you need is chicken, olive oil, salt and pepper. You can play with many different combinations to utilize the transformative power of things cooked in natural chicken fat. Add lemon, herbs and a trio of onions, carrots and celery for a classic option. Garlic is always a good idea, so are woodsy herbs like rosemary and thyme. Green peas add a touch of sweetness. Leeks are lovely, paired with potatoes and lots of black pepper. Potatoes cooked in chicken fat are mouthwateringly tasty.

Stuffing the chicken with rice has a wonderful homey vibe- it adds slightly to cooking time but greatly to satisfaction. Not to mention it can be a great alternative to a more labor-intensive Thanksgiving Turkey. Another delightful flavor combination, chicken baked with scallions, ginger, lemon and white wine. And of course there are a myriad of spices that can makes a chicken dinner exciting- paprika, white pepper and herbs de Provence to name just a few.
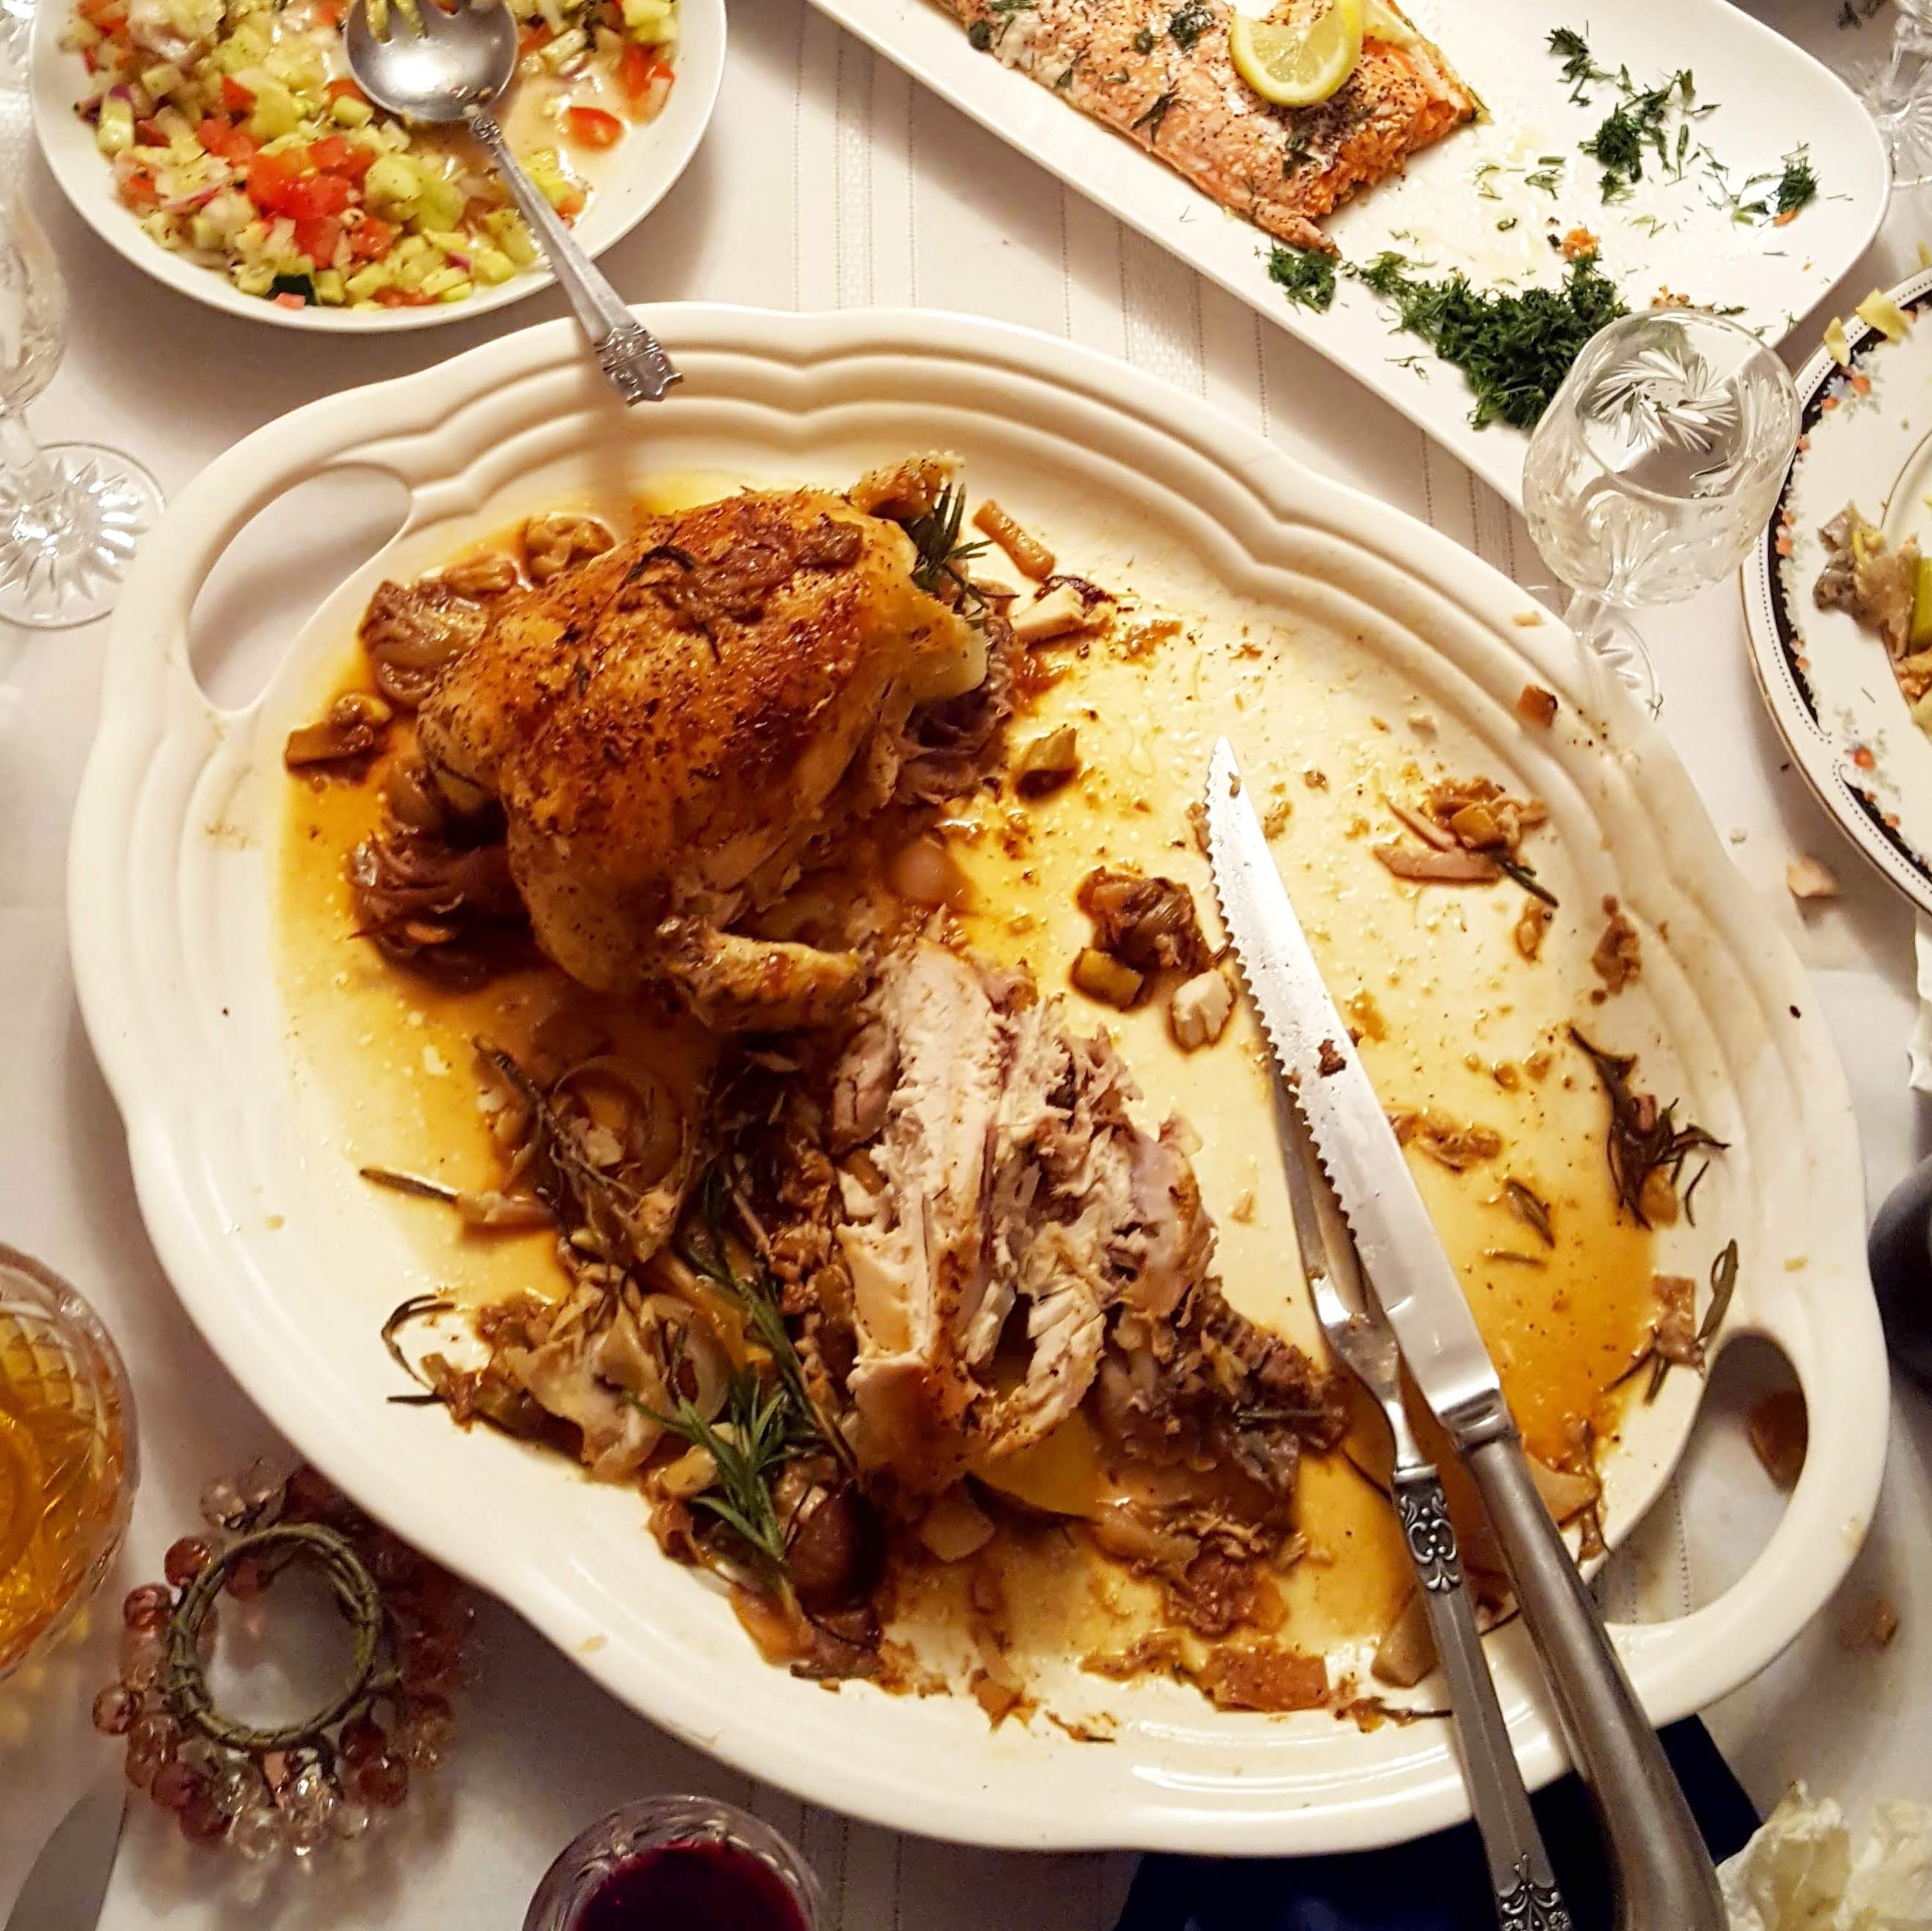
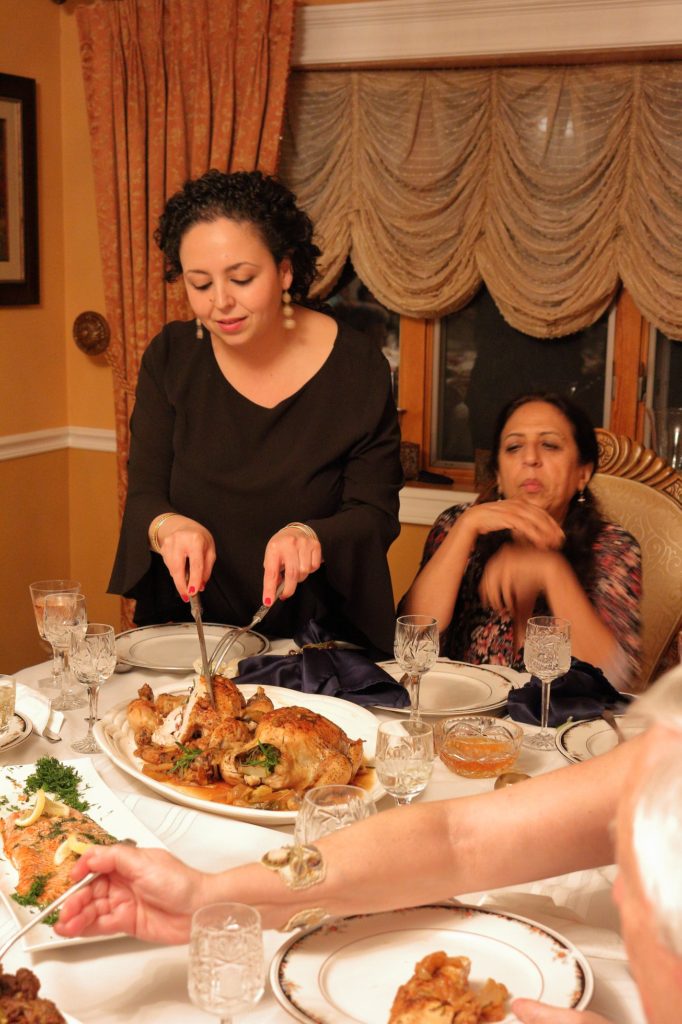
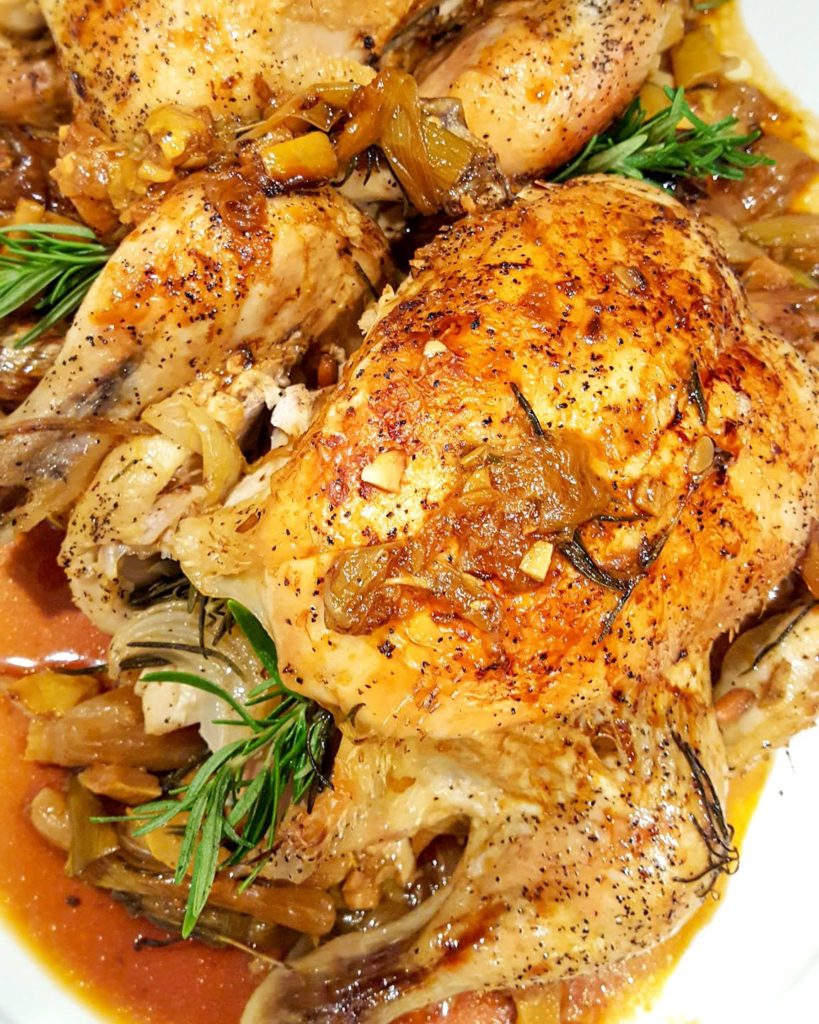
Holiday Entertaining Made Simple – Chicken Roasted w/ Rosemary, Lemon, Wine, Mushrooms, Ginger & Scallion

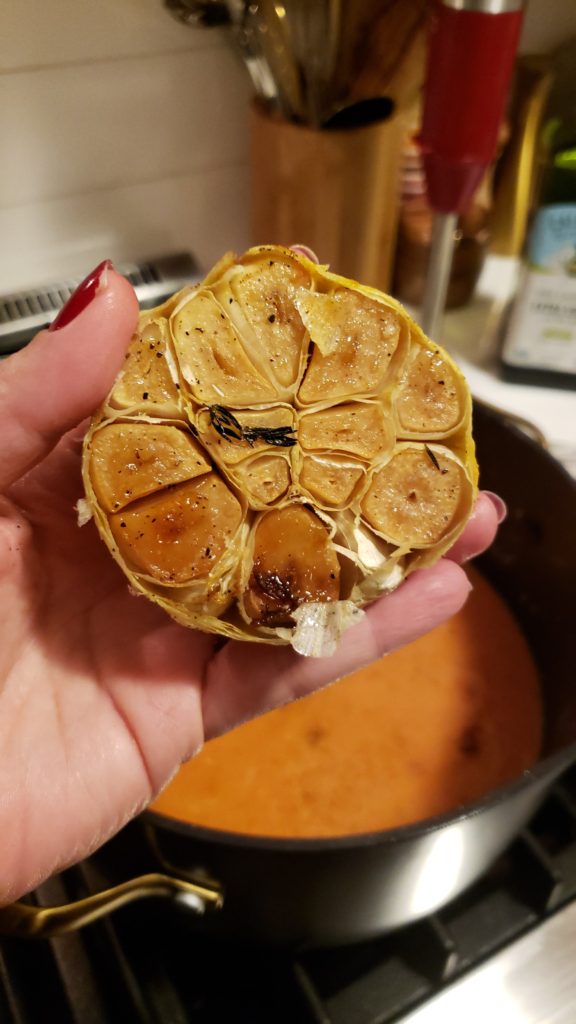
For the more casual renditions, I serve the chicken with either rice or, thick toasty bread, spread with a generous amount of sweet and creamy garlic- roasted whole (see preparation below). Briny Persian pickles are a must. A nice green salad too- maybe some radishes and you have a perfect meal. If you’re going the whole roasted garlic route, it cooks in the oven simultaneously as the chicken and becomes a sweet savory garlic cream to slather on the bread or the chicken.

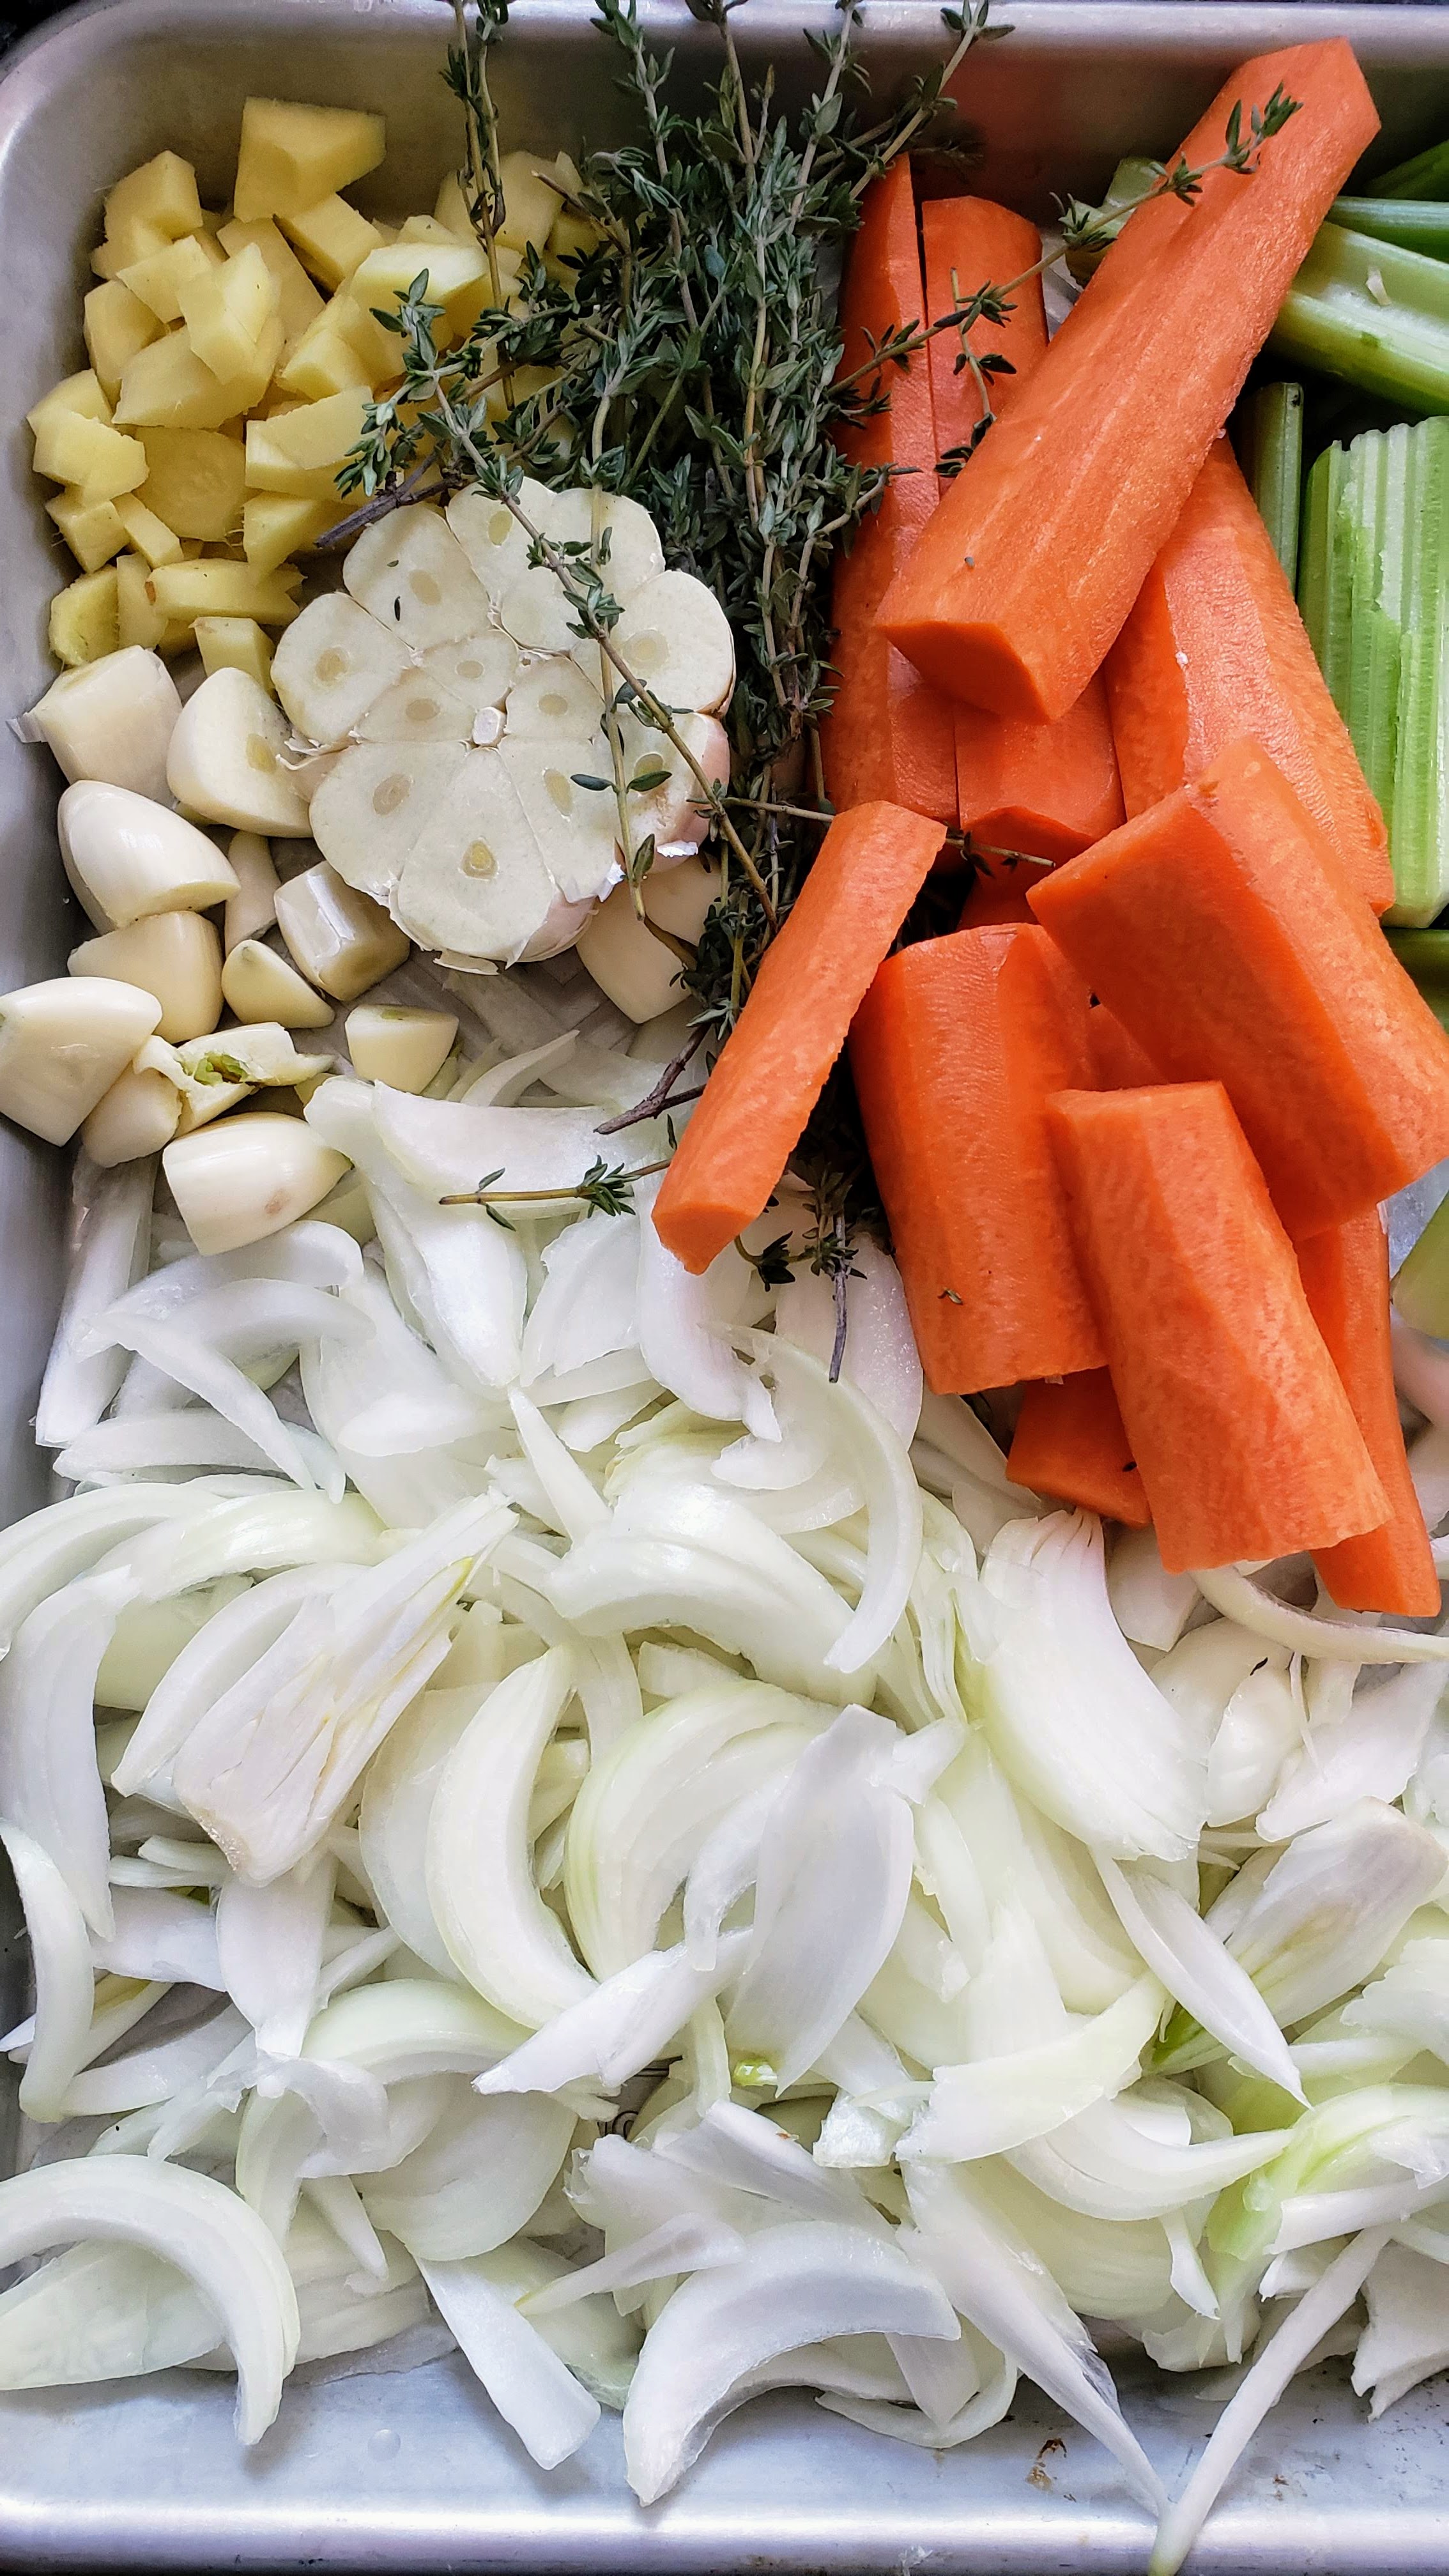
Ingredients
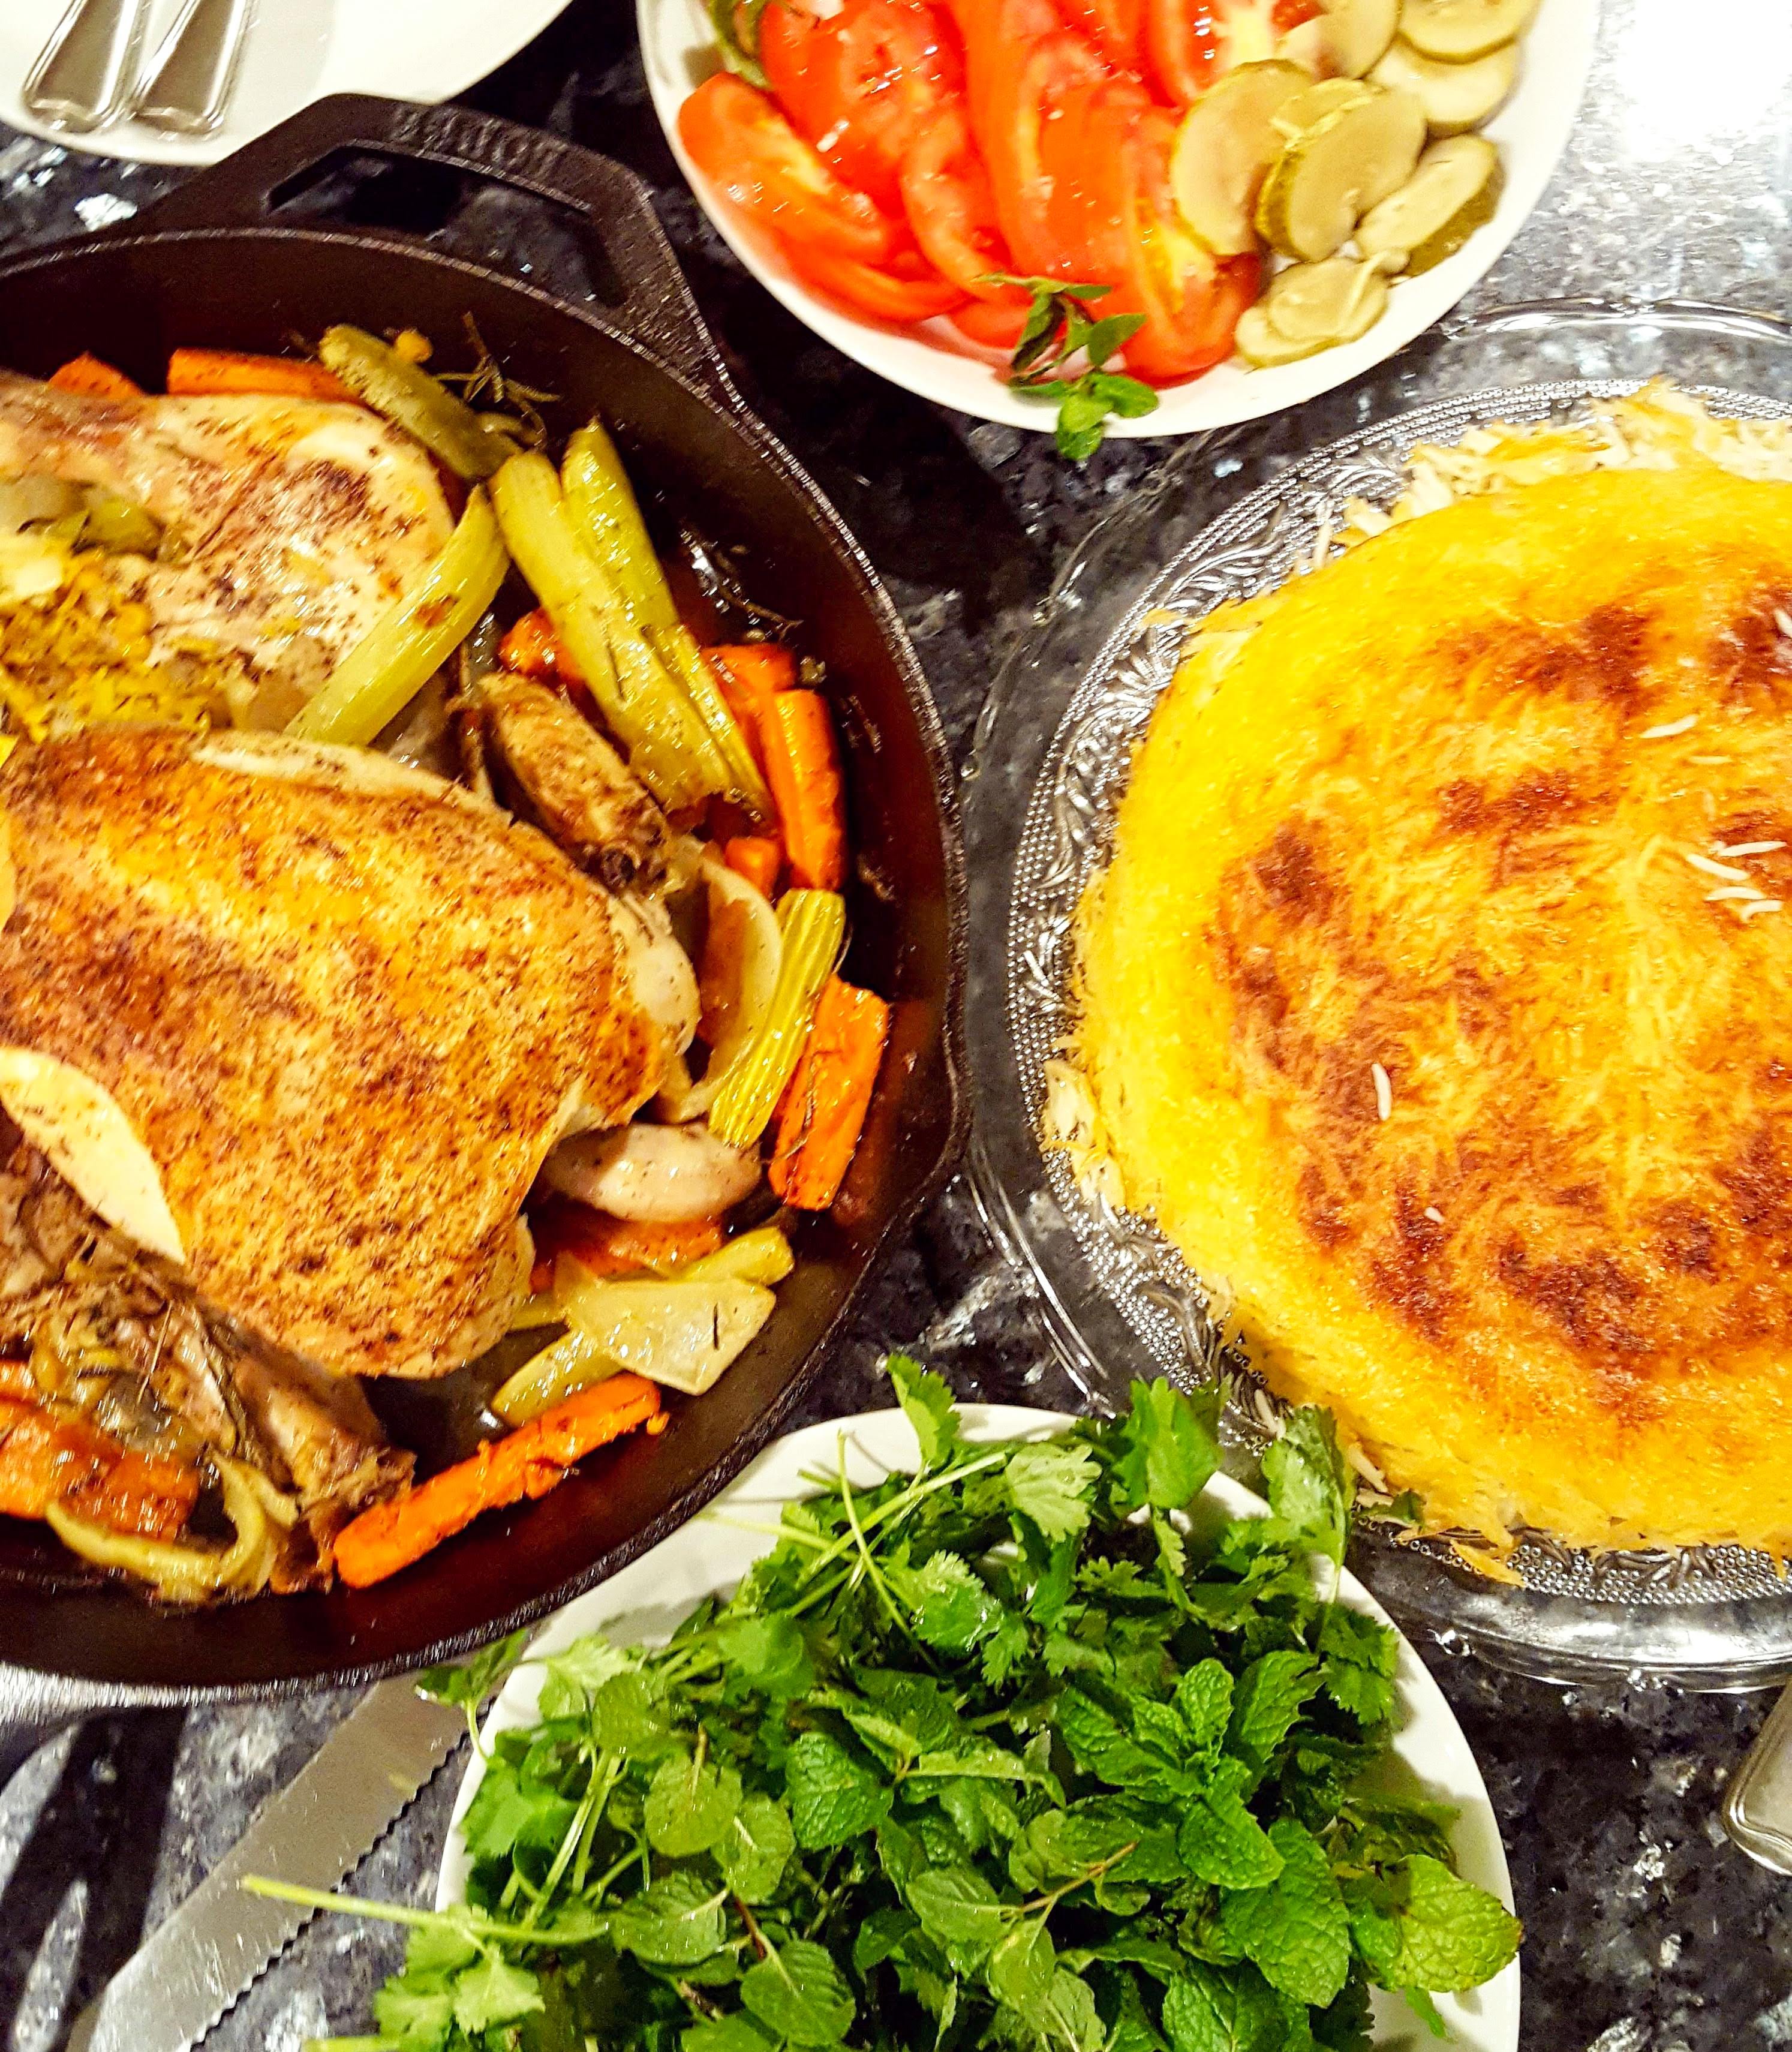
1 (3-4 pound) whole chicken
3 tablespoons extra-virgin olive oil
1 whole heads of garlic, plus 3 more cloves, thinly sliced
2 medium carrots, chopped into 2 inch pieces
2 stalks celery, chopped into 2 inch pieces
1 medium yellow onions, roughly sliced into 6-8 pieces
1 lemon
4-5 sprigs rosemary
5-6 sprigs thyme
Salt and freshly ground black pepper

Preparation

Roasted Chicken

  1. Heat the oven to 400 degrees.
  2. If using a cast iron skillet (recommended) place the skillet in the hot oven to heat up while you prepare.
  3. Pat the chicken dry and season well with salt and pepper, both inside and out.
  4. Place chicken breast-side up in a cast-iron or ovenproof skillet and stuff the cavity with the lemon, 3 garlic cloves, and half of the rosemary and thyme.
  5. Place carrots, celery, onion and remaining herbs around the chicken, drizzle with 1 tablespoon olive oil, season with salt and pepper.
  6. Rub the top of the chicken with another tablespoon of olive oil, using your fingers to cover breasts, legs and wings- this helps achieve golden brown skin.
  7. Roast the chicken in the oven, basting every 20 minutes or so, for approximately one hour until golden brown and the dark meat registers 165 degrees on an instant thermometer. Half way through, mix the vegetables with any juices that accumulated in the skillet.
  8. Remove the skillet from the oven and baste on additional time.
  9. Allow the chicken to rest for 10 minutes before carving and serving.
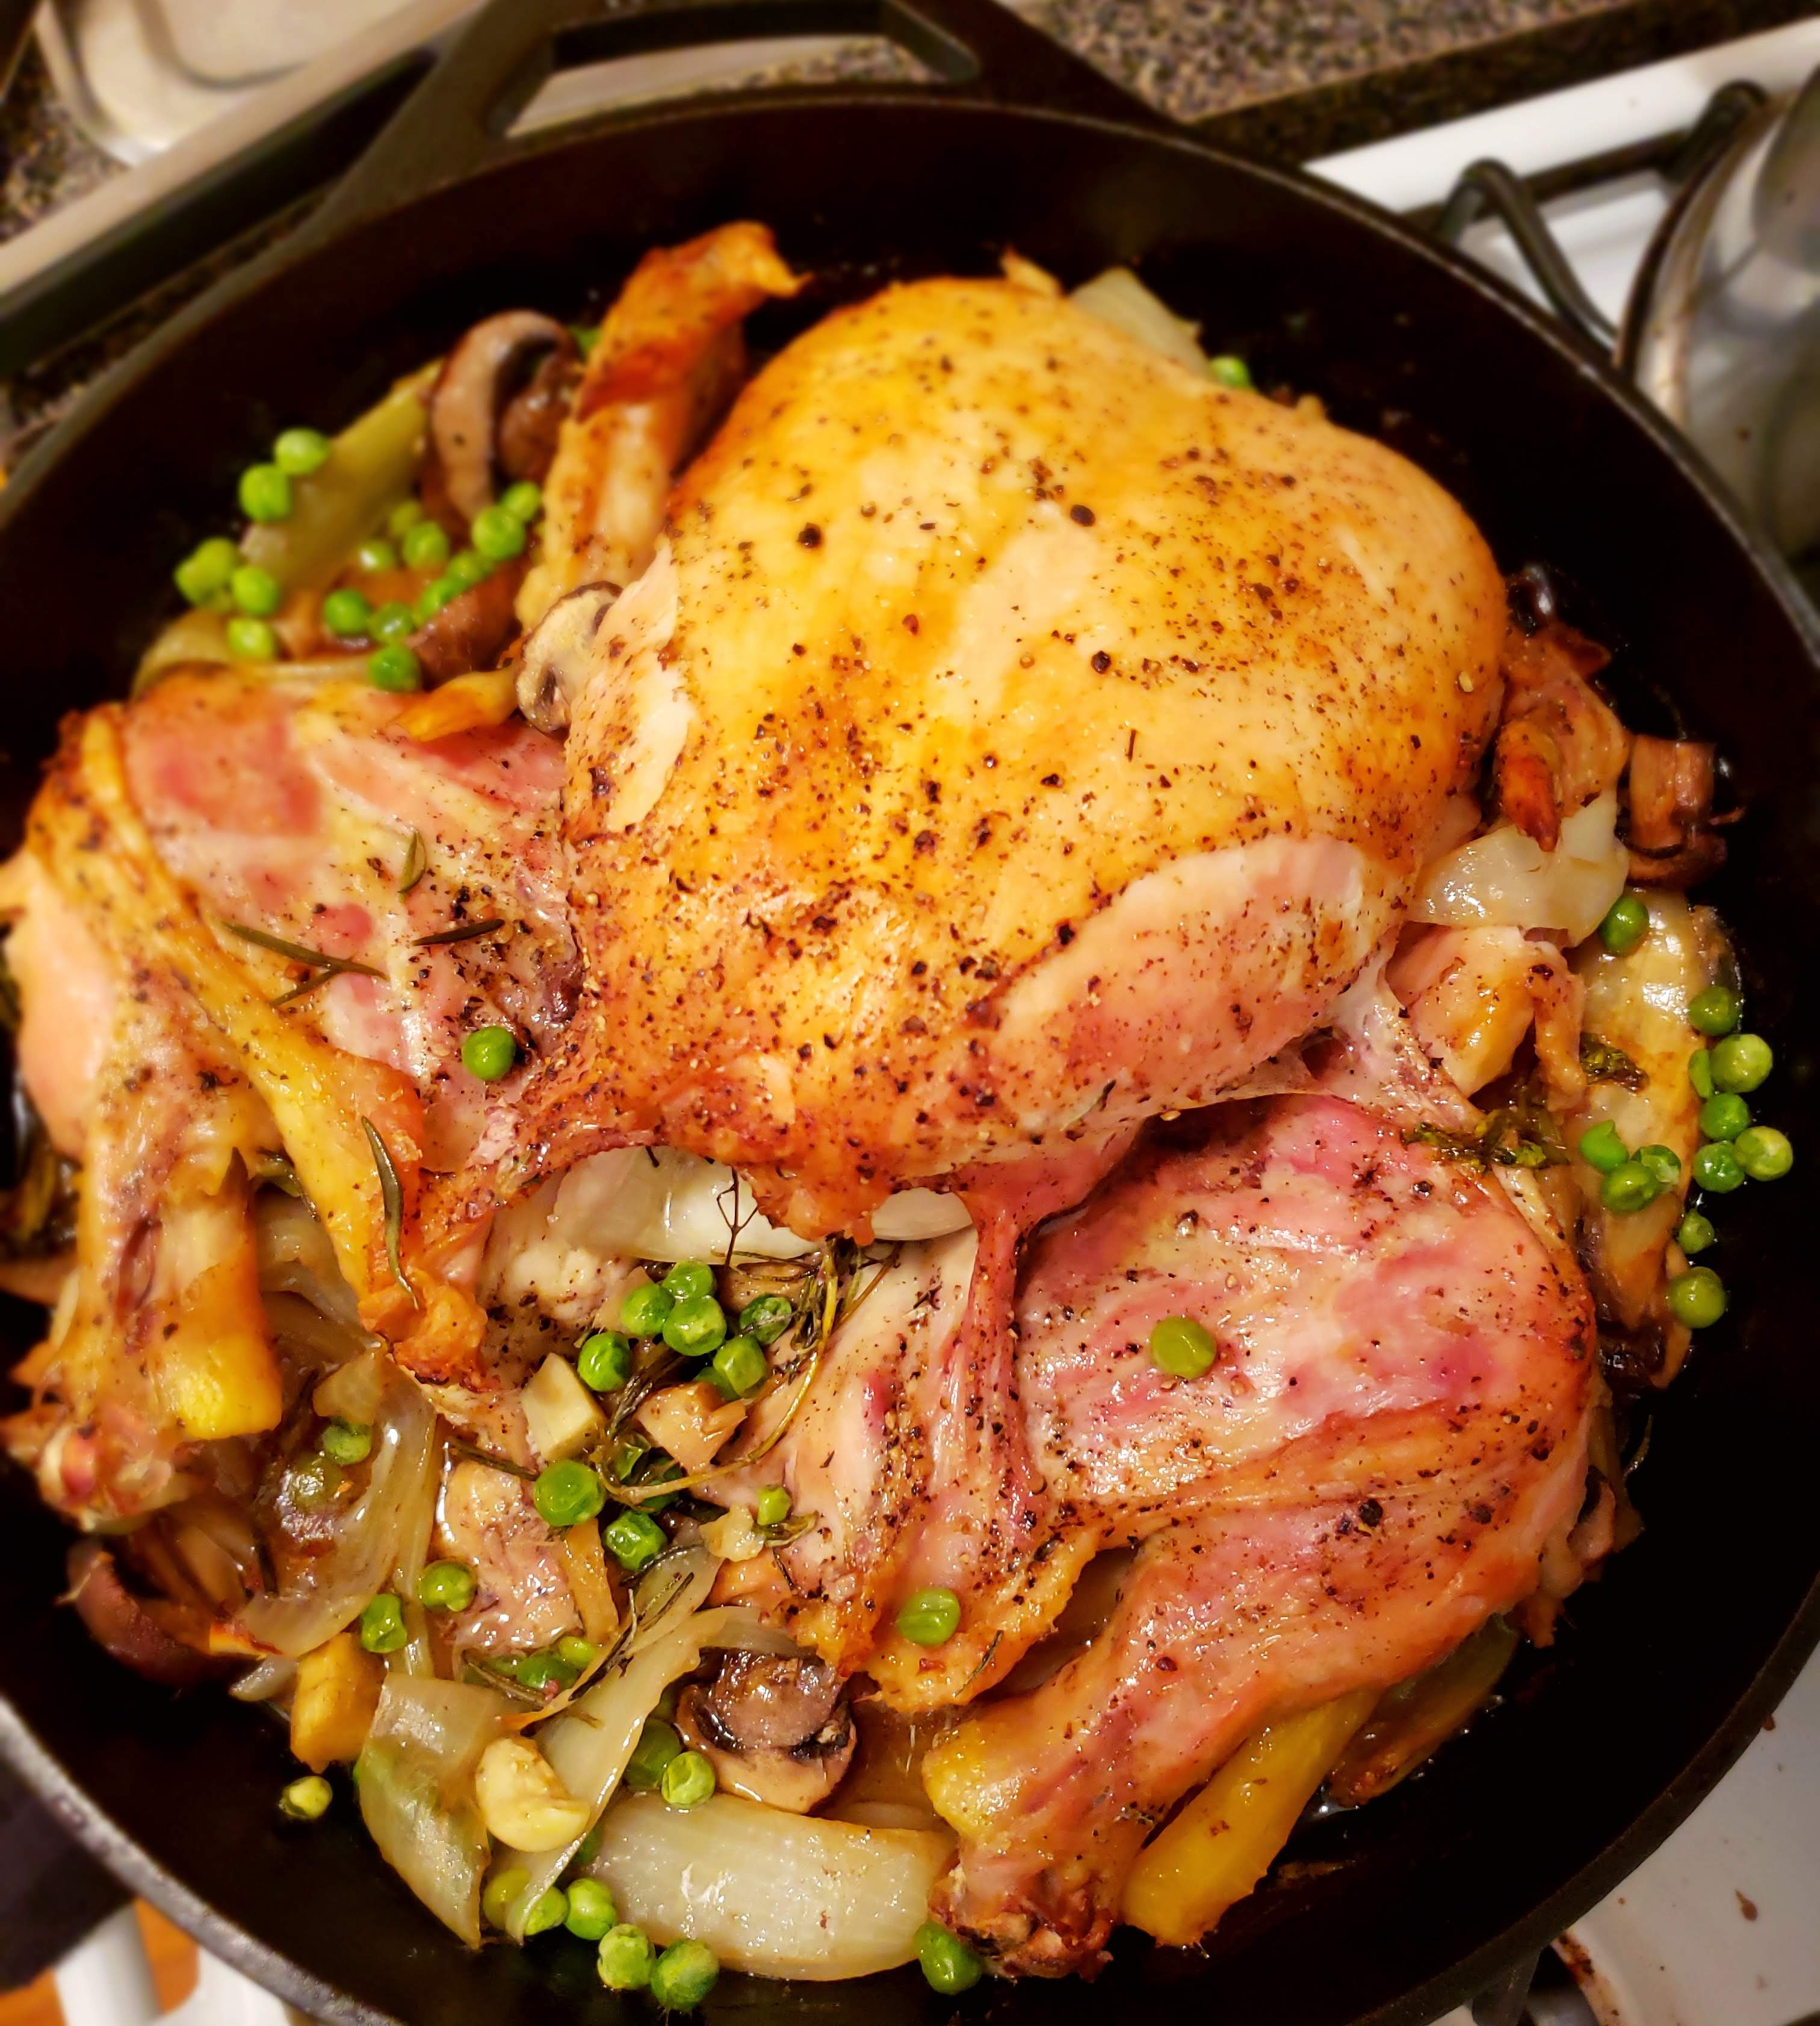
Roasted Garlic

  1. Heat oven to 400 degrees
  2. Remove the paper outer layers of the garlic bulb, leaving the skin intact on the cloves.
  3. Using a sharp knife, cut 1/4 to 1/2 inch from the top of the clove, exposing the tops of the individual garlic cloves.
  4. Place the garlic cut side up in a piece of aluminum foil big enough to wrap around the entire garlic.
  5. Drizzle about 1 tablespoon of olive oil on top of the exposed garlic, rubbing the oil in with your hands.
  6. Close the aluminum foil around the garlic creating a pouch the garlic will cook in.
  7. Roast for 30-40 minutes until soft, sweet and golden.
  8. Simply squeeze the soft cloves out of their shells or use a fork to easily remove and enjoy.

    Note~
    These creamy roasted garlic cloves don’t have the pungency of raw garlic and take on a lovely sweetness.

    You can rub them on bread, use for sandwiches or incorporate it in soups and pastas for fantastic added flavor!
Braised Brisket

Braised Brisket

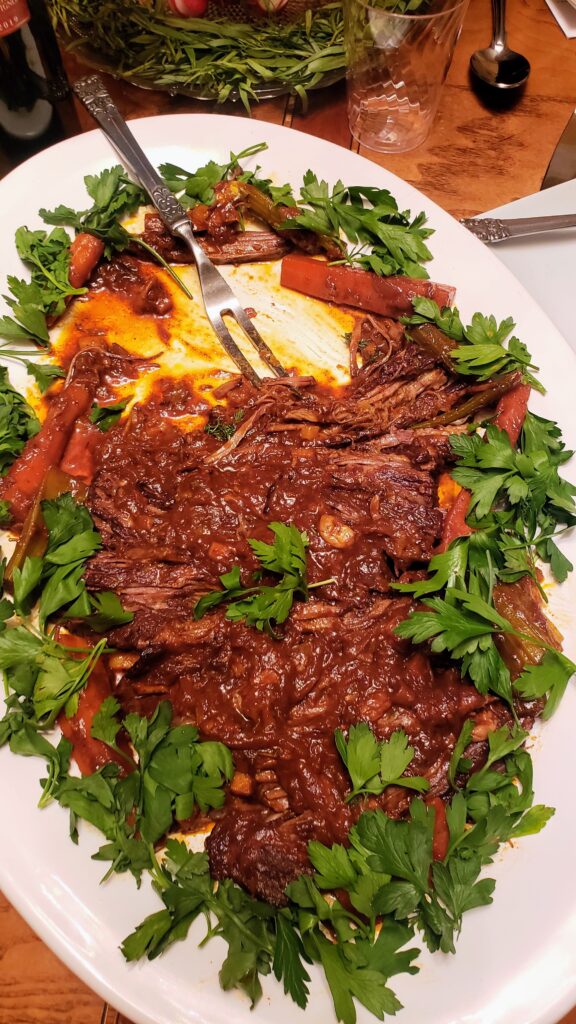
The holidays are around the corner and although this year may be different than the rest- those of us who are fortunate enough- can still take solace in cooking a delicious meal. I’m grateful to be one with that privilege to indulge. According to the Oxford dictionary, “indulge” means to “allow oneself to enjoy the pleasure of.” I find pleasure in the simple things. Especially in a recipe which allows flavors to develop with the assistance of time.

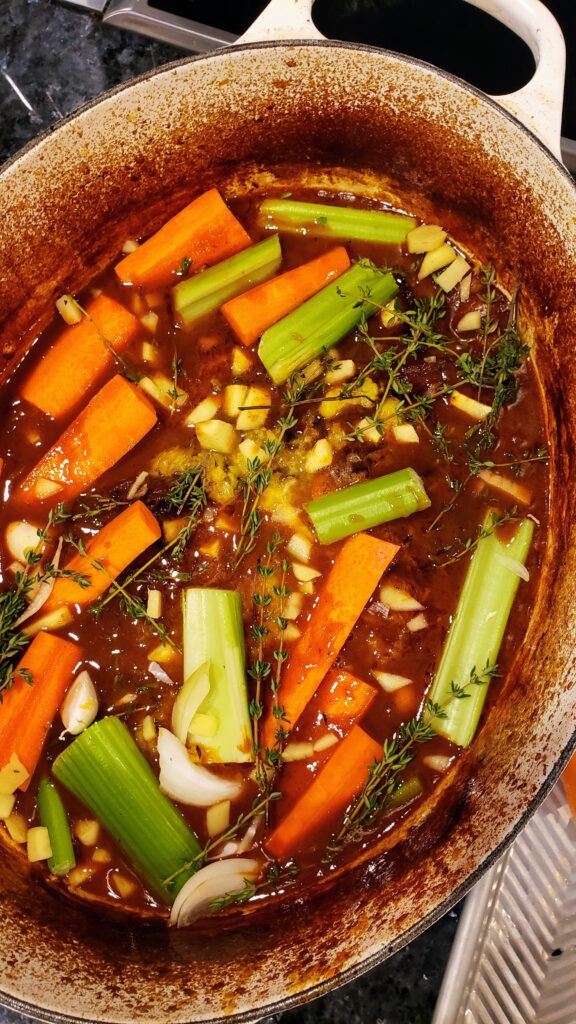
Classic brisket is one of those simple pleasures. You sear the meat. Remove it. Add veggies and aromatics. Add meat back to the pot along with your braising liquid, then let time and heat do the work. The end result is tender, deeply flavored beef which takes its character from whatever you add to the pot. Magic!

This recipe is wonderful to cook for a small gathering, it serves about around 6, with a bit of leftovers for sandwiches the next day to boot. You cans add another piece of brisket to feed a larger group. Just add enough liquid to submerge all the meat while cooking.

~Tip – Try to find second cut brisket — It has slightly more fat marbling than the lean first cut variety and results in more flavor and tenderness.

Ingredients:

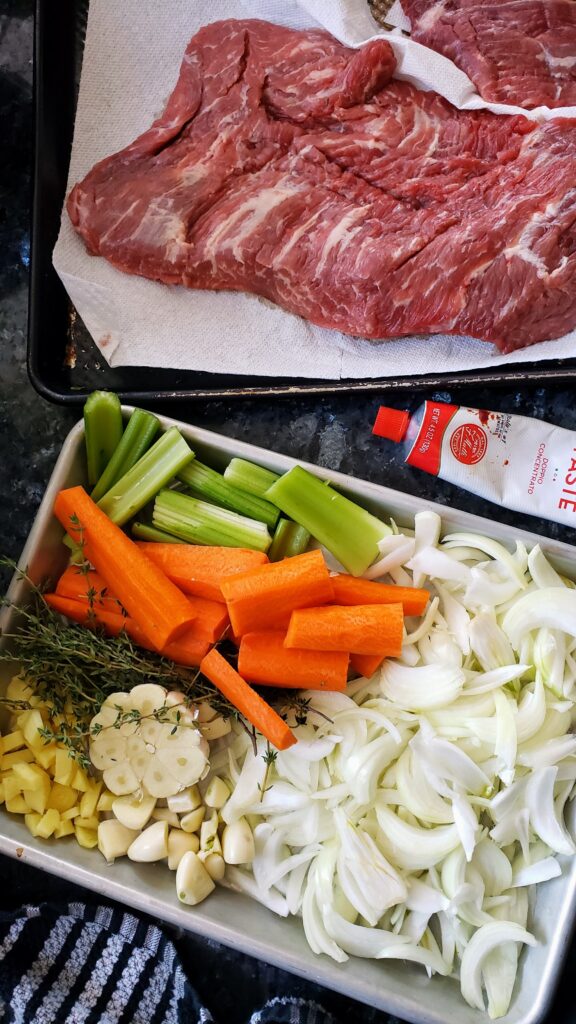
1 (5-7 pound) beef brisket, preferably second cut
3 tablespoons extra-virgin olive oil, divided
10-12 garlic cloves, smashed or an entire head of garlic with the top cut off
2 medium onions, sliced
3 medium carrots, cut into 3-inch pieces
3 celery stalks, cut into 3-inch pieces
6-8 sprigs fresh thyme
2-3 sprigs fresh rosemary
2 whole bay leaves
2 tablespoons tomato paste
5-6 cups beef stock (or chicken stock or water)

Directions:

  1. Preheat oven to 350 degrees F and adjust a rack to the lower third of the oven.
  2. Let meat stand at room temperature for 30 minutes before cooking. Pat dry with paper towels. Season generously on both sides with salt and pepper.
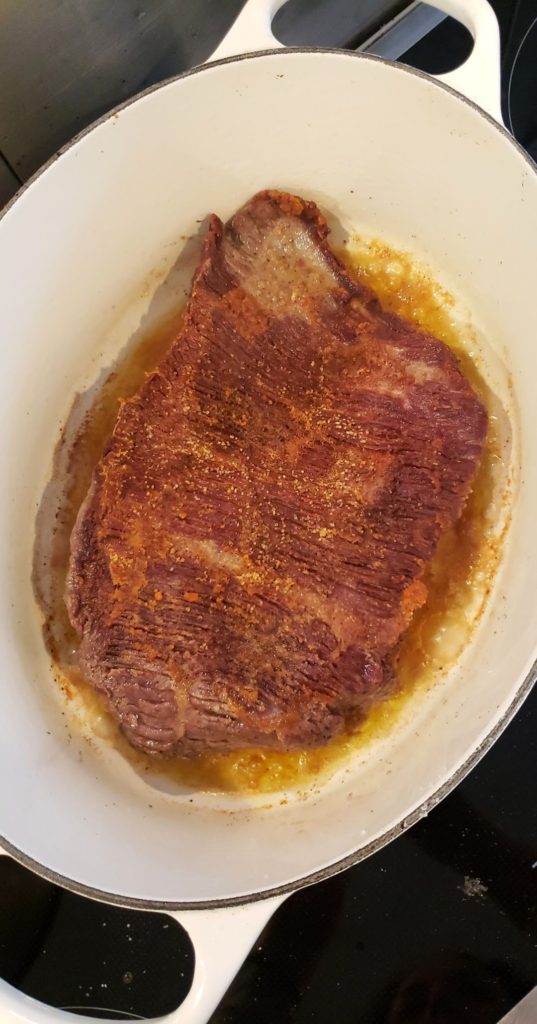
  3. Heat 2 tablespoons of the oil over medium-high heat in a large ovenproof enameled cast-iron pot or other heavy pot with a lid. Add brisket and sear, without moving, until golden walnut colored crusty brown areas appear, about 5 minutes per side. Transfer to a plate and set aside.
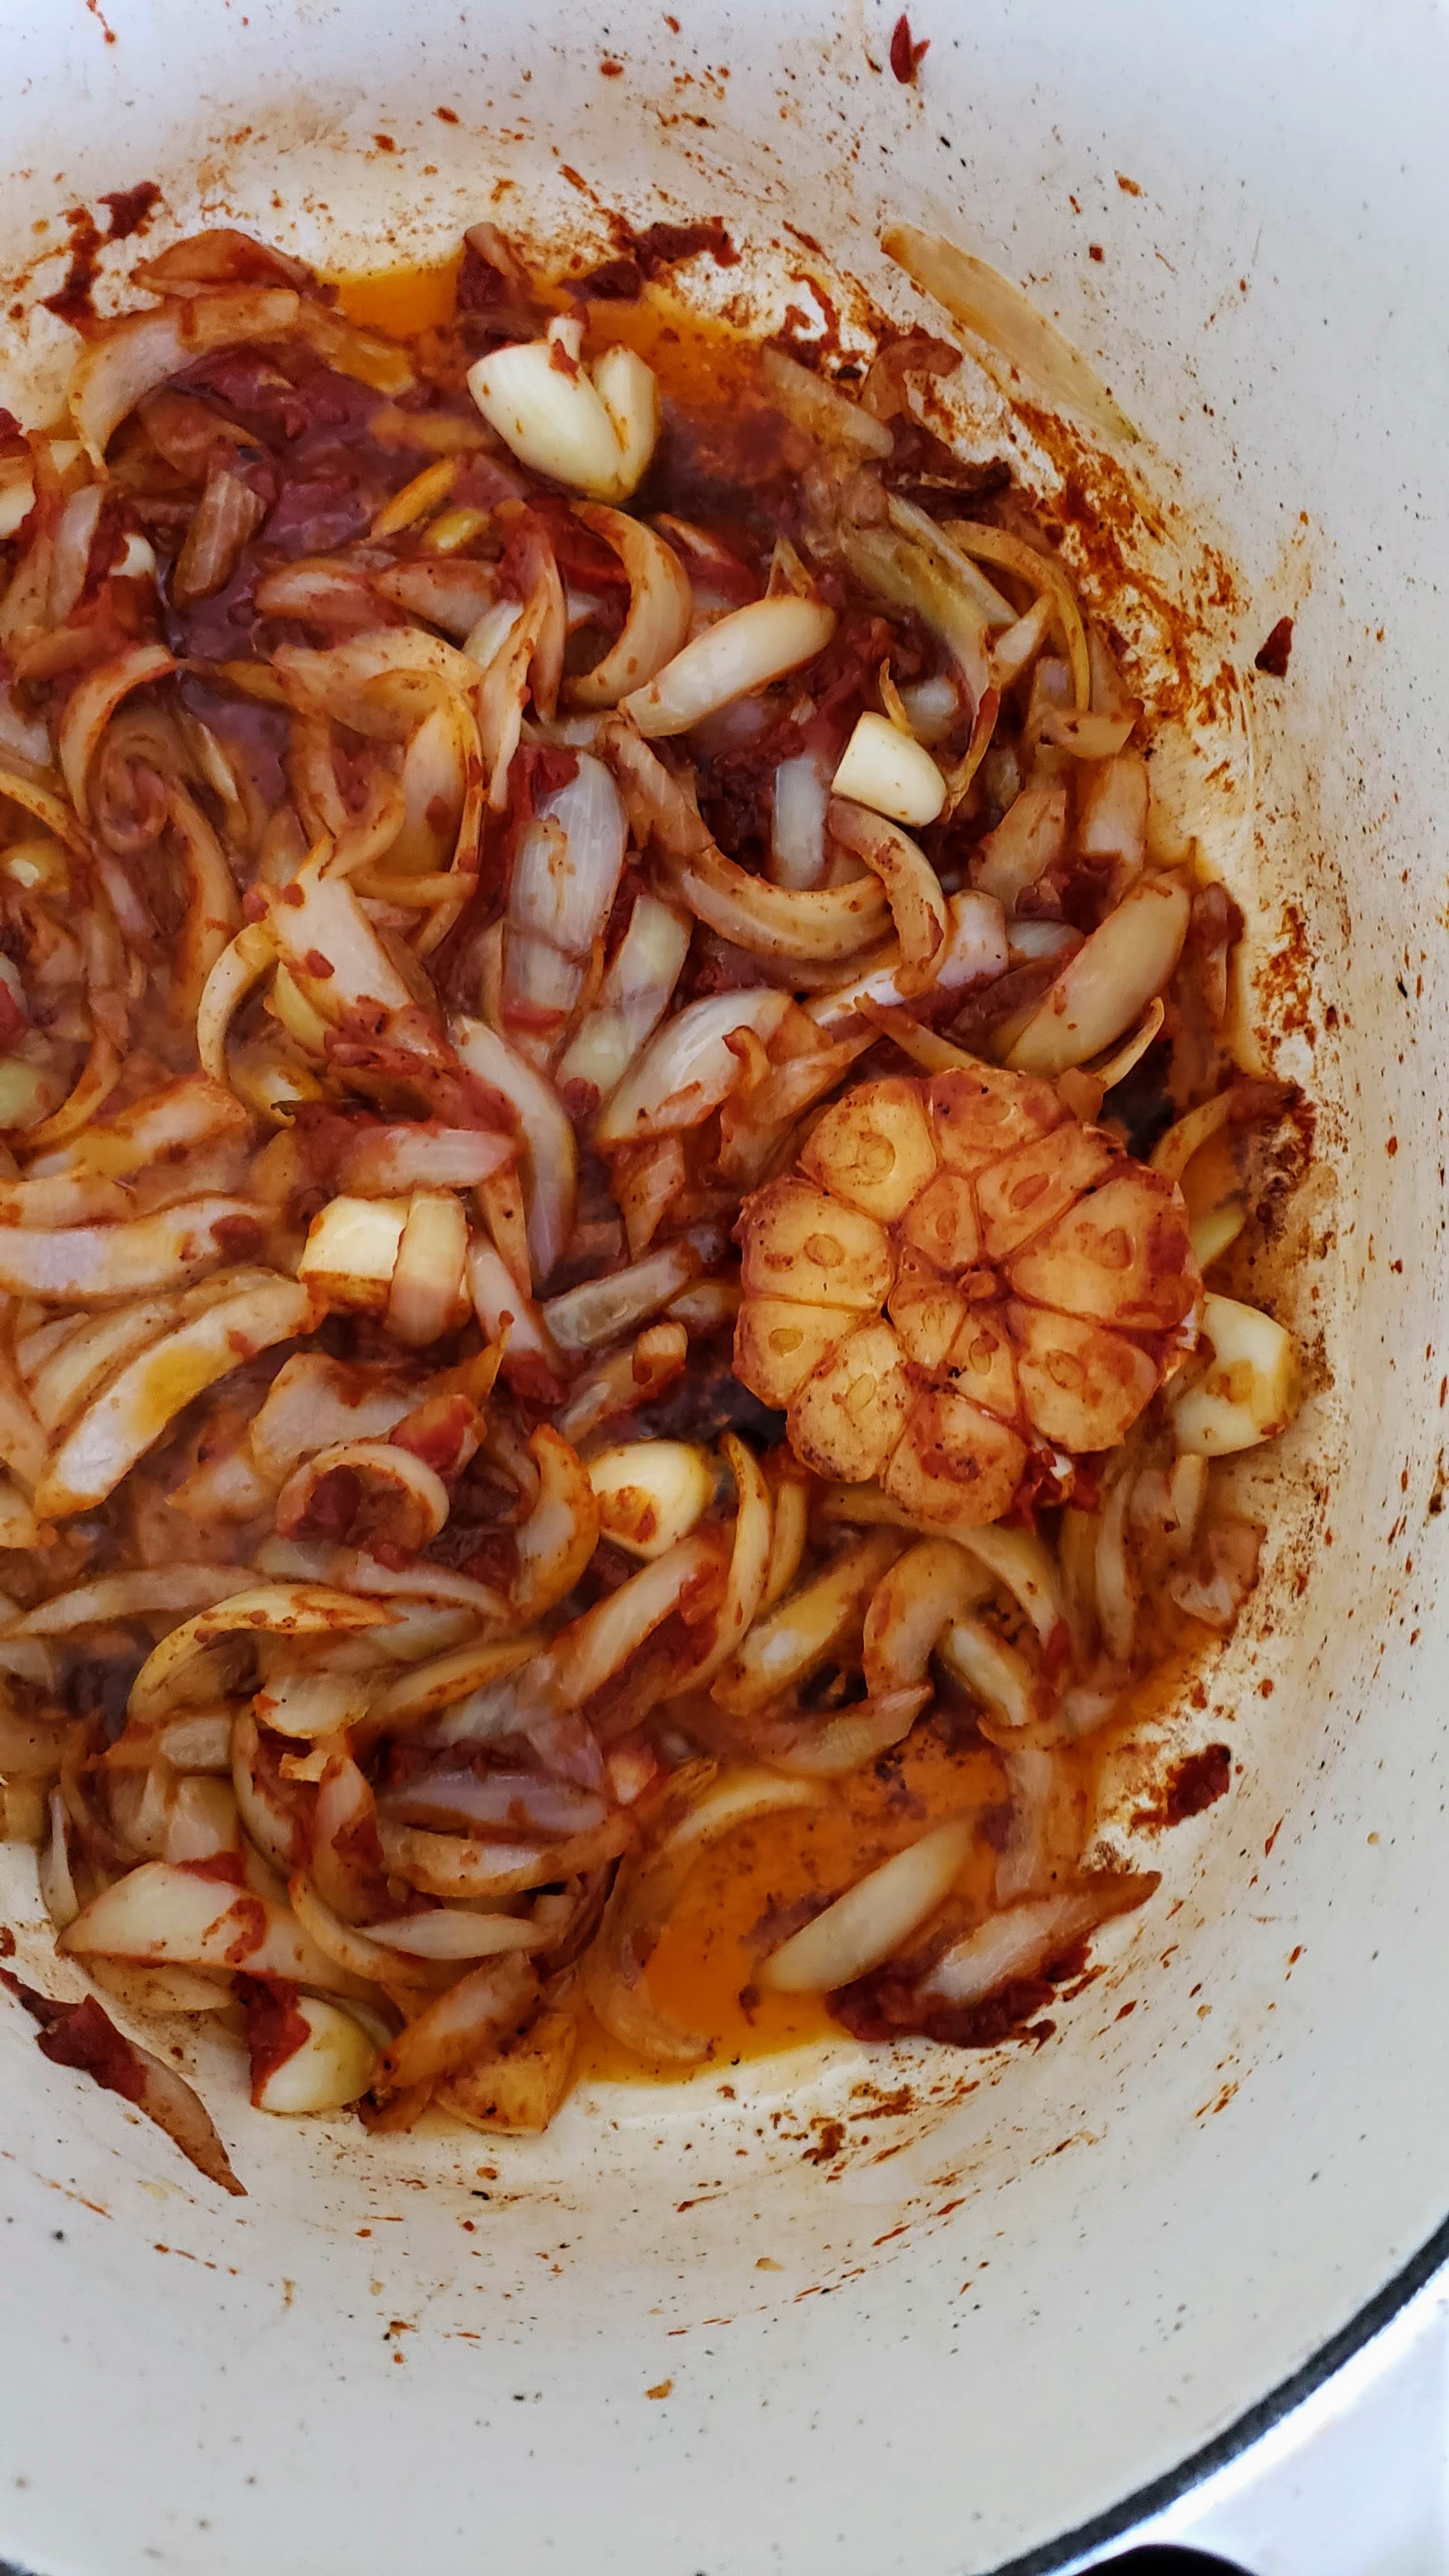
  4. Add the remaining 1 tablespoon of oil, garlic, onions, carrots, celery, thyme, rosemary and bay leaves to the pot. Sauté for approximately 5 minutes until unions have softened but not caramelized.
  5. Stir in tomato paste and cook for 2 more minutes.
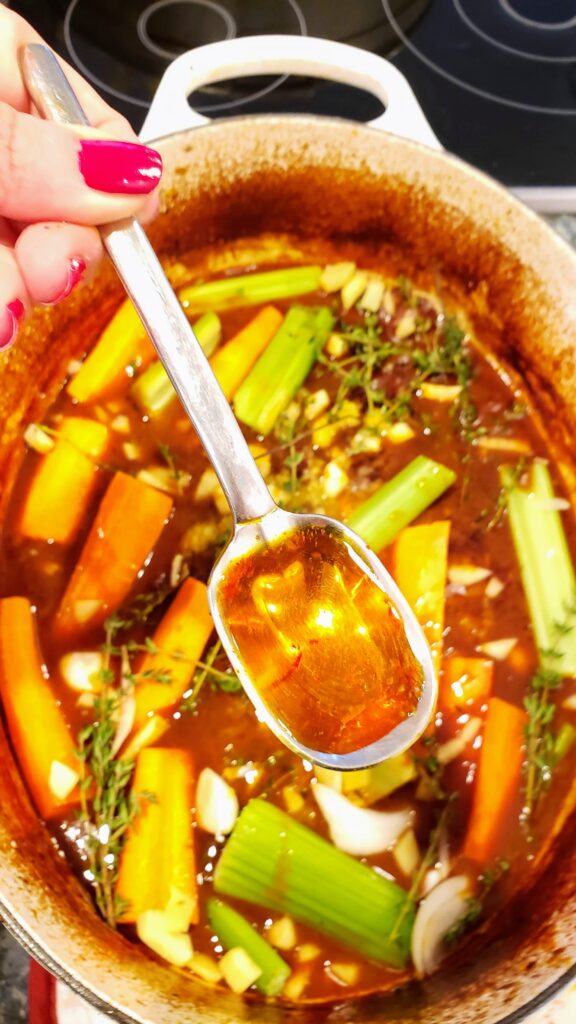
  6. Add stock and bring to a gentle simmer, scraping up any brown bits stuck to the bottom of the pan with a wooden spoon.
  7. Place the brisket back in the pot, cover and place in the oven.
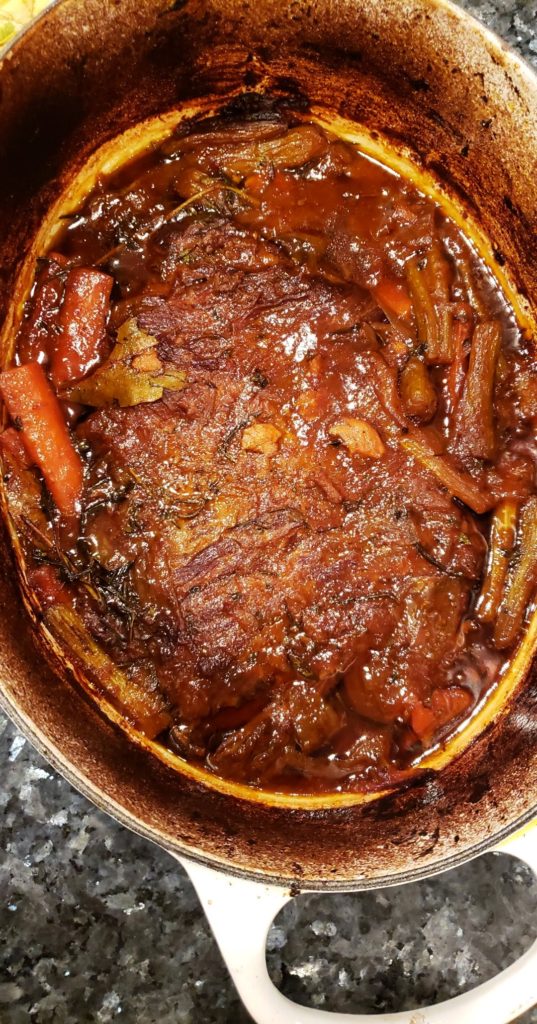
  8. After 3 hours, remove the lid from the pot and continue cooking uncovered so some of the liquid can evaporate and sauce can thicken. Continue braising for about 1 hour more, or until the brisket is fork tender. If the sauce starts to get too thick before the meat is tender, cover the pot again.
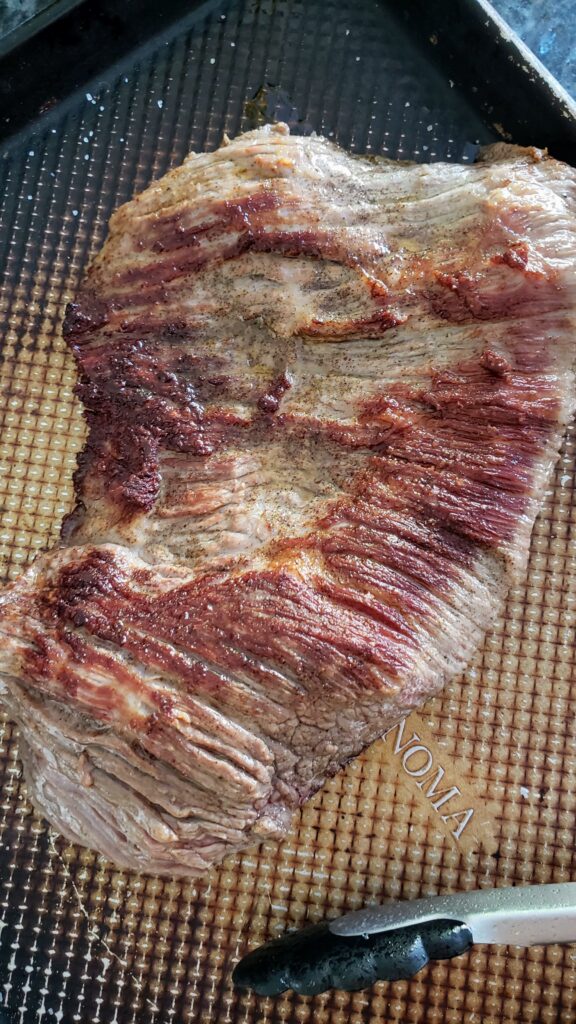
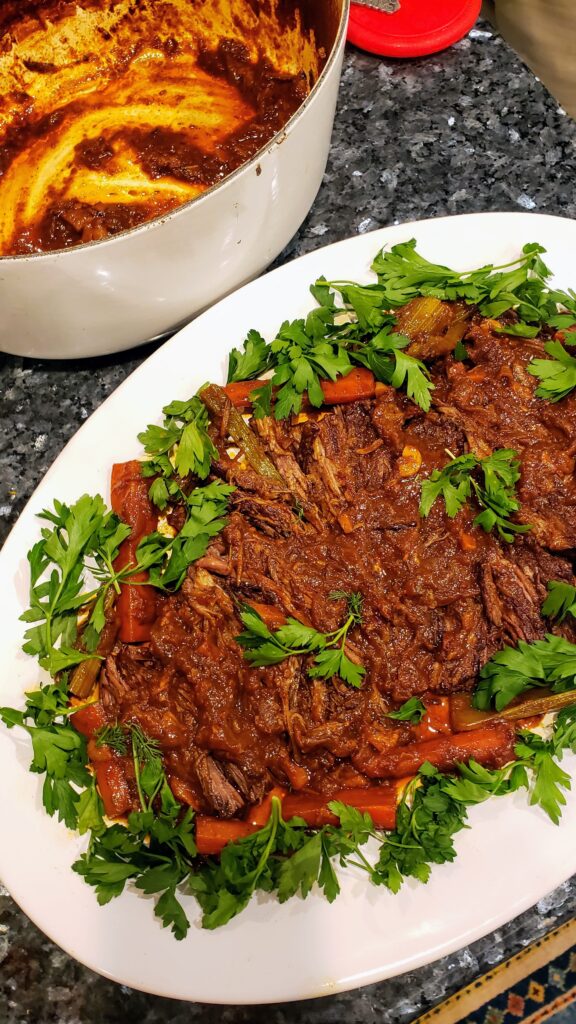
  9. Remove from oven and transfer meat to a cutting board; cover loosely with aluminum foil and let rest 15- 20 minutes before slicing against the grain into thick slices. Arrange sliced meat on a serving platter.
  10. Discard rosemary, thyme and bay leaves from the sauce. Using a slotted spoon, remove vegetables and arrange around the brisket. Spoon desired amount of pan juices over the brisket and serve.
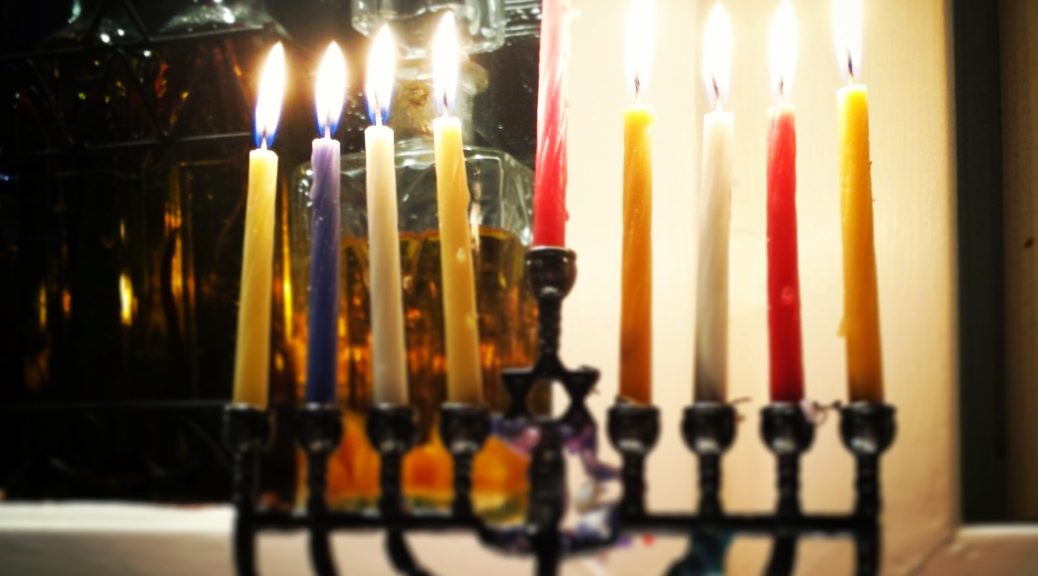
Happy Hanukkah from Basil & Roses!

Happy Hanukkah from Basil & Roses!

Ah, ’tis the season for celebrations and merriment. I love this time of year. No matter which holiday you celebrate, which customs and folklore you subscribe to, and regardless of which heritage and ritual is the wellspring of your origin story; the themes of gratitude, gathering, tradition, family and love are universal.

I especially love being invited to friend’s homes with different cultural and religious backgrounds and learning about new customs, legends and wisdom. And of course, I love to share mine with you.

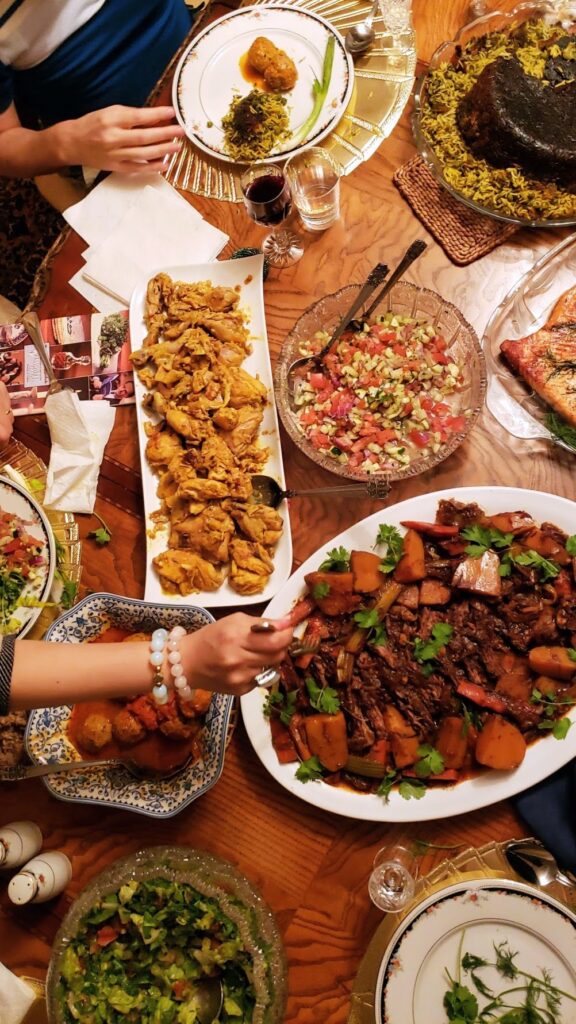
The Hanukkah story is the story of an oppressed people triumphing over the tyrants who sought to take away their freedom. It is the story of light triumphing over darkness, of a people overcoming seemingly impossible odds. That’s beautiful. Later this month we will celebrate the Persian holiday of “Shabeh Yalda” which carries a similar theme of light overcoming darkness. Yalda , the first day of Winter (Winter solstice), marks the longest night of the year. From there, the days start getting longer, so, culturally it represents the symbolic victory of light over darkness.  The symbolism is incredible! And  what better way to celebrate than with a festive meal! Below are some of our favorite recipes to inspire your Hannukkah menu and beyond.

“Nothing can dim the light that shines from within,” said Maya Angelou.

Wishing you all light and love today, this holiday season and always!

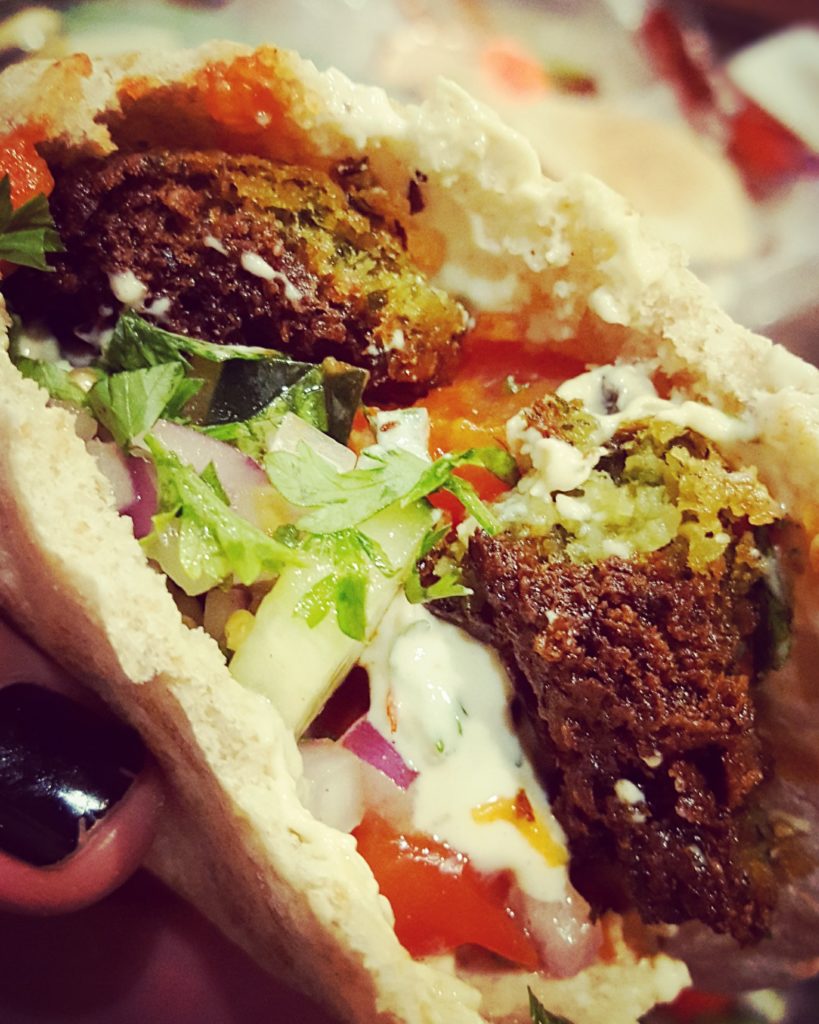
Homemade Falafel with Herb Tahini Sauce and Shirazi Salad

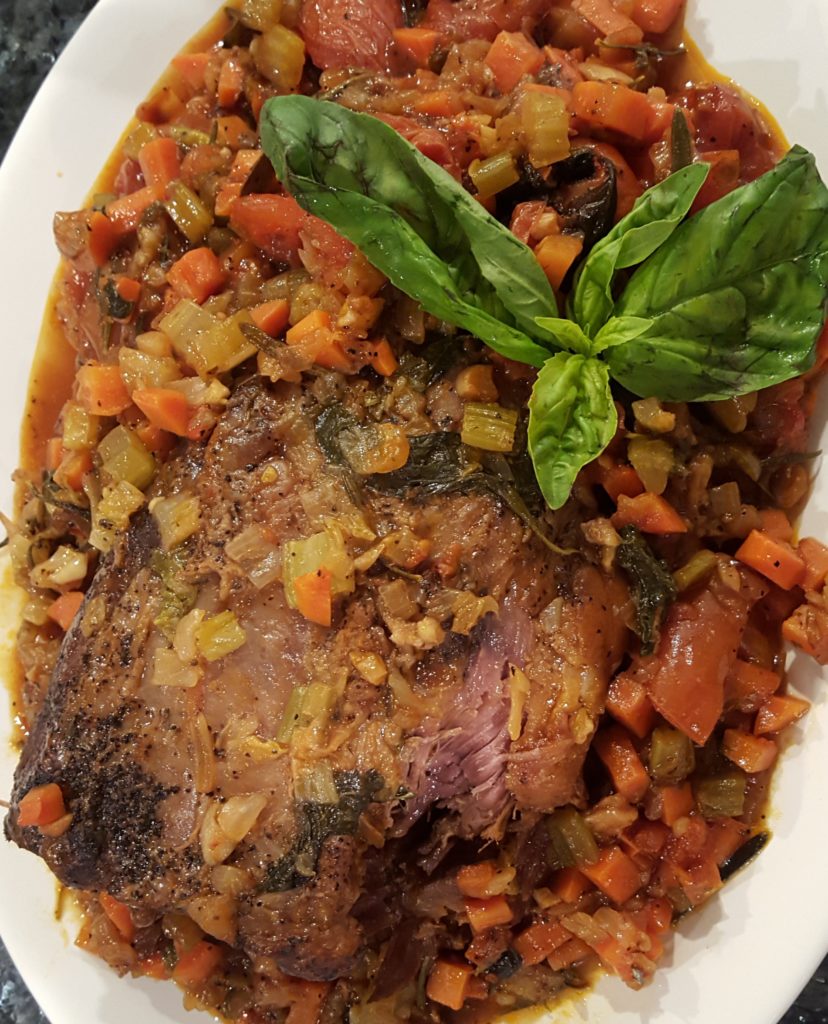
Beer + Basil Braised Brisket

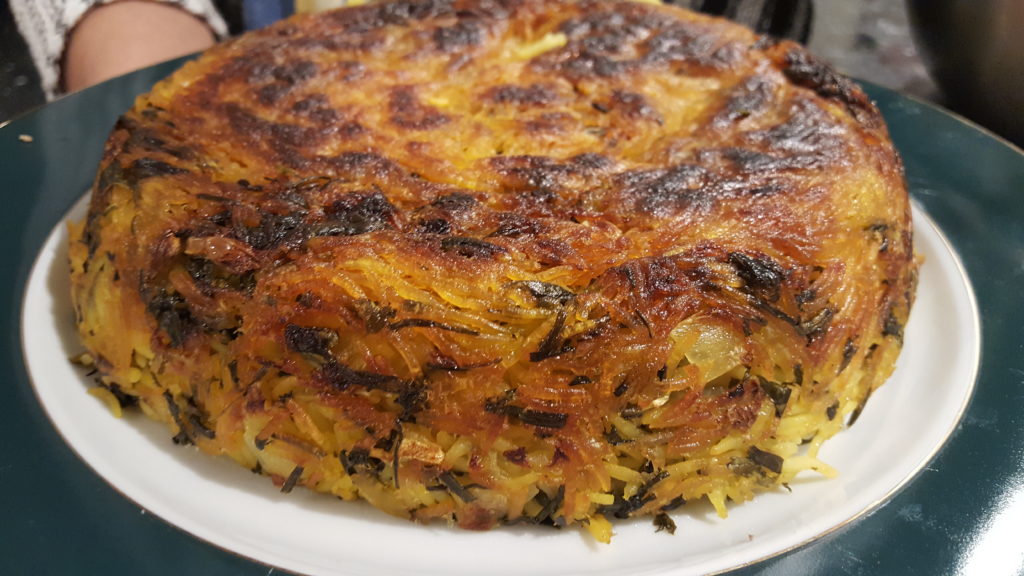
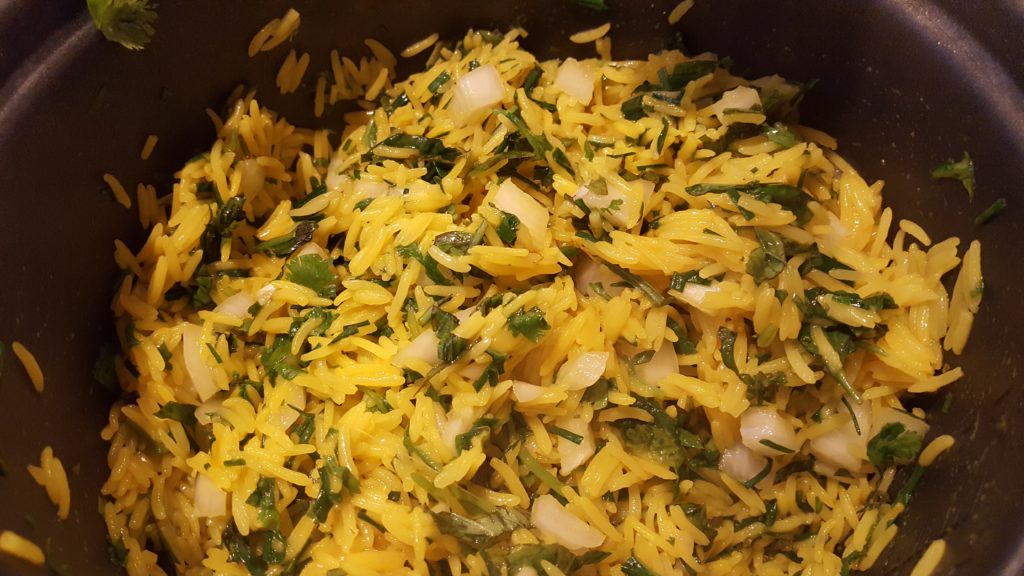
Green Garden Herb Basmati Rice with Basil, Mint, Chive + Rosemary (and an unexpected virtual trip home)

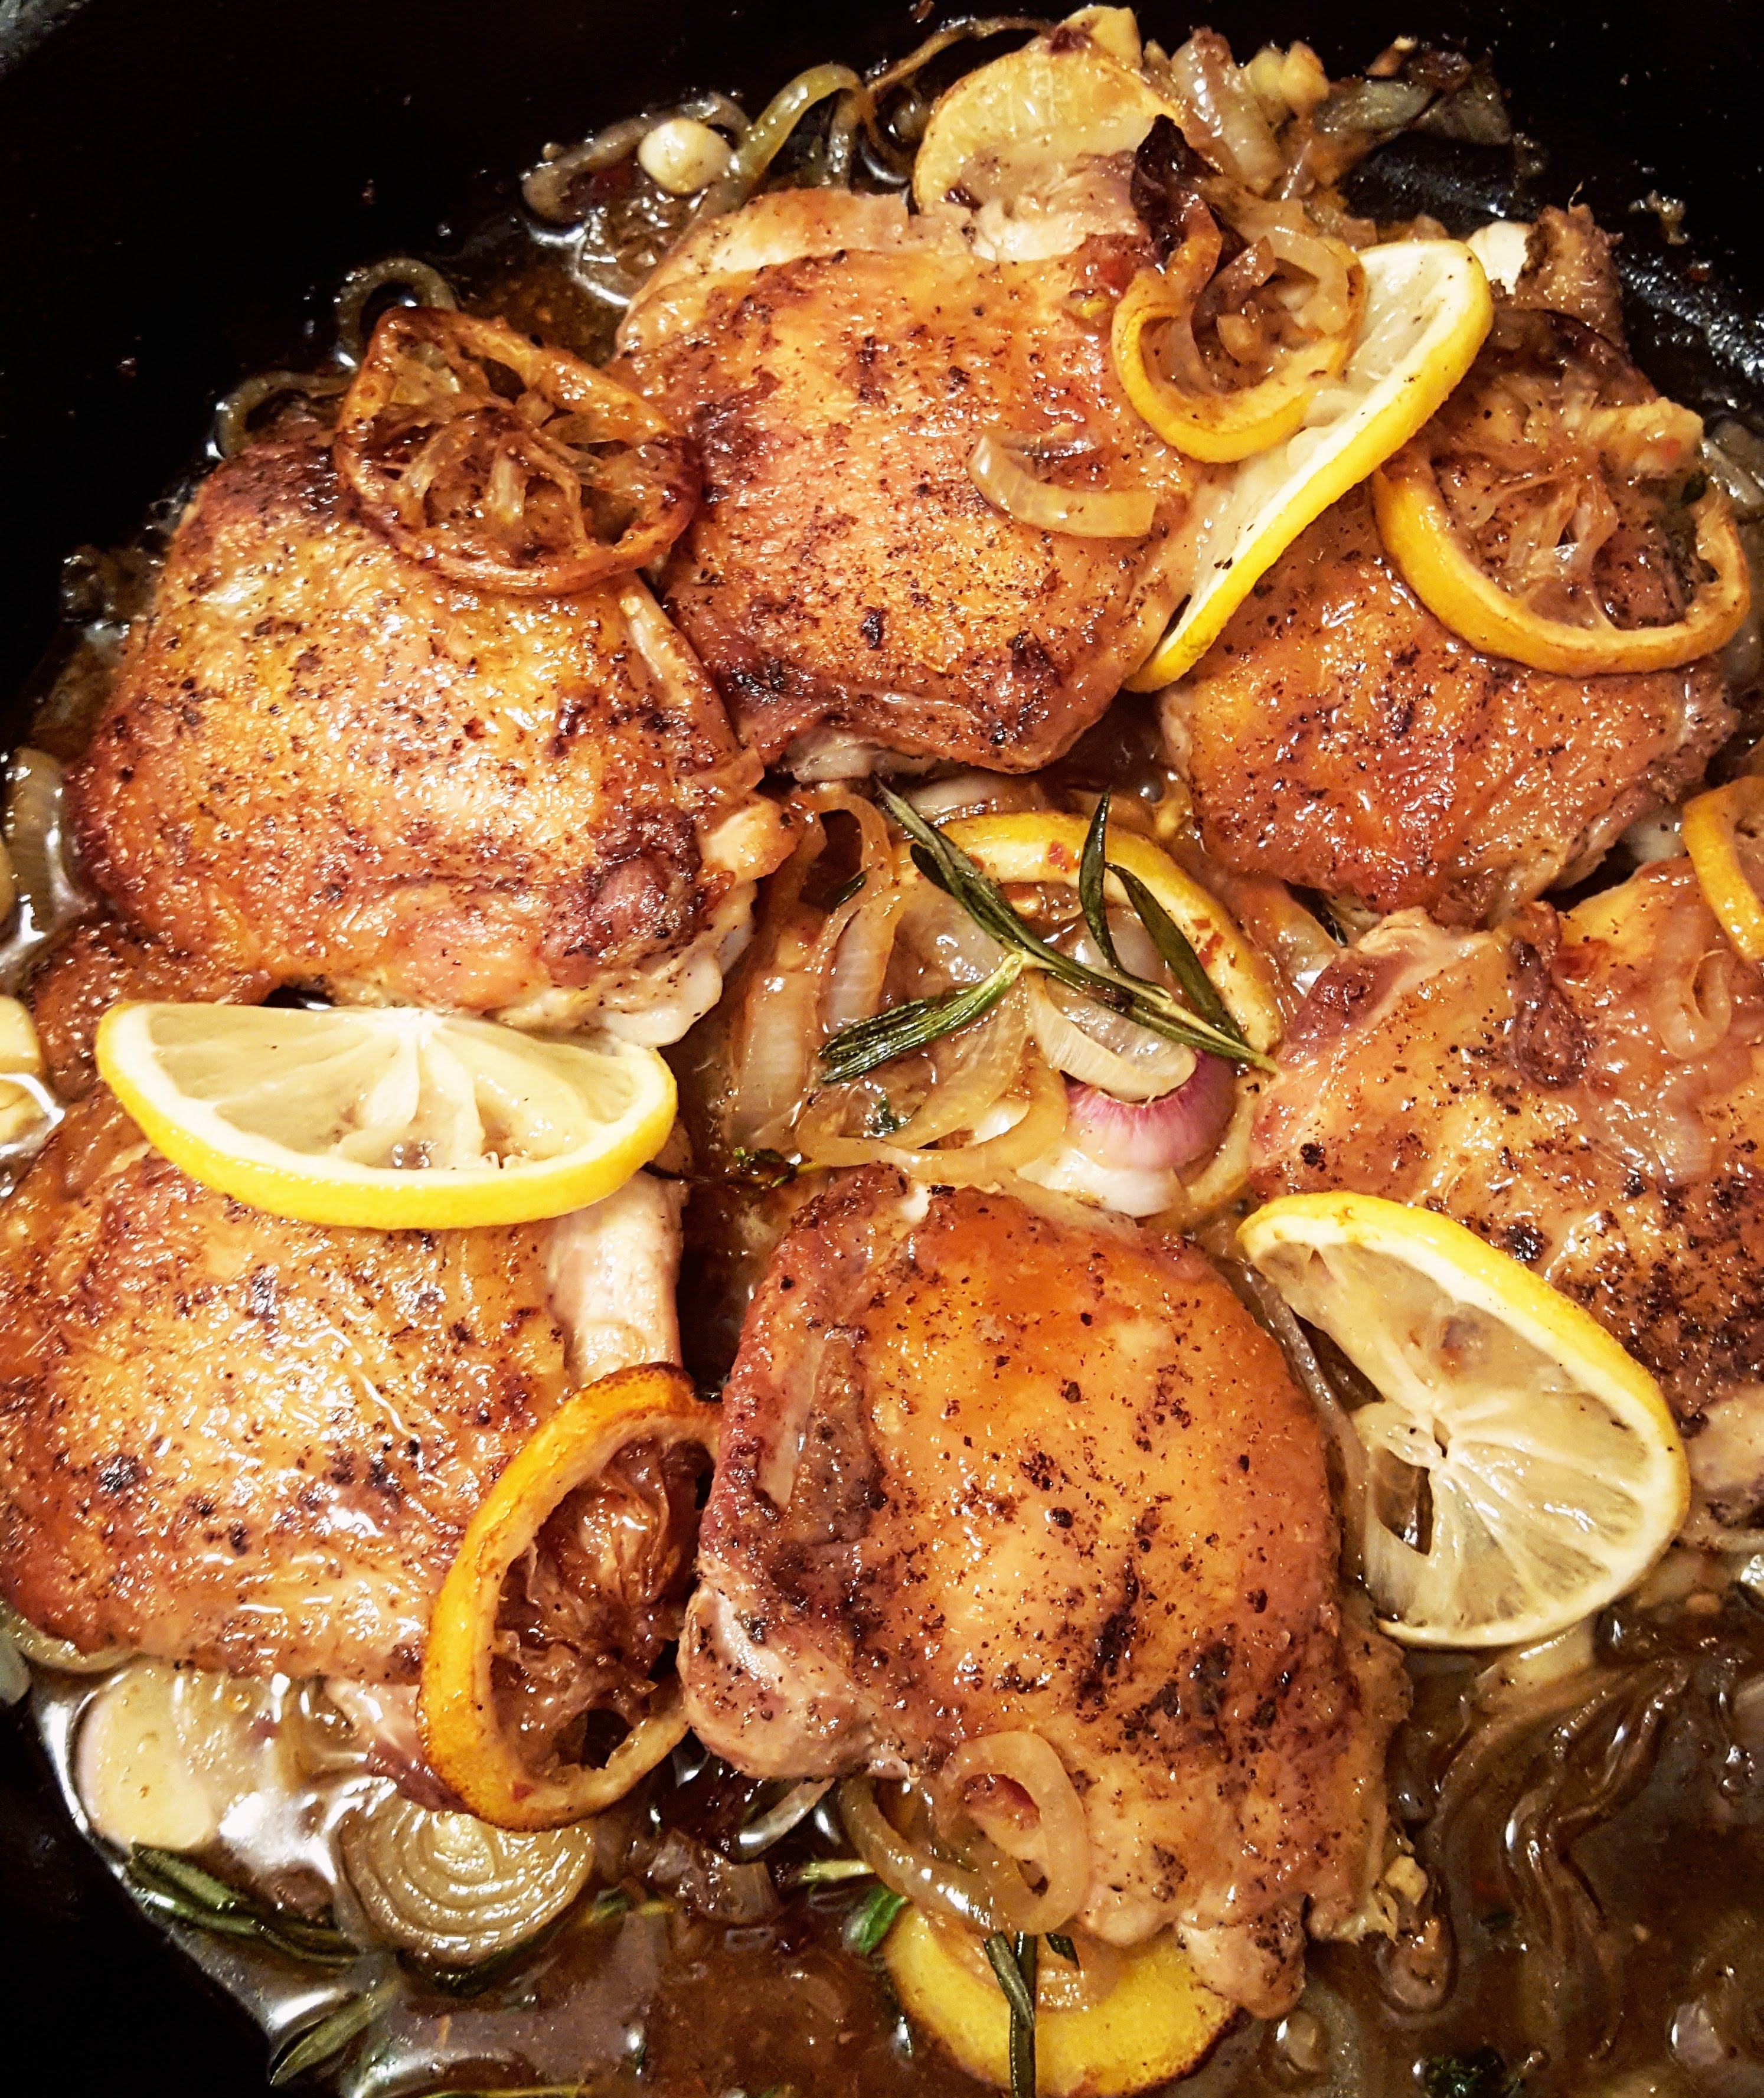
Skillet Chicken Thighs With Shallot, Lemon & Herbs

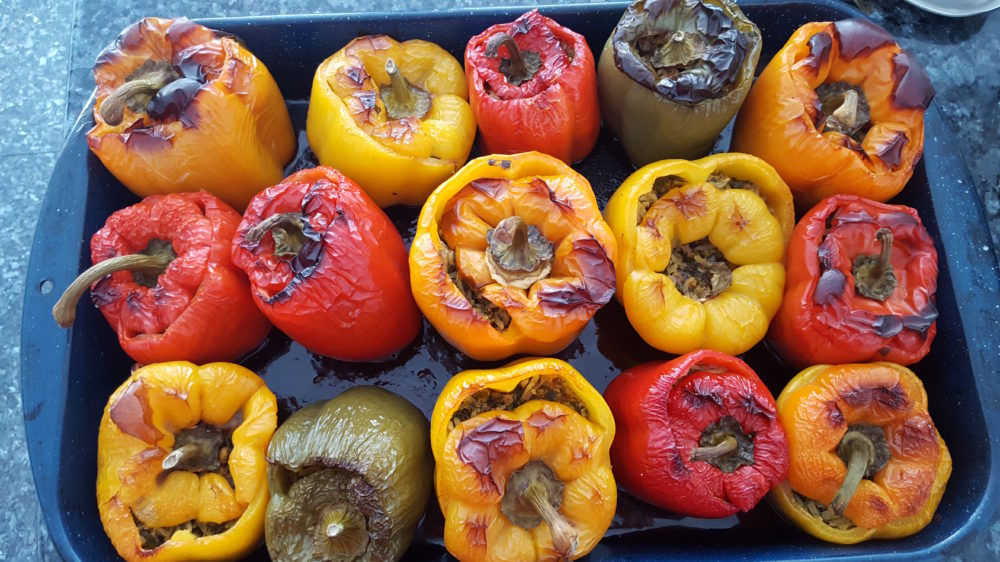
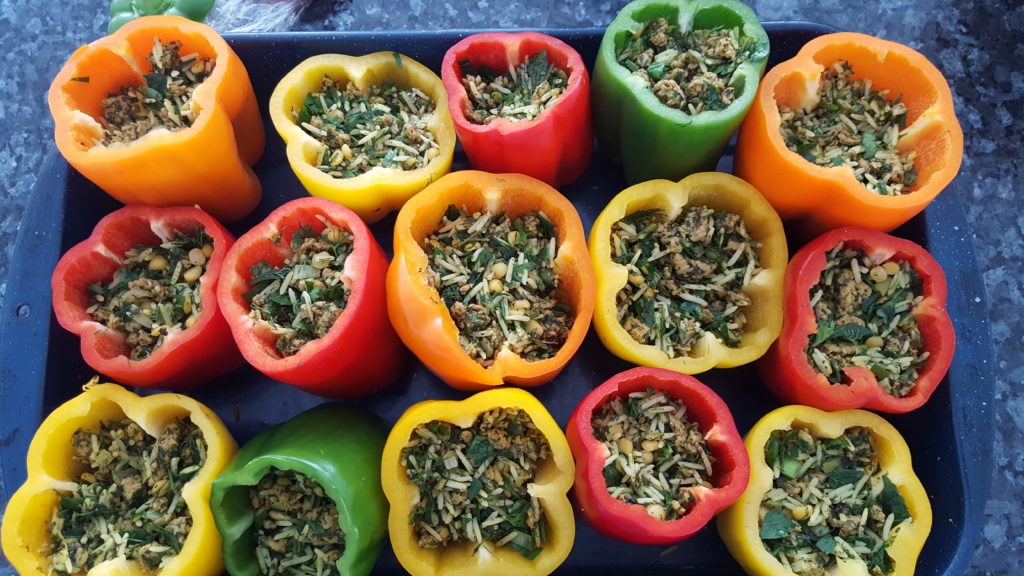
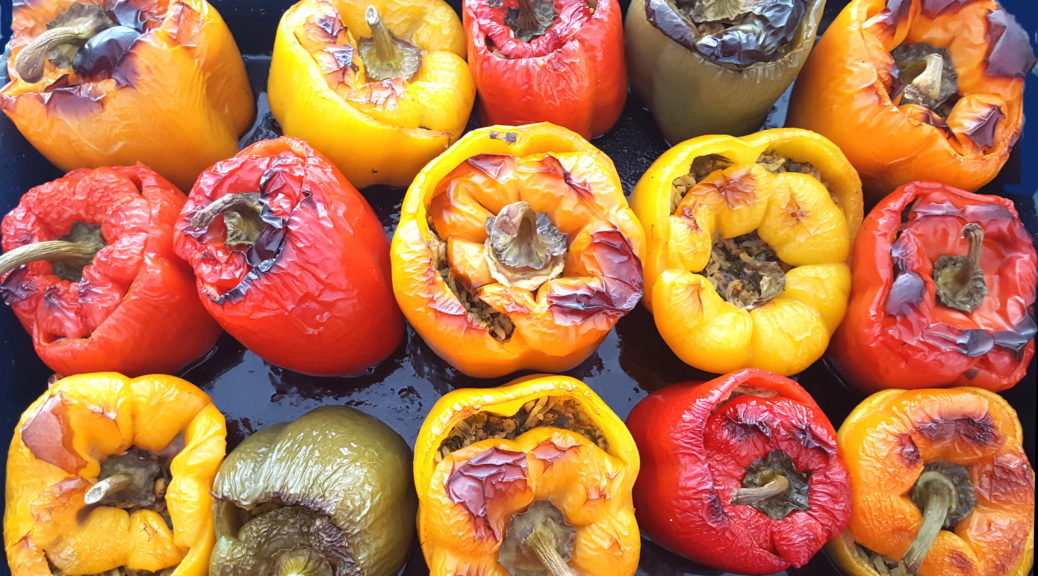
Persian Stuffed Peppers (Dolmeh)

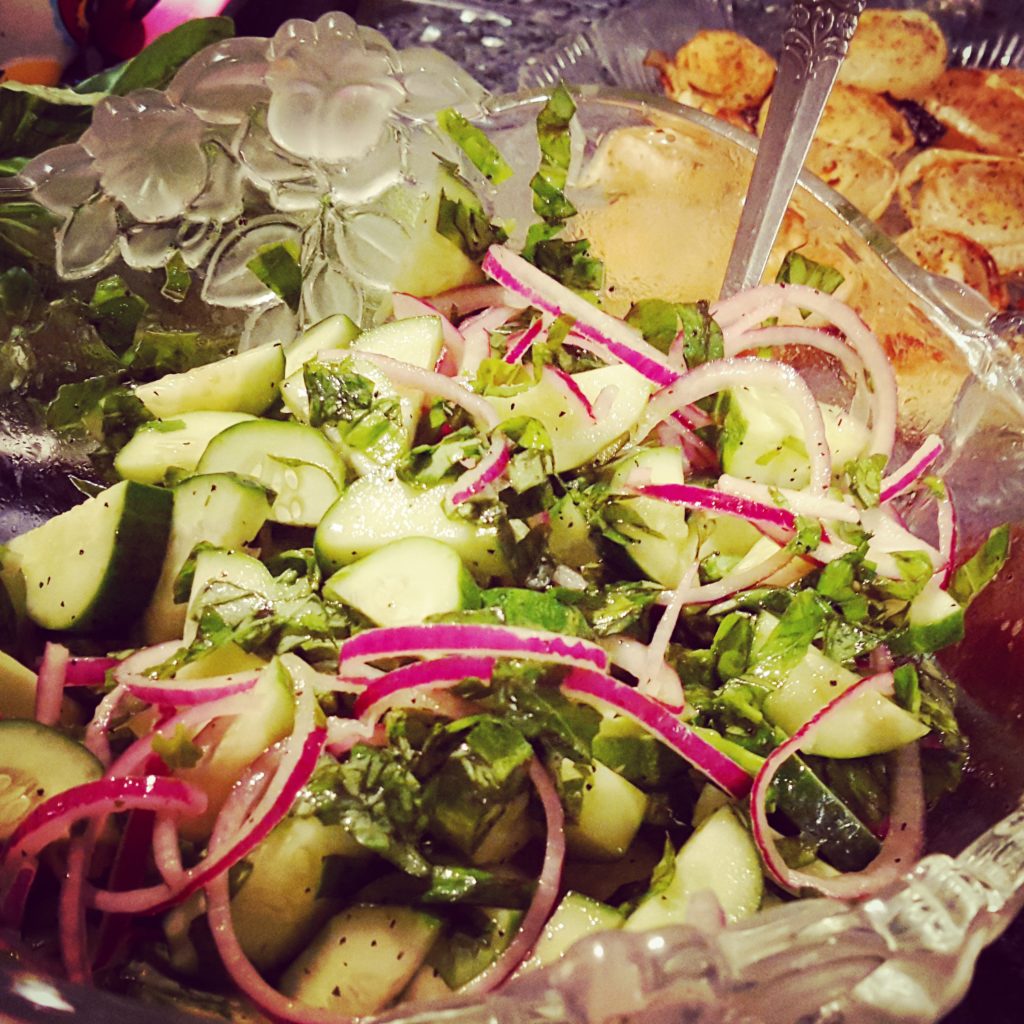
Persian Cucumber Salad with Red Onion & Thai Basil

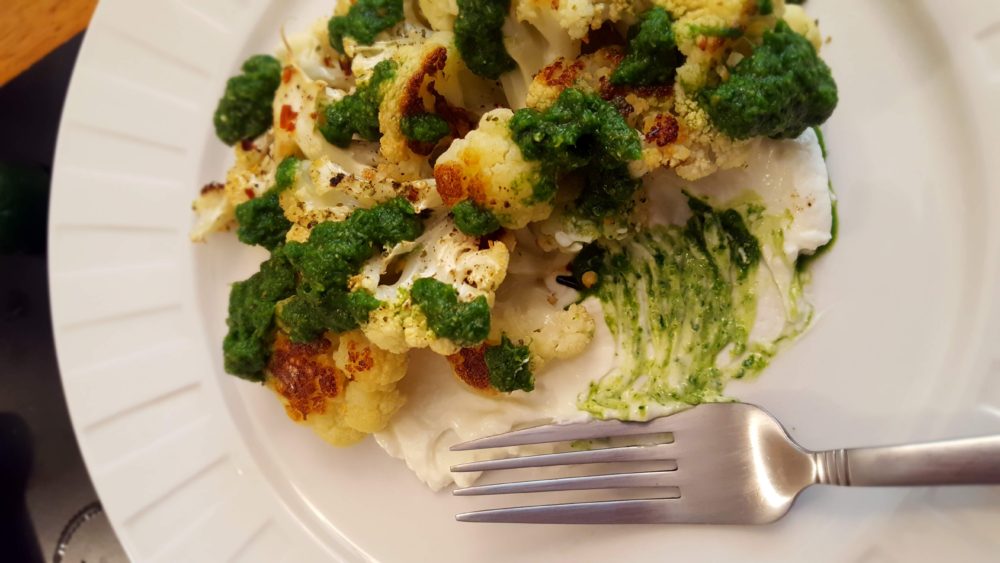
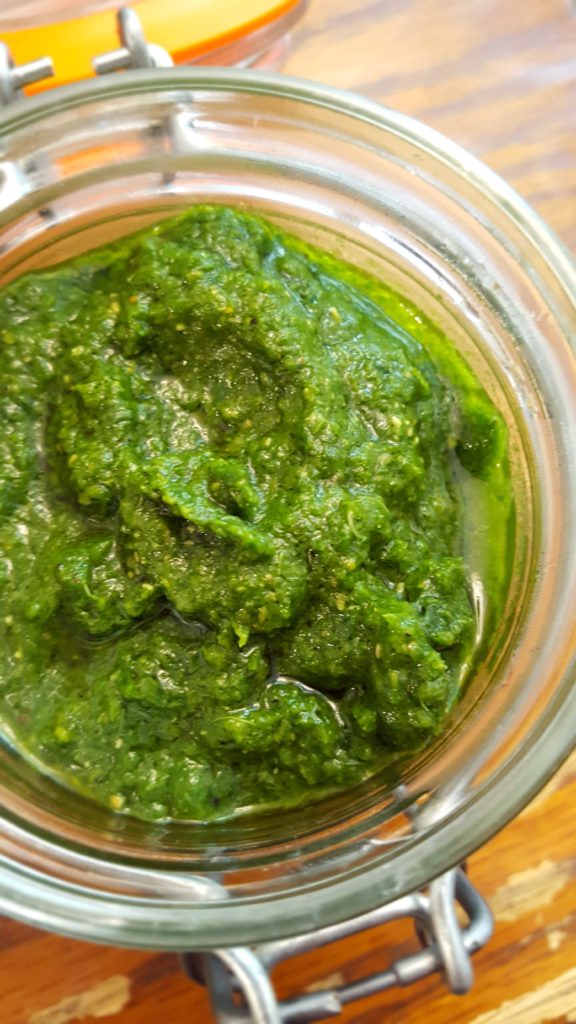
Roasted Cauliflower with Schug & A Quick Trip Around the World

Persian Stuffed Peppers (Dolmeh)

Persian Stuffed Peppers (Dolmeh)

The term “Dolmeh” can be traced back thousands of years in the form of various stuffed vegetables and was popular all over ranging from the Middle East, to Central Asia, and surrounding areas. The vegetables stuffed could include tomato, pepper, onion, zucchini, and eggplant.  Stuffed grape and cabbage leaves were also part of this tradition and can be traced back even further in culinary history. One explanation for etymology of the word dolmeh is from the Turkish verbal noun  dolmak,  which means “to be stuffed.” Makes sense.

In the Persian Empire, references of dolmeh are traced back to the 17th century and the courts of the Shah (king). According to Wikipedia, Alī-Akbar Khan Āšpaz-bāšī,  chef to the court of Nāṣer-al-Dīn Shah, recorded dolmeh as a special category of Persian cuisine and gave recipes for stuffing grape leaves, cabbage leaves, cucumbers, eggplants, apples, and quinces.

My beloved late Grandmother made dolmeh combining green stuffed peppers and stuffed cabbage leaves in a large pot. She used tomato sauce and the end result was delicious! This is a picture of the dolmeh she made for us when my mom and I visited her in 2009. Those beautiful hands made many lovely dishes for us on that trip. And they all had the common ingredient of love incorporated. Many of my cooking inspirations are connected to that trip. Since my family immigrated from Iran when I was a child, this was the only time I cooked with her as an adult and I cherished every moment.

It seems the popularity and timelessness of this dish, is due to it’s simplicity. Stuff any vegetable with other vegetables, herbs and/or meat and you have a rich dish that satiates any palette.

I made my version of dolmeh for Nowruz (the Persian New Year) and they were a hit! The only dish with no leftovers and that says a lot for any meal in an Iranian home where abundance is the key ingredient to any feast.

It is a relatively easy recipe and quite healthy. You can make it meat-less by eliminating the ground turkey or chicken for a vegetarian option, nothing will be lost. The fresh herbs add such great flavor and aroma! Serve it up as a main or side dish and enjoy!