Browsed by
Category: Fall

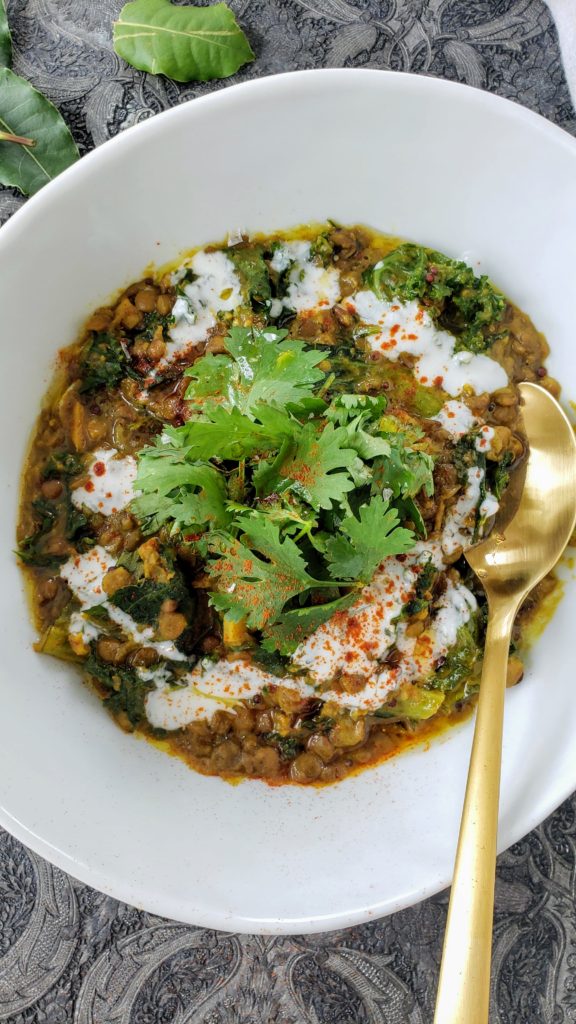
Curried Lentils with Kale, Ginger and Spices
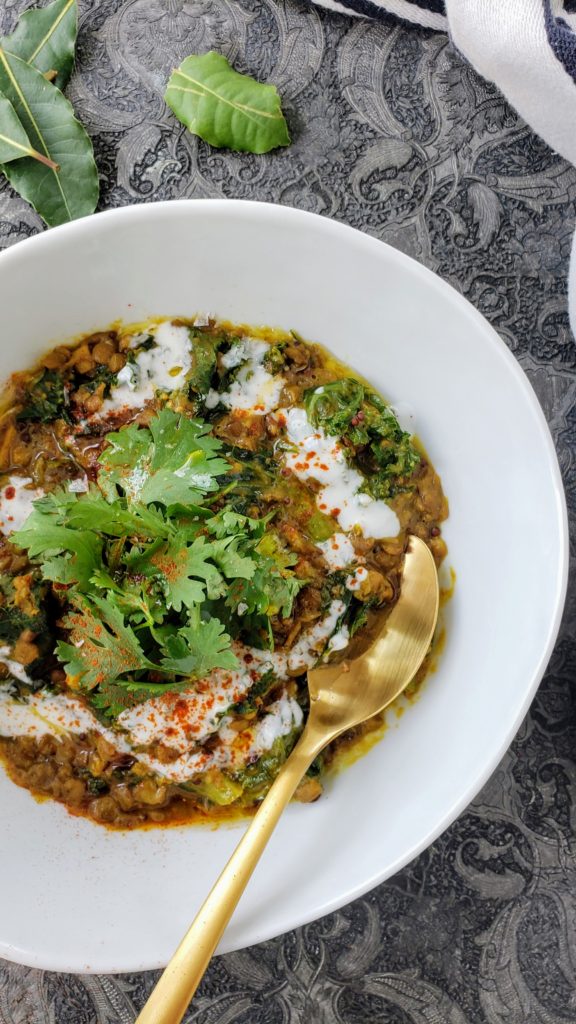
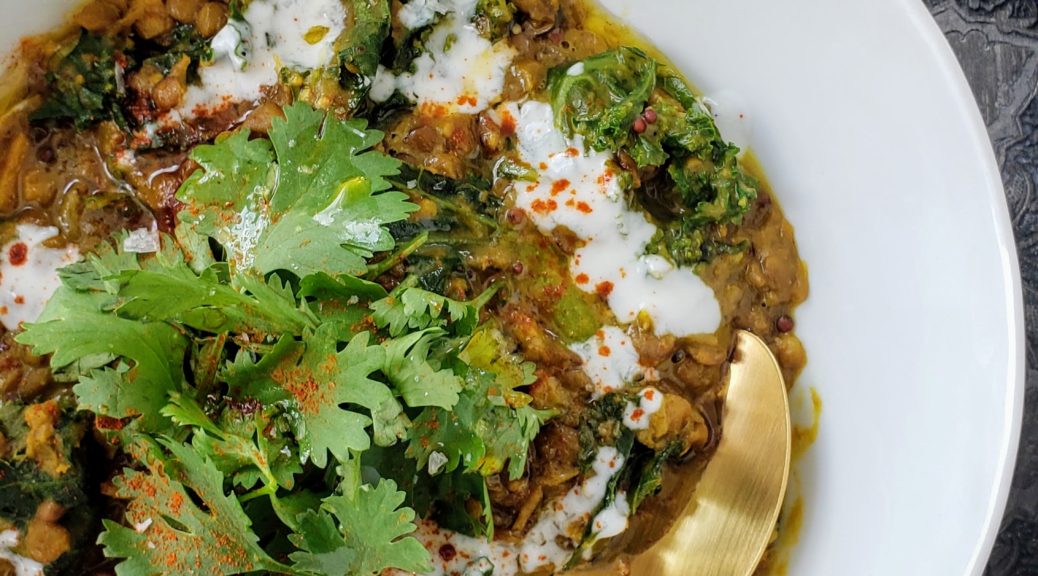
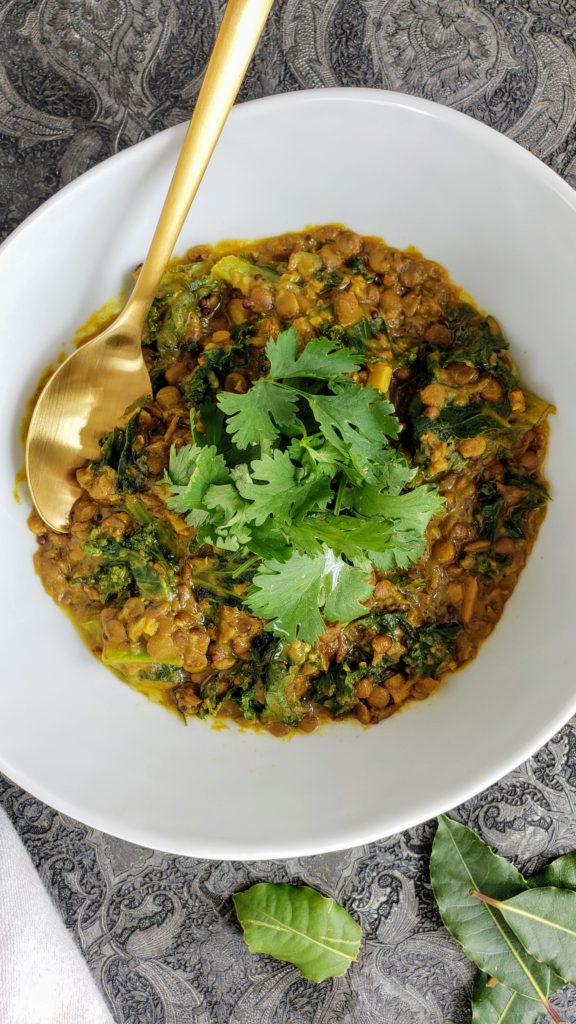
Curried Lentils with Kale, Ginger and Spices

Fall is flirting with us and slightly cooler evenings summon cravings for cozy dinners. There is still time to enjoy heirloom tomatoes and summer bounties ripe with flavor from the local farmer’s markets- but a hearty pot of curried lentils is a delightfully delicious and vegetarian dinner any time of year.

Lentils are a versatile blank canvas to build flavor upon. Here, creamy coconut milk, copious amounts of ginger and a medley of aromatic spices adorn the lentils. A nutritious and fragrant one-pot wonder perfumed by coriander, cumin and turmeric, and dramatized by heat from cayenne pepper and ginger, all of which is somewhat mellowed out by the handfuls of fresh kale added at the end. All of these flavors harmoniously come together in the luscious and slightly sweet coconut milk for a satisfying meal. It’s a forgiving recipe so feel free to play with your favorite spices, adjust the heat levels and substitute kale with spinach.

~Tip:

*This recipe holds up well for 2-3 days in the fridge hence why the big-batch volume. It feeds 6-8 servings so feel free to cut the recipe in half for smaller portions. But the leftovers are even better the next day so we recommend making a full pot and enjoying it for several days.

* The recipe uses 2 different kinds of lentils for added texture. Green lentils have a harder exterior and take longer to cook but hold their shape better. Brown lentils are softer and will become more mashed during cooking. You can use either individually, or combine as the recipe indicates for textural contrast. Just make sure you cook long enough so the green lentils have cooked through.

Ingredients-

2 tablespoons olive oil, plus more if needed
1 large yellow onion, chopped
6-8 garlic cloves, minced
4-6 inch ginger knob, finely chopped
1 tablespoon brown mustard seeds
1 tablespoon ground turmeric
2 teaspoon ground coriander
2 teaspoon ground cumin
1 teaspoon cayenne pepper, adjust to taste
1 cup brown lentils
1 cup green lentils
8 cups water
2-3 bay leaves
1-2 small red chilies, finely chopped (optional)
1, 13.5-ounce can unsweetened coconut milk
5-6 full handfuls roughly chopped kale, or spinach
Juice of 1 lemon
1 teaspoon sea salt, plus more if needed
Fresh ground black pepper to taste
Fresh Cilantro for garnish (optional)
Kefir or Greek Yogurt for serving (optional)

Preparation-

  1. Heat 2 tablespoons olive oil in a large pot over medium heat, stirring occasionally for 2-3 minutes until fragrant.
  2. Add the garlic and ginger, season with salt and pepper and saute for another 2-3 minutes until onion has softened and is just beginning to color. Add more oil if needed an lower the heat to ensure garlic doesn’t burn.
  3. Stir in the mustard seeds, turmeric, coriander, cumin and cayenne pepper. Cook, stirring often, until fragrant, about 1 minute.
  4. Add the lentils, water, chili pepper, bay leaves and 1 teaspoon salt, then bring to a gentle boil.
  5. Reduce to medium-low, cover and simmer, stirring occasionally, until the lentils have cooked through and most of the water has evaporated, about 30-40 minutes.
  6. Once the lentils have cooked add the coconut milk and mix to combine. Follow by adding the kale to the pot. It may seem like a lot but the kale will whilt down quickly.
  7. Season with lemon juice, more salt and pepper, adjusting to taste as desired.
  8. Served with fresh cilantro and a drizzle of kefir and olive oil, if using, and enjoy.

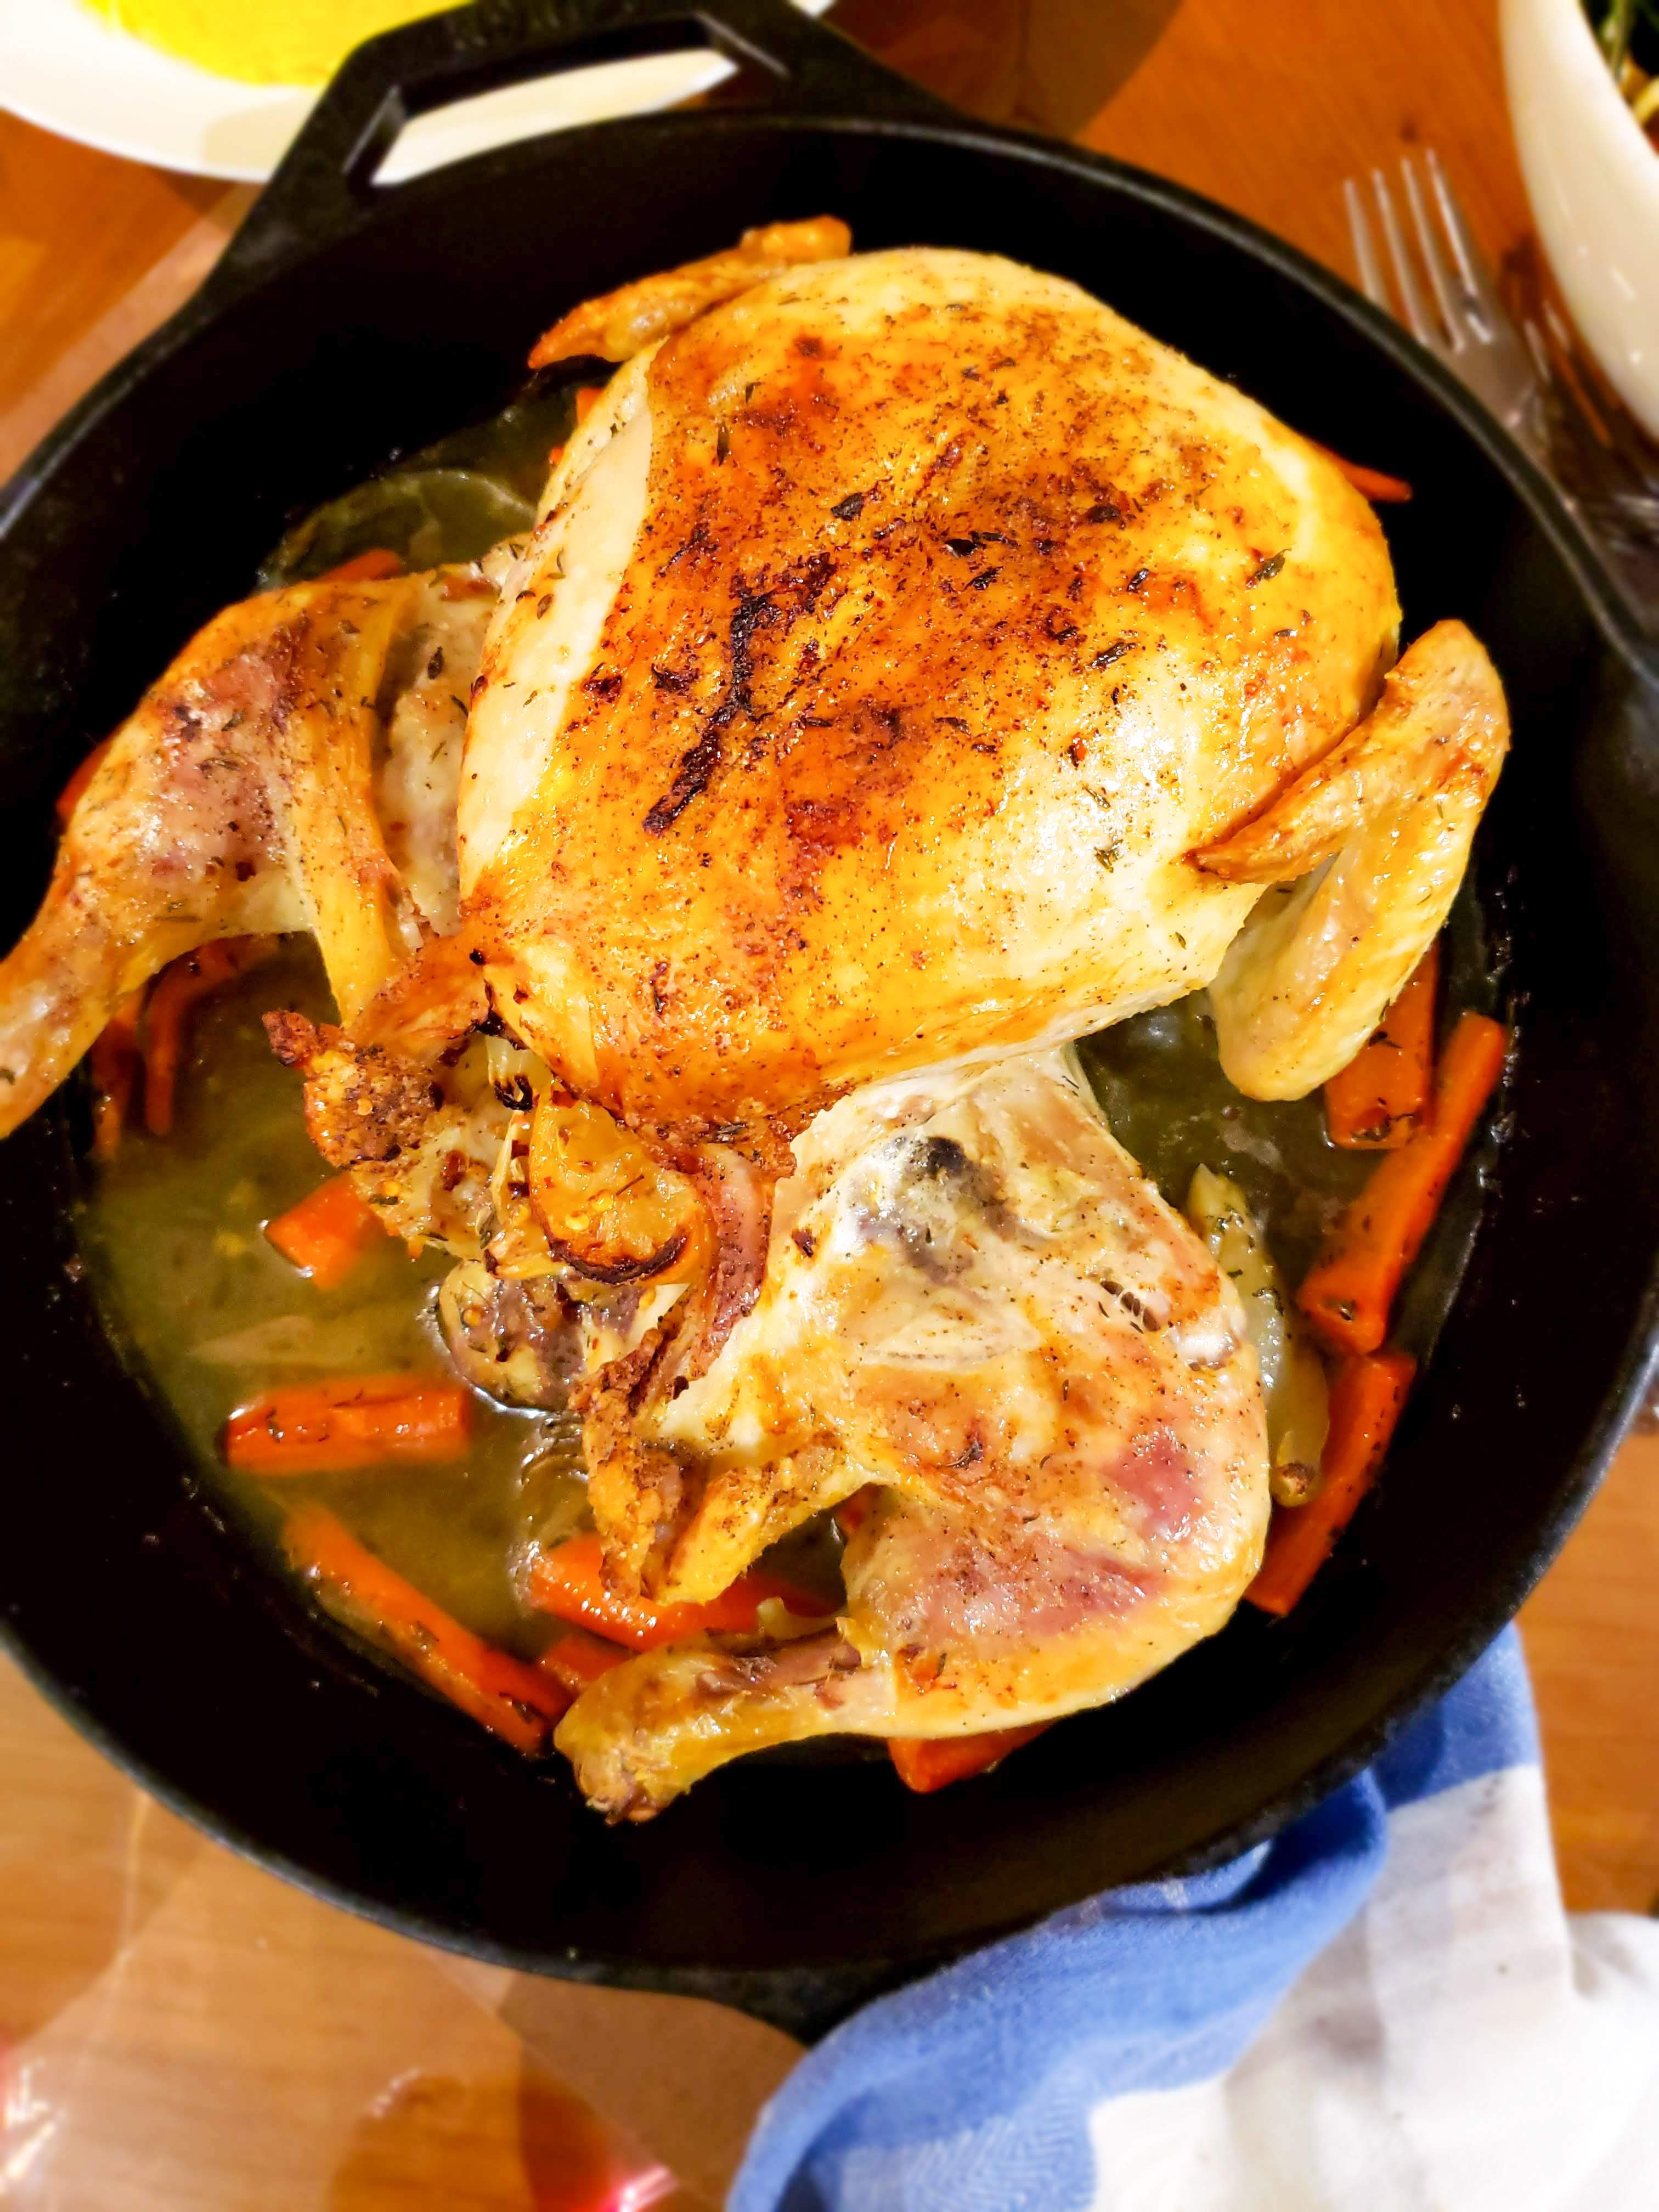
Classic Roast Chicken

Classic Roast Chicken

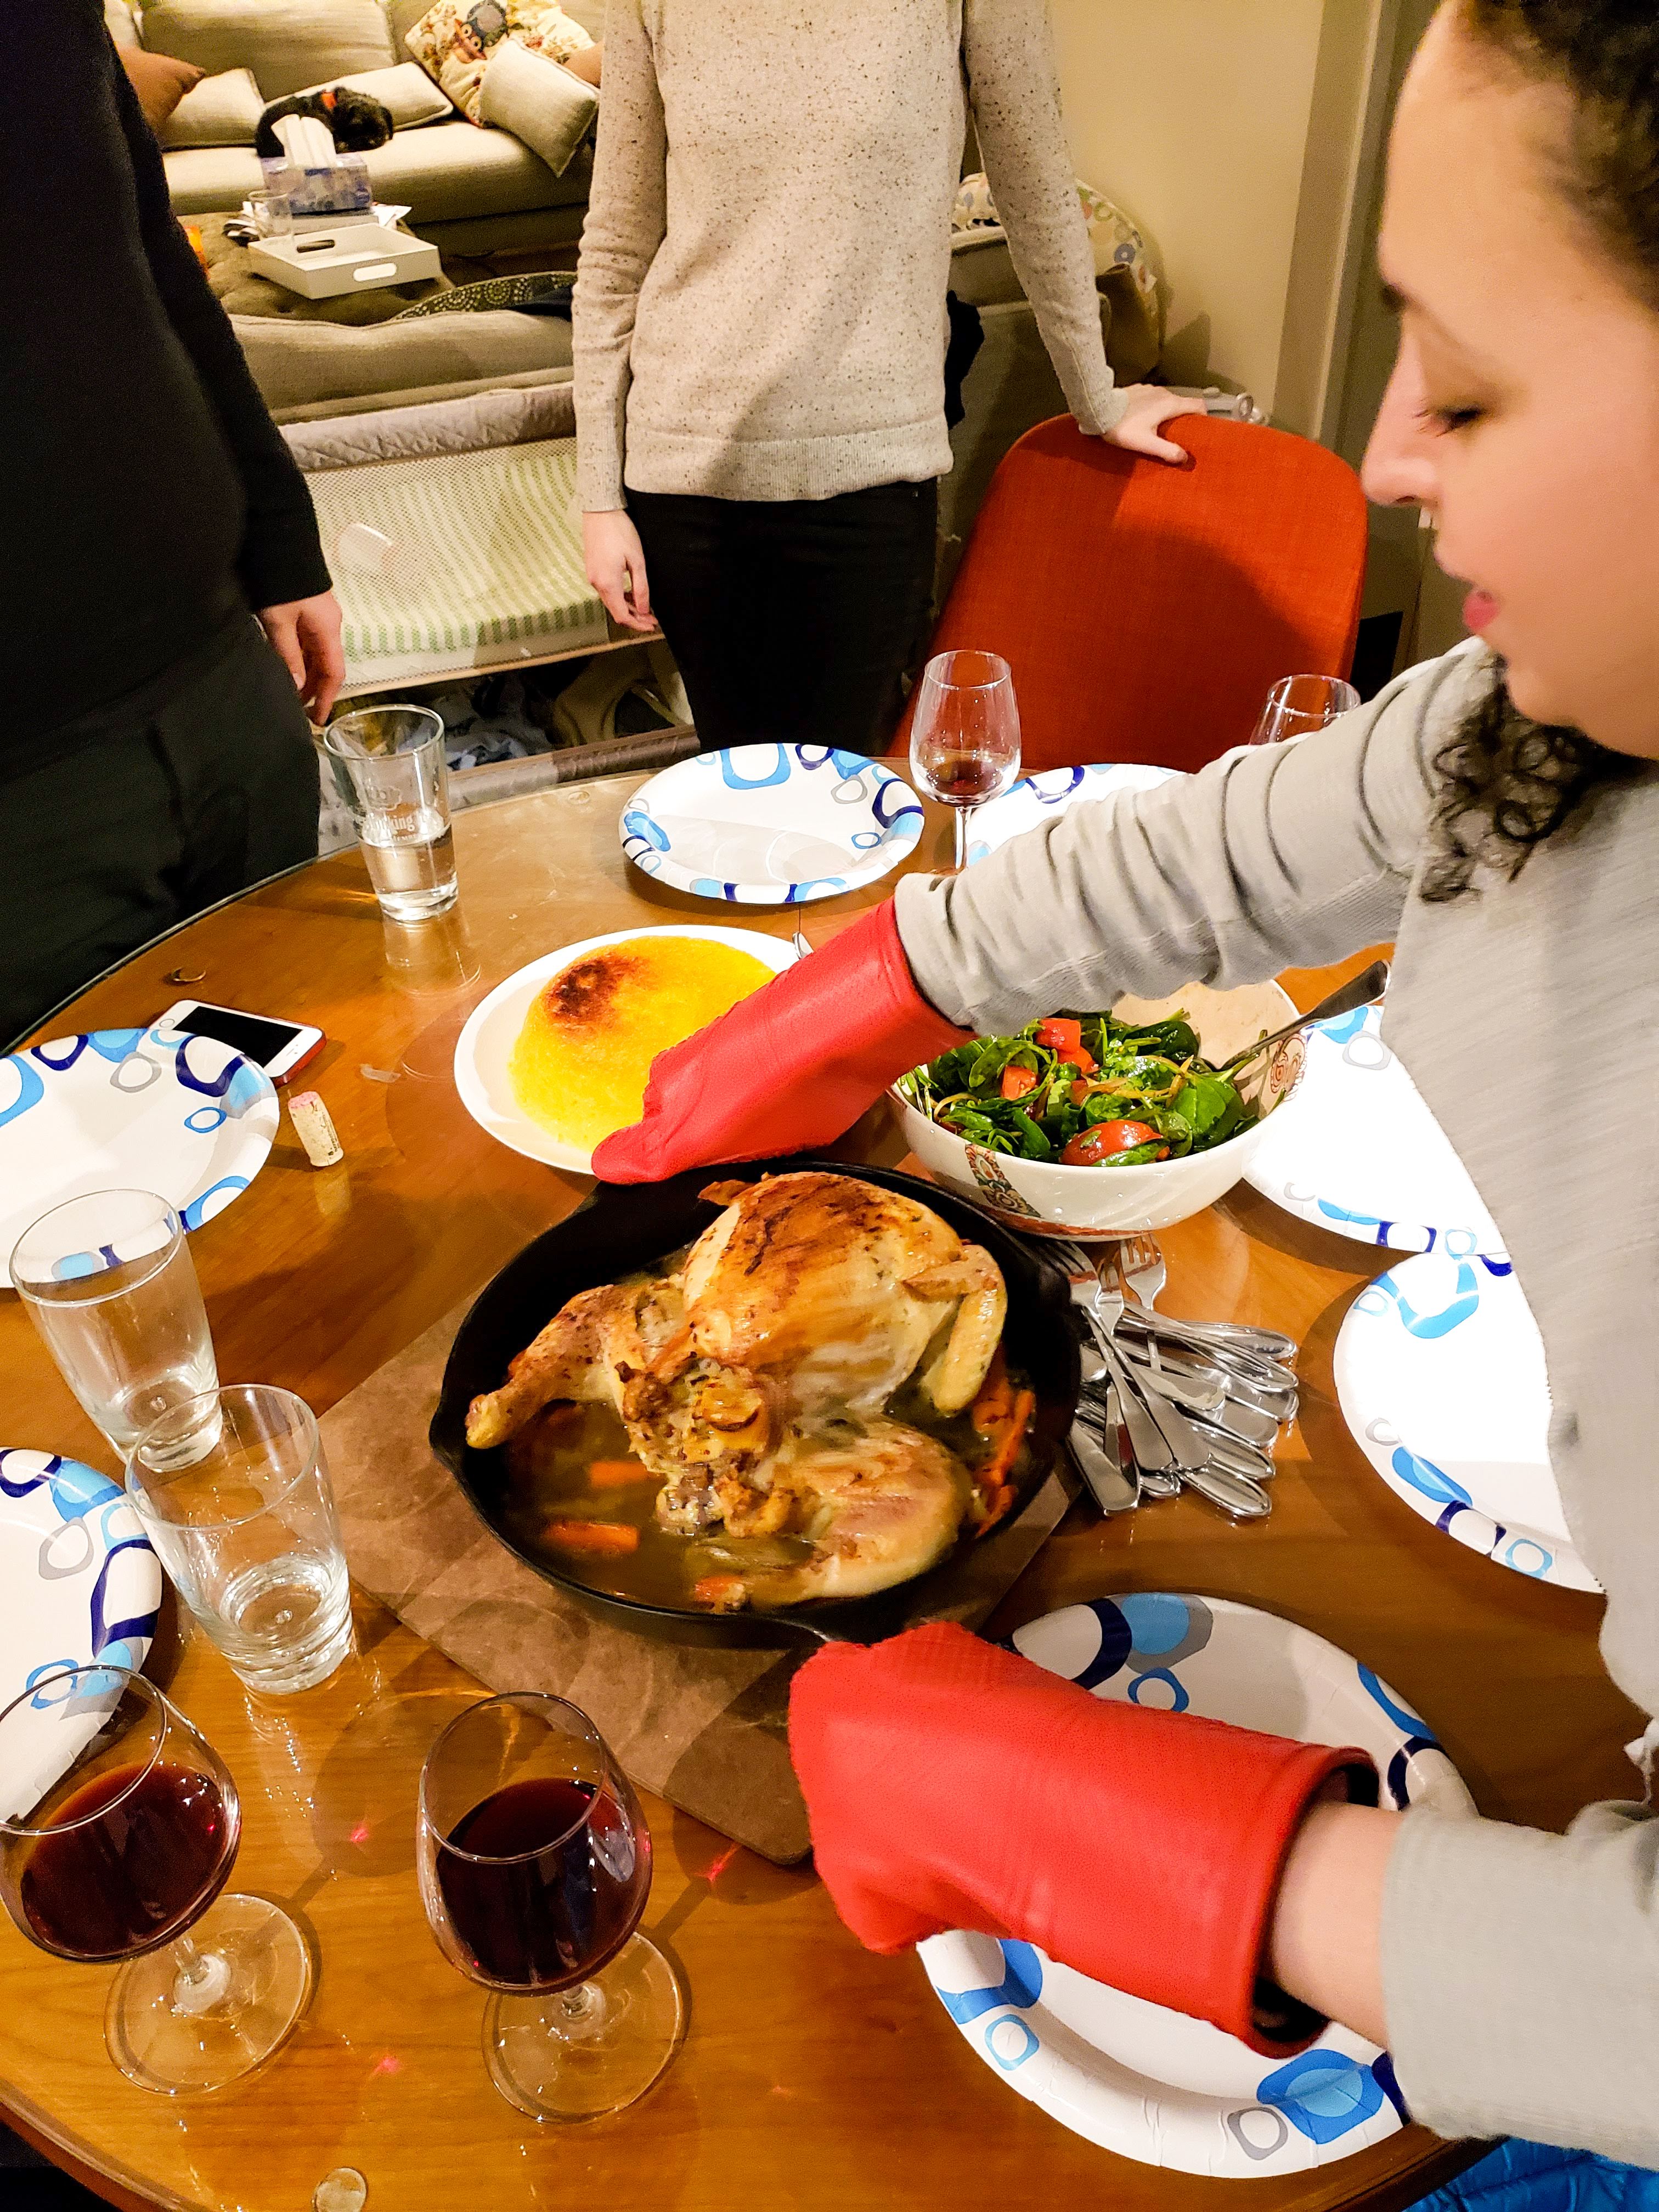
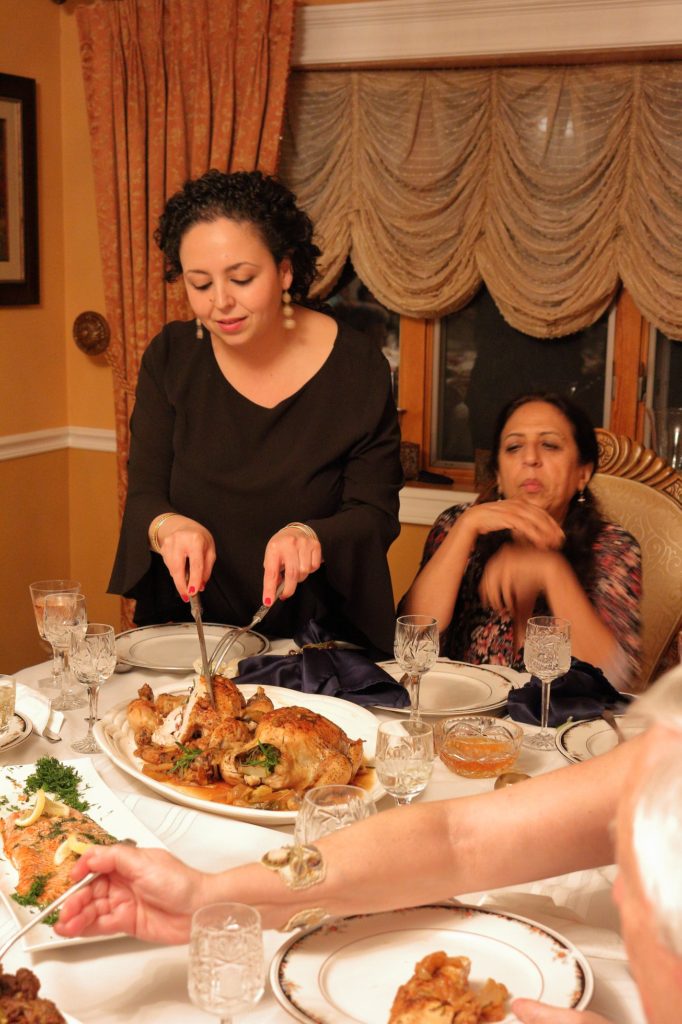
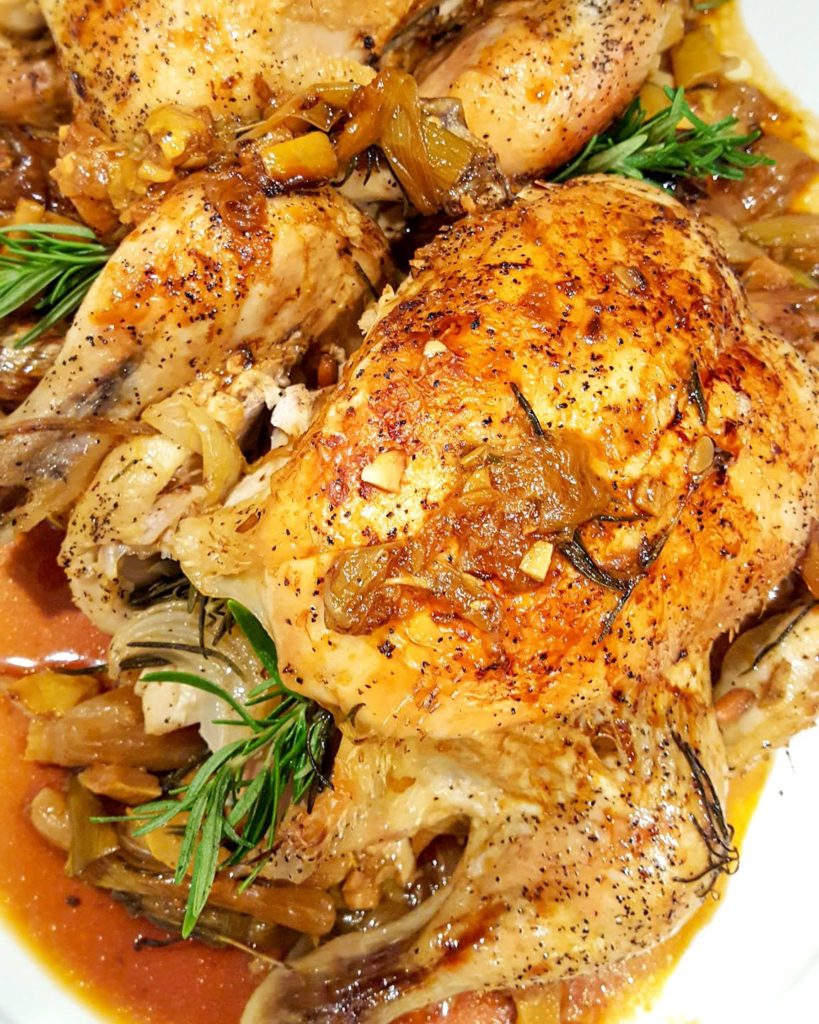
Fall is fully upon us and with that comes a desire for warming roasts and slow cooked hearty dishes. The days are shorter, temperatures cooler, and we crave comfort. The truth is chicken roasted in the oven, in the endless iterations it can be prepared, is good all year round. It’s a dish synonymous with home cooking and perhaps the one dish I’ve share most with loved ones. From family feasts to fabulous fetes with friends, a golden roasted bird is always a win. Either prepared simply or adorned with vegetables and aromatics.

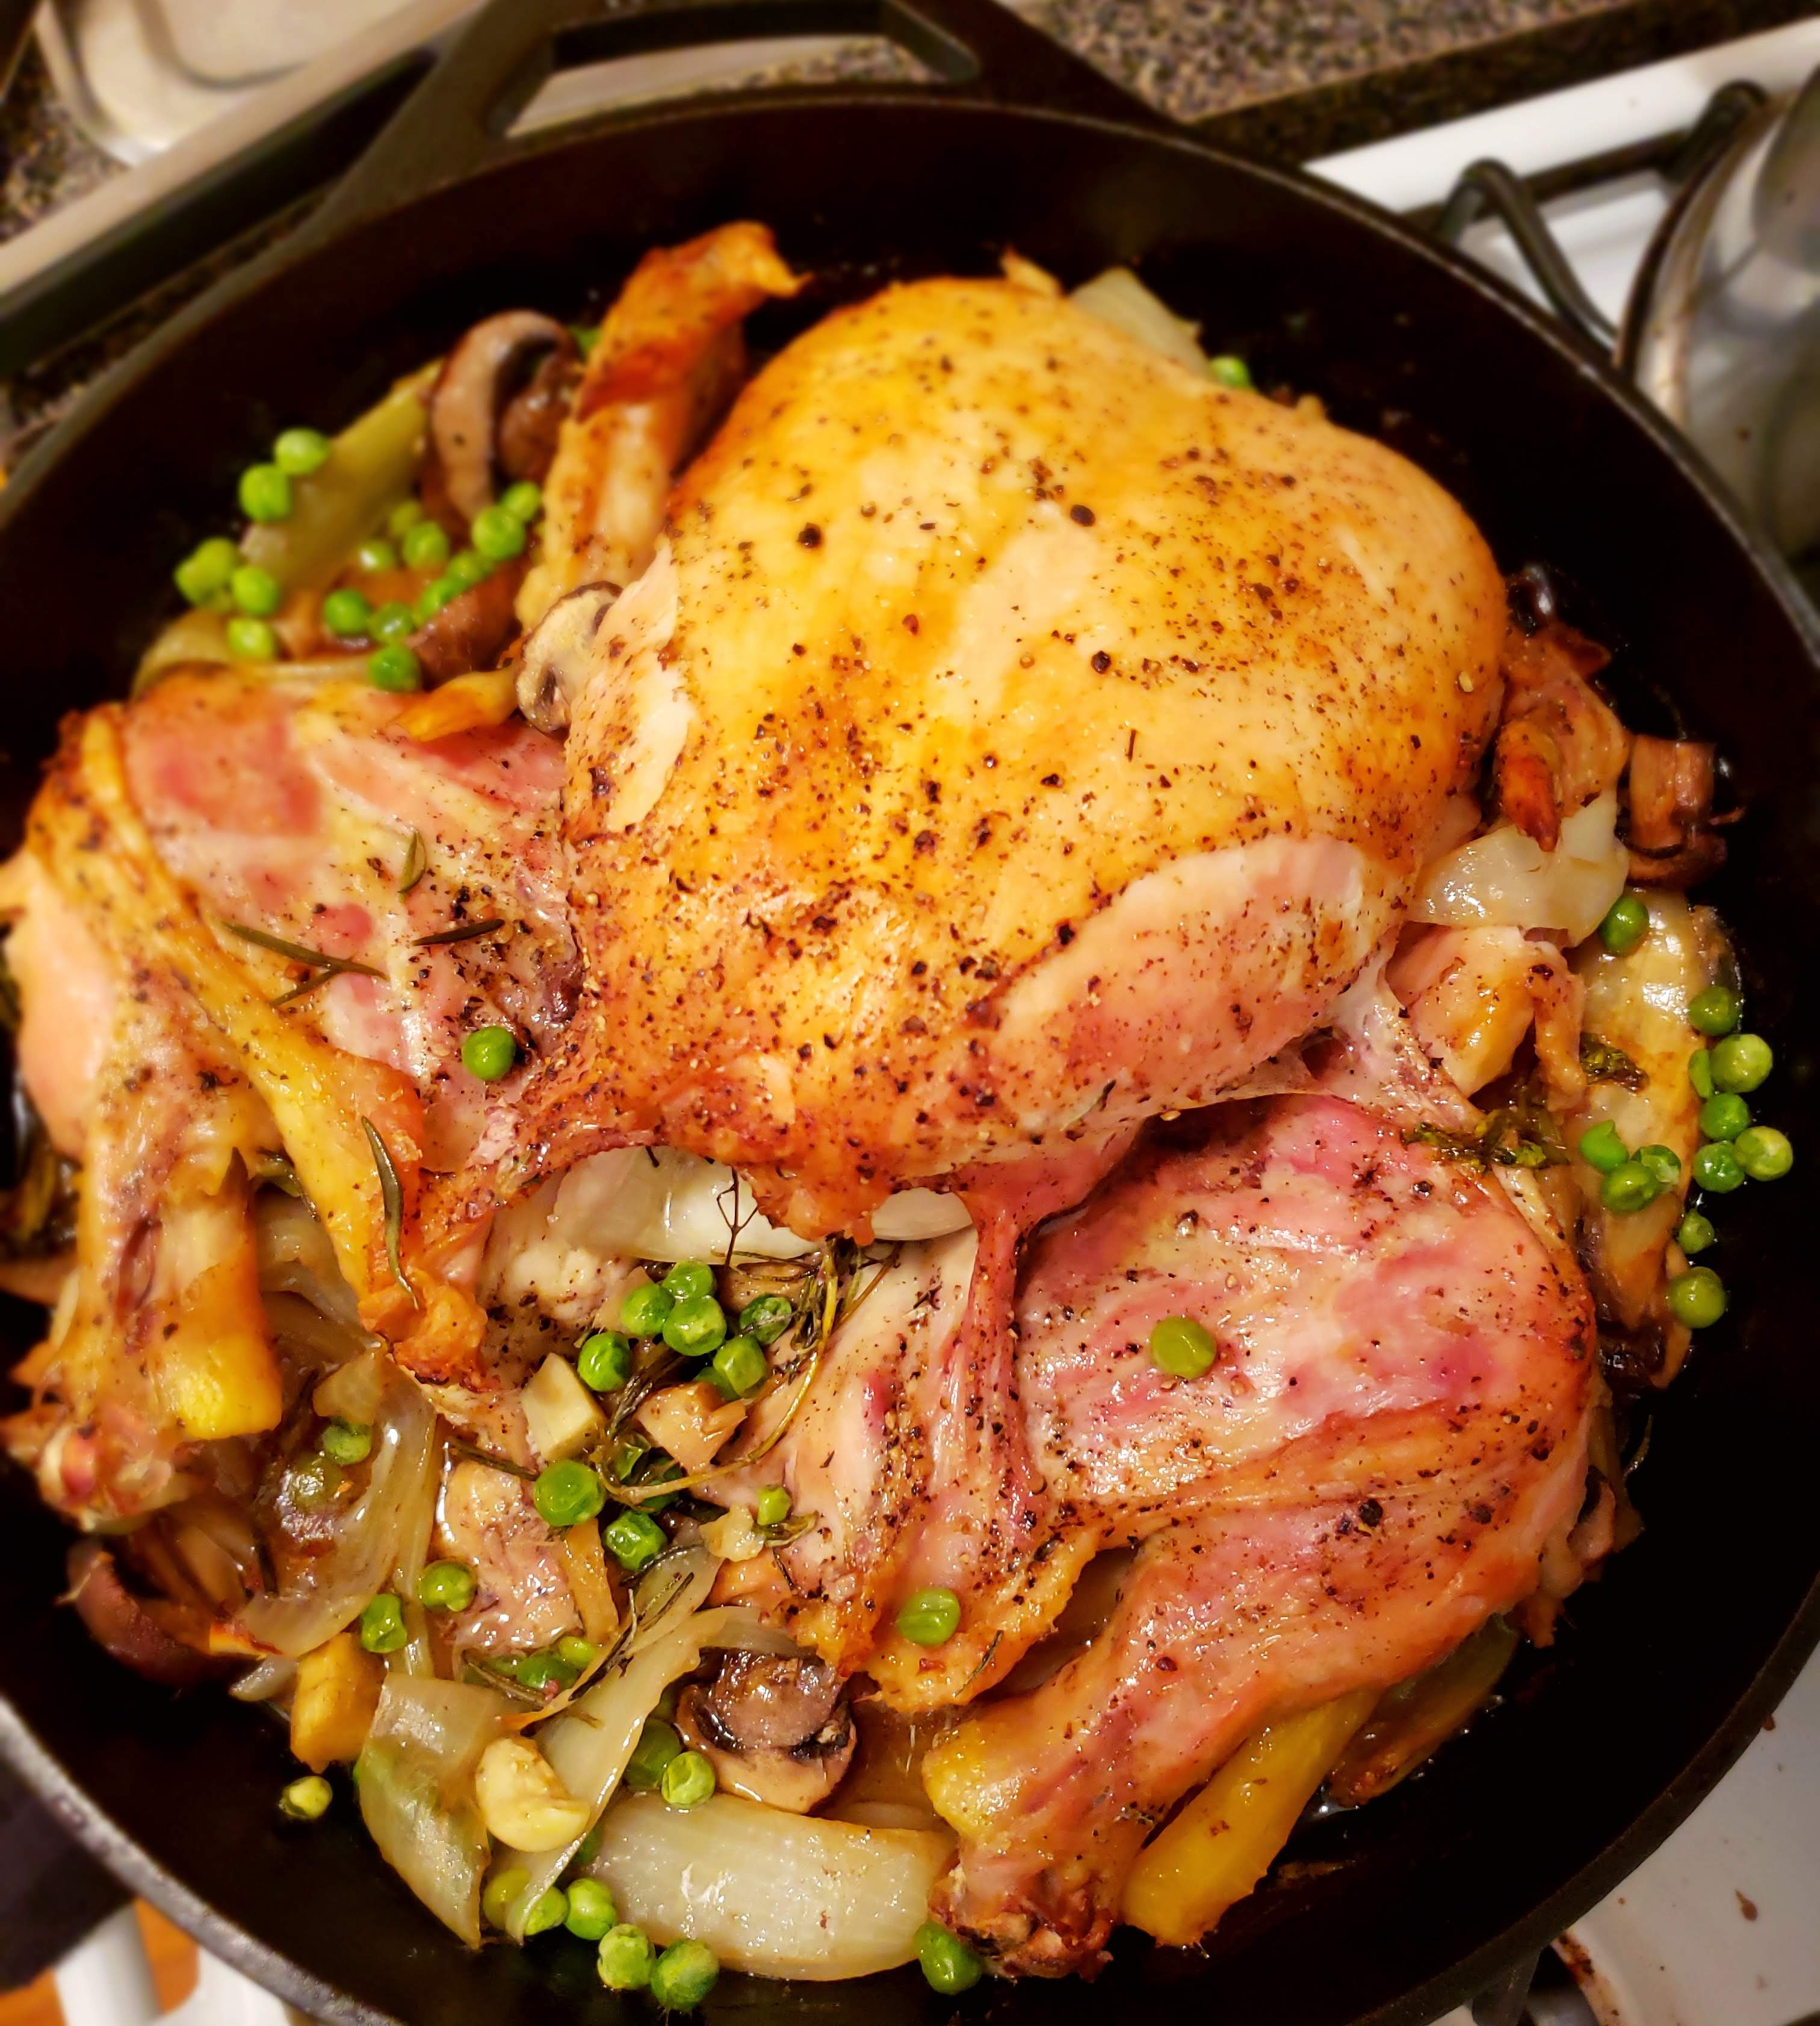
All you need is chicken, olive oil, salt and pepper. You can play with many different combinations to utilize the transformative power of things cooked in natural chicken fat. Add lemon, herbs and a trio of onions, carrots and celery for a classic option. Garlic is always a good idea, so are woodsy herbs like rosemary and thyme. Green peas add a touch of sweetness. Leeks are lovely, paired with potatoes and lots of black pepper. Potatoes cooked in chicken fat are mouthwateringly tasty.

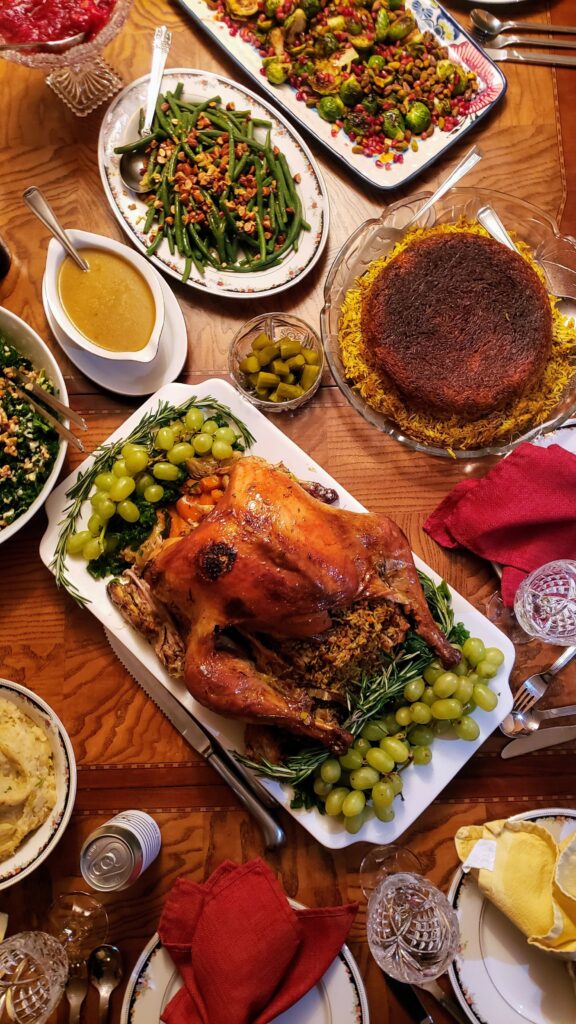
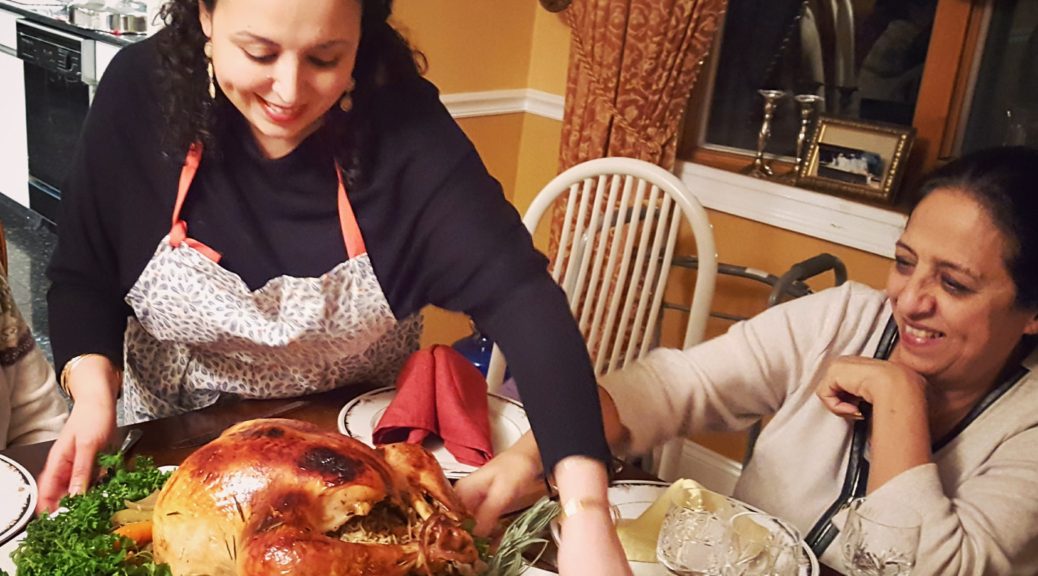
Stuffing the chicken with rice has a wonderful homey vibe- it adds slightly to cooking time but greatly to satisfaction. Not to mention it can be a great alternative to a more labor-intensive Thanksgiving Turkey. Another delightful flavor combination, chicken baked with scallions, ginger, lemon and white wine. And of course there are a myriad of spices that can makes a chicken dinner exciting- paprika, white pepper and herbs de Provence to name just a few.

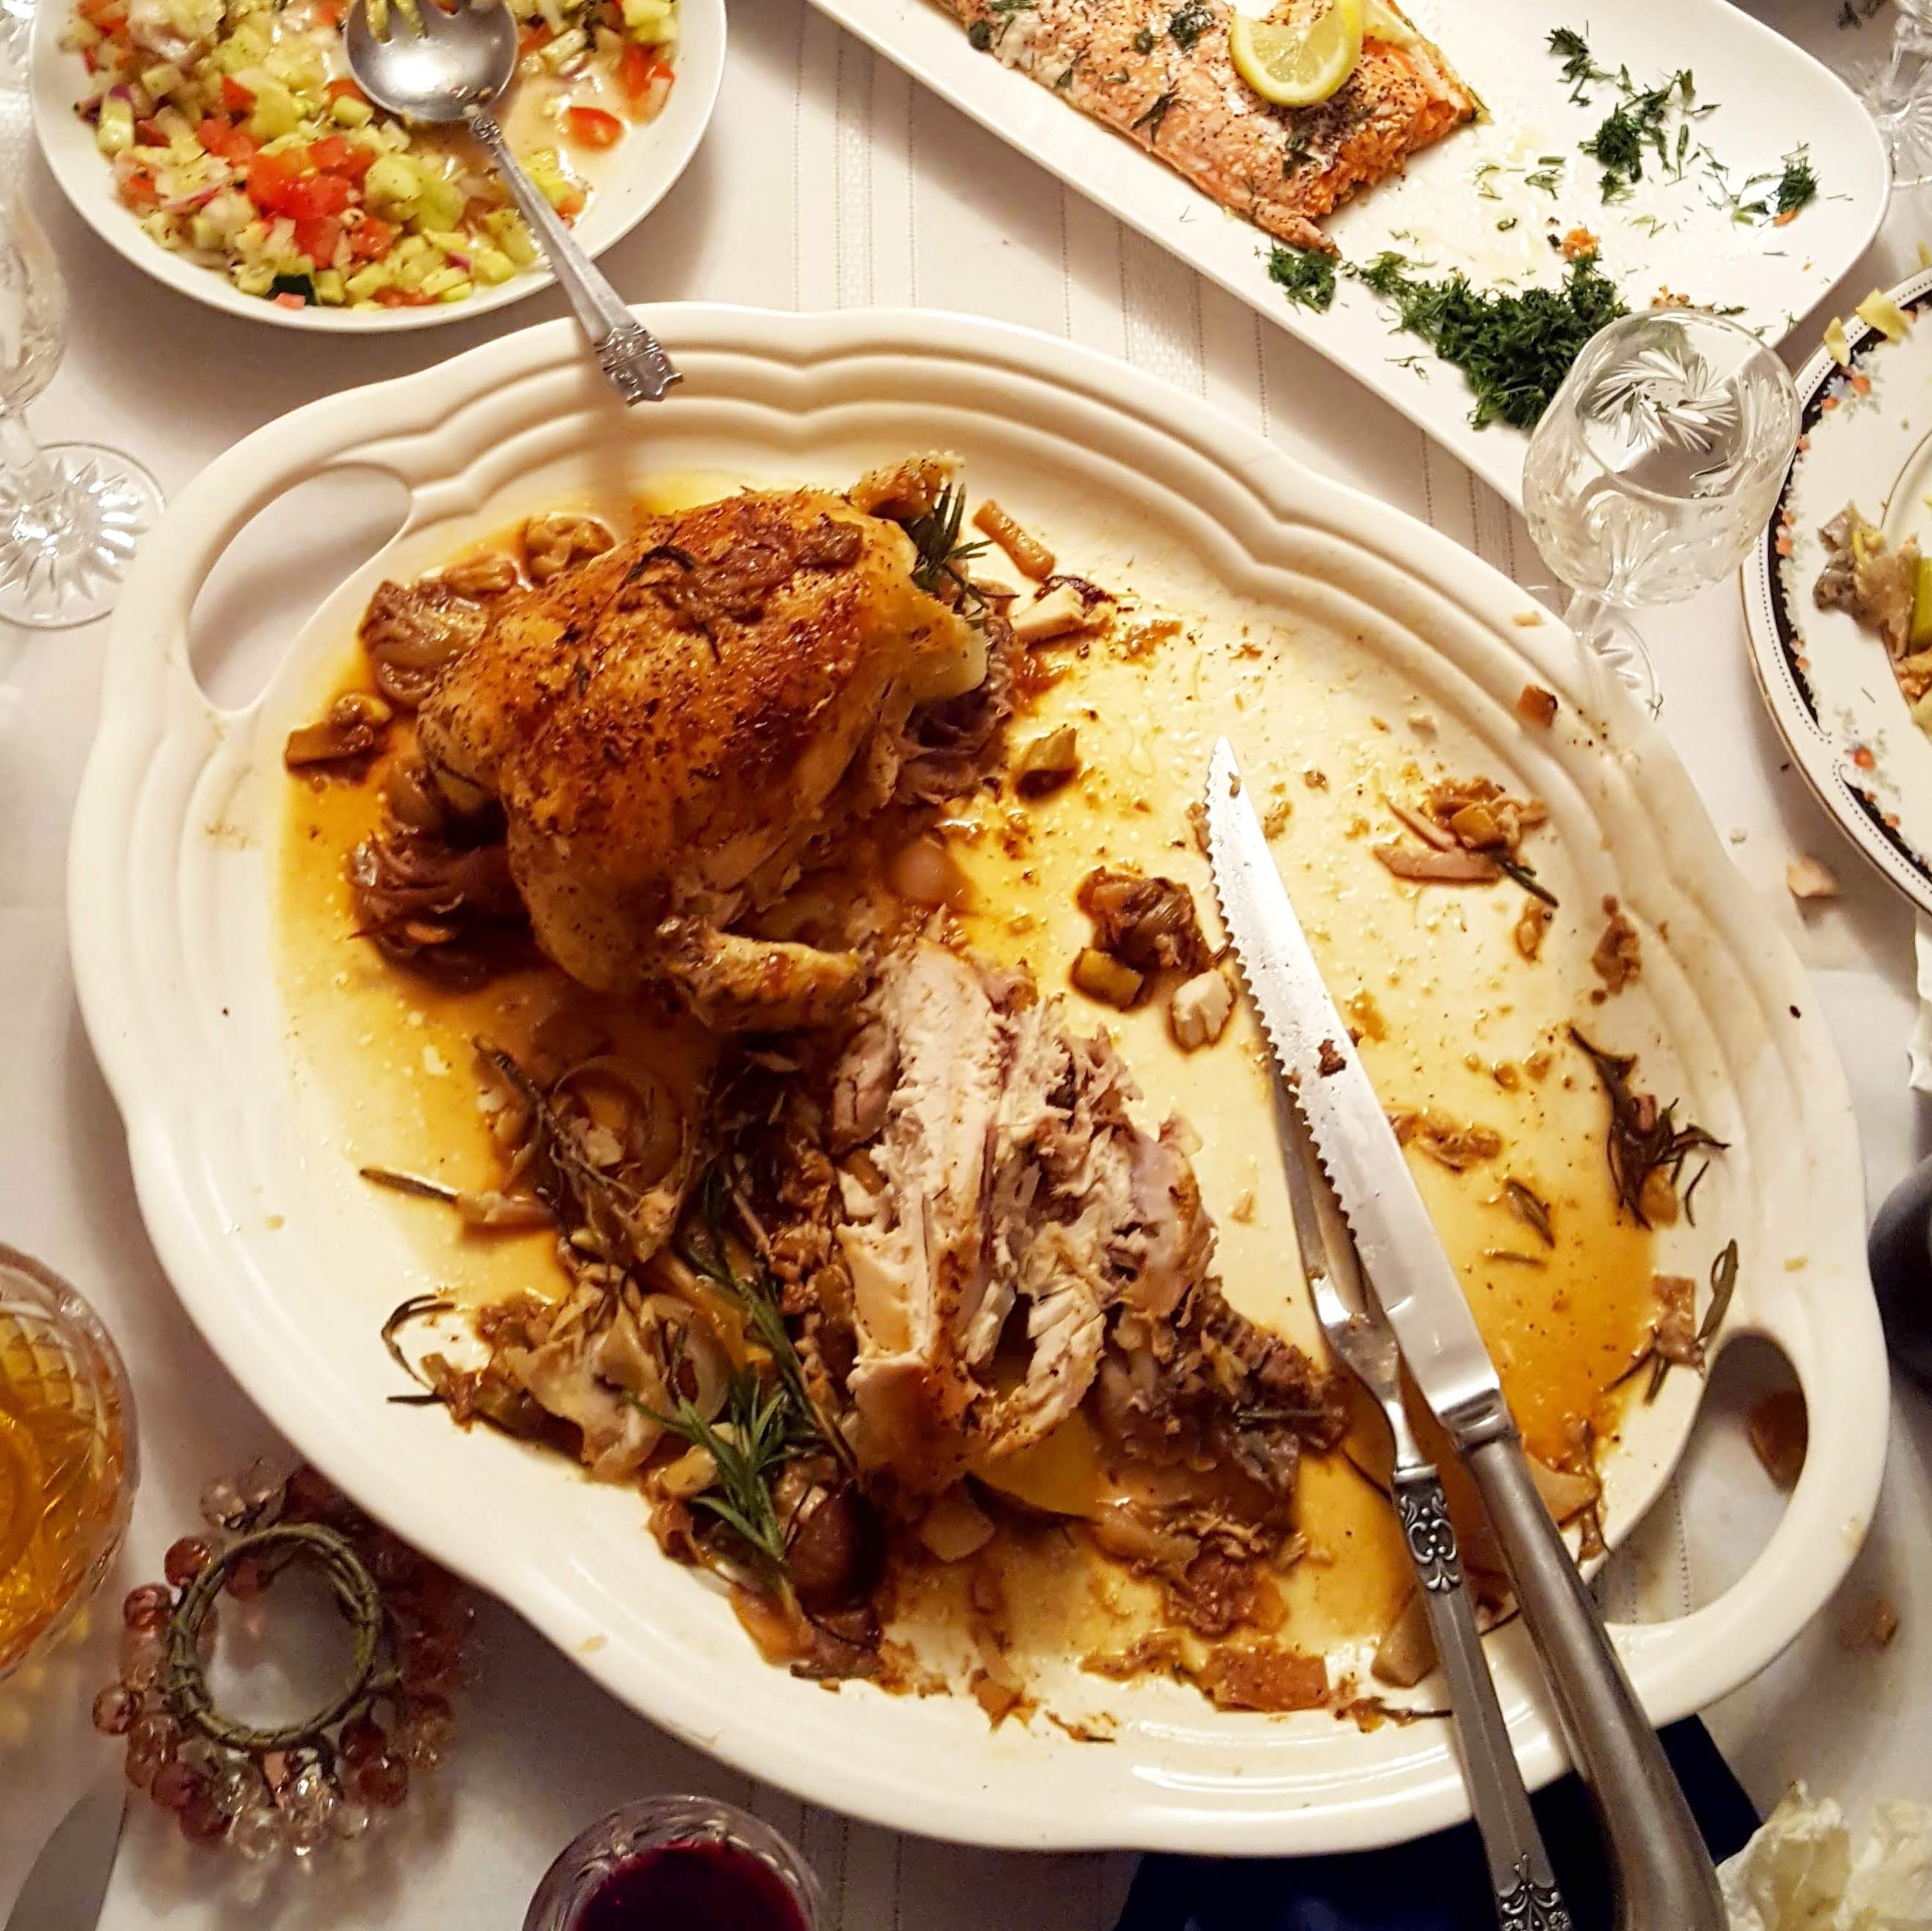
Holiday Entertaining Made Simple – Chicken Roasted w/ Rosemary, Lemon, Wine, Mushrooms, Ginger & Scallion

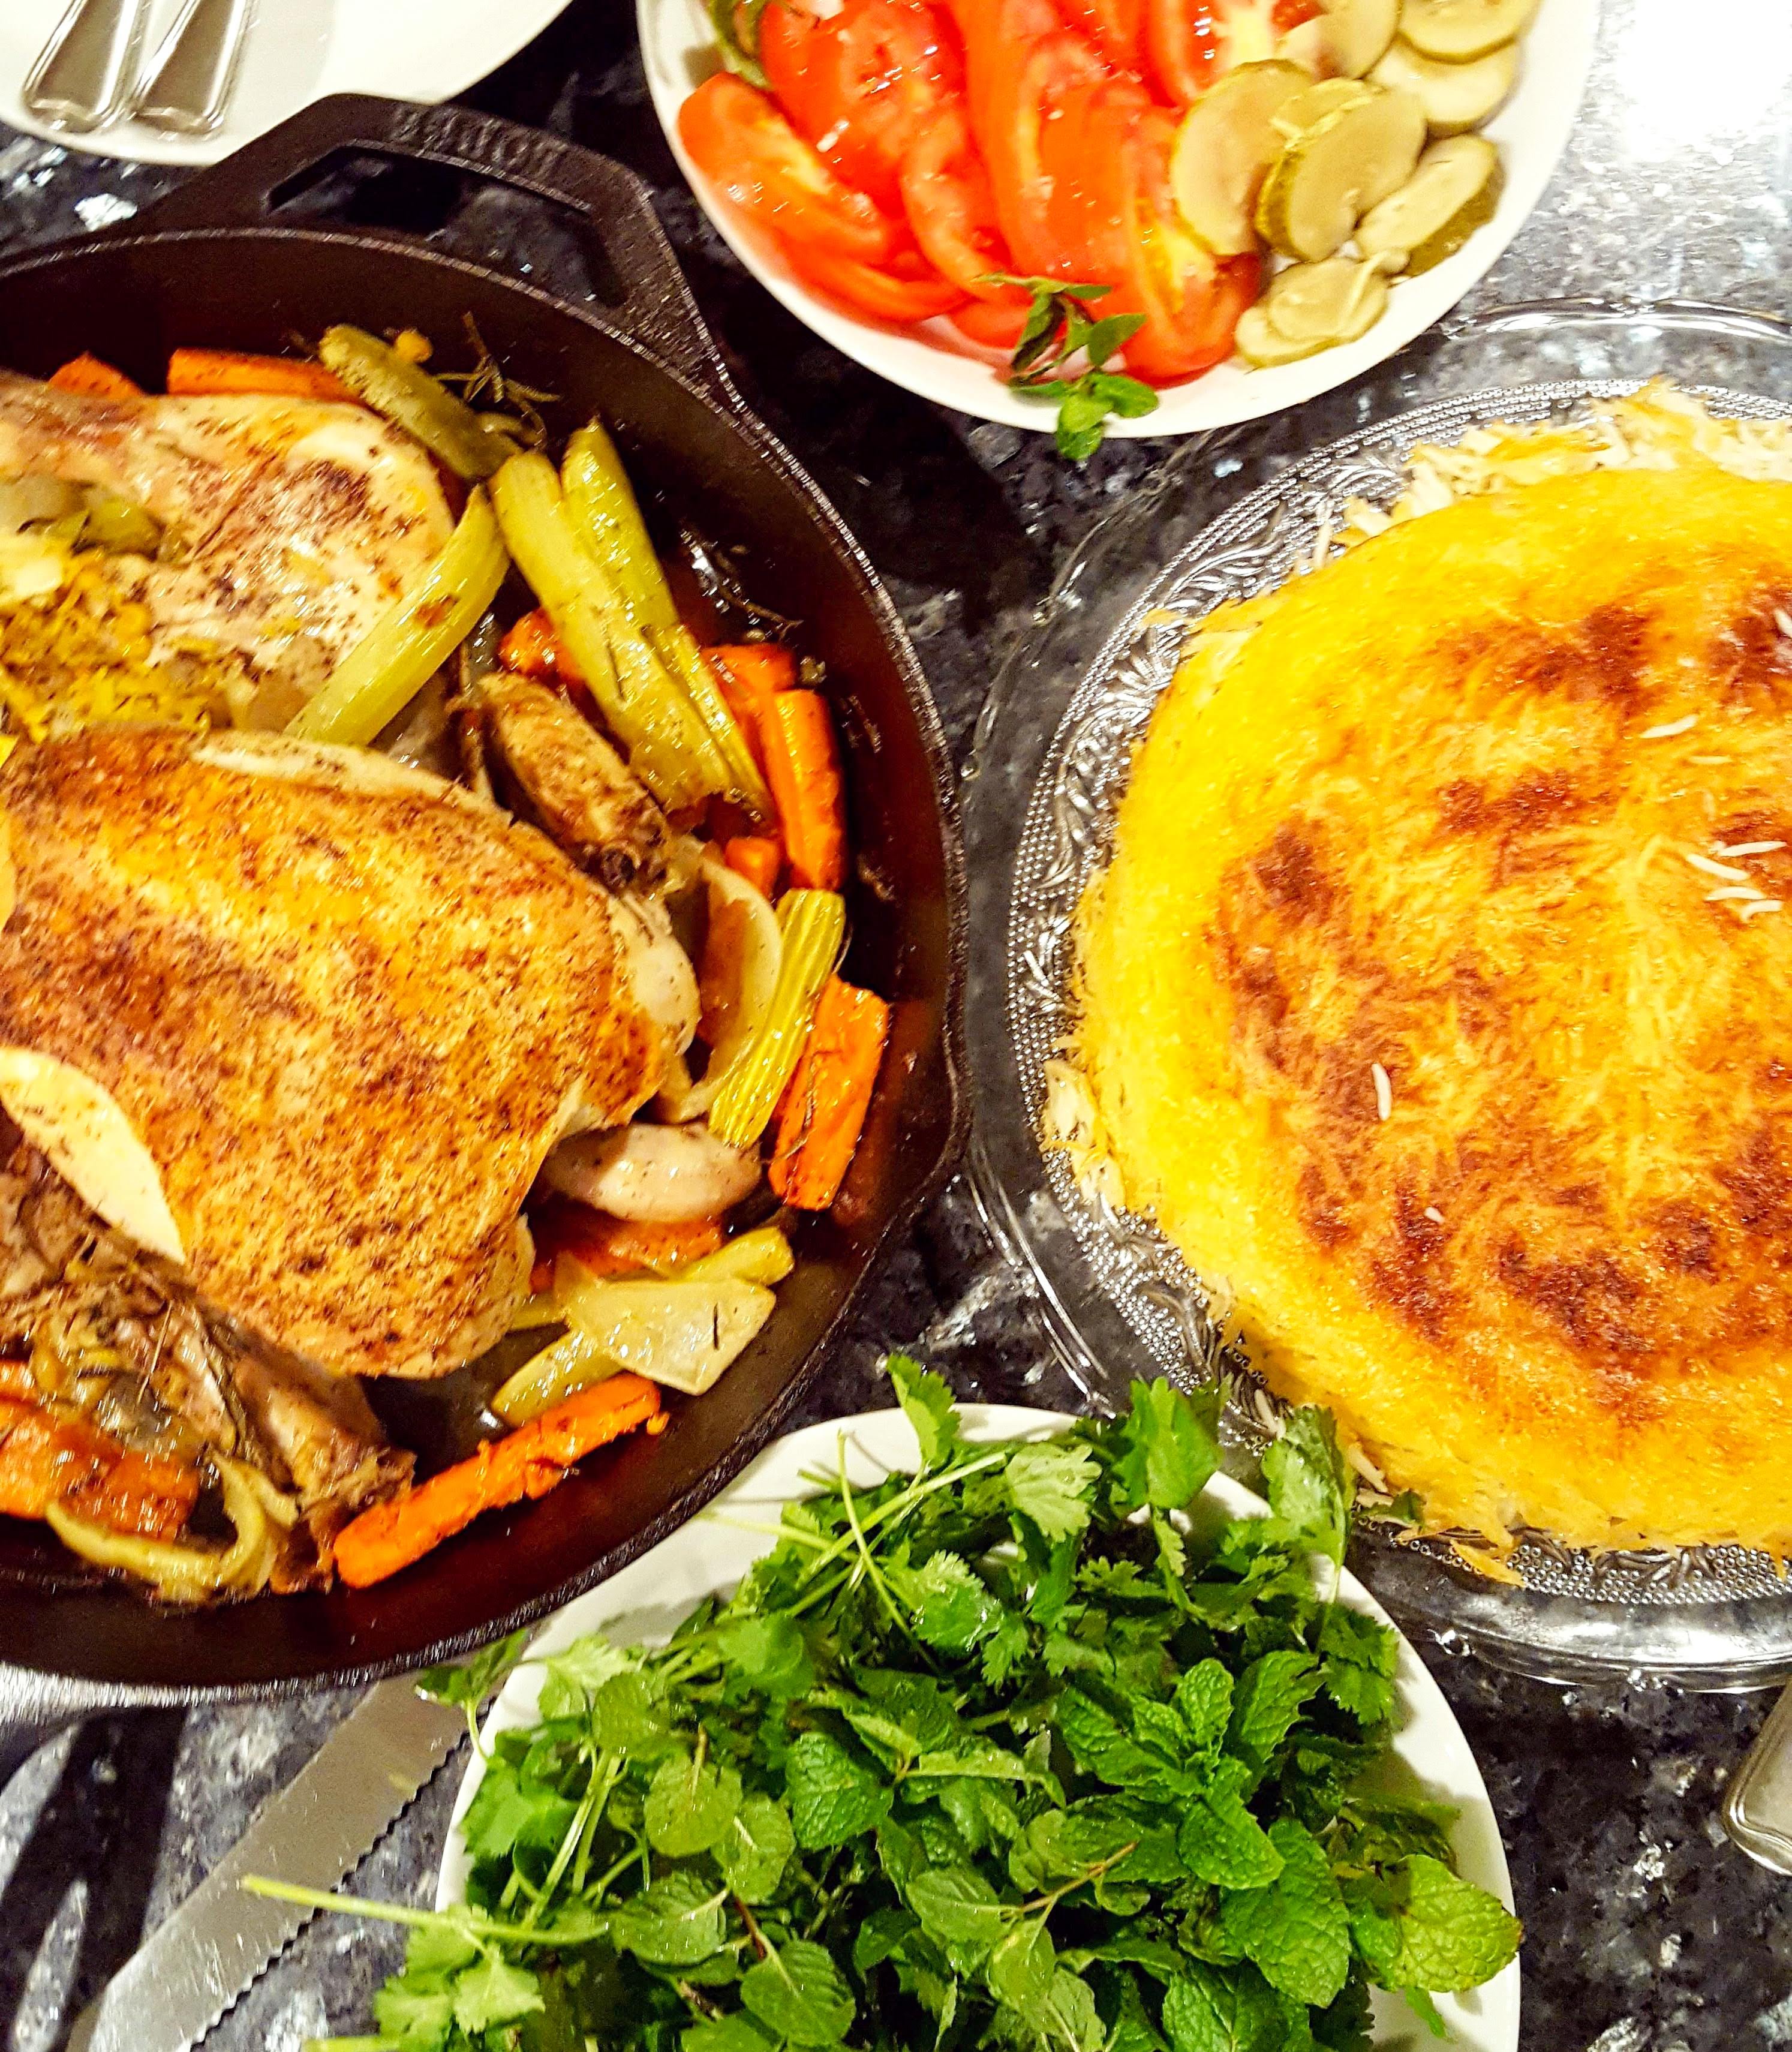
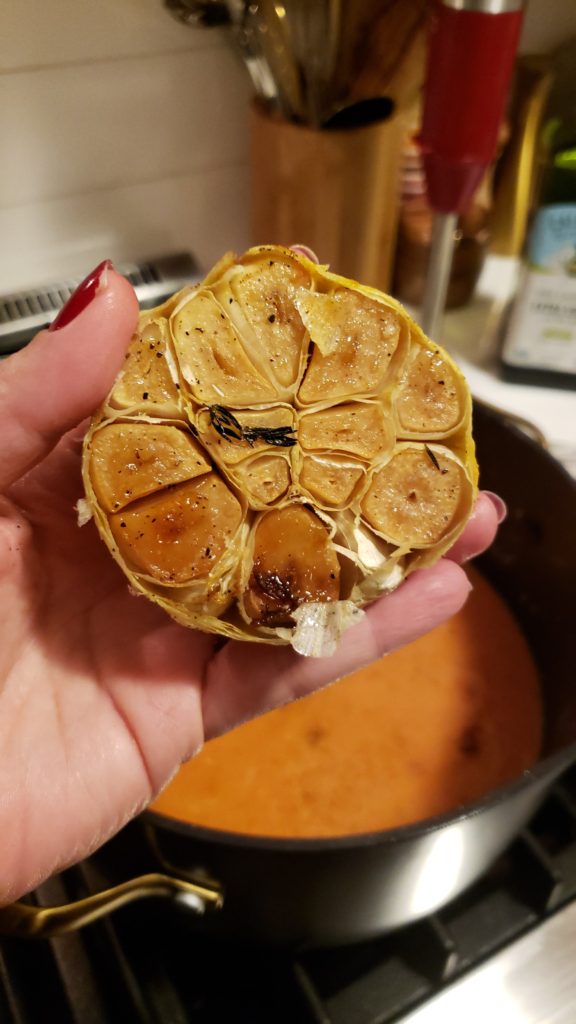
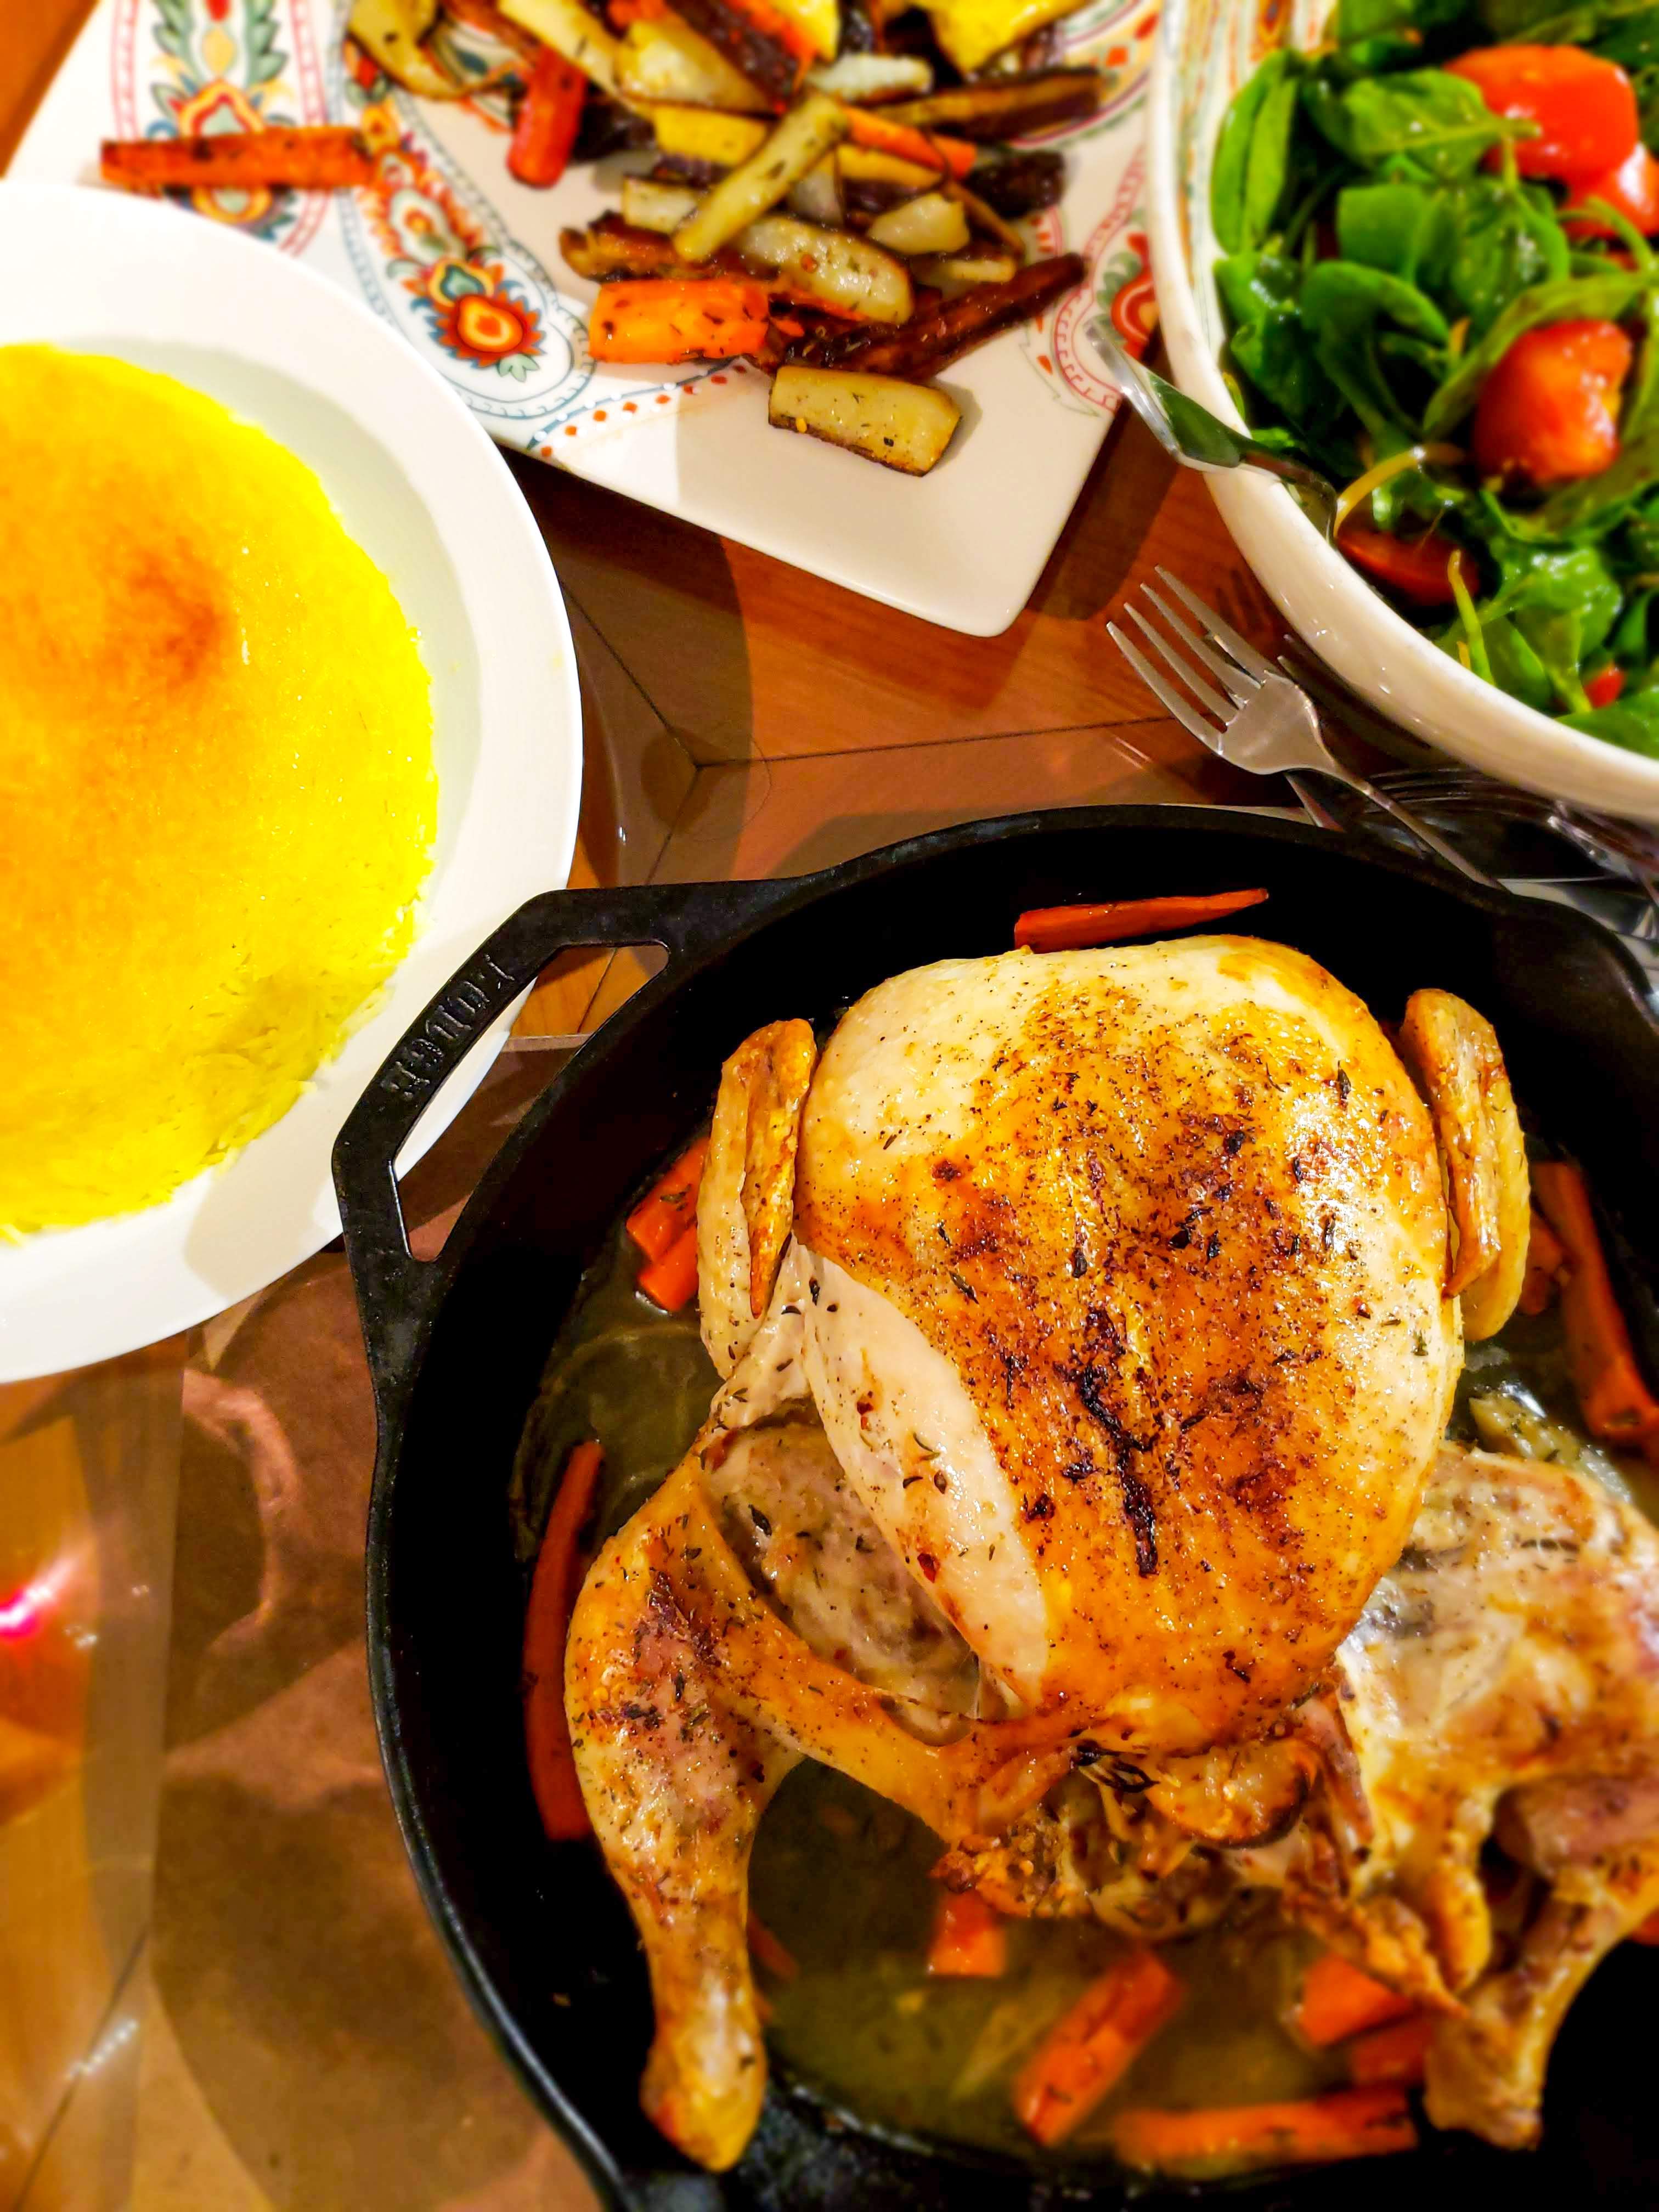
For the more casual renditions, I serve the chicken with either rice or, thick toasty bread, spread with a generous amount of sweet and creamy garlic- roasted whole (see preparation below). Briny Persian pickles are a must. A nice green salad too- maybe some radishes and you have a perfect meal. If you’re going the whole roasted garlic route, it cooks in the oven simultaneously as the chicken and becomes a sweet savory garlic cream to slather on the bread or the chicken.

Ingredients

1 (3-4 pound) whole chicken
3 tablespoons extra-virgin olive oil
1 whole heads of garlic, plus 3 more cloves, thinly sliced
2 medium carrots, chopped into 2 inch pieces
2 stalks celery, chopped into 2 inch pieces
1 medium yellow onions, roughly sliced into 6-8 pieces
1 lemon
4-5 sprigs rosemary
5-6 sprigs thyme
Salt and freshly ground black pepper

Preparation

Roasted Chicken

  1. Heat the oven to 400 degrees.
  2. If using a cast iron skillet (recommended) place the skillet in the hot oven to heat up while you prepare.
  3. Pat the chicken dry and season well with salt and pepper, both inside and out.
  4. Place chicken breast-side up in a cast-iron or ovenproof skillet and stuff the cavity with the lemon, 3 garlic cloves, and half of the rosemary and thyme.
  5. Place carrots, celery, onion and remaining herbs around the chicken, drizzle with 1 tablespoon olive oil, season with salt and pepper.
  6. Rub the top of the chicken with another tablespoon of olive oil, using your fingers to cover breasts, legs and wings- this helps achieve golden brown skin.
  7. Roast the chicken in the oven, basting every 20 minutes or so, for approximately one hour until golden brown and the dark meat registers 165 degrees on an instant thermometer. Half way through, mix the vegetables with any juices that accumulated in the skillet.
  8. Remove the skillet from the oven and baste on additional time.
  9. Allow the chicken to rest for 10 minutes before carving and serving.

Roasted Garlic

  1. Heat oven to 400 degrees
  2. Remove the paper outer layers of the garlic bulb, leaving the skin intact on the cloves.
  3. Using a sharp knife, cut 1/4 to 1/2 inch from the top of the clove, exposing the tops of the individual garlic cloves.
  4. Place the garlic cut side up in a piece of aluminum foil big enough to wrap around the entire garlic.
  5. Drizzle about 1 tablespoon of olive oil on top of the exposed garlic, rubbing the oil in with your hands.
  6. Close the aluminum foil around the garlic creating a pouch the garlic will cook in.
  7. Roast for 30-40 minutes until soft, sweet and golden.
  8. Simply squeeze the soft cloves out of their shells or use a fork to easily remove and enjoy.
    Note~
    These creamy roasted garlic cloves don’t have the pungency of raw garlic and take on a lovely sweetness.

    You can rub them on bread, use for sandwiches or incorporate it in soups and pastas for fantastic added flavor!
Garlicky Green Beans with Crunchy Almonds

Garlicky Green Beans with Crunchy Almonds

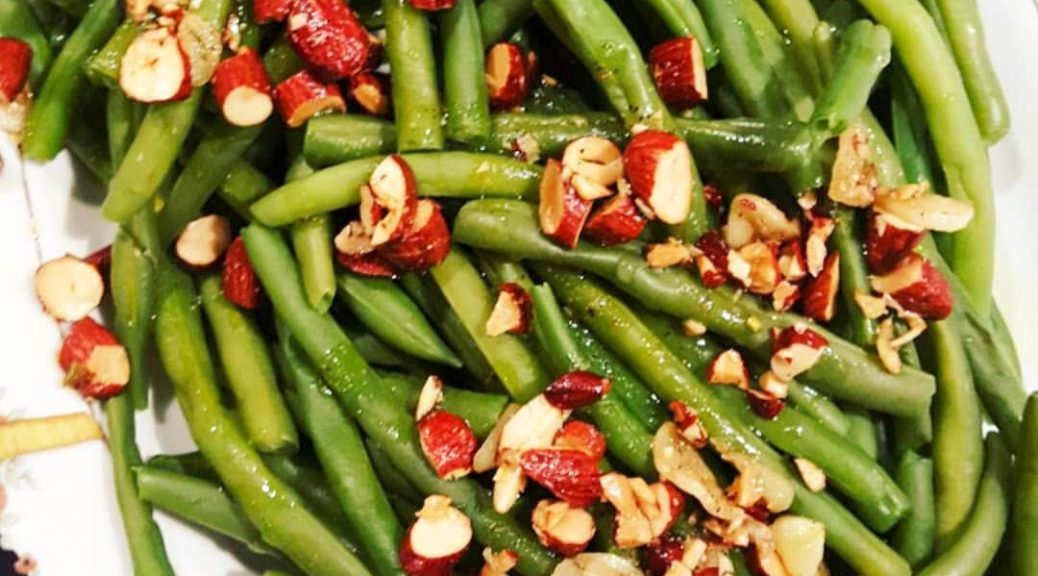
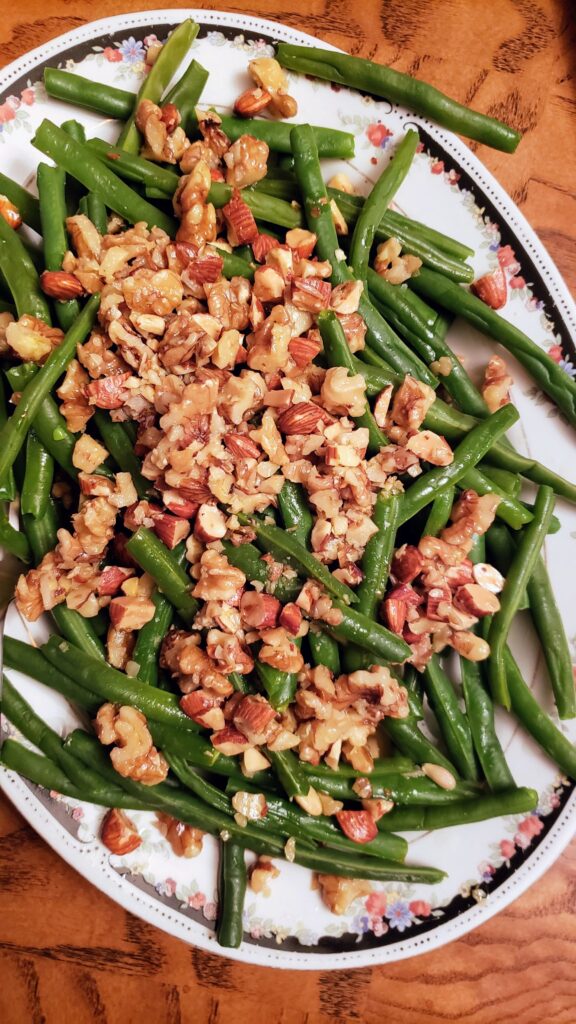
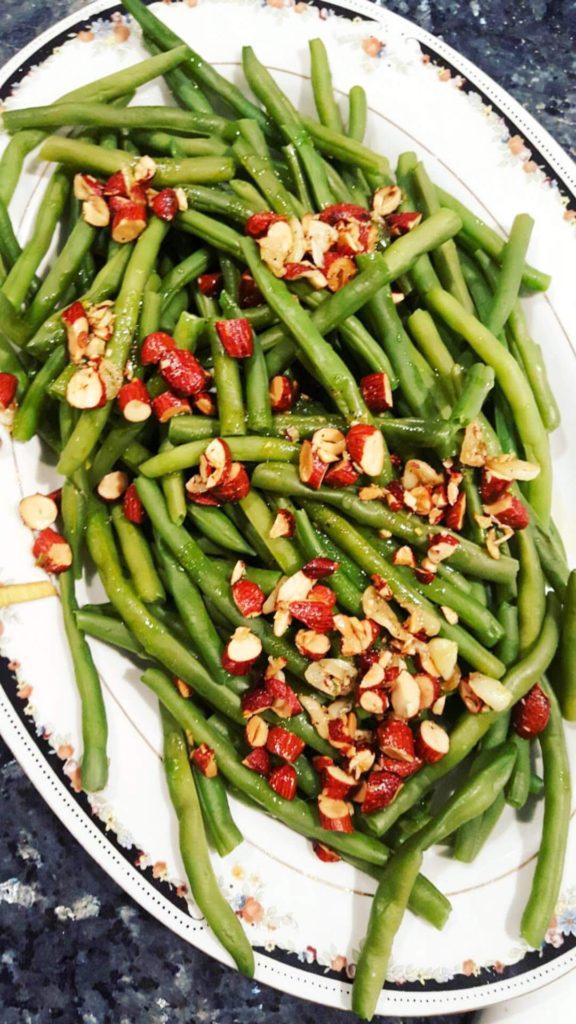
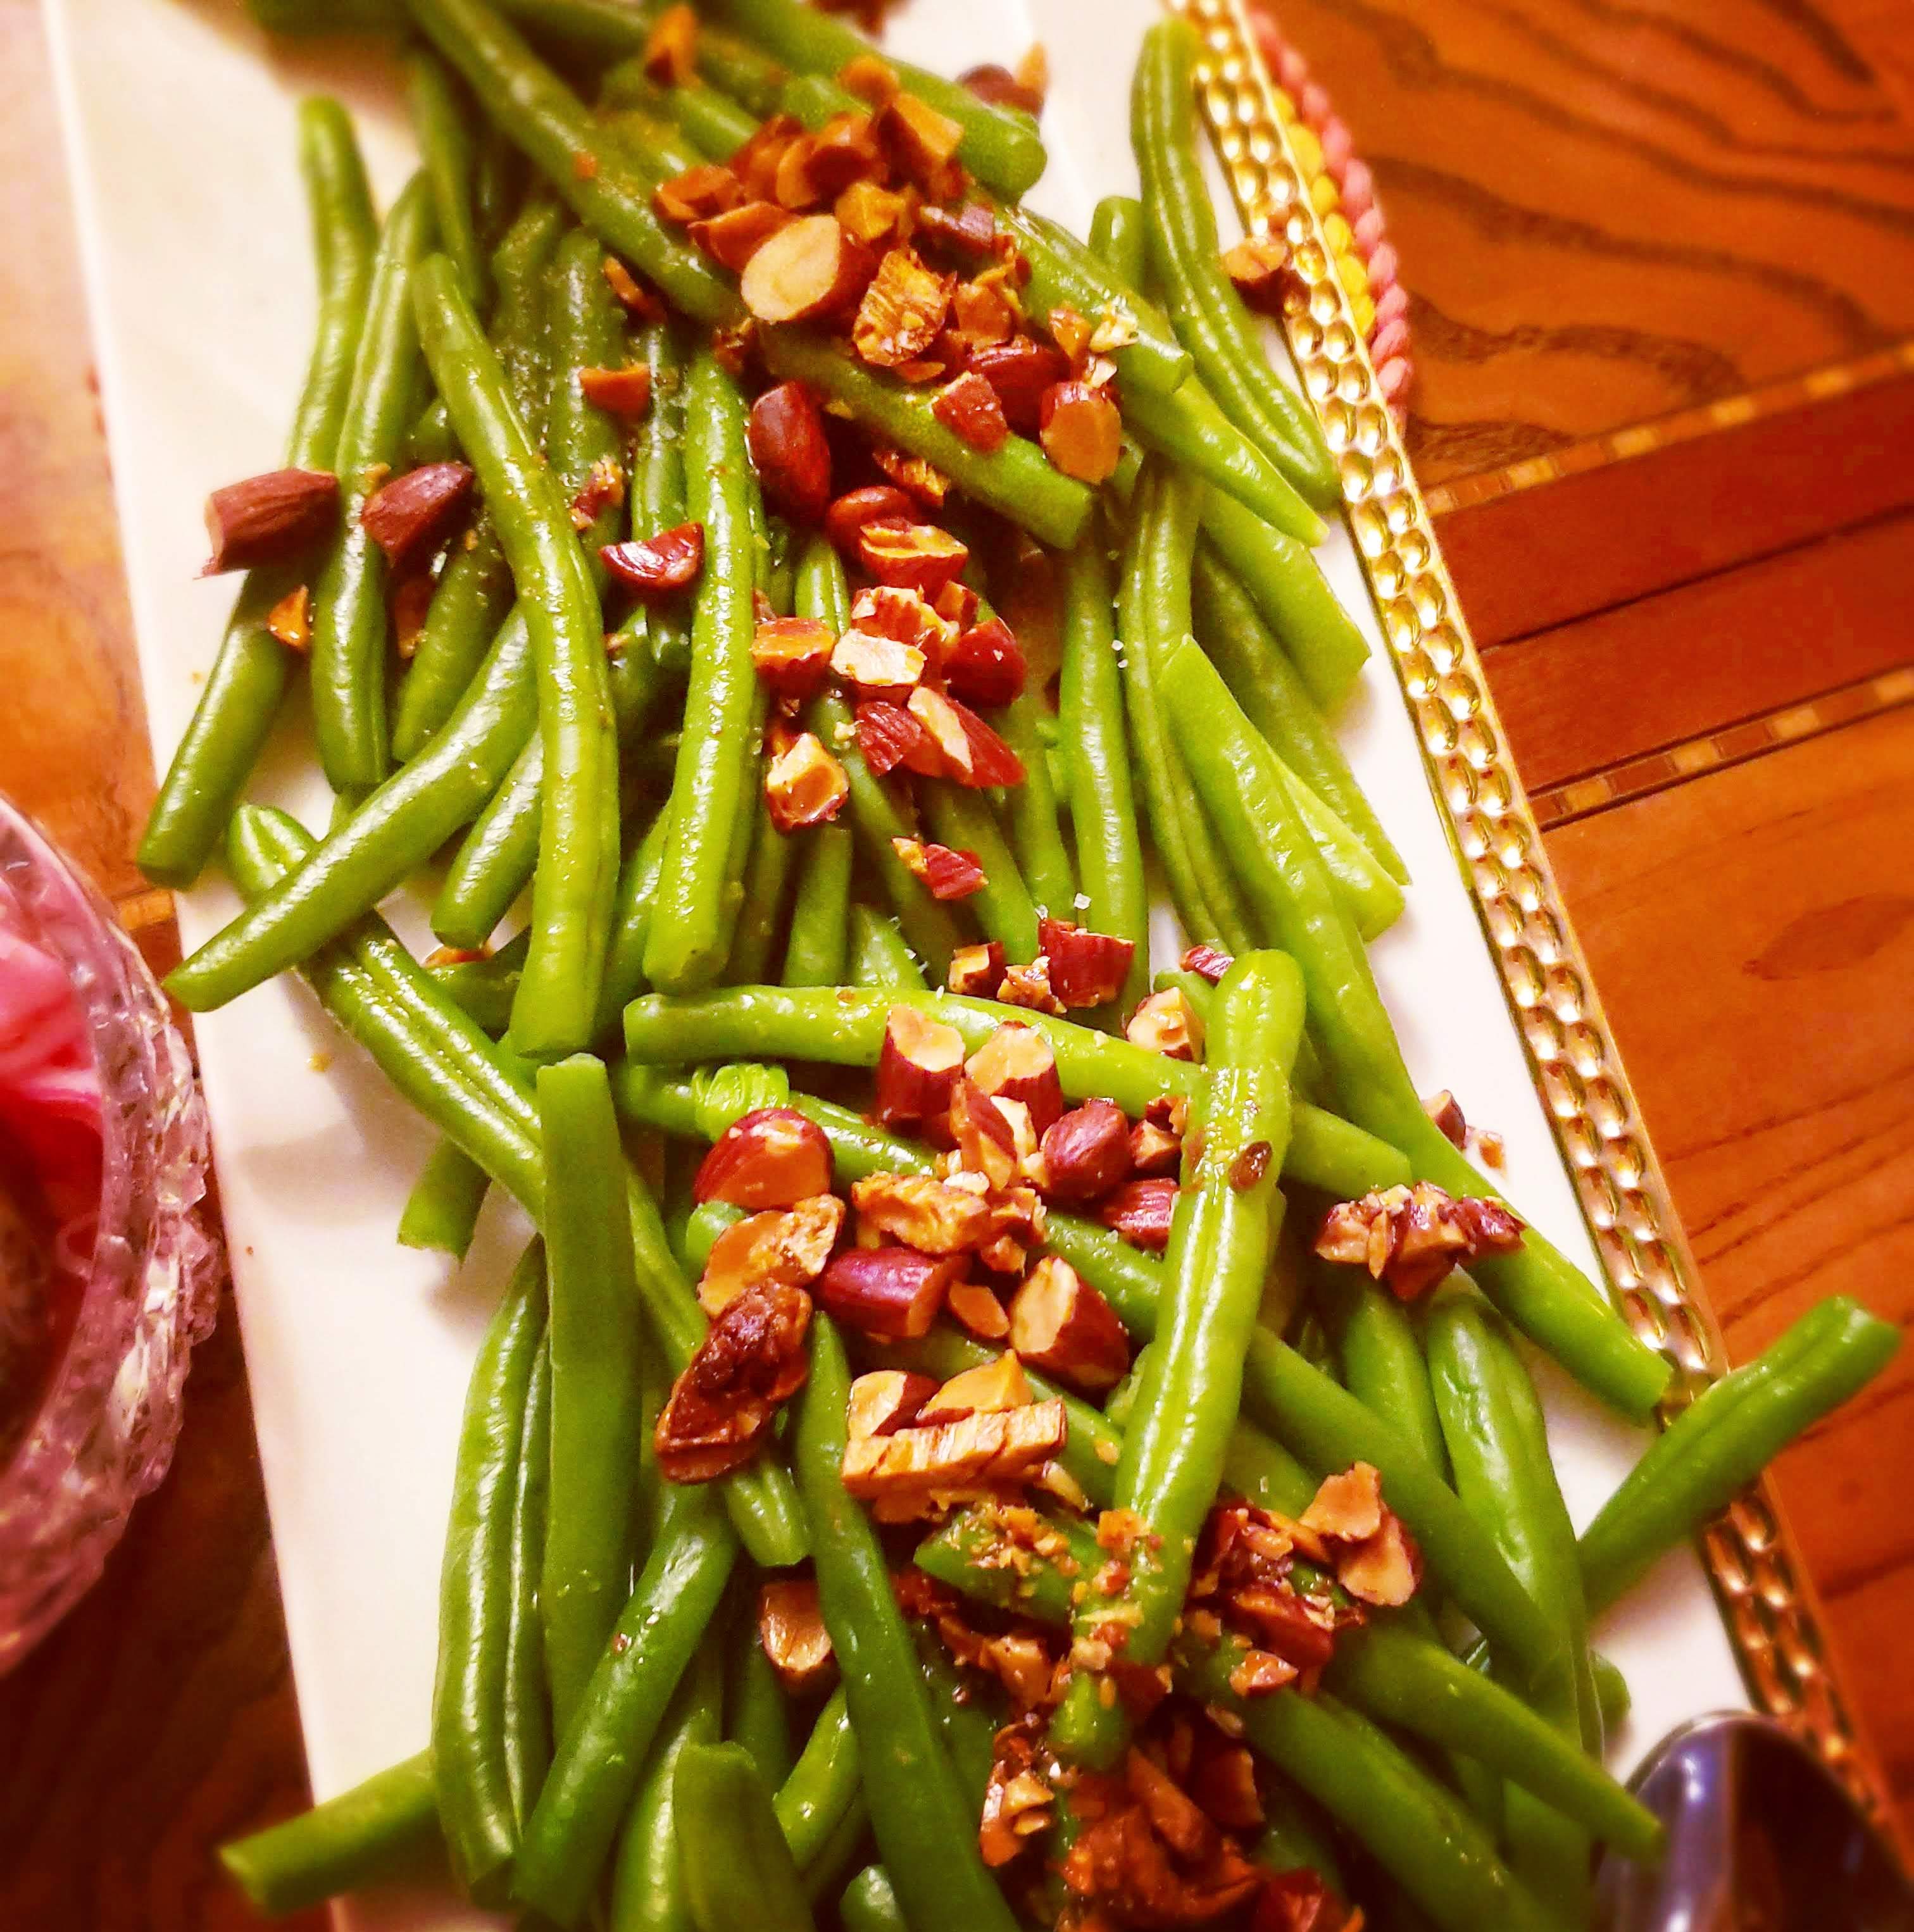
Perhaps one of the simplest recipes on my Thanksgiving menu, this tasty vegetarian side dish is on rotation when I need something light to complement more decadent dishes. Bright blanched beans, highlighted by garlicky and crunchy golden almonds.

You quickly sauté chopped garlic in olive oil, infusing the olive oil with heavenly garlic aroma. Then add the chopped almonds, roast for a few minutes until golden, then pour the entire mixture over the blanched beans. Voila! A few ingredients, awesome flavor and a much lighter way to enjoy green beans for Thanksgiving, or any meal at all.

These beans are also a wonderful compliment to a classic roasted chicken or salmon for easy dinners.

Ingredients

3 tablespoons extra-virgin olive oil
3-4 garlic cloves, minced
1/2 – 3/4 cup roasted almonds, roughly chopped
1 ½ – 2 pounds green beans, trimmed
Flakey sea salt

Preparation

Bring a large pot of salted water to a boil, on the side fill a large bowl with ice water.
Boil beans until for 3-4 minutes until tender but still crisp and bright green, careful to avoid overcooking.
Immediately after plunge beans into ice water to stop cooking further.
Immediately after the beans have cooled, remove from the ice bath and drain in a colander.

While beans drain, heat olive oil over medium heat in a large skillet.
Add garlic and stir quickly to avoid burning, until fragrant for about 30 seconds – infusing the olive oil with the garlic.
Add almonds to garlic-oil mixture and cook for a few minutes until evenly coated.
Plate the beans in serving platter, then pour olive oil-garlic-almond mixture over the beans.
Season with flakey sea salt and serve immediately.
Note~ For a nut free alternative, you can skip the nuts and simply dress the beans with the garlic infused olive oil and a splash of fresh lemon juice.

Creamy Butternut Squash Soup

Creamy Butternut Squash Soup

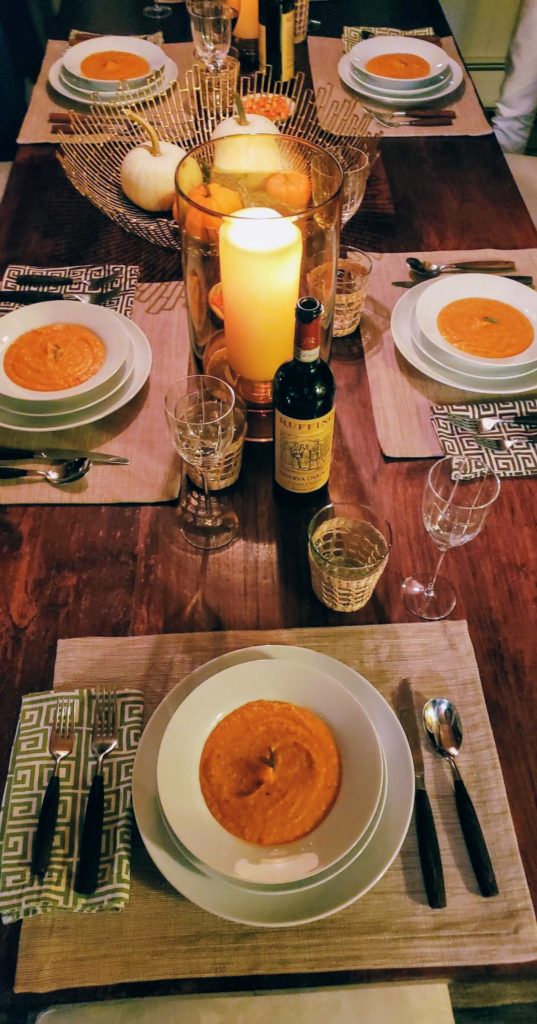
Thanksgiving — my favorite holiday — is around the corner and I can’t wait to start preparing warming fall flavors to celebrate with friends and family.

I’ve been cooking a thanksgiving meal for my people for 15 years, and it brings me much joy every time. I wrote about the joy and thrill of this holiday here . I look forward to building on that and creating new memories each year. Whether cooking for 25 people or 5 people, I’m simply thankful for the privilege to indulge.

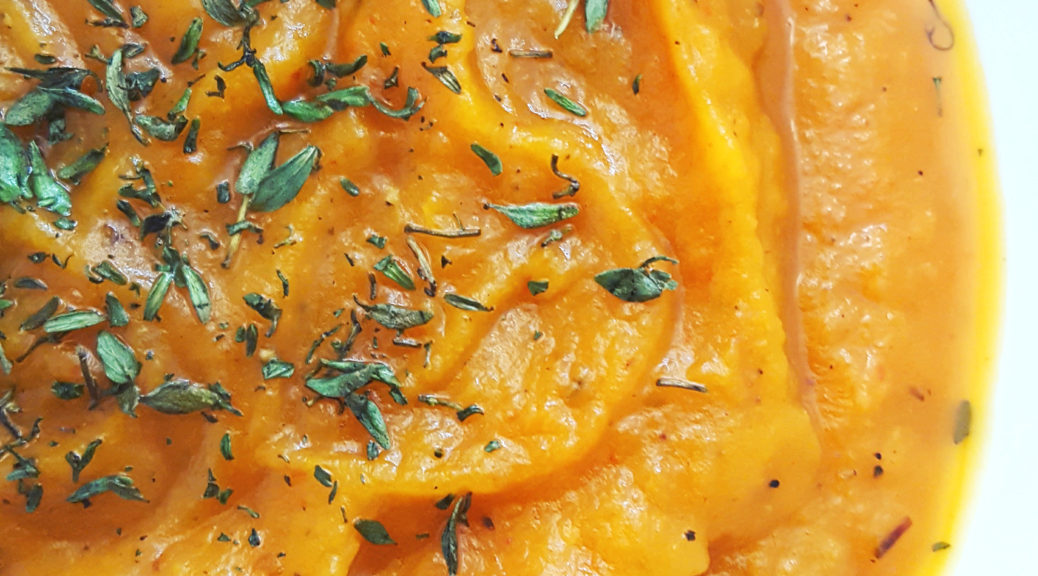
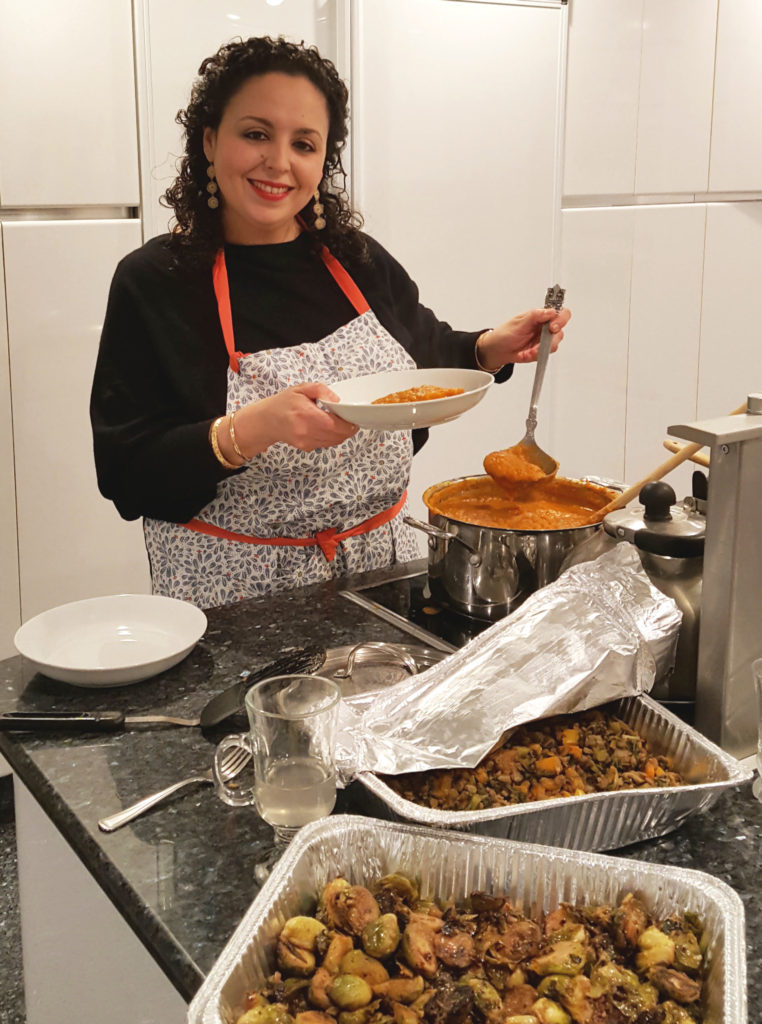
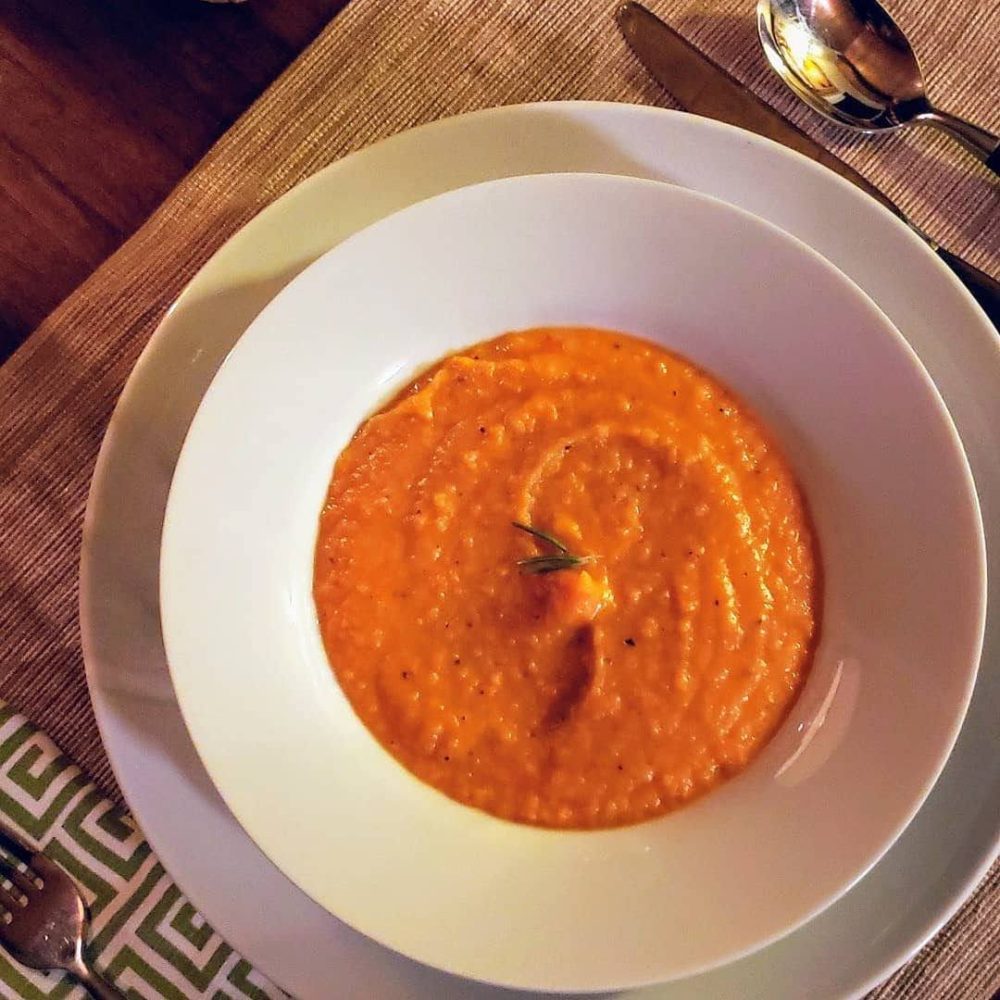
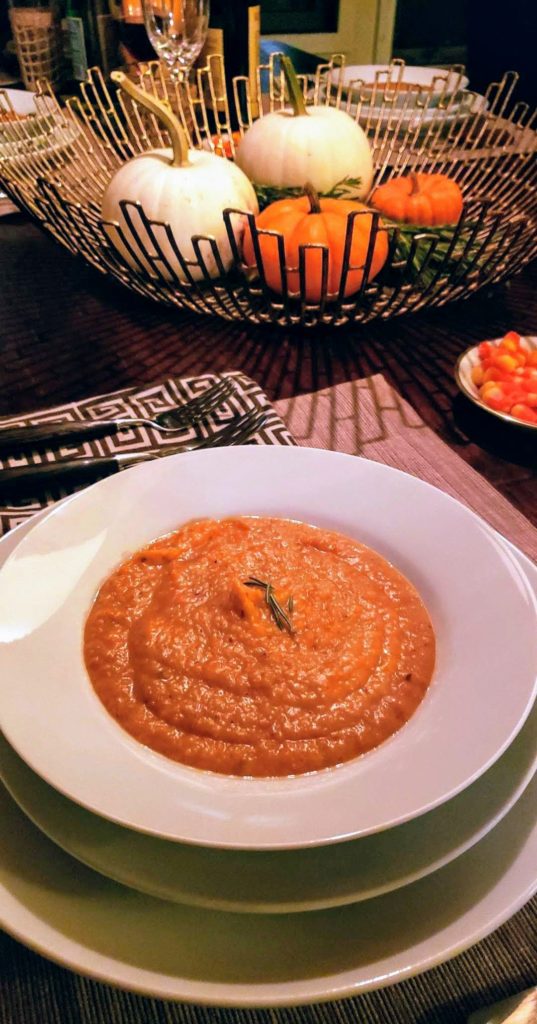
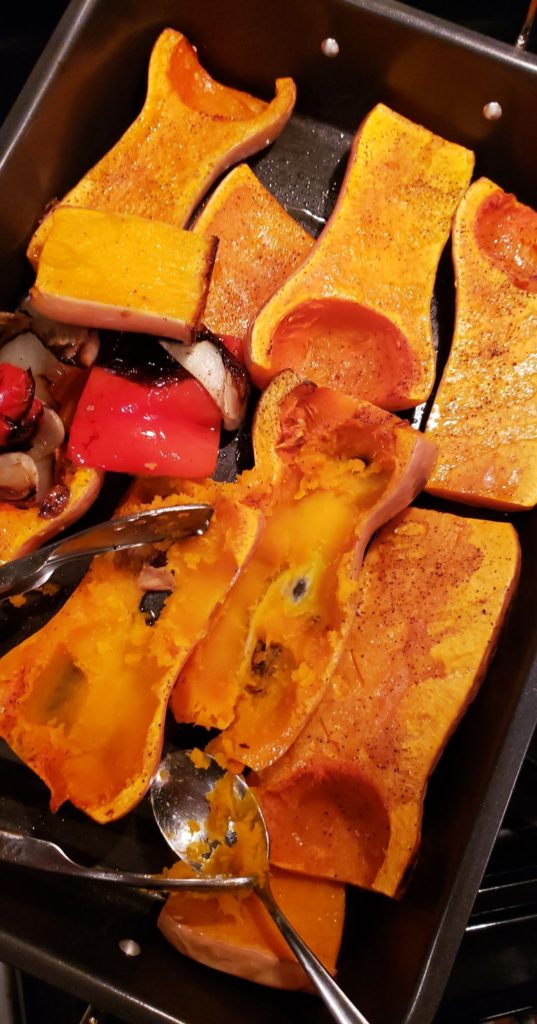
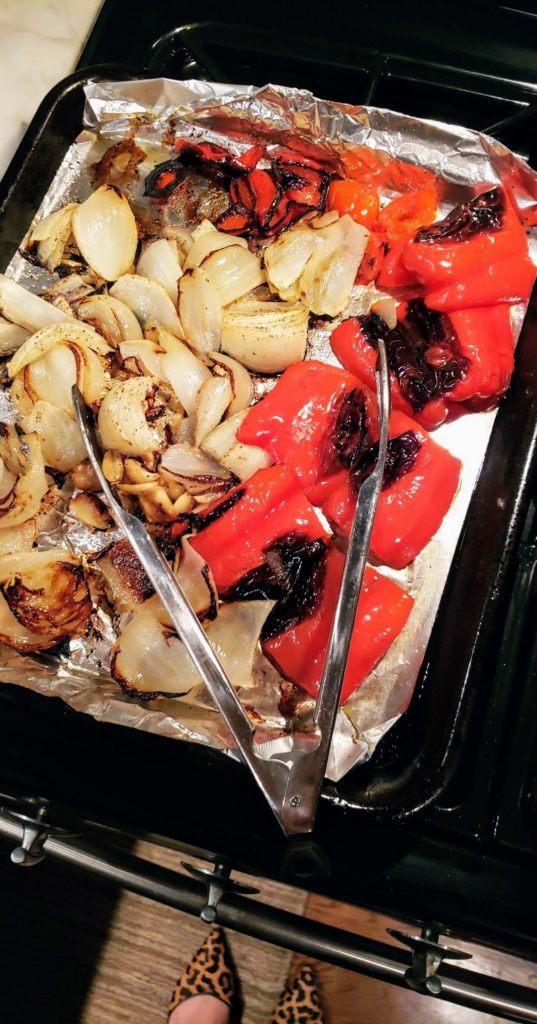
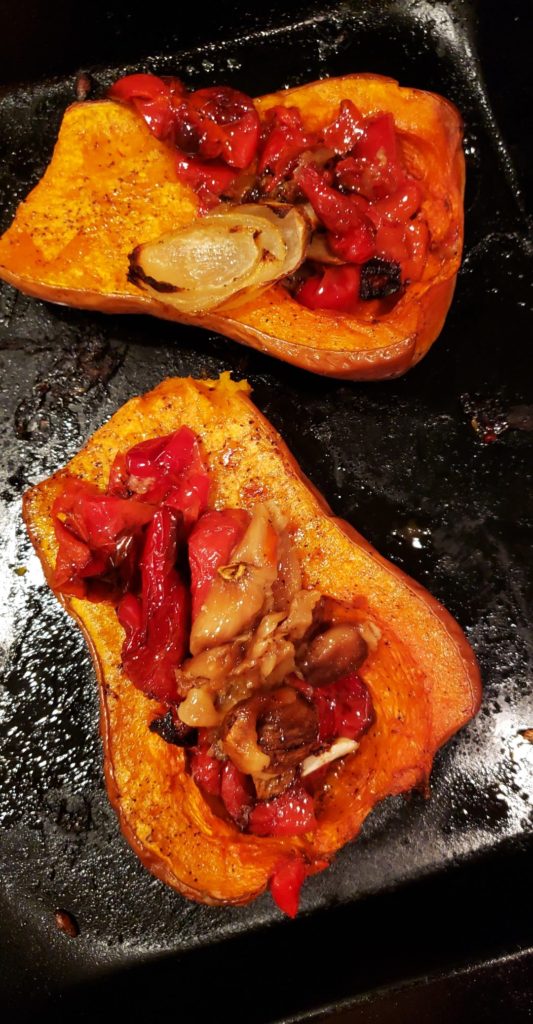
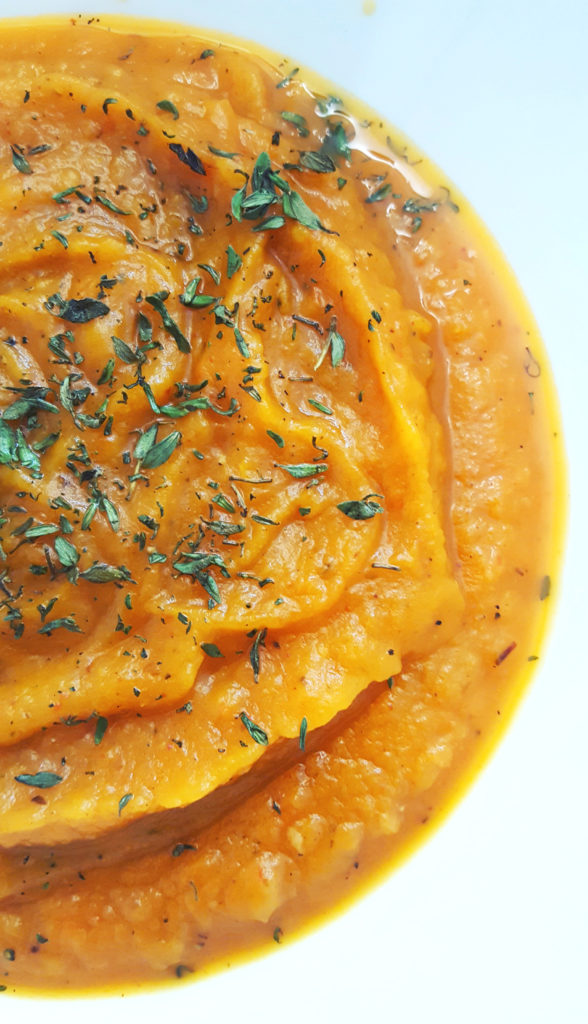
My favorite way to begin the holiday meal is with this decadent and relatively healthy butternut squash soup. The key to the depth of flavor is roasting the vegetables. I often serve this as an appetizer while the mains roast and sizzle away and everyone is gathered in the kitchen enjoying wine, light appetizers, and each other’s company.

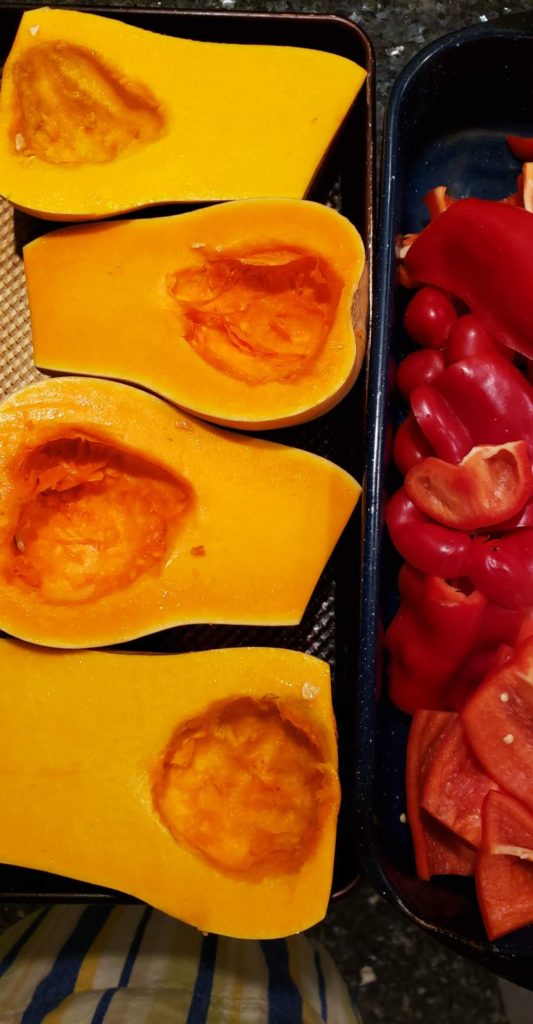
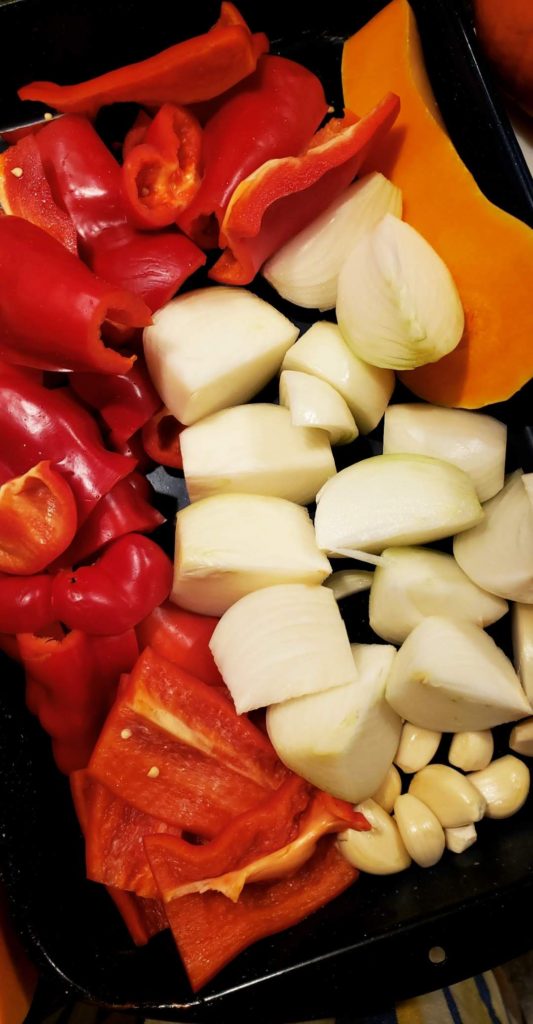
In Farsi, butternut squash is called lazy pumpkin (kadoo tanbal), which is hilarious. Butter-nut is the perfect name for this tender, sweet and nutty gourd. I simply roast the squash along with red bell peppers, onion and garlic in the oven, then blend everything together with a bit of broth and a touch of cream for a luscious end result. You can skip the cream for a dairy-free option. I serve it with toasty bread and a garnish of thyme. It’s delicious and warming – A foreshadowing to the rest of an amazing meal to come.

Ingredients:
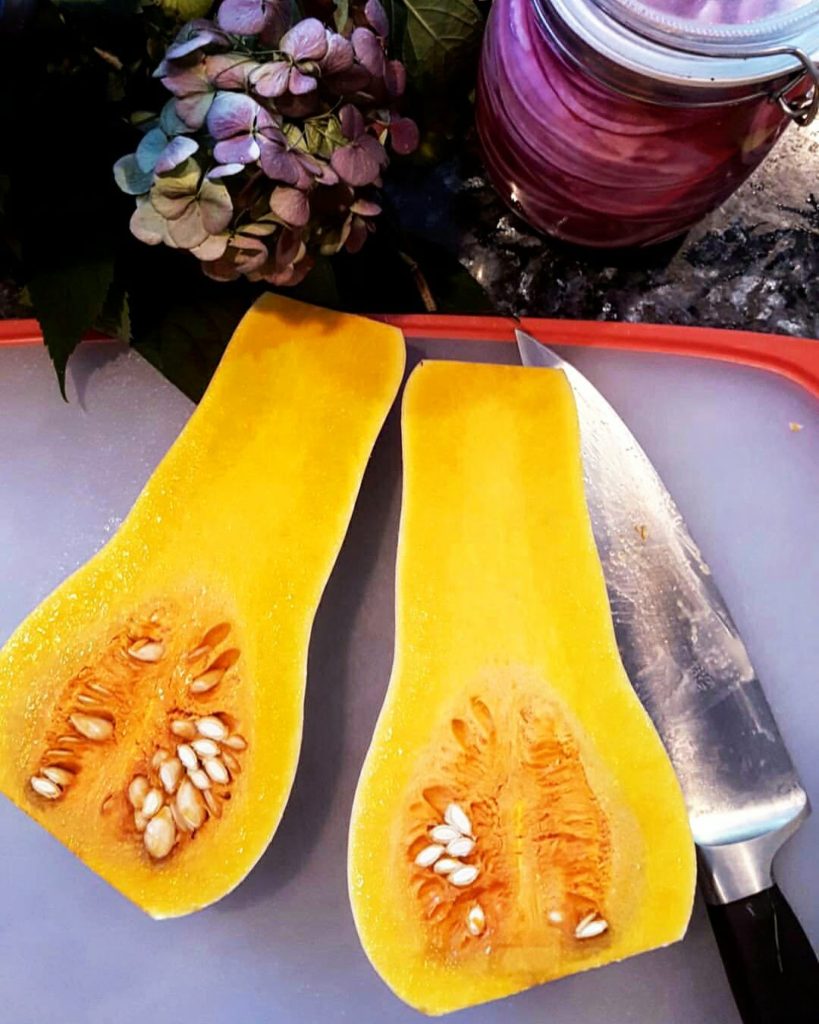
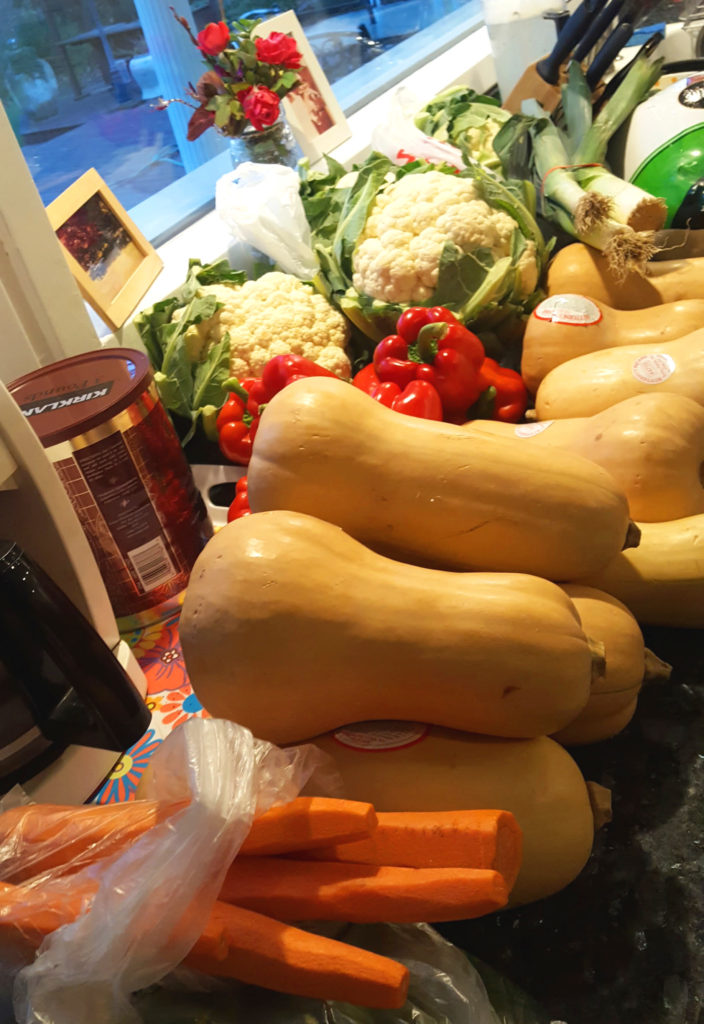
2-3 medium butternut squash, sliced in half and seeds removed
3 medium white onions, quartered
2 red bell peppers, cut in half and seeds removed
4-6 cloves garlic (adjust to taste)
1/2 cup olive oil, add more if needed
3-4 cups vegetable stock or water, as needed
1 teaspoon salt, adjust to taste
Freshly ground black pepper, to taste
Fresh lemon juice to taste
1/4 cup cream (optional)
4-6 spring of Thyme for garnish (optional)

Preparation

  1. Preheat oven to 375°F and line a rimmed baking sheet with parchment pape
  2. Slice squash in half, remove seeds, leaving skin on- it will be easier to remove once roasted.
  3. Place squash, skin side down along with onions, bell peppers, and garlic on two baking sheets. Generously coat the vegetables with olive oil, season with salt and pepper.
  4. Bake for about 40 minutes or until squash is golden brown.
  5. Roughly half way through, remove the garlic from the oven to avoid burning.
  6. Let the vegetables cool, then use a spoon to remove flesh of the squash from its skin.
  7. Working in batches, place roasted vegetables and stock in a blender or food processor and purée until smooth. Note- Be careful not to fill the blender to the top with hot vegetables as it will erupt. Leave roughly ¼ of the blender empty.
  8. Continue blending in batches, adding all the purred portions to a large pot. Then adjust the thickness of the soup by adding more stock or water until you get the desired consistency. Alternatively you can use an immersion blender in a pot.
  9. Add enough liquid to thin out the soup to your desired consistency.
  10. Taste and season with salt and pepper, if needed, and a squeeze of lemon for balance, if desired.
  11. If using, add the cream to the pot and stir until fully incorporated into the soup.

The soup will be naturally creamy at this point — the cream adds yet another level of indulgence and more luxurious, velvety texture to the mix

Serve with homemade crostini:
Cut sourdough or baguette of choice into  ½ inch thick slices. Drizzle bread with olive oil and season lightly with salt, pepper and dried oregano. Toast in the oven at 325 for 10 -15 minutes, or until golden brown.

Braised Brisket

Braised Brisket

The holidays are around the corner and although this year may be different than the rest- those of us who are fortunate enough- can still take solace in cooking a delicious meal. I’m grateful to be one with that privilege to indulge. According to the Oxford dictionary, “indulge” means to “allow oneself to enjoy the pleasure of.” I find pleasure in the simple things. Especially in a recipe which allows flavors to develop with the assistance of time.

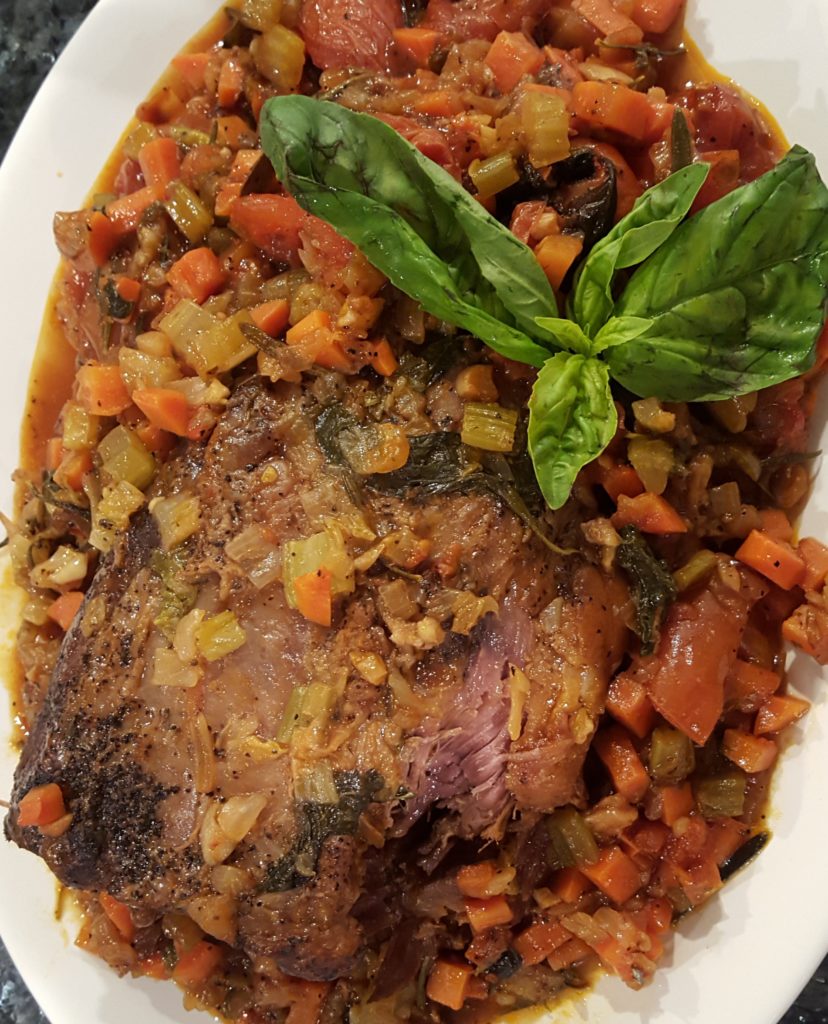
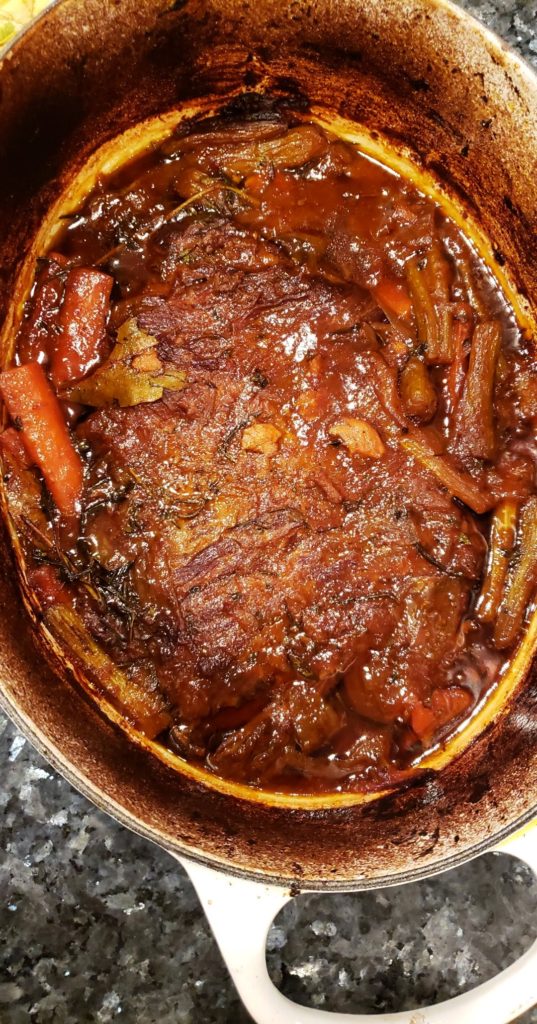
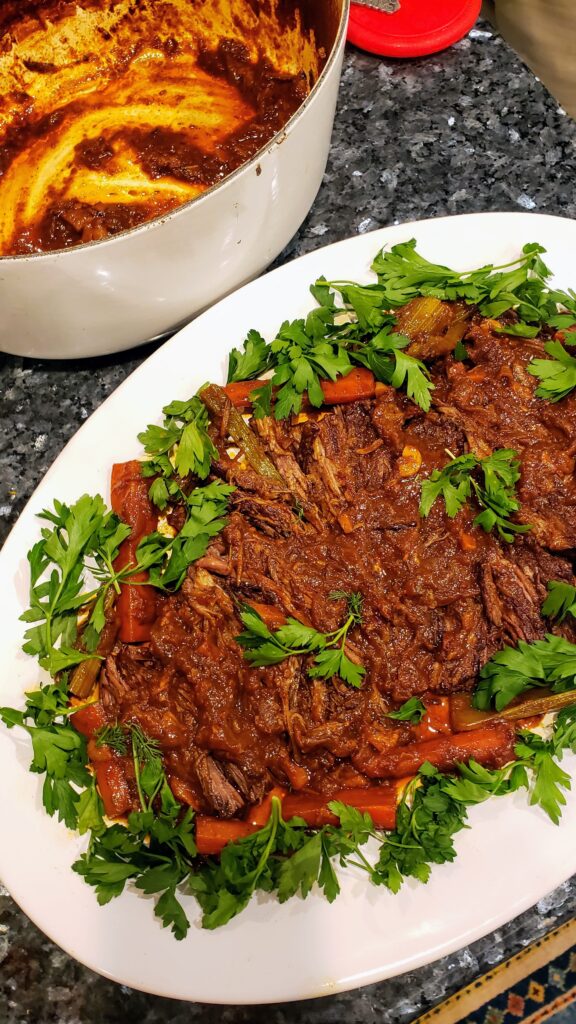
Classic brisket is one of those simple pleasures. You sear the meat. Remove it. Add veggies and aromatics. Add meat back to the pot along with your braising liquid, then let time and heat do the work. The end result is tender, deeply flavored beef which takes its character from whatever you add to the pot. Magic!

This recipe is wonderful to cook for a small gathering, it serves about around 6, with a bit of leftovers for sandwiches the next day to boot. You cans add another piece of brisket to feed a larger group. Just add enough liquid to submerge all the meat while cooking.

~Tip – Try to find second cut brisket — It has slightly more fat marbling than the lean first cut variety and results in more flavor and tenderness.

Ingredients:

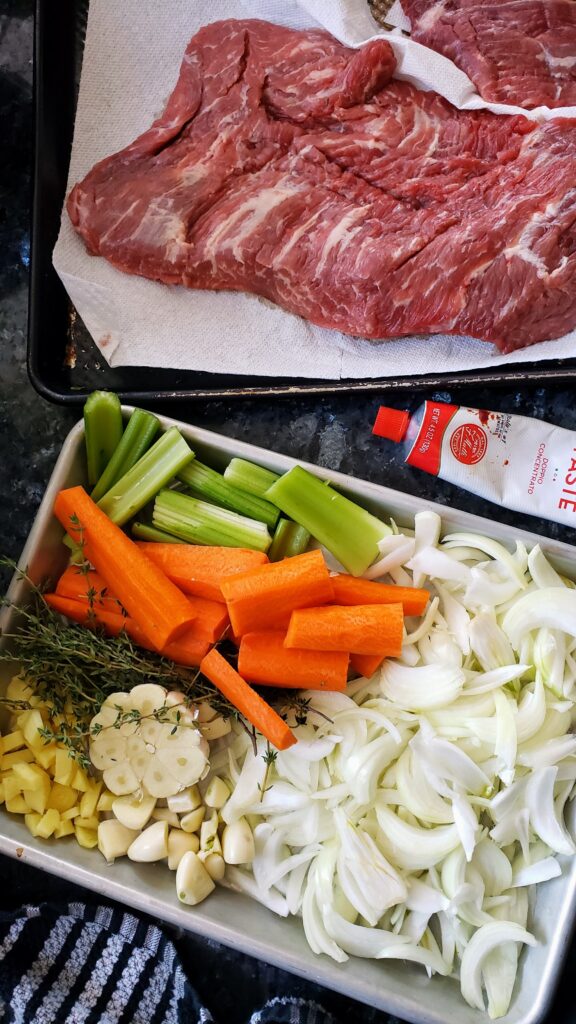
1 (5-7 pound) beef brisket, preferably second cut
3 tablespoons extra-virgin olive oil, divided
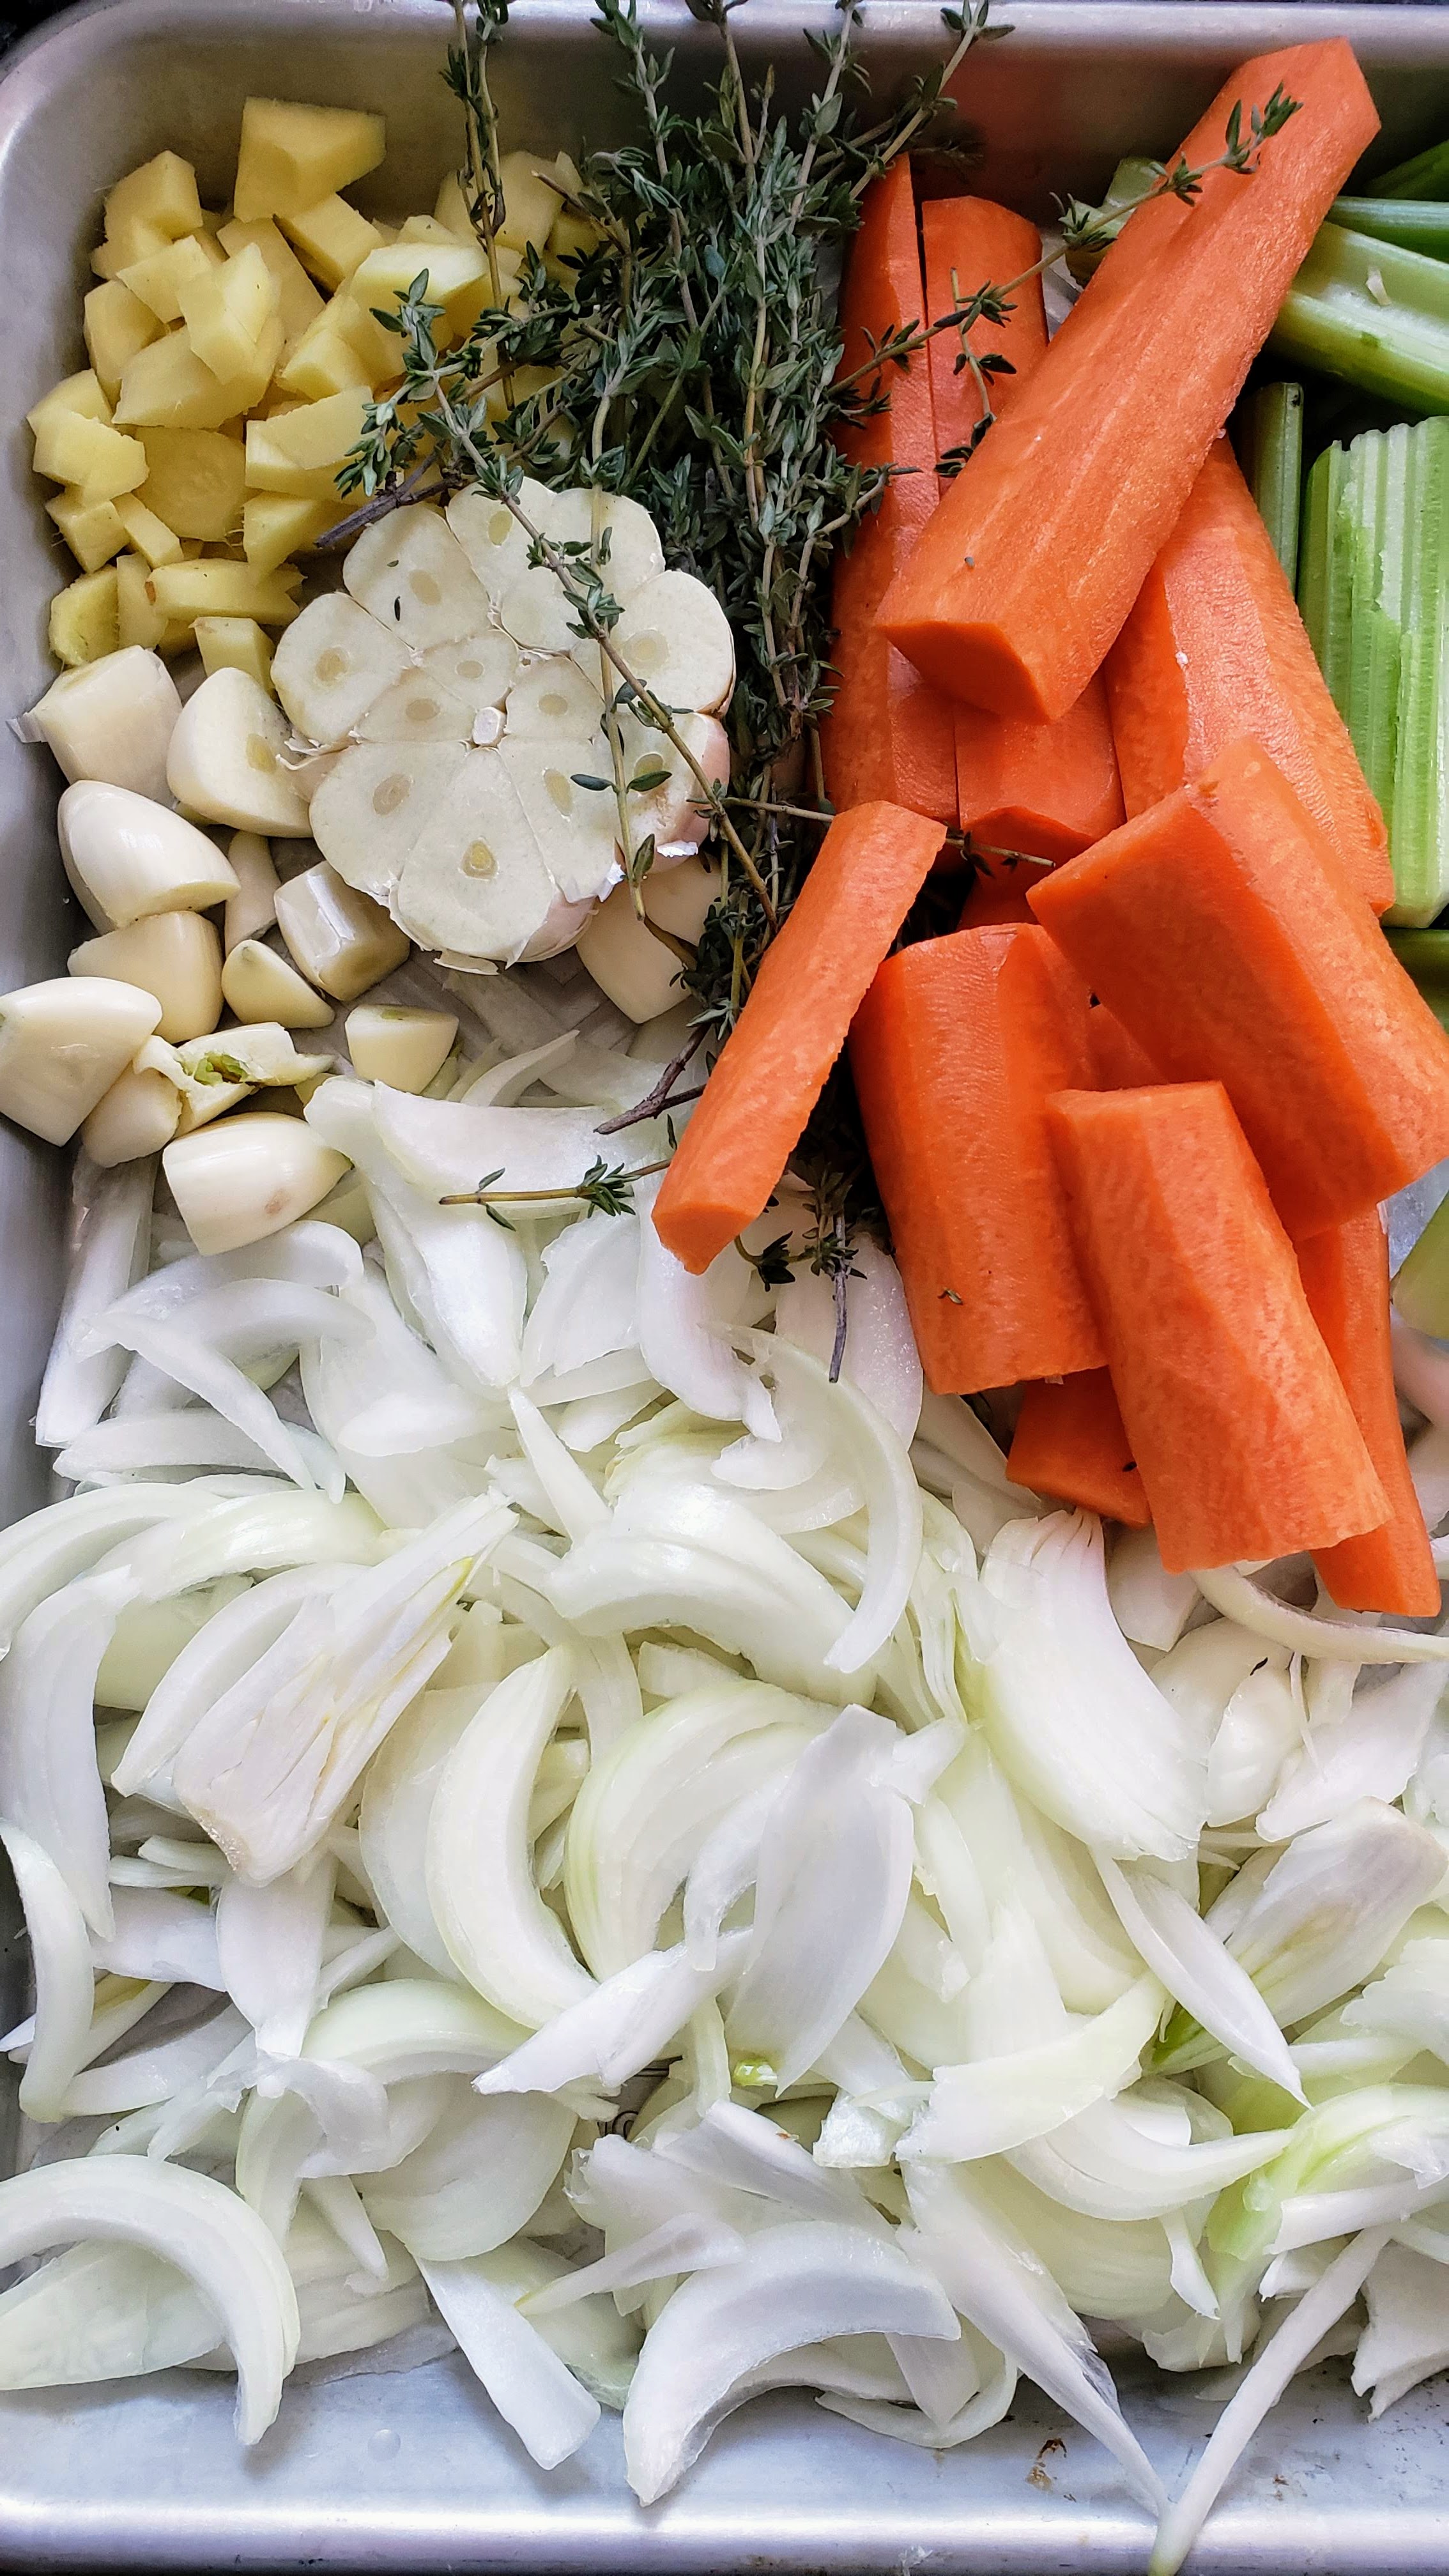
10-12 garlic cloves, smashed or an entire head of garlic with the top cut off
2 medium onions, sliced
3 medium carrots, cut into 3-inch pieces
3 celery stalks, cut into 3-inch pieces
6-8 sprigs fresh thyme
2-3 sprigs fresh rosemary
2 whole bay leaves
2 tablespoons tomato paste
5-6 cups beef stock (or chicken stock or water)

Directions:

  1. Preheat oven to 350 degrees F and adjust a rack to the lower third of the oven.
  2. Let meat stand at room temperature for 30 minutes before cooking. Pat dry with paper towels. Season generously on both sides with salt and pepper.
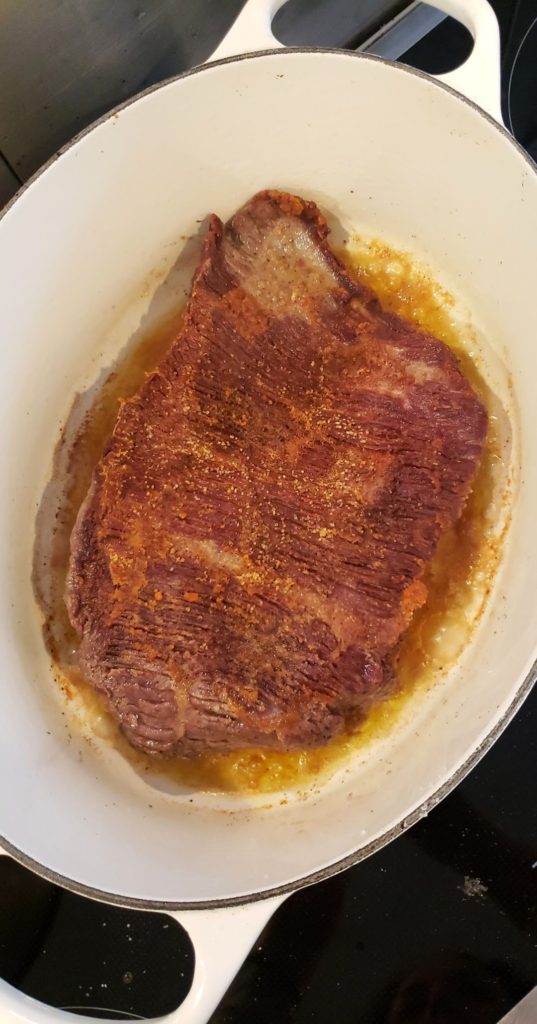
  3. Heat 2 tablespoons of the oil over medium-high heat in a large ovenproof enameled cast-iron pot or other heavy pot with a lid. Add brisket and sear, without moving, until golden walnut colored crusty brown areas appear, about 5 minutes per side. Transfer to a plate and set aside.
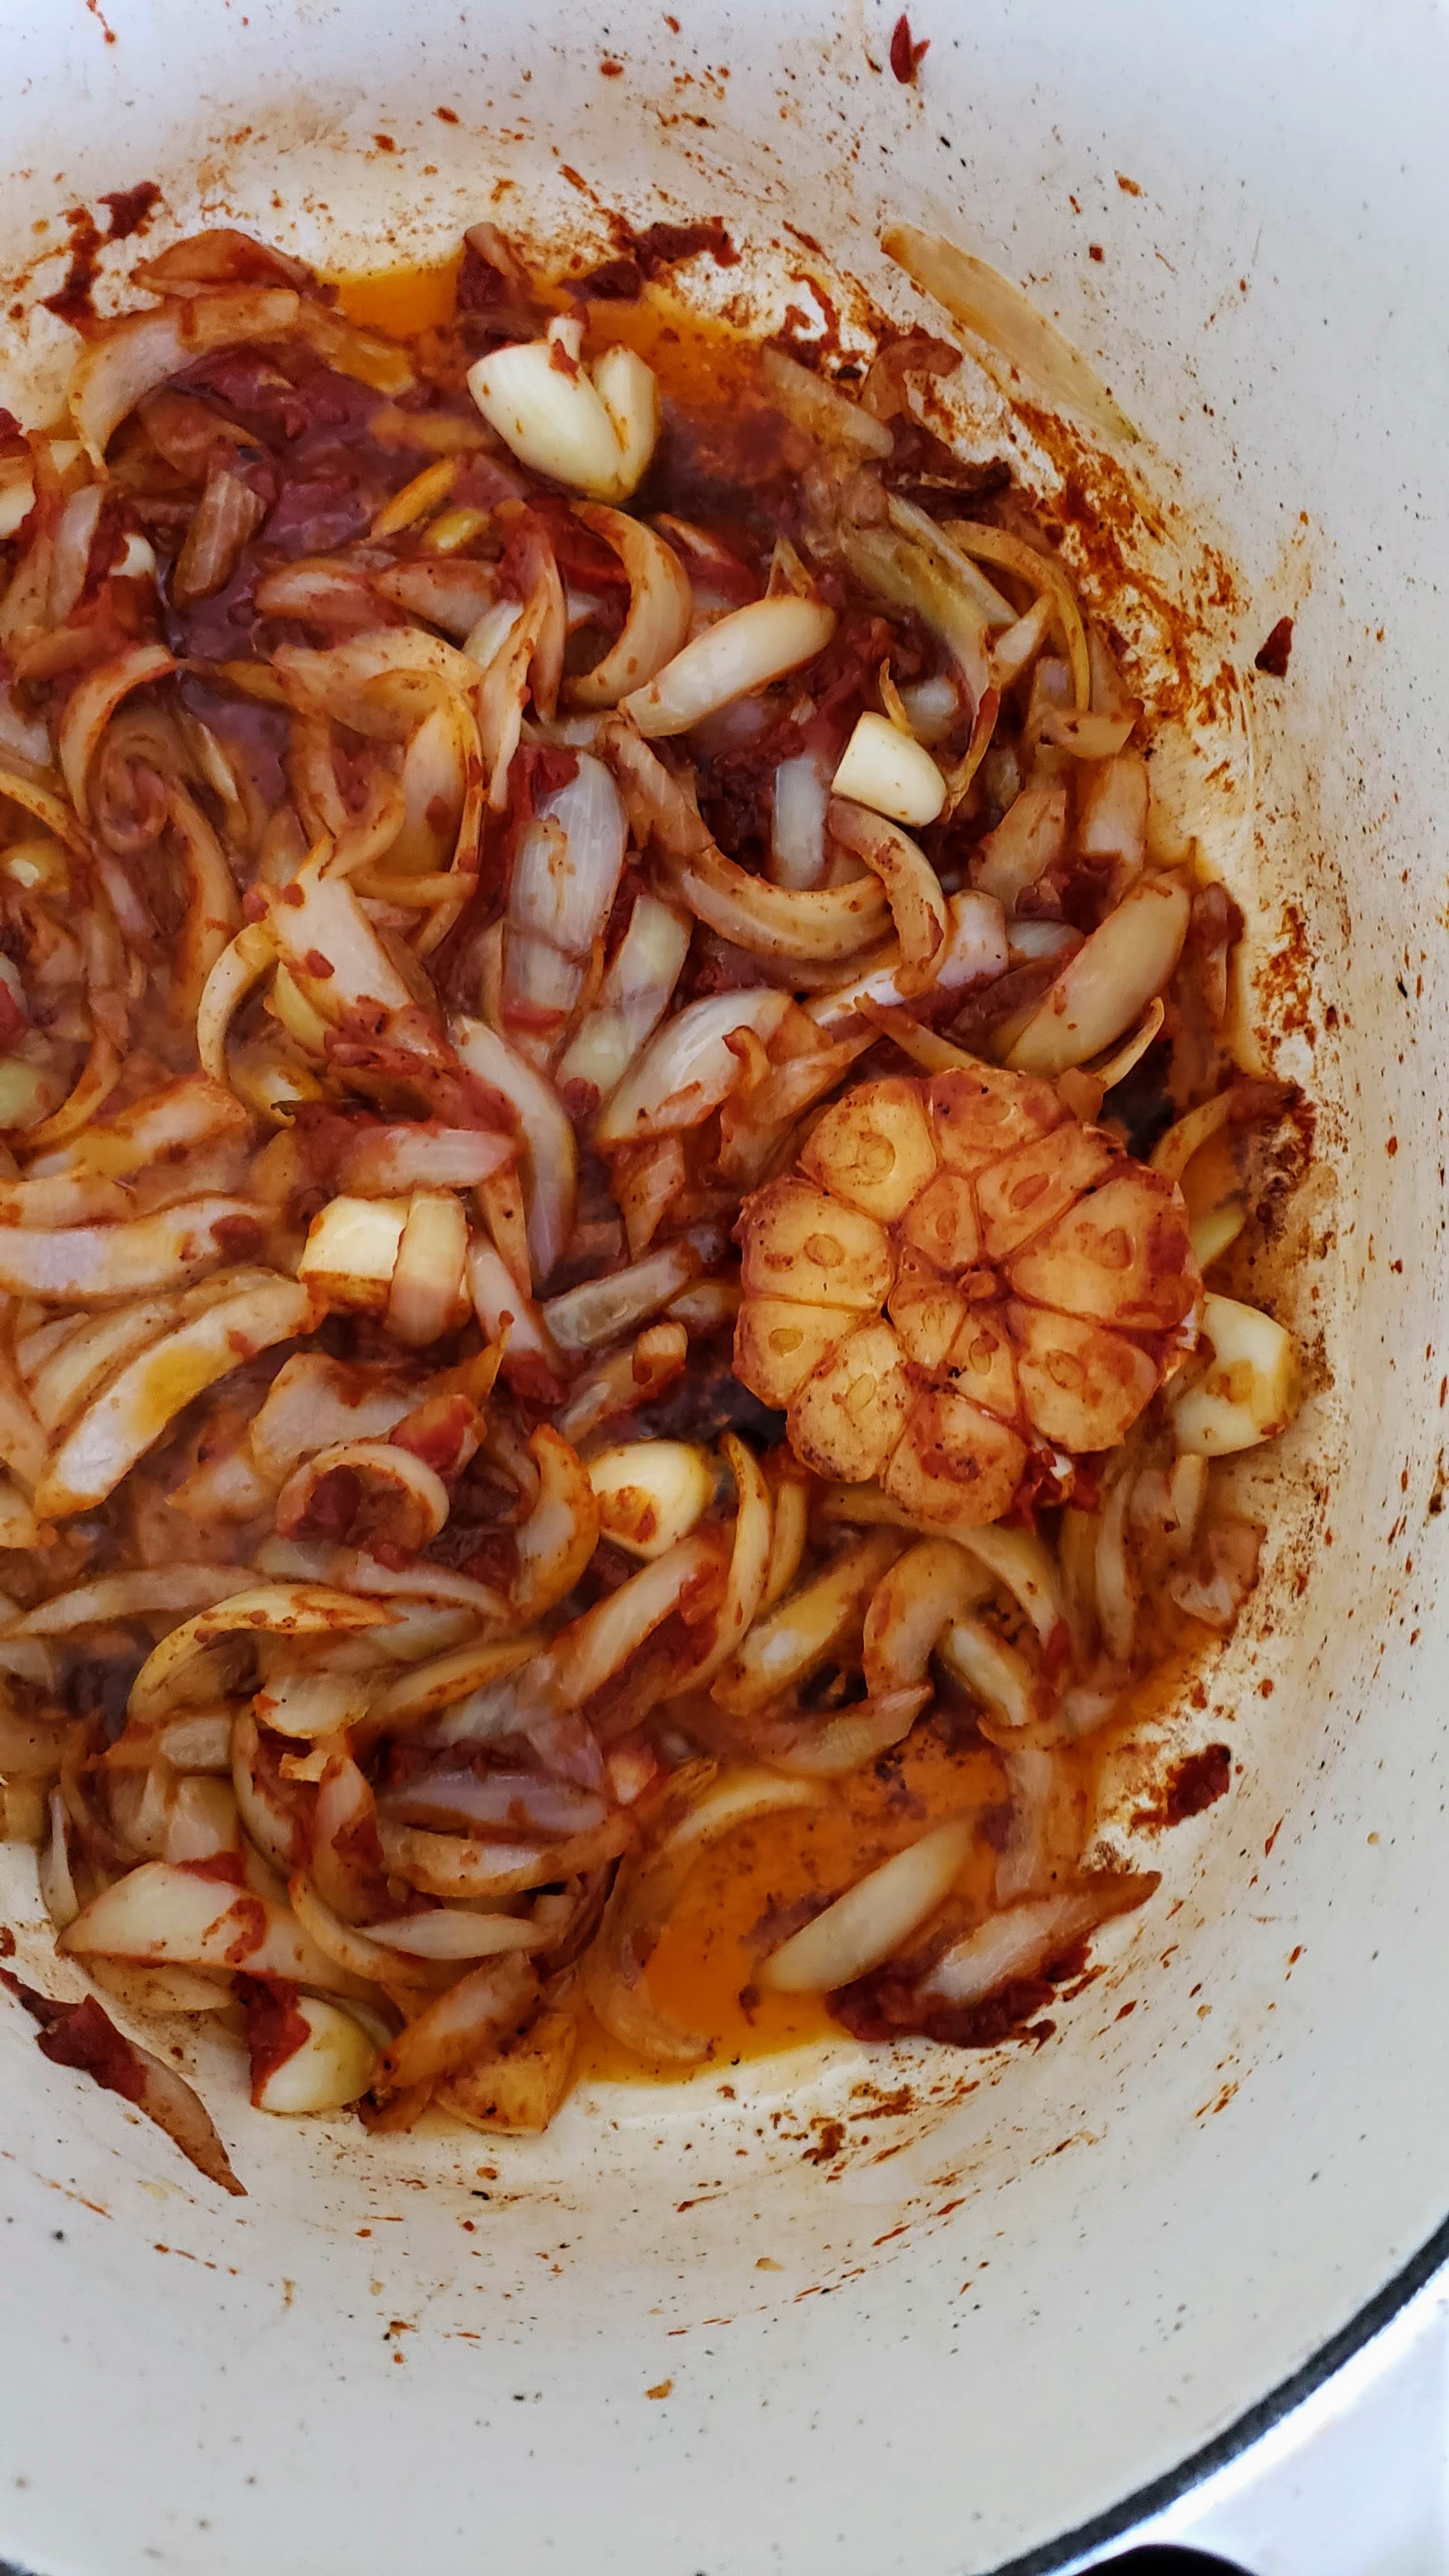
  4. Add the remaining 1 tablespoon of oil, garlic, onions, carrots, celery, thyme, rosemary and bay leaves to the pot. Sauté for approximately 5 minutes until unions have softened but not caramelized.
  5. Stir in tomato paste and cook for 2 more minutes.
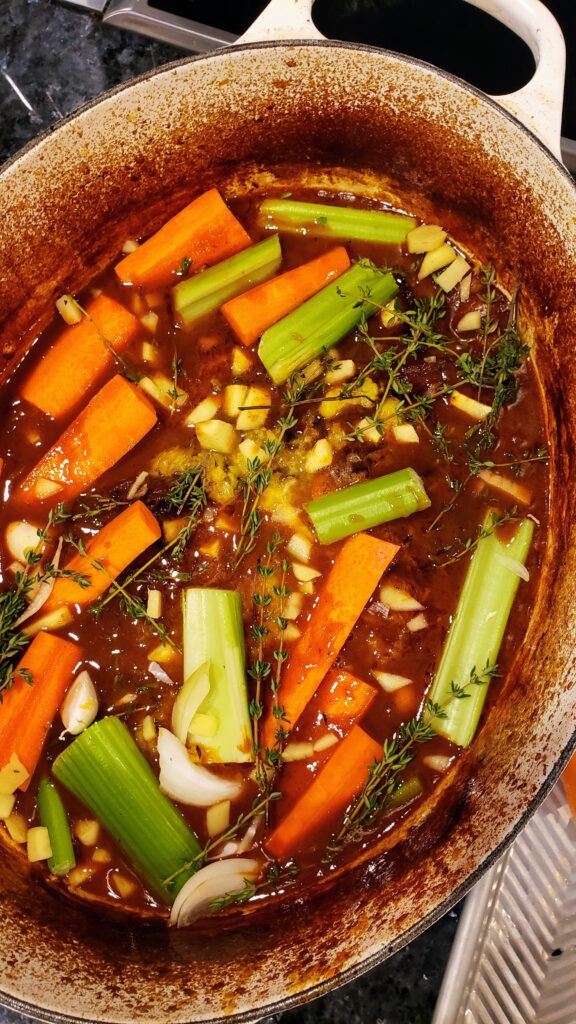
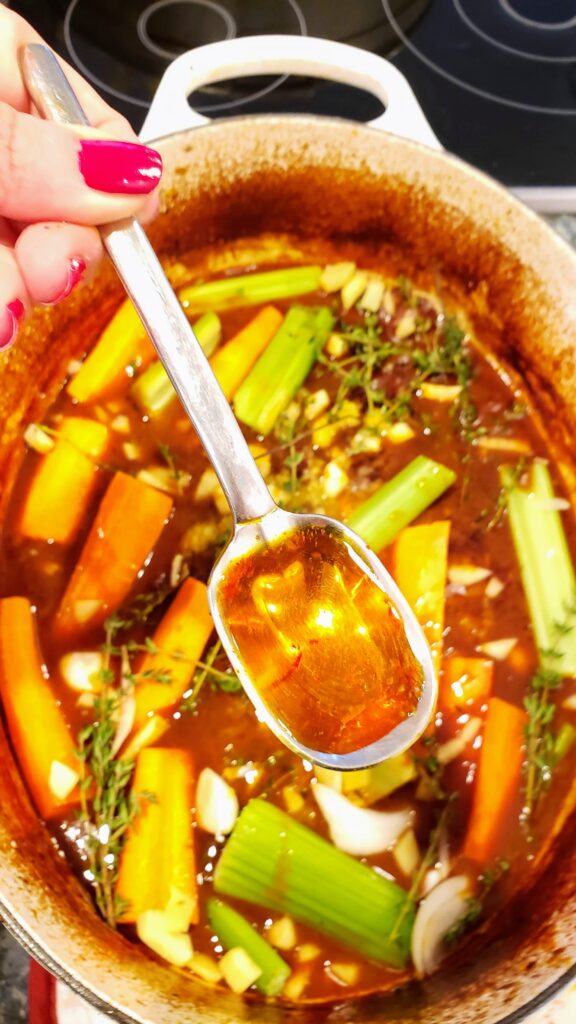
  6. Add stock and bring to a gentle simmer, scraping up any brown bits stuck to the bottom of the pan with a wooden spoon.
  7. Place the brisket back in the pot, cover and place in the oven.
  8. After 3 hours, remove the lid from the pot and continue cooking uncovered so some of the liquid can evaporate and sauce can thicken. Continue braising for about 1 hour more, or until the brisket is fork tender. If the sauce starts to get too thick before the meat is tender, cover the pot again.
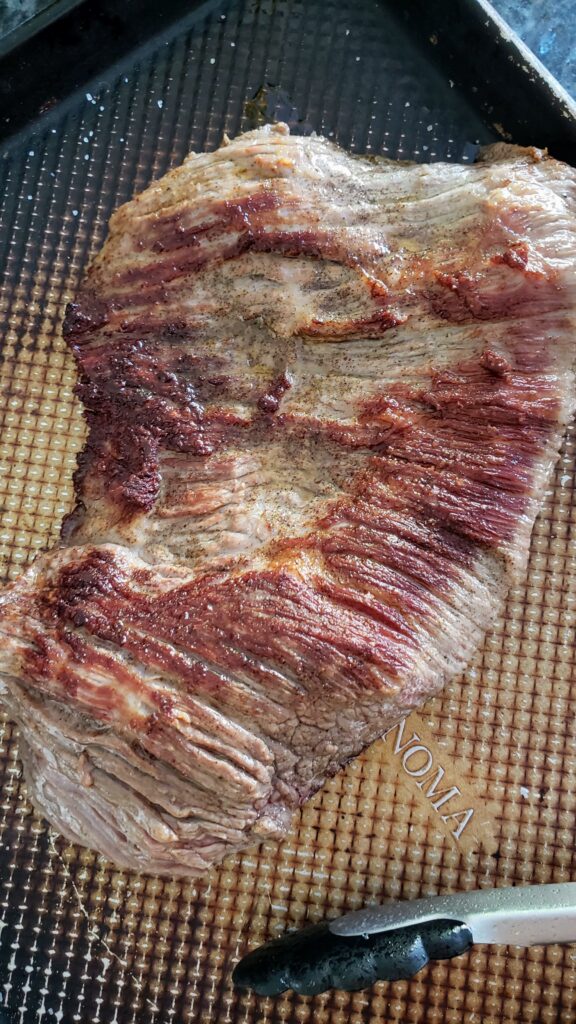
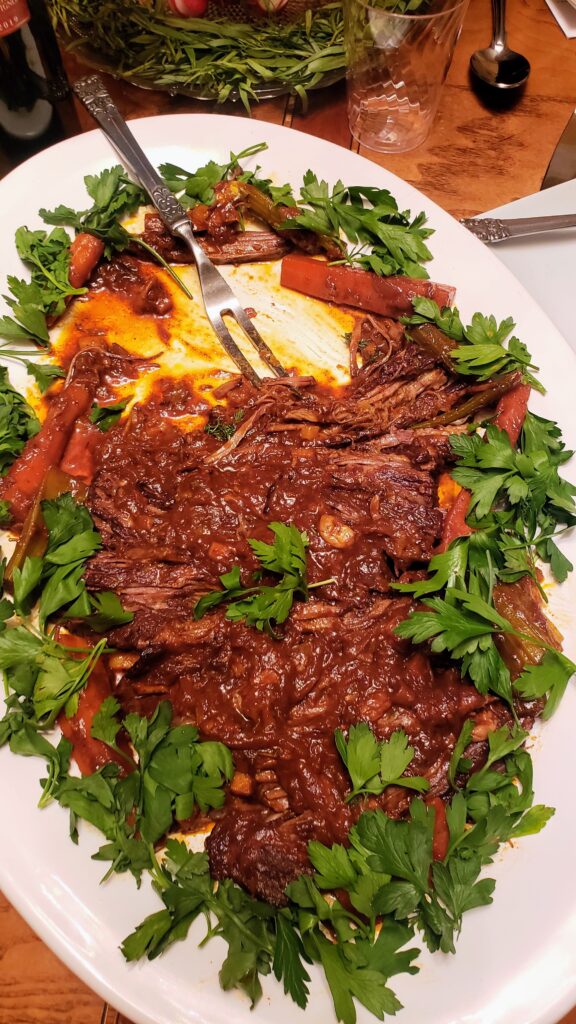
  9. Remove from oven and transfer meat to a cutting board; cover loosely with aluminum foil and let rest 15- 20 minutes before slicing against the grain into thick slices. Arrange sliced meat on a serving platter.
  10. Discard rosemary, thyme and bay leaves from the sauce. Using a slotted spoon, remove vegetables and arrange around the brisket. Spoon desired amount of pan juices over the brisket and serve.
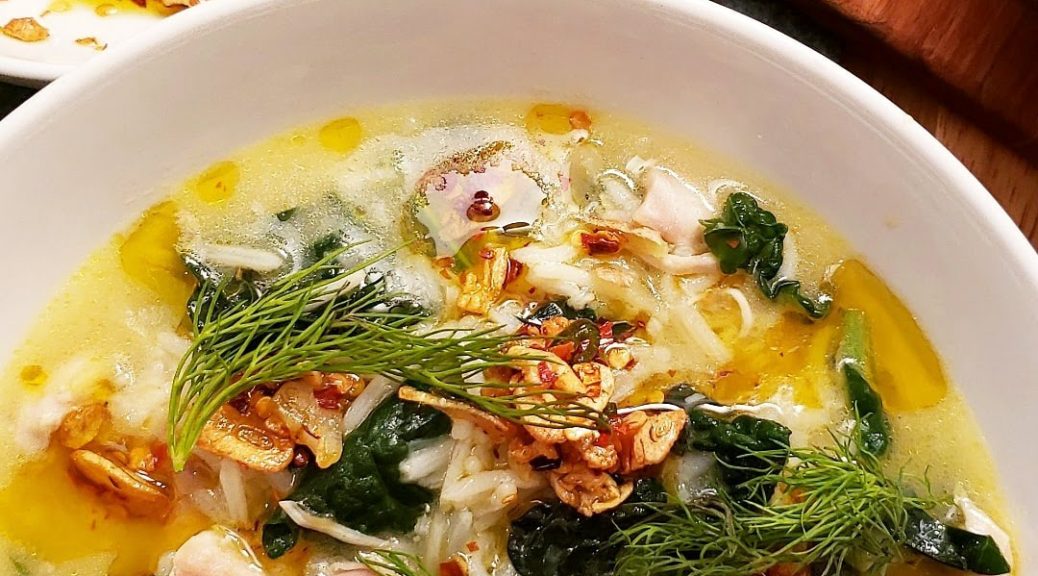
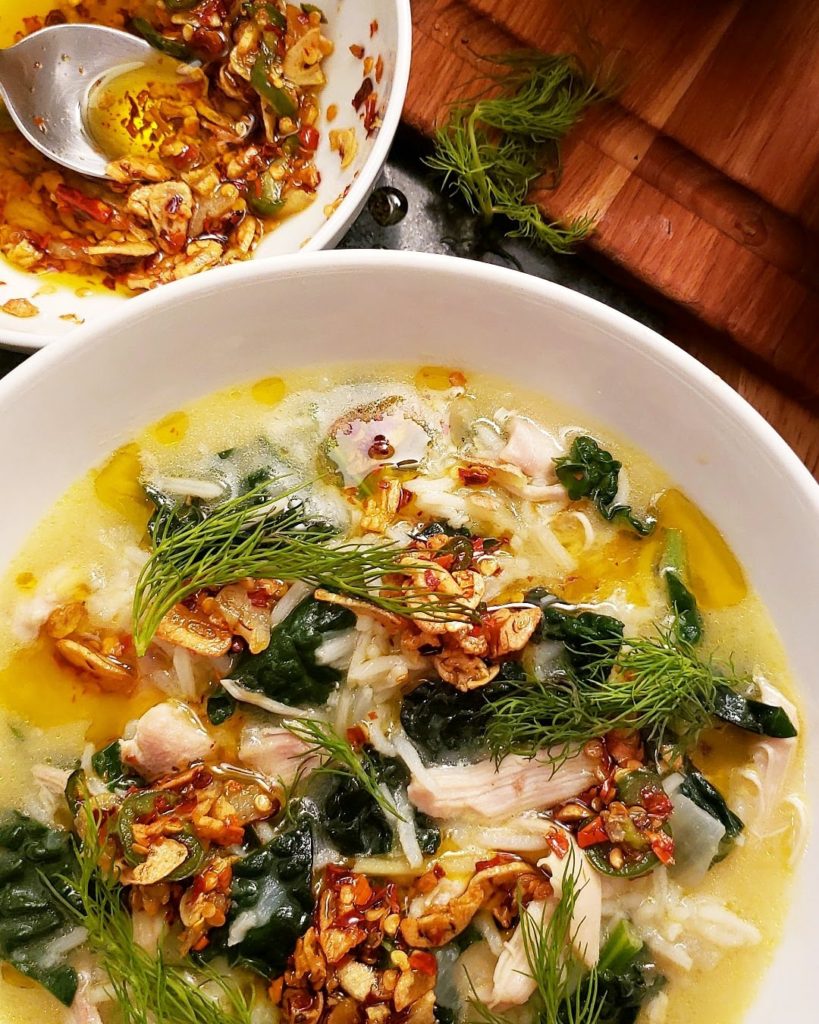
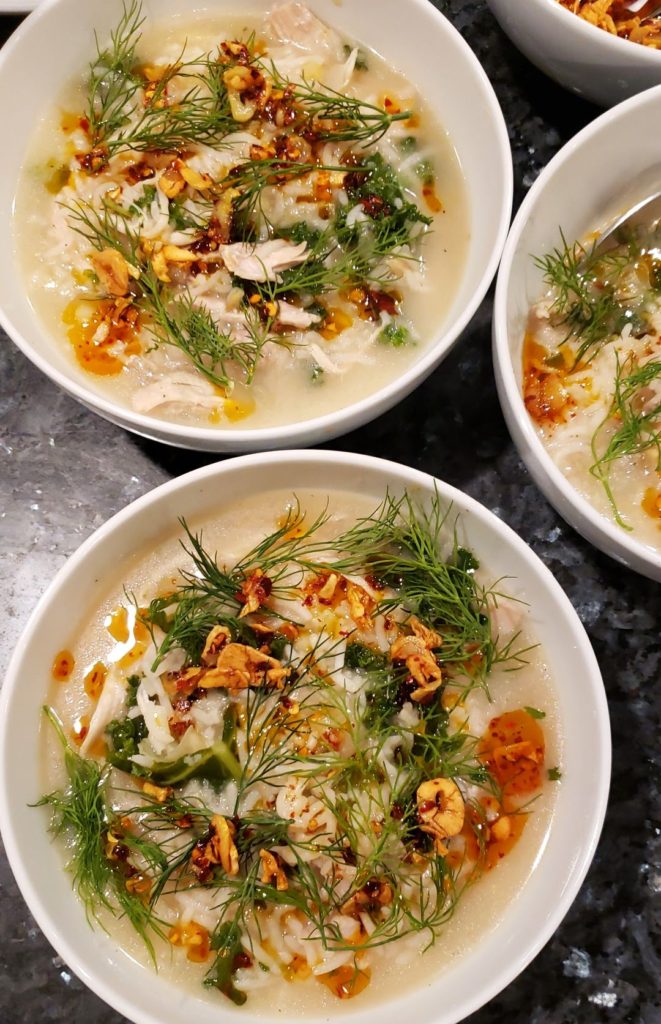
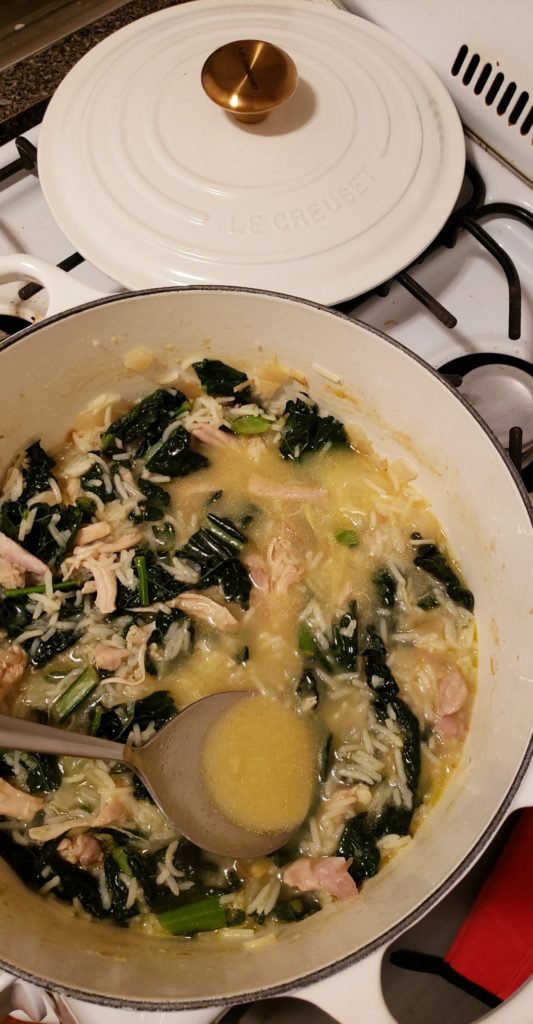
Chicken & Rice Soup with Glorious Garlic Chile Chips

Chicken & Rice Soup with Glorious Garlic Chile Chips

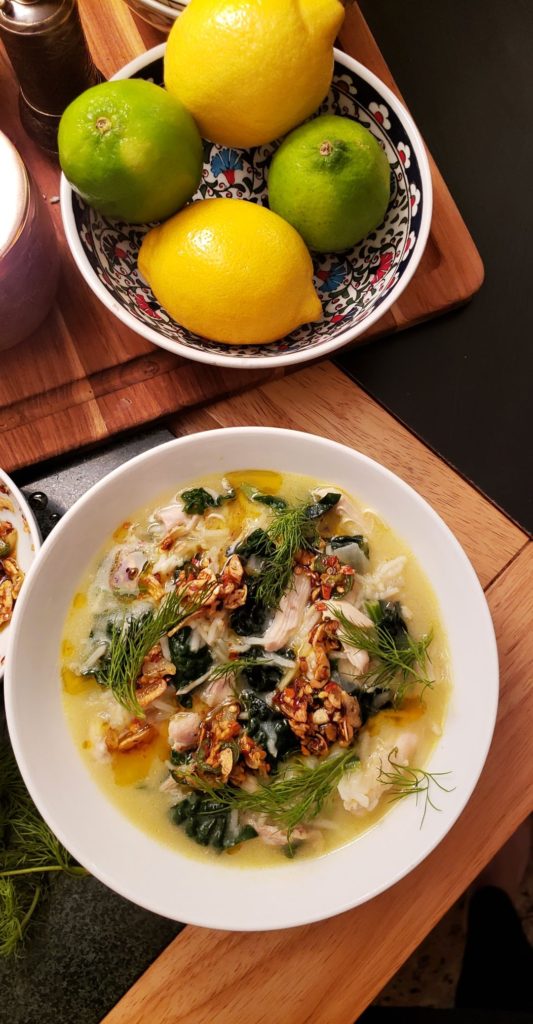
Rich and brothy with familiar flavors of home, this is a good-for-the-soul kind of delicious soup. It’s a simple and comforting recipe that I go back to repeatedly- a personal favorite which I’m excited to share with you.

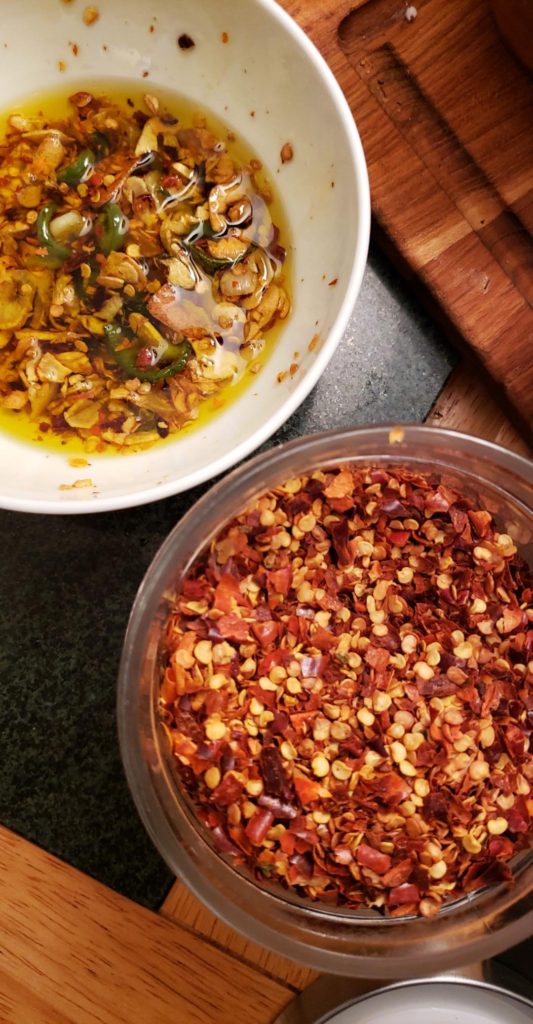
This recipe is chicken soup for the soul. Earthy, filling and nutritious, it tastes like home. Like something grandma made. The soup has body and richness. And the finishing drizzle of chile oil with garlic chips will make your taste buds dance!

The flavor combination of ginger and dill is unique, and equally heavenly. The union of all the other ingredients create several layers of flavor. It starts with the punch of the sweet and spicy garlic chili chips in the first spoonful. Hello! A delightful top note, followed by the heart of the flavor accomplished by the unique harmony of ginger and dill. Finally, the lasting base notes of the magic created by the marriage of chicken and rice. All of the flavors thrive on this foundation of flavor, resulting in something great.

This soup is nutrient-rich- garlic, onion, ginger, kale, broth, and dopamine-spiking garlic chile oil. The garlic chips take a simple soup to an entirely new level. The aroma and textural contrast of the garlic gives complexity to the soup while the heat balances with the otherwise mellow flavor of the stock made velvety by the natural starches of rice. It is garliky, but, I love that, and hope you enjoy it as much as I do. Fair warming, its addicting and you may find yourself coming back to it over and over again too.

“Only the pure of heart can make good soup” — Beethoven


INGREDIENTS

  • 8-10 garlic cloves, thinly sliced
  • 3 tsp. crushed red chile flakes (adjust to taste)
  • 1/3 cup extra virgin olive oil
  • 1 large white or yellow onion, chopped
  • 4-5 inches fresh ginger, chopped
  • 1 cup white rice, preferably basmati for added aroma
  • 1 1/2 – 2 pounds skinless, boneless chicken thighs
  • 3-4 big handfuls kale or spinach
  • 8 cups water, chicken or vegetable stock
  • 1 lemon
  • Handful of fresh dill
  • 2 tsp. kosher salt

    ~Note this is a large batch soup which makes about 8 servings. Opt for a half recipe if you desire a smaller portion. I like to make a big pot, enjoy it for dinner and have leftovers for a couple of days after. You can also adjust the heat levels and reduce chili flakes for less spicy results.

INSTRUCTIONS

  1. Wash basmati rice 2-3 times until the water runs clear. Prep your veggies.
  2. For the garlic chile chips- Heat 1/3 cup olive oil to medium-low heat in the same large pot you’ll be making the soup in. Add garlic, stirring often, until light golden brown, 3–5 minutes. Pay attention to avoid burning garlic (it can happen fast!). Garlic will continue to cook in the hot oil after removing from the pan. Transfer to a bowl, leaving a bit of oil in the pot. Stir 2 tsp. crushed red pepper flakes into garlic oil and set aside.
  3. Add ginger and onion to oil remaining in the pan. Add a bit more oil if pan is dry. Stirring occasionally, cook over medium heat, until onion is a light golden brown, 4-5 minutes. The kitchen will smell heavenly at this point.
  4. Pour your cooking liquid of choice into the pot. Add chicken thighs, rice and 1 teaspoon of salt to the cooking liquid and bring to boil. Then lower to a temperature to maintain a gentle simmer.
  5. Cover the pan partially and cook for about 15-20 minutes until chicken is cooked through.
  6. Once chicken is cooked through, transfer to a plate and shred the meat using two forks. In the meantime keep simmering soup uncovered to continue building flavor. The natural starch of the rice beautifully thicken the broth for silky and full bodied richness.
  7. Add shredded chicken back into the pot. Follow with adding a few generous handfuls of chopped kale into the liquid. Be even more generous if using spinach and stir to mix all ingredients. It will look like a lot of greens but they wilt down quickly.
  8. At this point add more broth or water if liquid has reduced too much. You can adjust based on the desired consistency you want. I prefer soup to be dense (not watery) for a rich end result.
  9. Continue to simmer, stirring occasionally, until liquid is reduced to the desired thickness, 4-5 minutes.
  10. Finally give the soup a nice squeeze of fresh lemon juice  and season to taste with more salt if needed. Stir to combine.
  11. Serve soup in bowls, drizzle with garlic-chile chips and fresh dill (it’s heavenly and “dill-licious,” trust me!).

Happy Hanukkah from Basil & Roses!

Happy Hanukkah from Basil & Roses!

Ah, ’tis the season for celebrations and merriment. I love this time of year. No matter which holiday you celebrate, which customs and folklore you subscribe to, and regardless of which heritage and ritual is the wellspring of your origin story; the themes of gratitude, gathering, tradition, family and love are universal.

I especially love being invited to friend’s homes with different cultural and religious backgrounds and learning about new customs, legends and wisdom. And of course, I love to share mine with you.

The Hanukkah story is the story of an oppressed people triumphing over the tyrants who sought to take away their freedom. It is the story of light triumphing over darkness, of a people overcoming seemingly impossible odds. That’s beautiful. Later this month we will celebrate the Persian holiday of “Shabeh Yalda” which carries a similar theme of light overcoming darkness. Yalda , the first day of Winter (Winter solstice), marks the longest night of the year. From there, the days start getting longer, so, culturally it represents the symbolic victory of light over darkness.  The symbolism is incredible! And  what better way to celebrate than with a festive meal! Below are some of our favorite recipes to inspire your Hannukkah menu and beyond.

“Nothing can dim the light that shines from within,” said Maya Angelou.

Wishing you all light and love today, this holiday season and always!

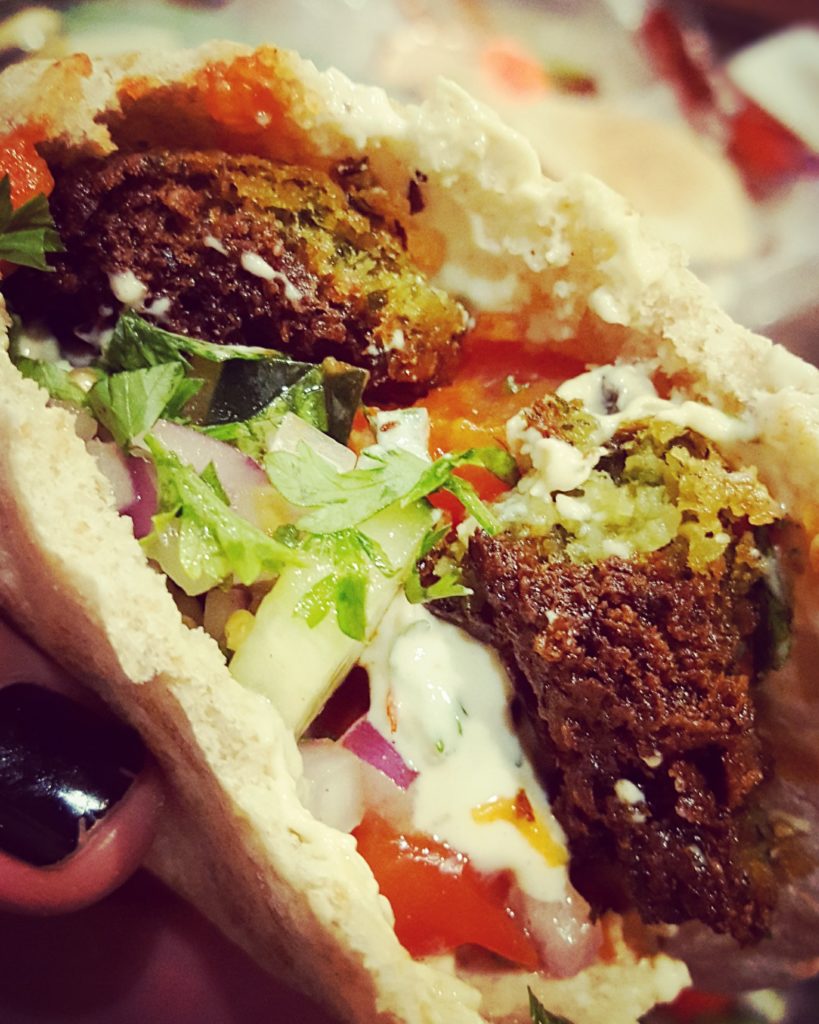
Homemade Falafel with Herb Tahini Sauce and Shirazi Salad

Beer + Basil Braised Brisket

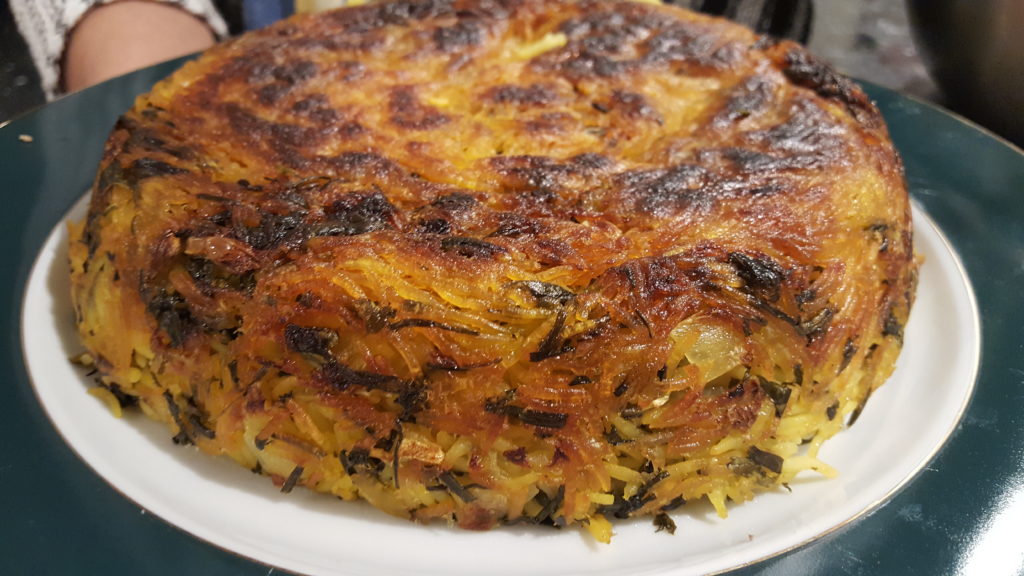
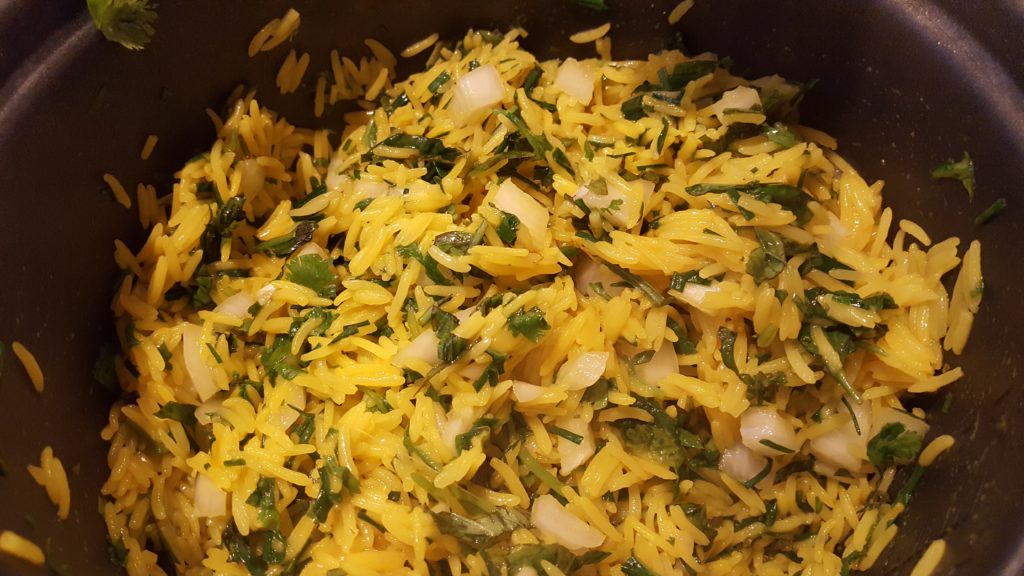
Green Garden Herb Basmati Rice with Basil, Mint, Chive + Rosemary (and an unexpected virtual trip home)

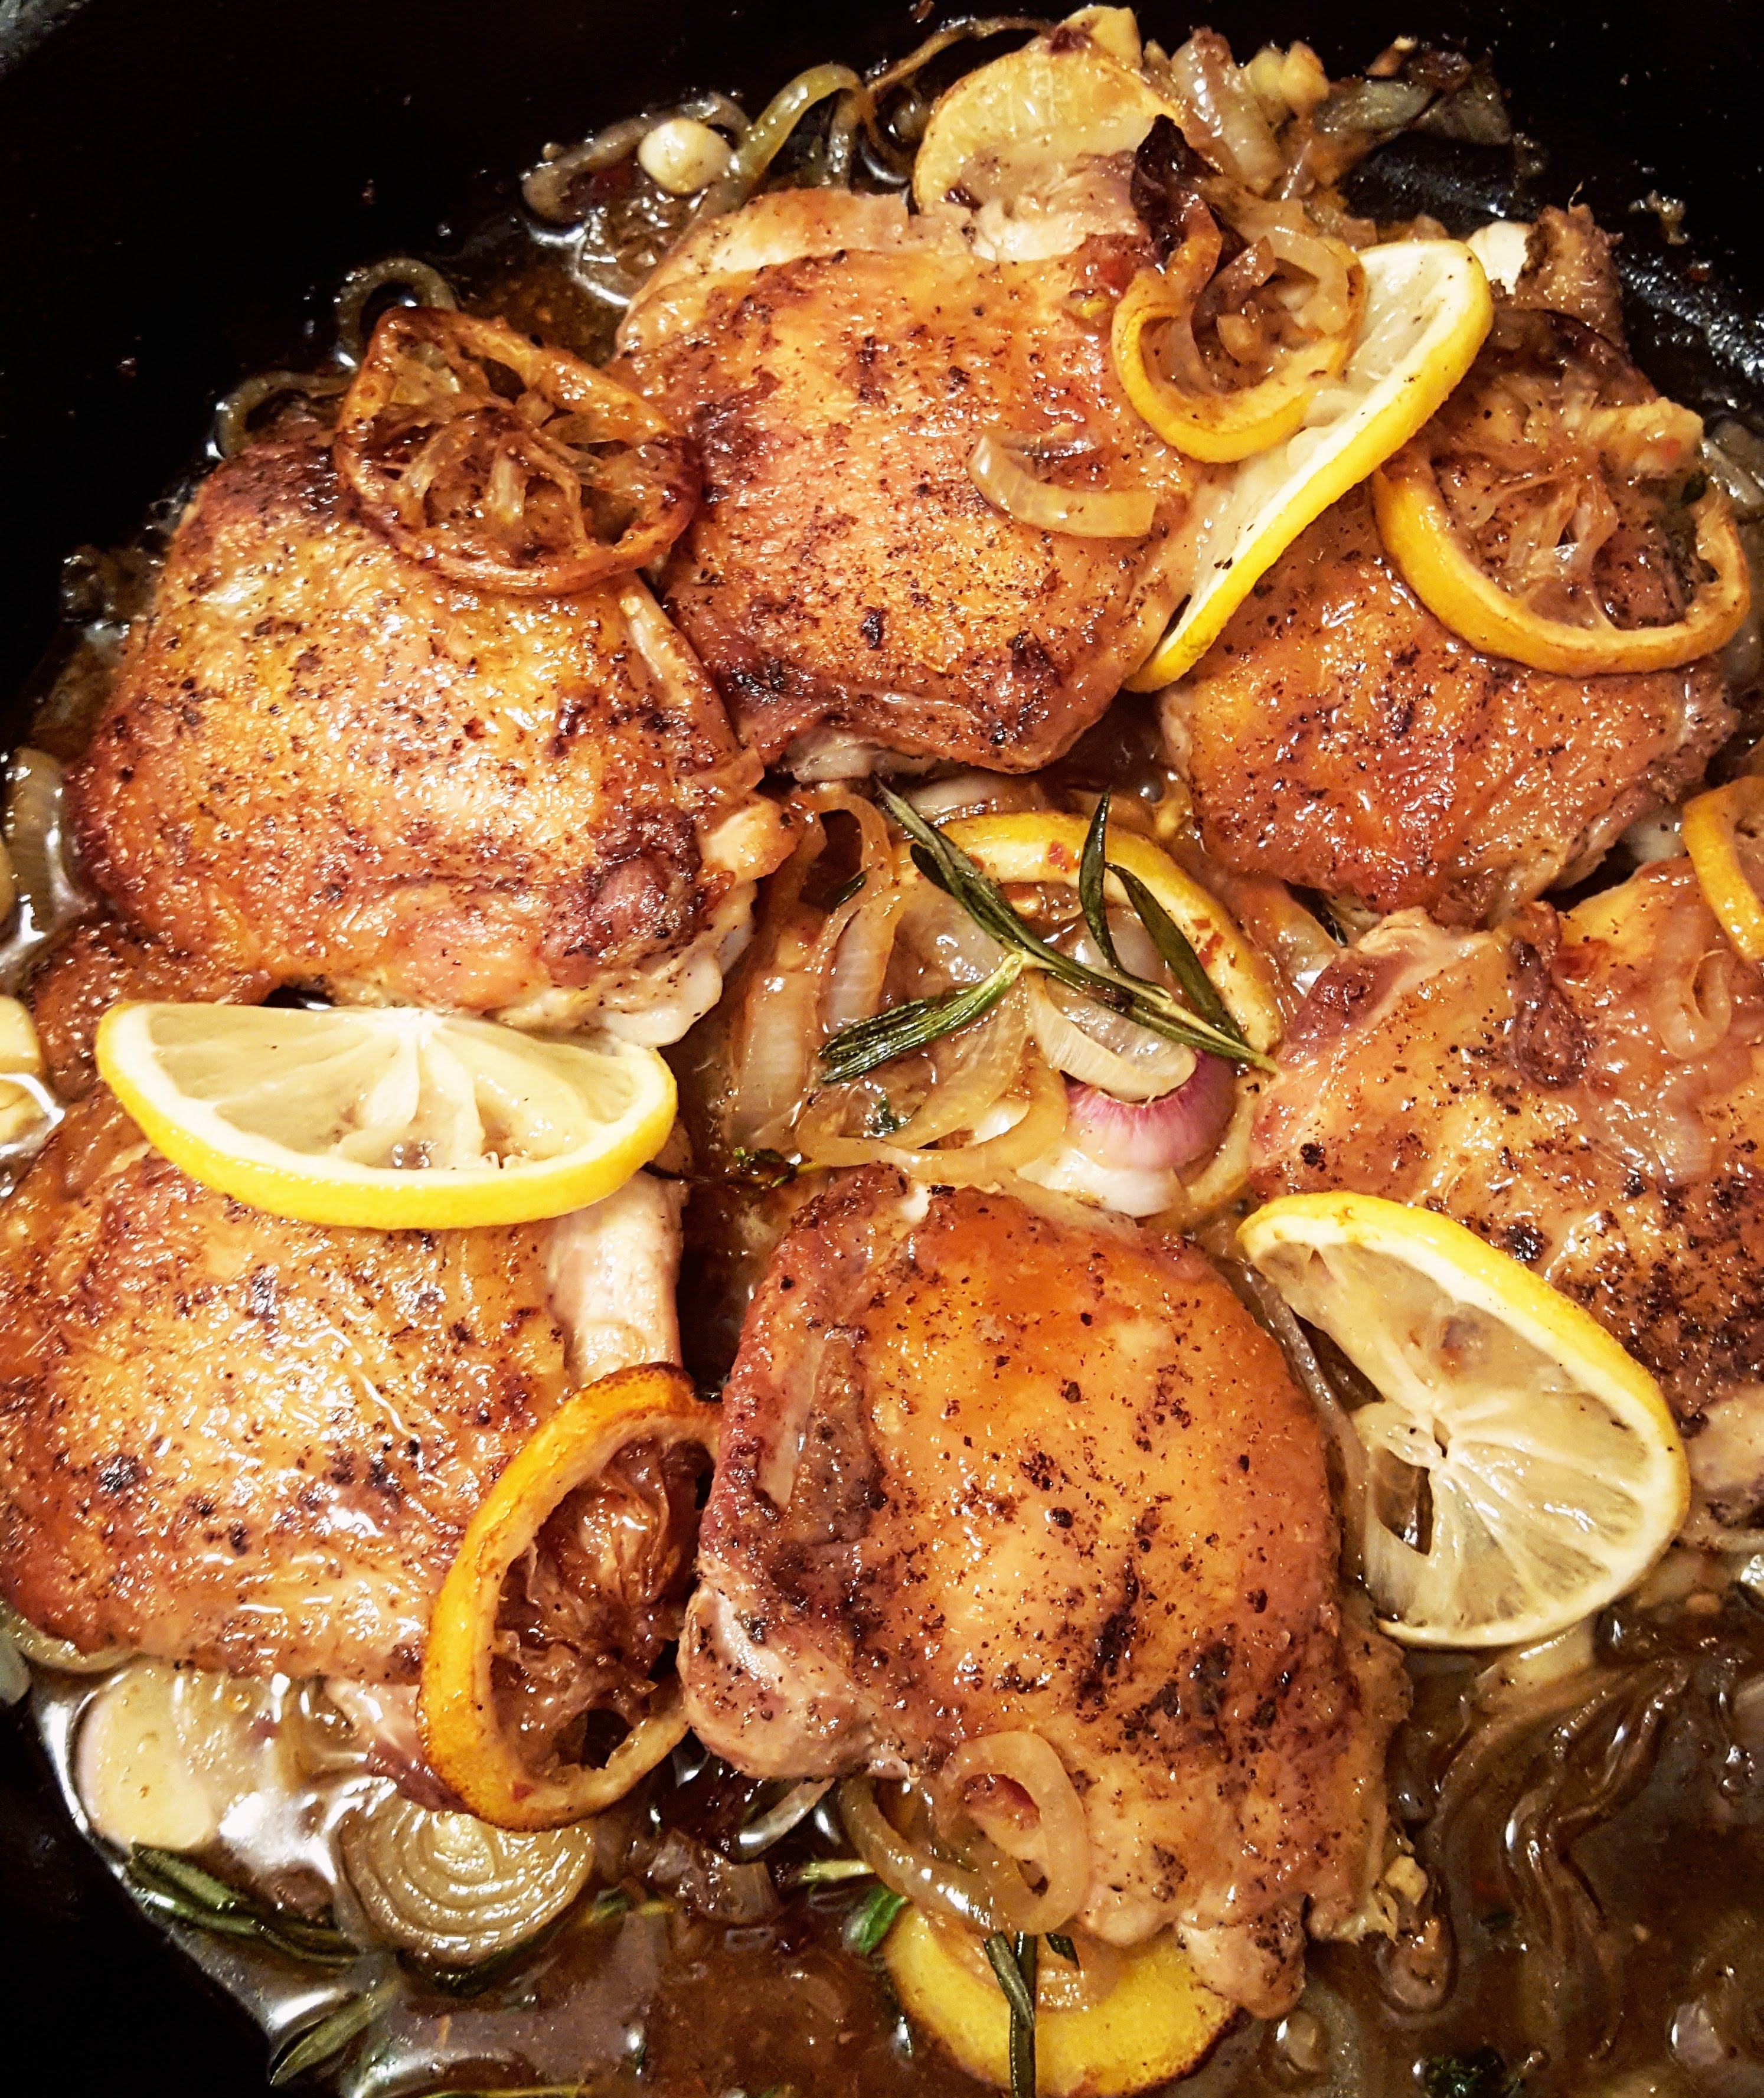
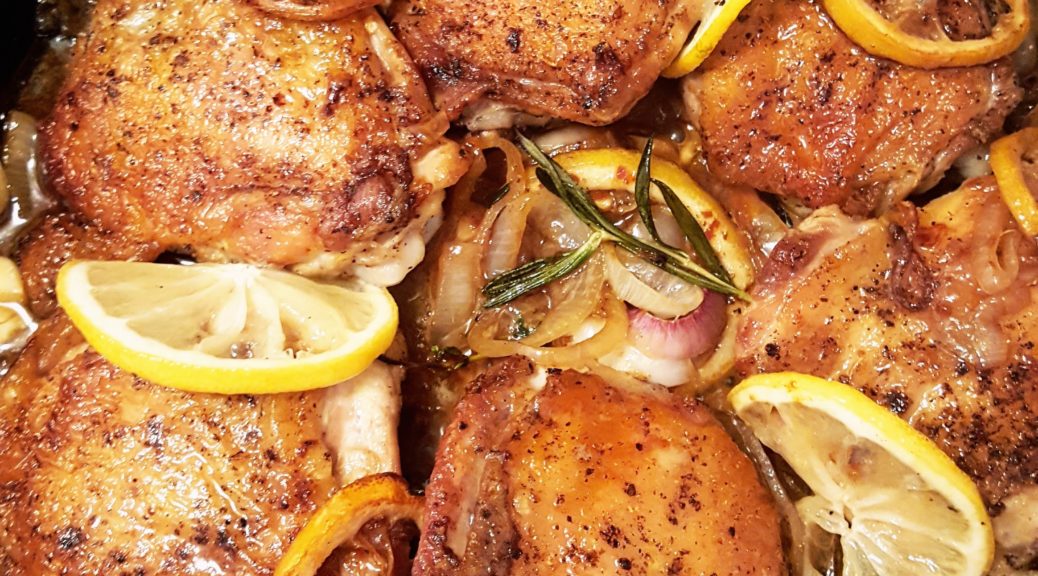
Skillet Chicken Thighs With Shallot, Lemon & Herbs

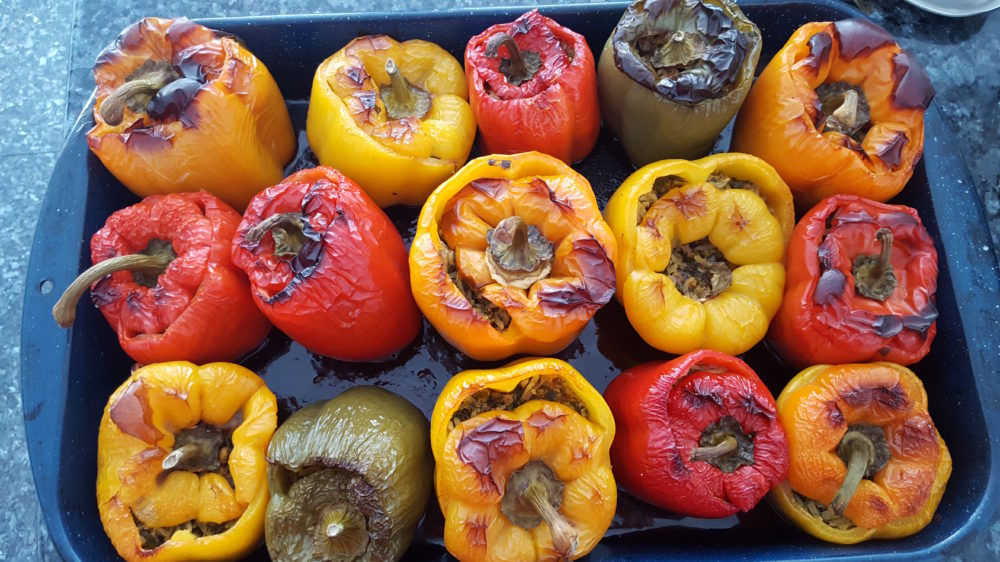
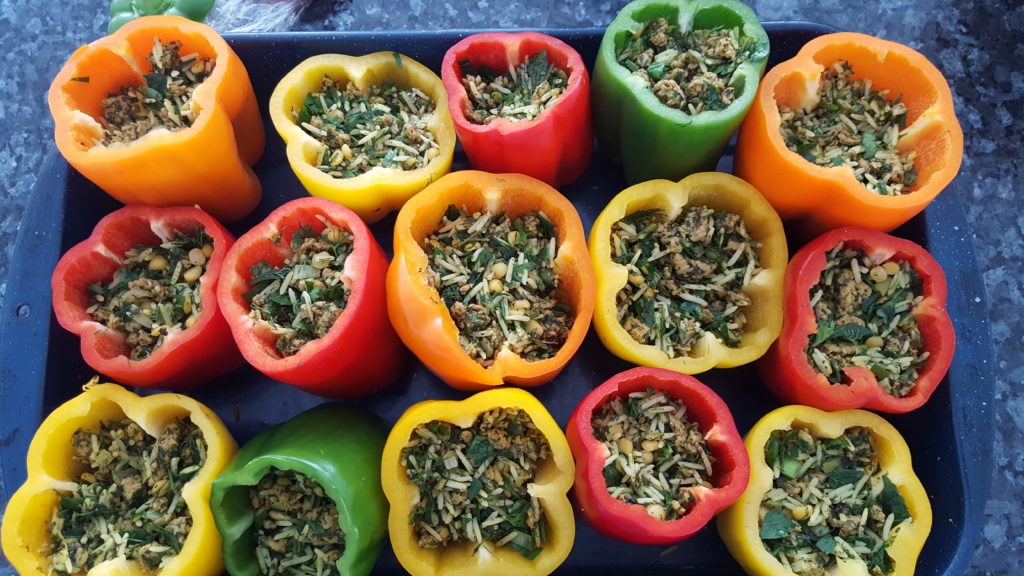
Persian Stuffed Peppers (Dolmeh)

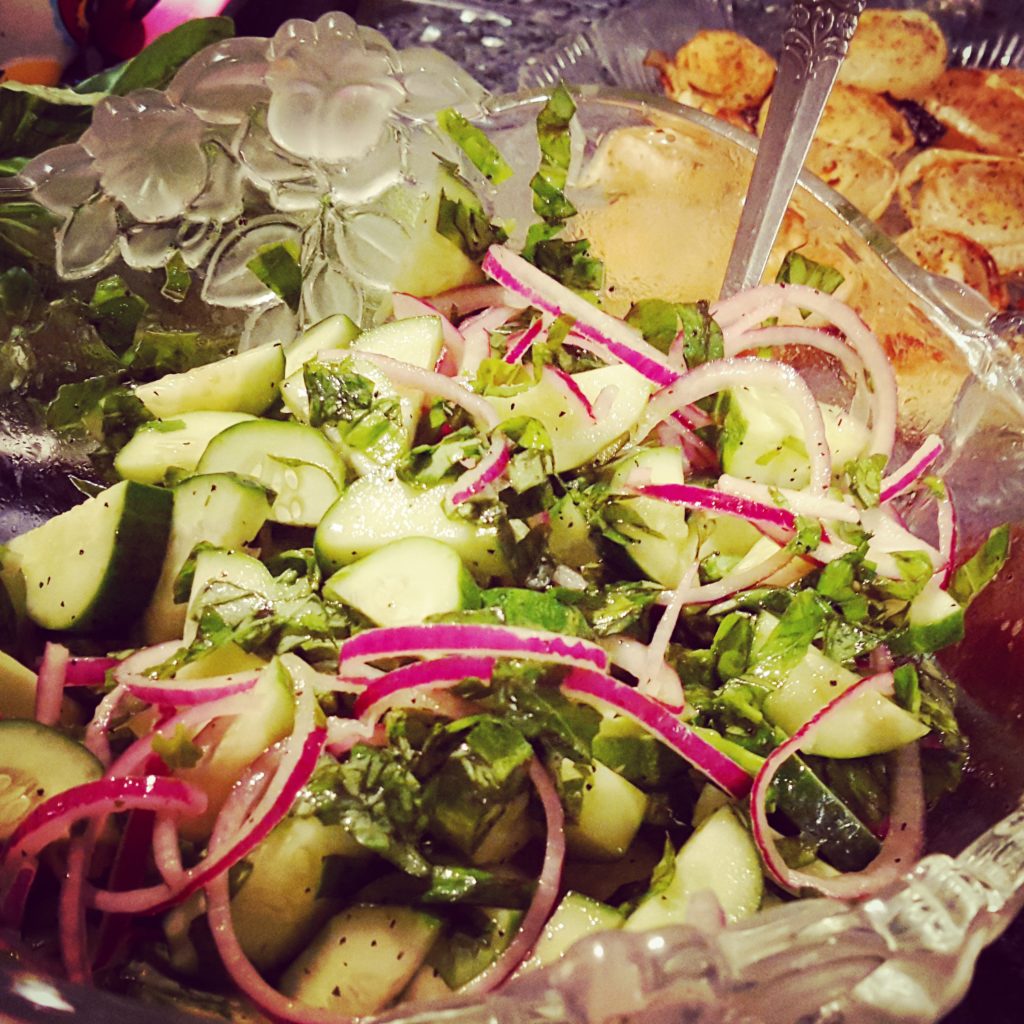
Persian Cucumber Salad with Red Onion & Thai Basil

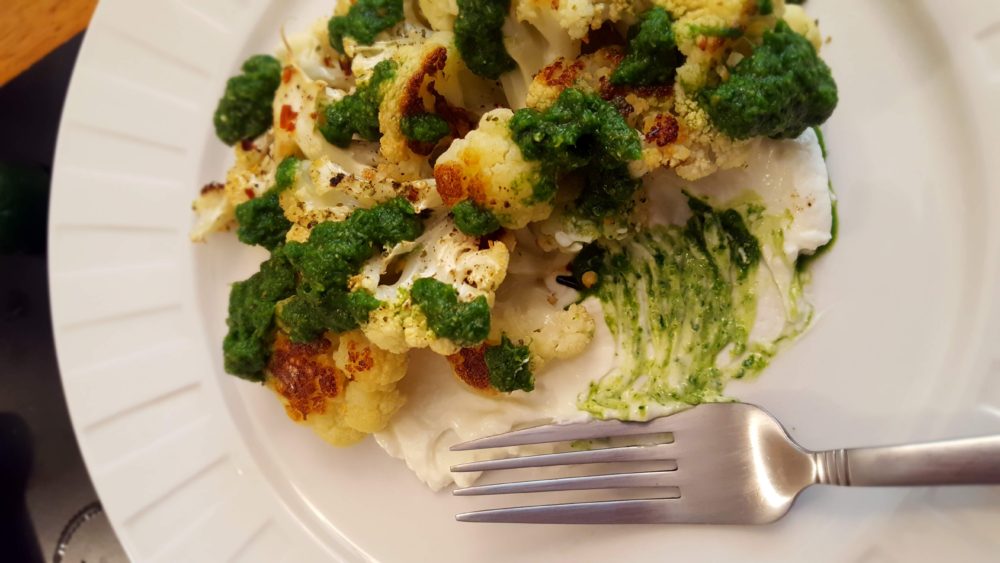
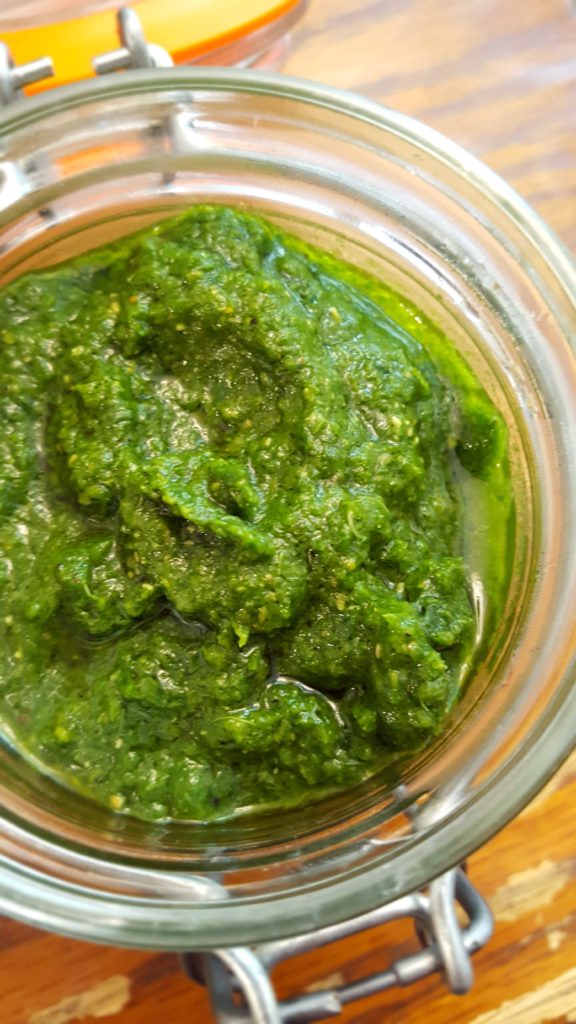
Roasted Cauliflower with Schug & A Quick Trip Around the World

Happy Thanksgiving from Basil & Roses!

Happy Thanksgiving from Basil & Roses!

Happy Thanksgiving, friends! We’re in full swing here planning our feast at the Basil & Roses kitchen and wanted to take a moment to thank you for coming along this amazing culinary ride with us! The Persian poet Rumi says ” Wear gratitude like a cloak and it will feed every corner of your life.” I’m grateful for you, and for the opportunity to share my art, which is my cooking, with you and the world every single day. I hope the recipes I share with you,  feed your spirits, your families, your friends and your hearts.

Our full menu will be up on the blog soon. In the mean time, I wanted to share some our favorite side dishes, which may inspire you as you plan your own celebration.

Happy Holidays!

Your dedicated happiness maker,

Nazanin


Roasted Cauliflower with Schug

Nani’s Decadent But Healthy Butternut Squash Soup

I’ve served this earlier when everyone arrives on Thanksgiving and it’s always a hit! It’s a warming, feel-good dish that nicely captures the flavors of fall. The trick is in roasting the vegetables first.


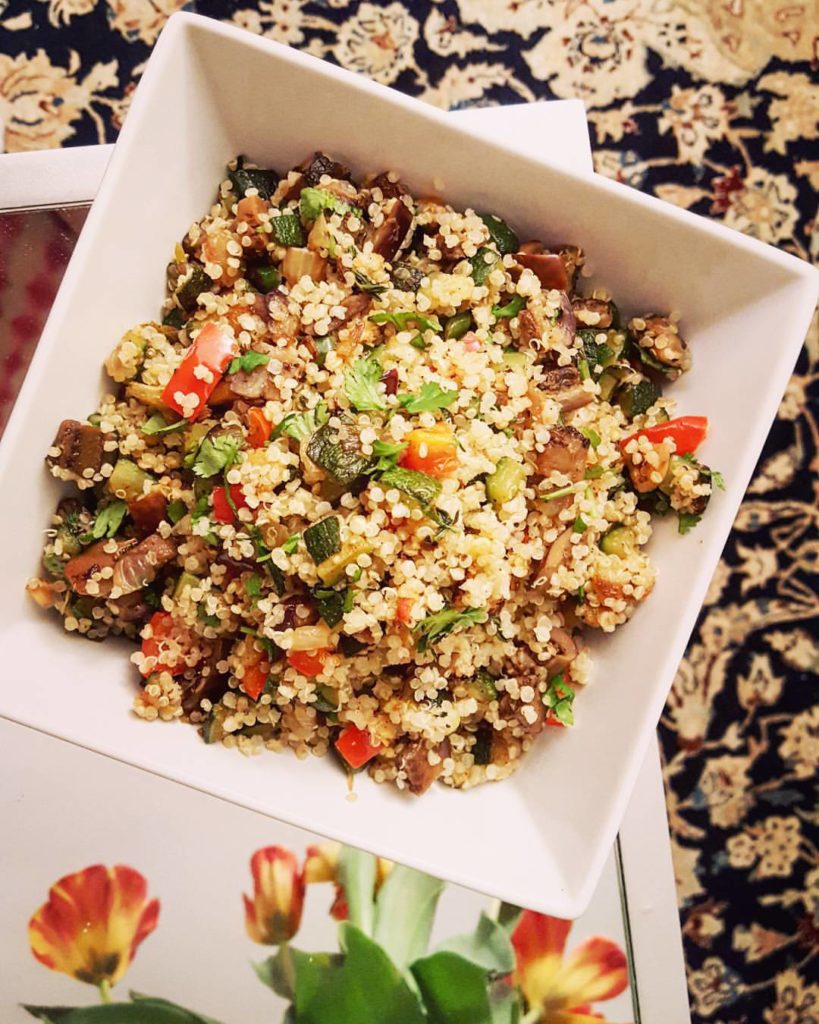
Roasted Veggie Quinoa Medly


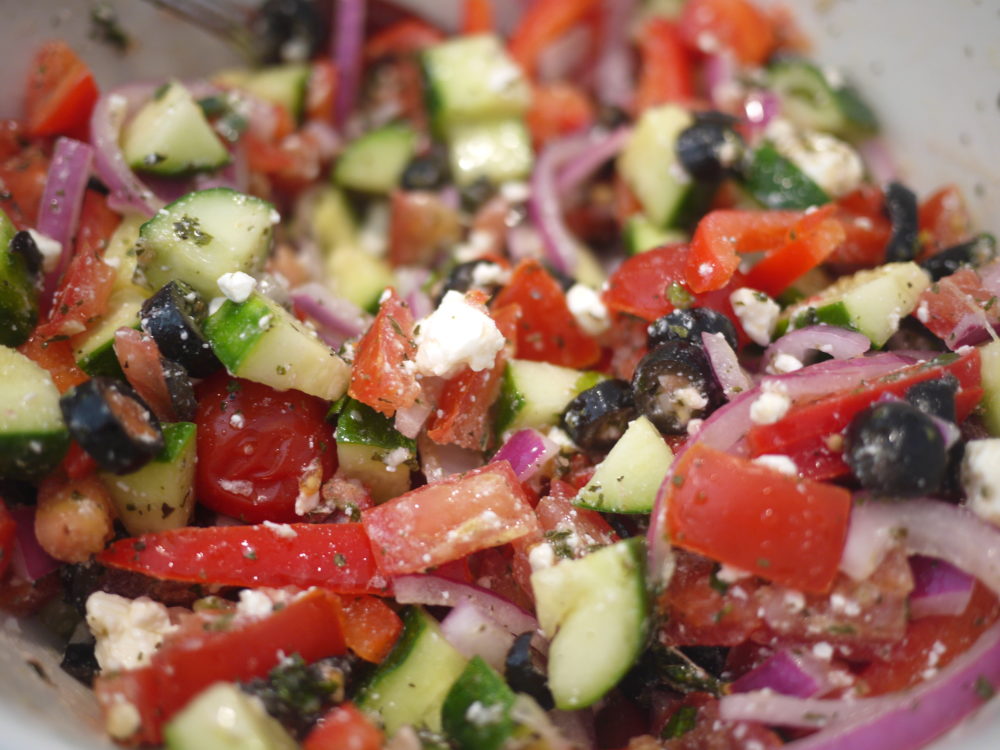
Fragrant Mediterranean Salad


Persian Cucumber Salad with Red Onion & Thai Basil


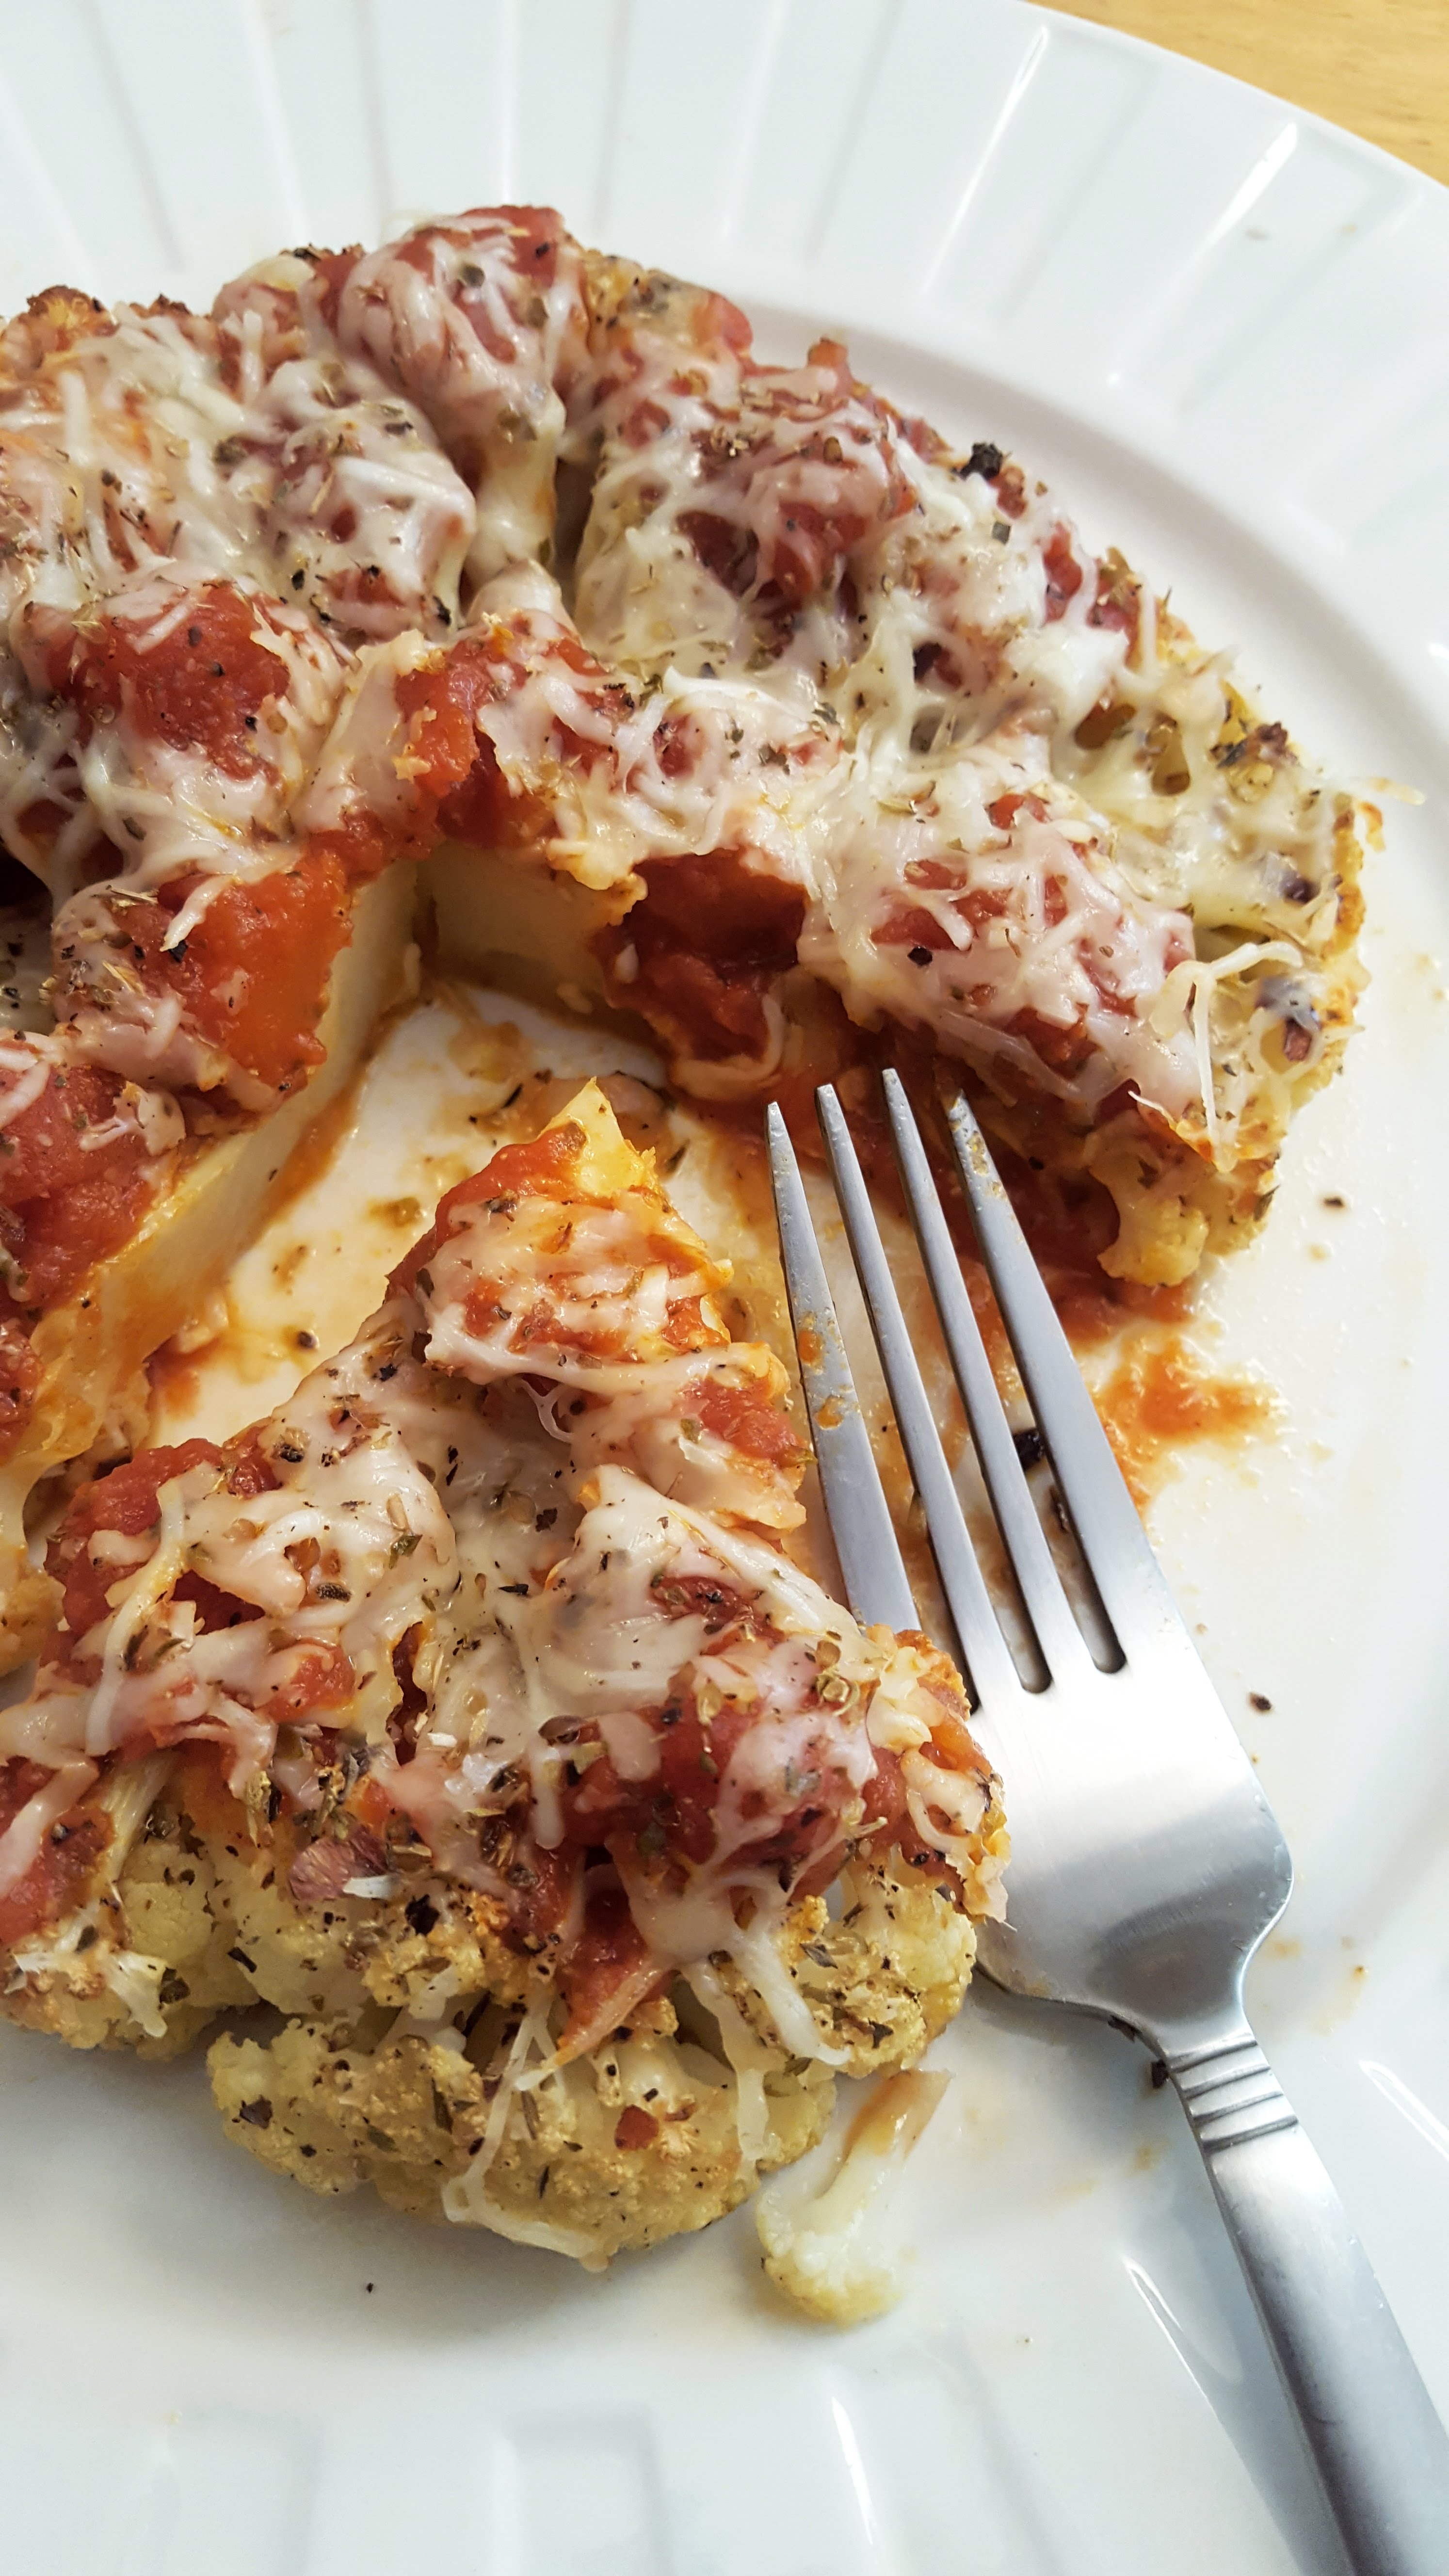
Cauliflower Parmesan


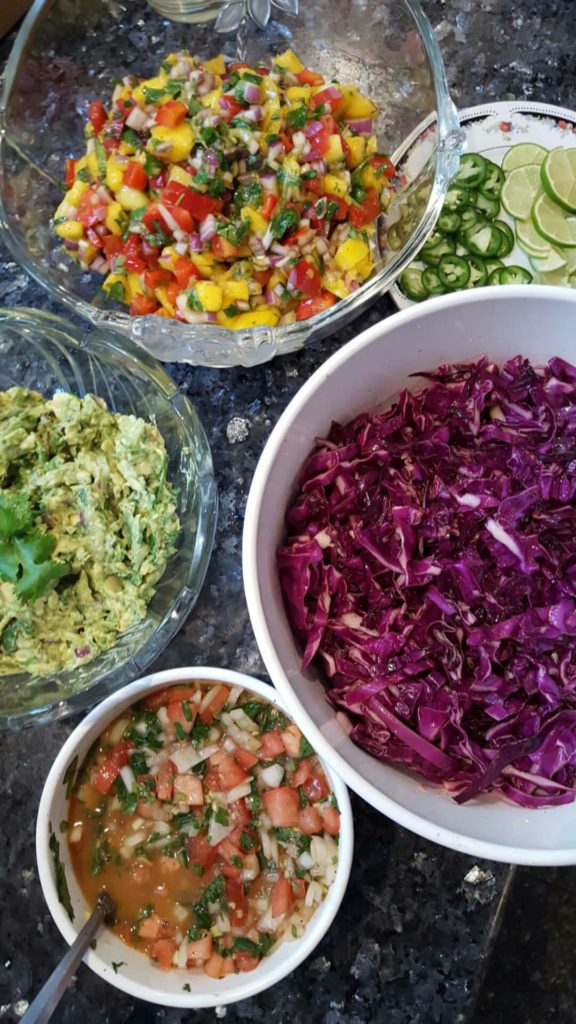
Red Cabbage Slaw with Honey-Lime-Cumin Vinaigrette


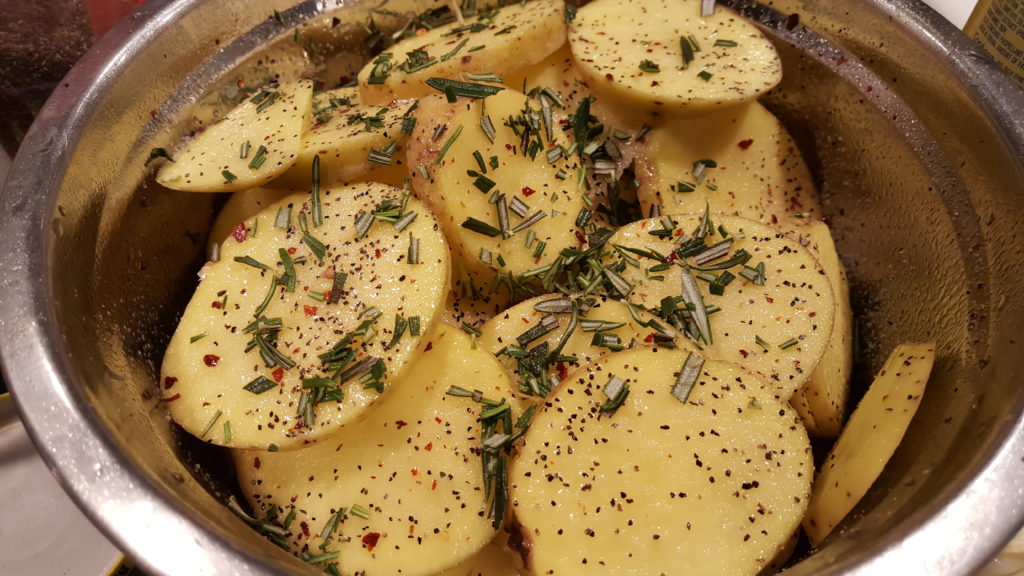
Rosemary & Sea Salt Baked Potato Chips


Green Garden Herb Basmati Rice


Persian Stuffed Sweet Peppers (Dolemh)


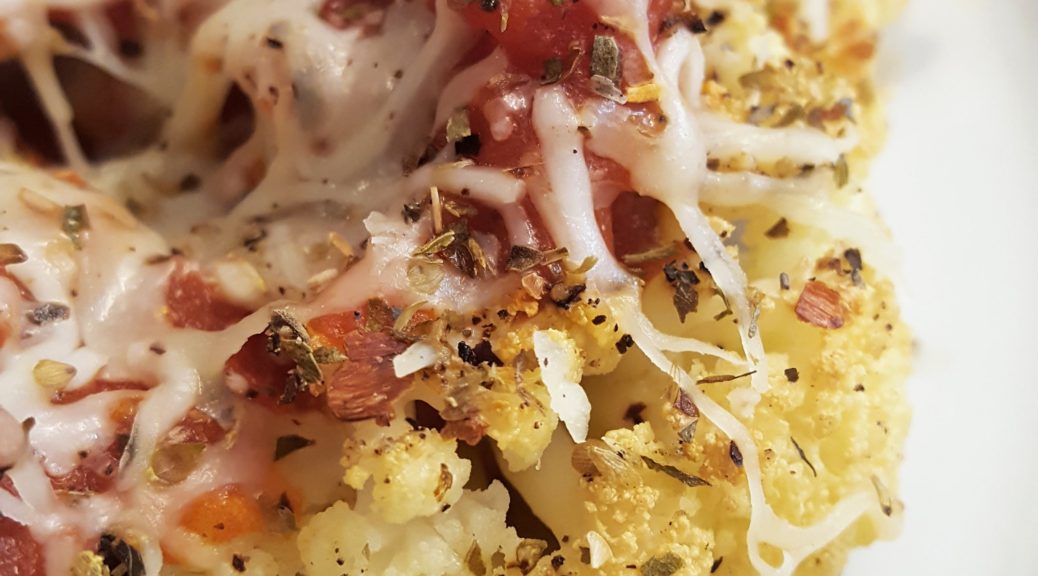
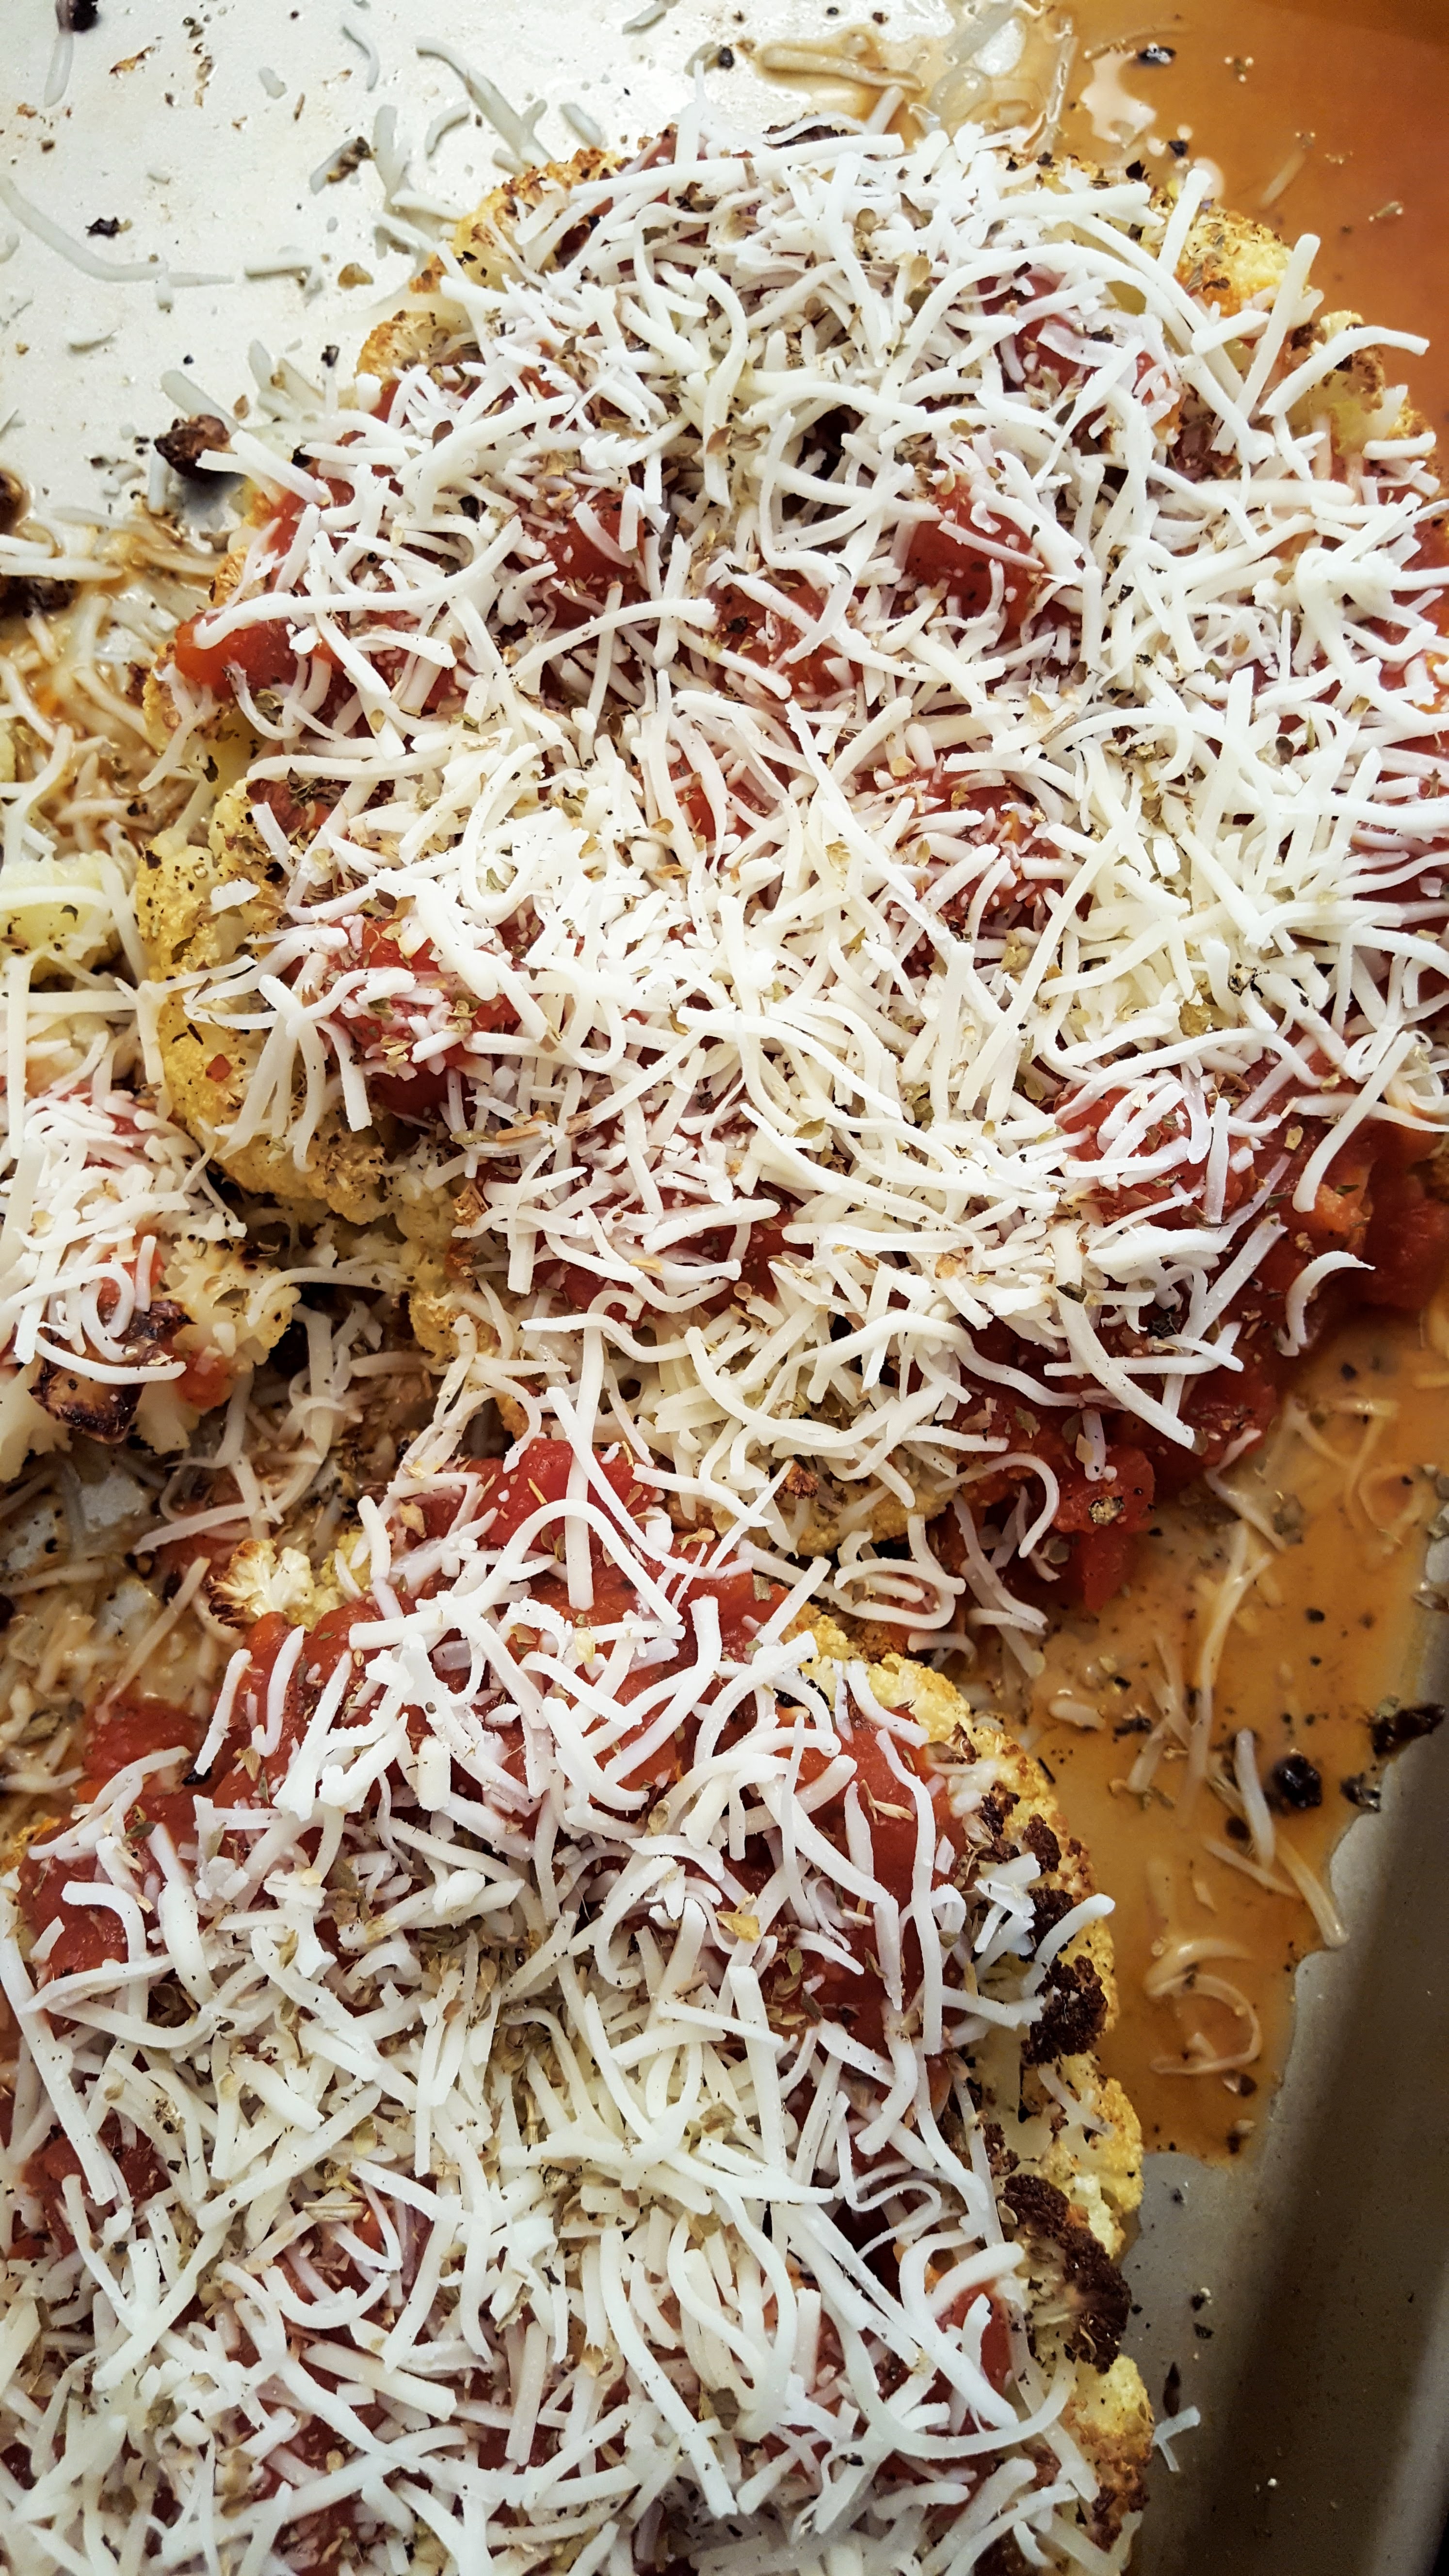
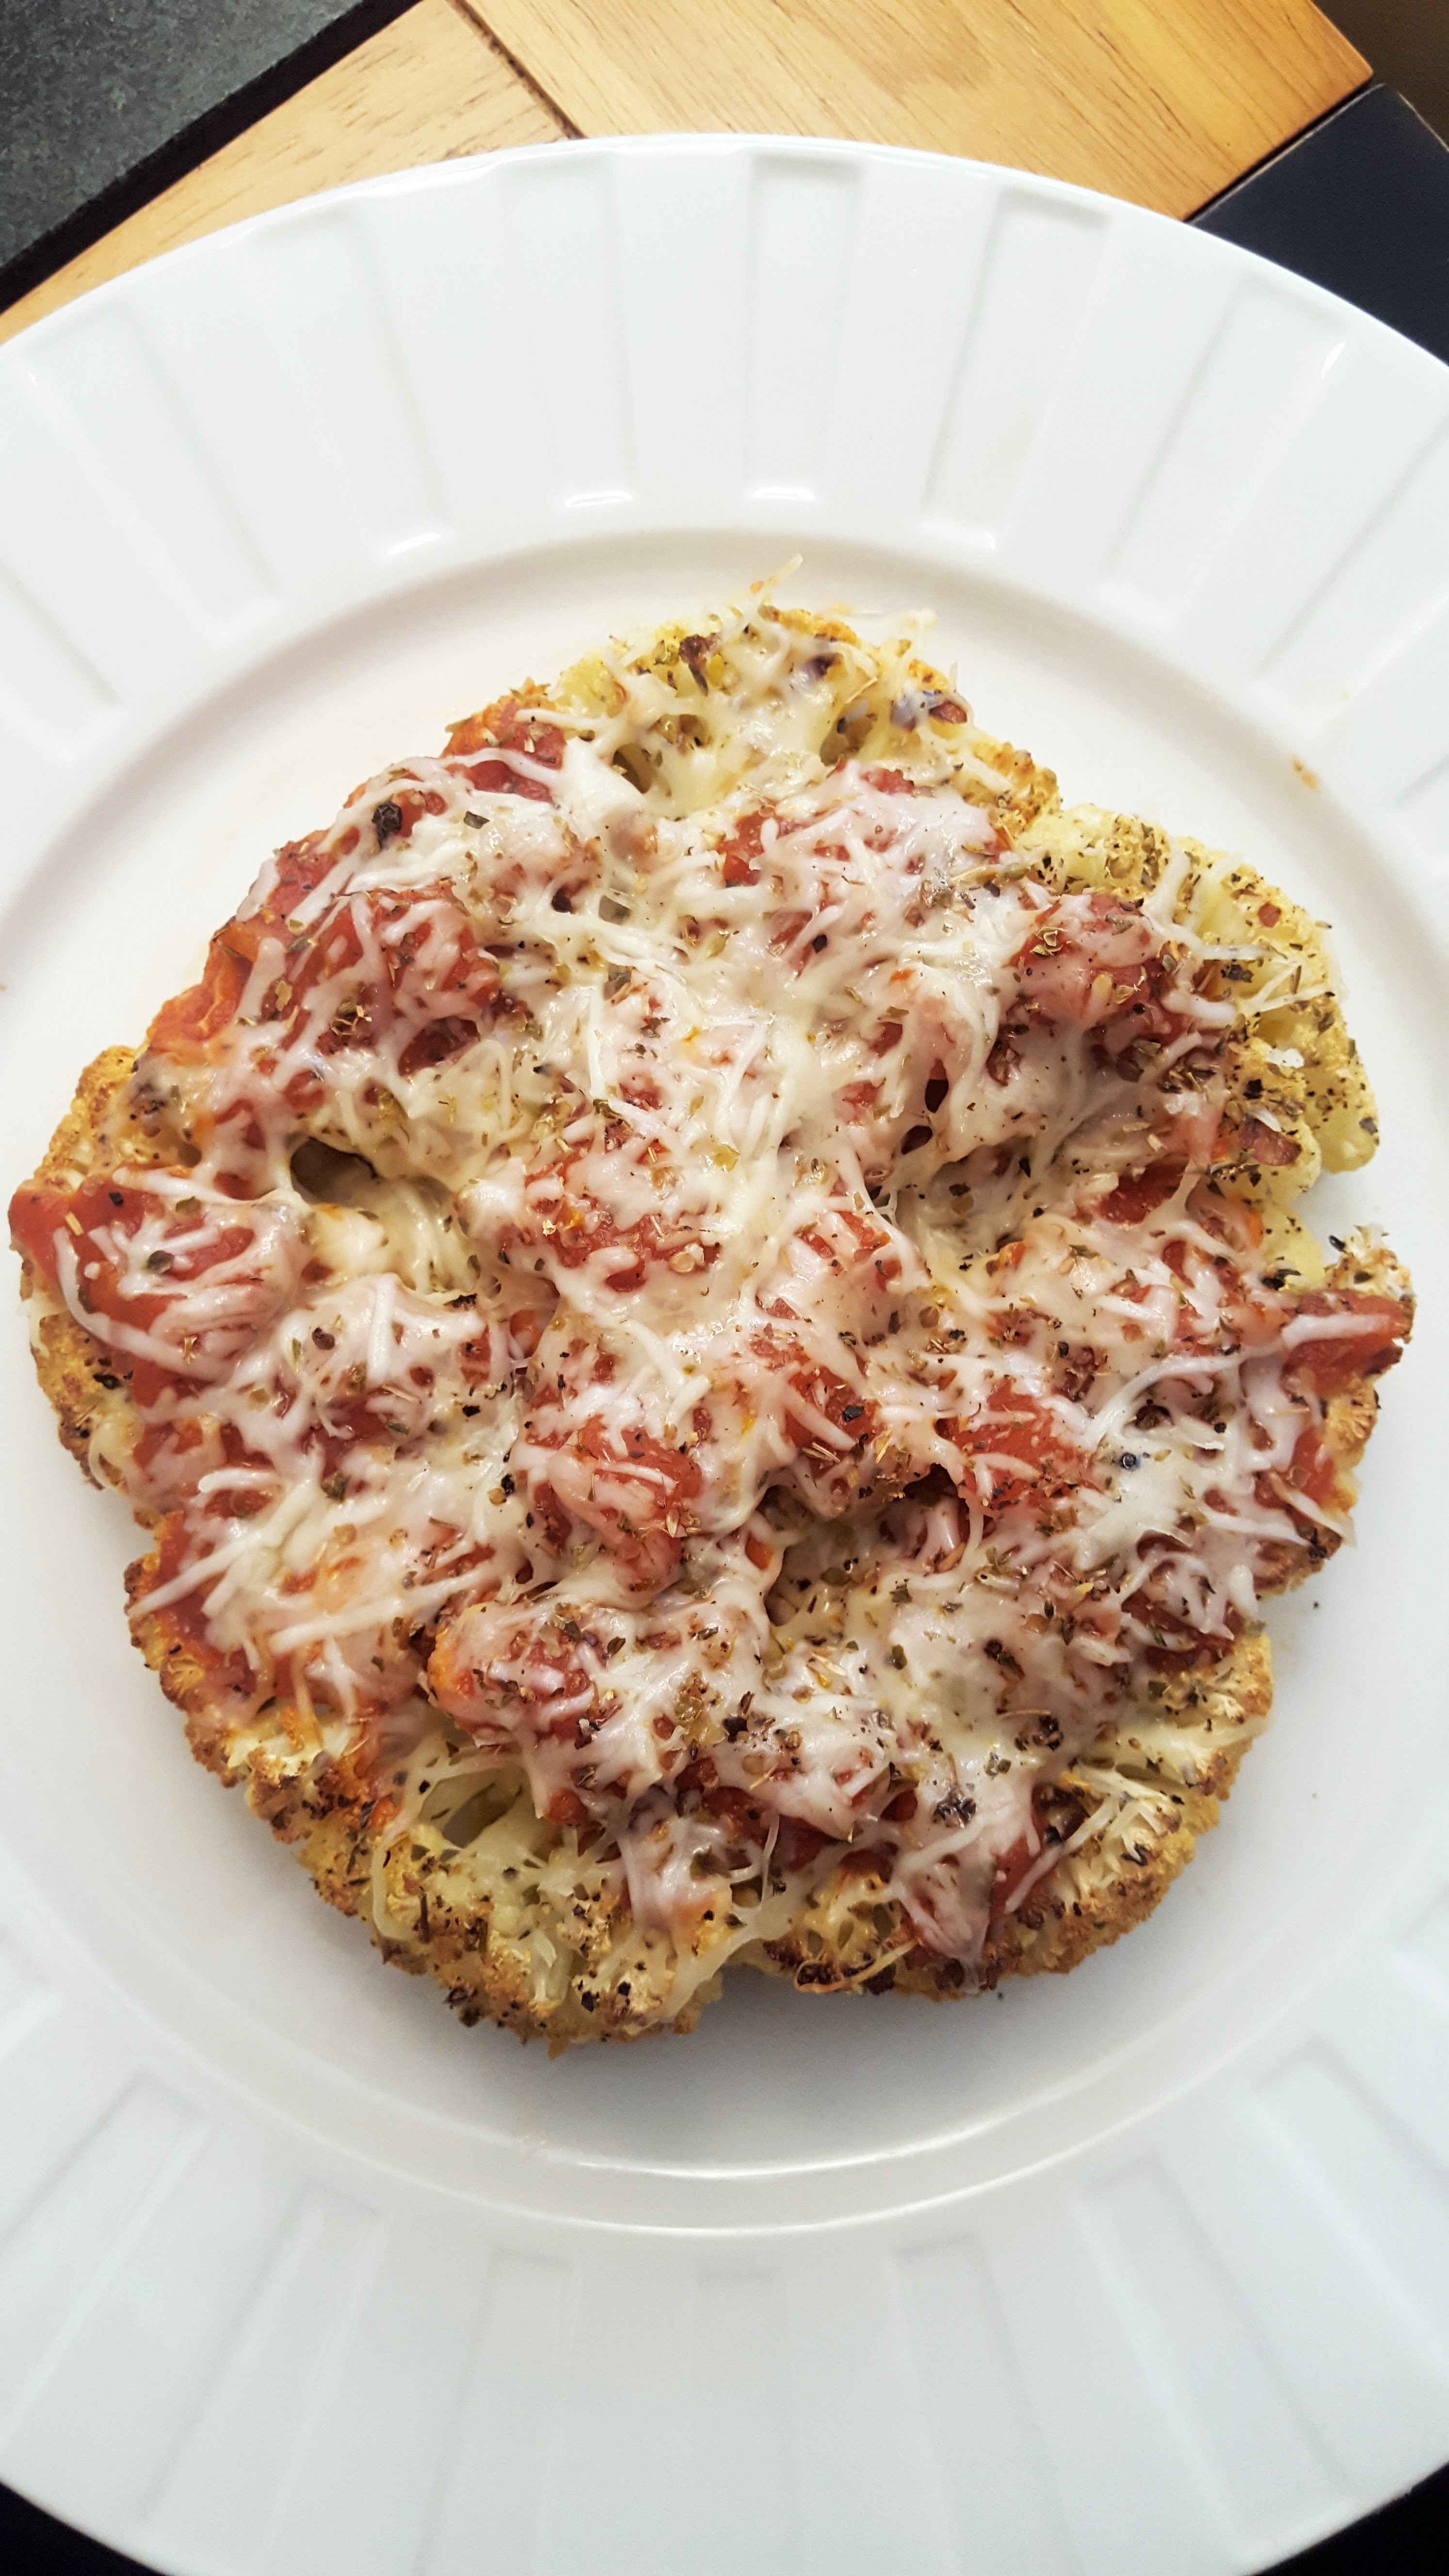
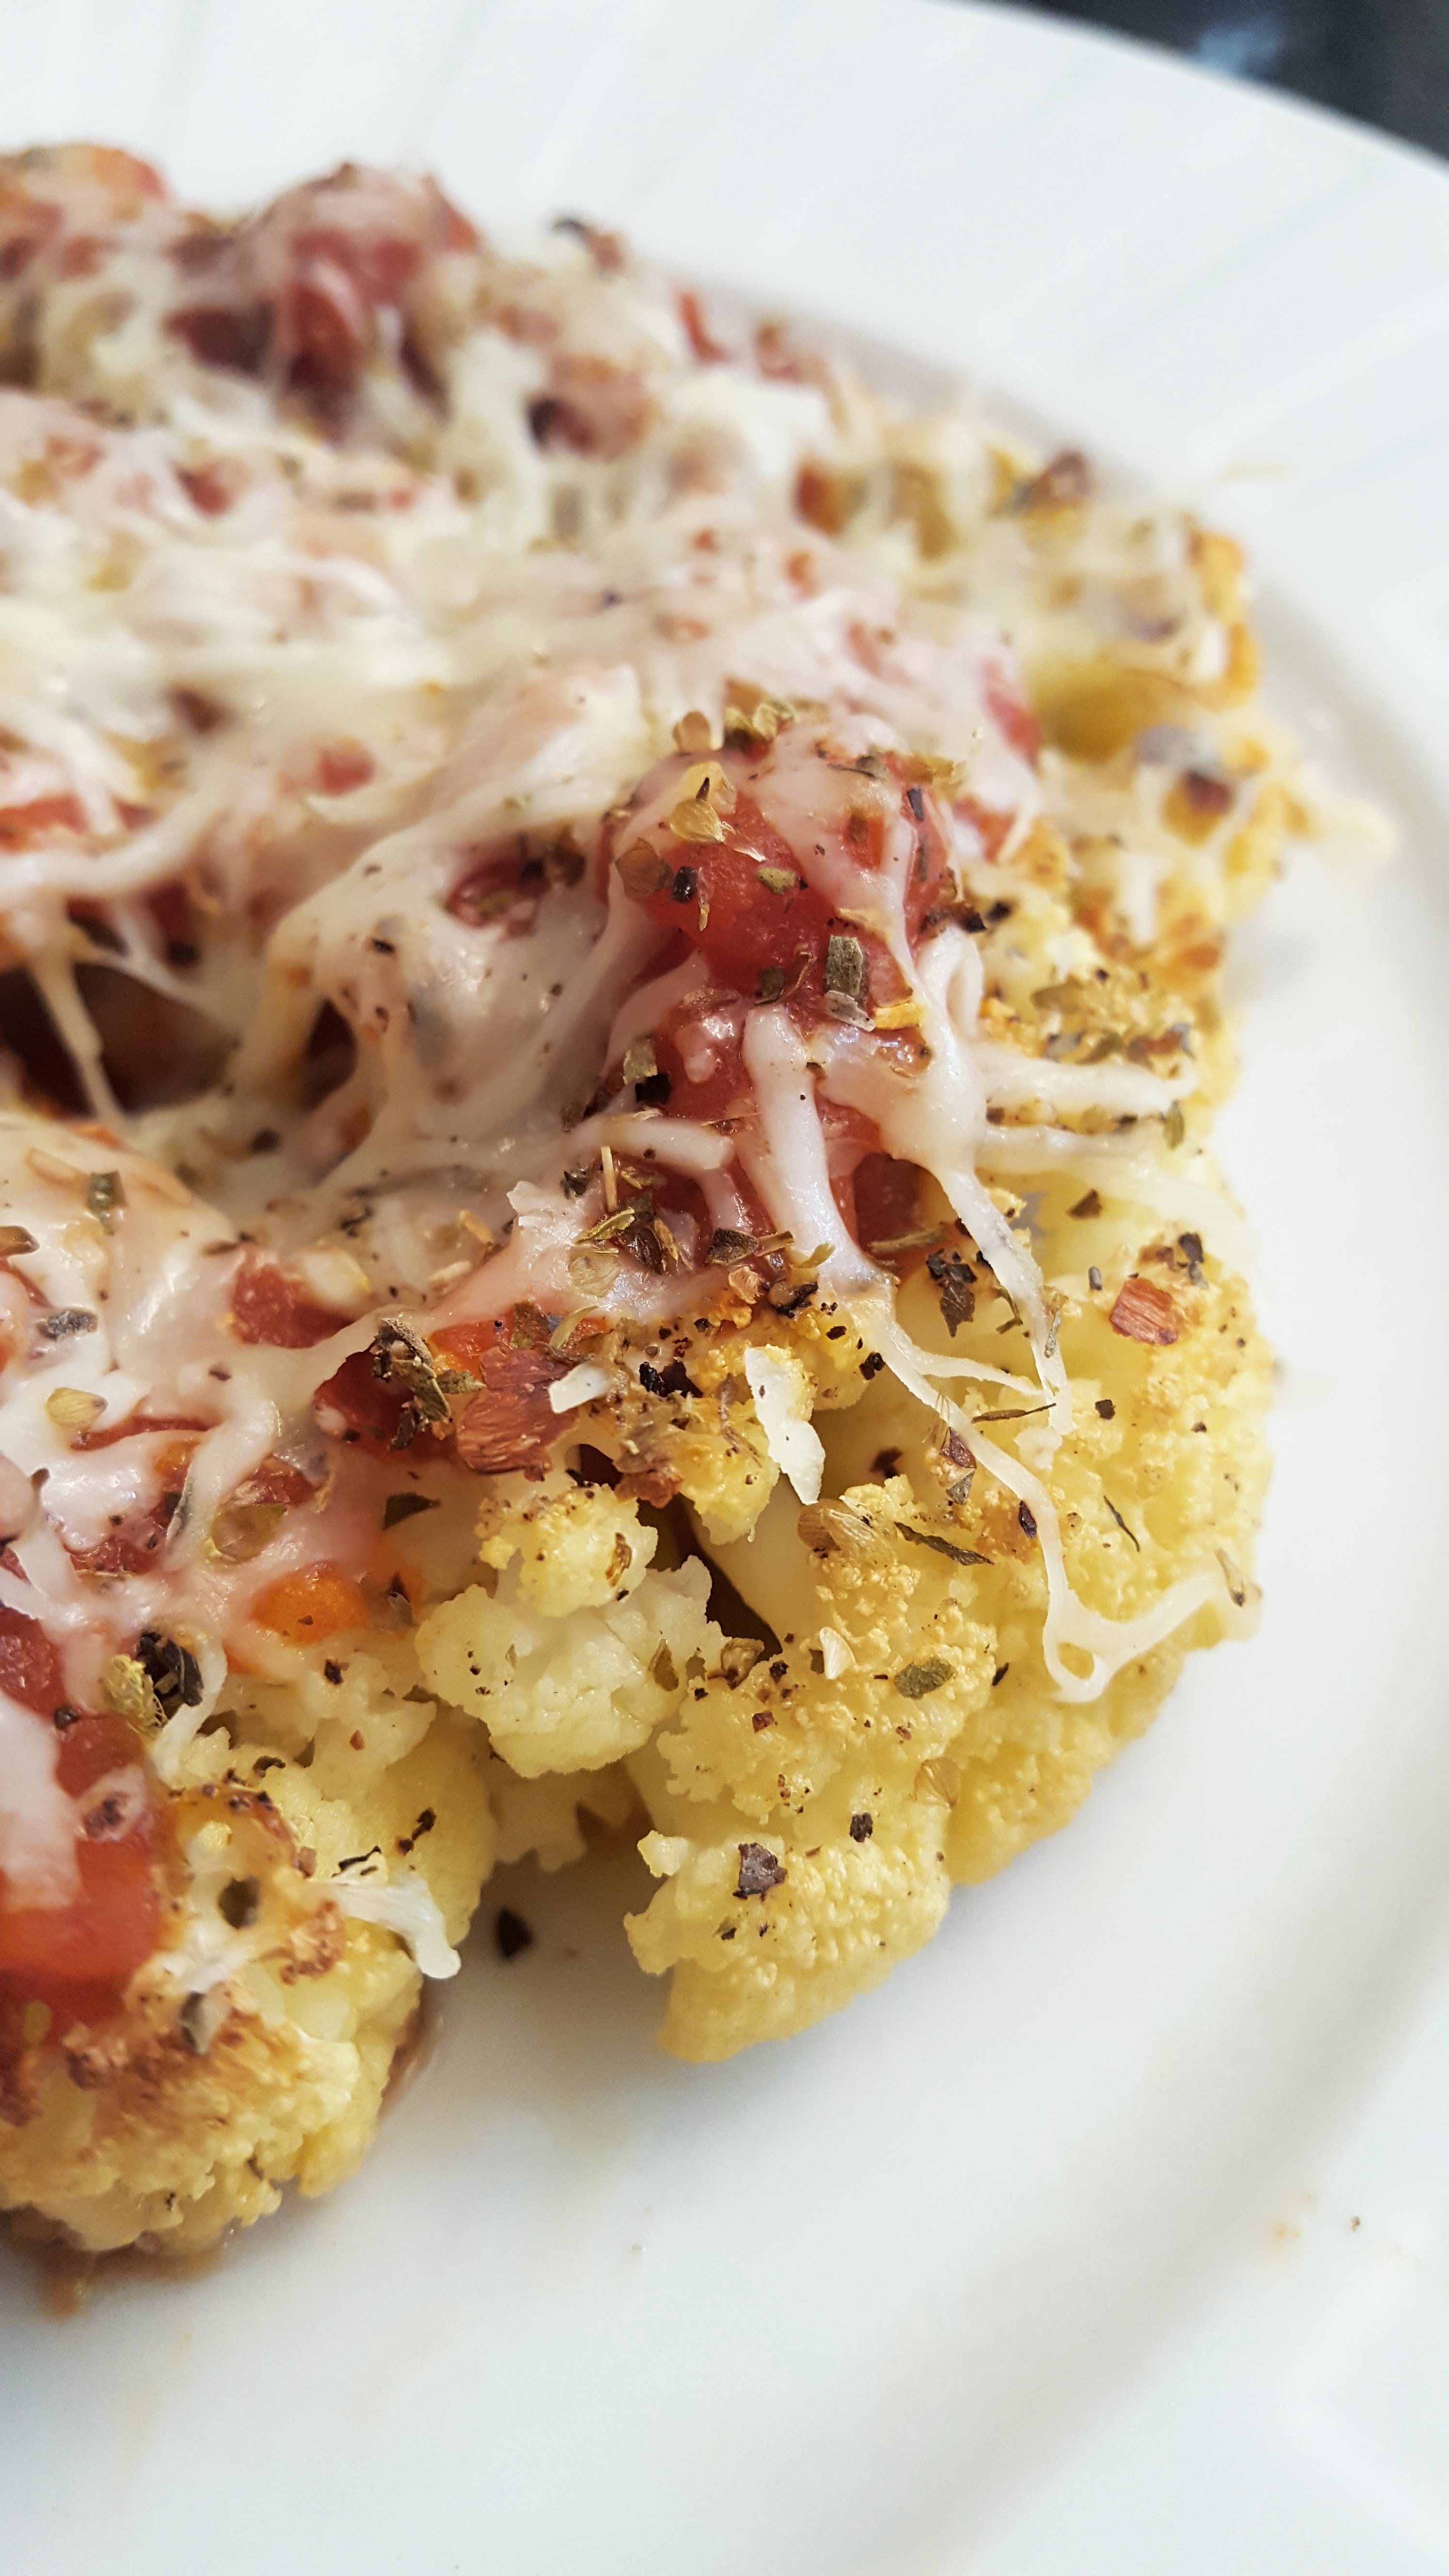
Cauliflower “Parmesan”

Cauliflower “Parmesan”

Oh glorious cauliflower, how we love you so. A blank canvas which you can do so much with- from roasting, to sauteing, to ricing and beyond. Because of the relatively mild flavor, cauliflower works nicely with vibrant flavors like lemon, caper and herbs, as in our favorite Chimichurri sauce or our golden roasted recipe with a tangy tahini sauce.

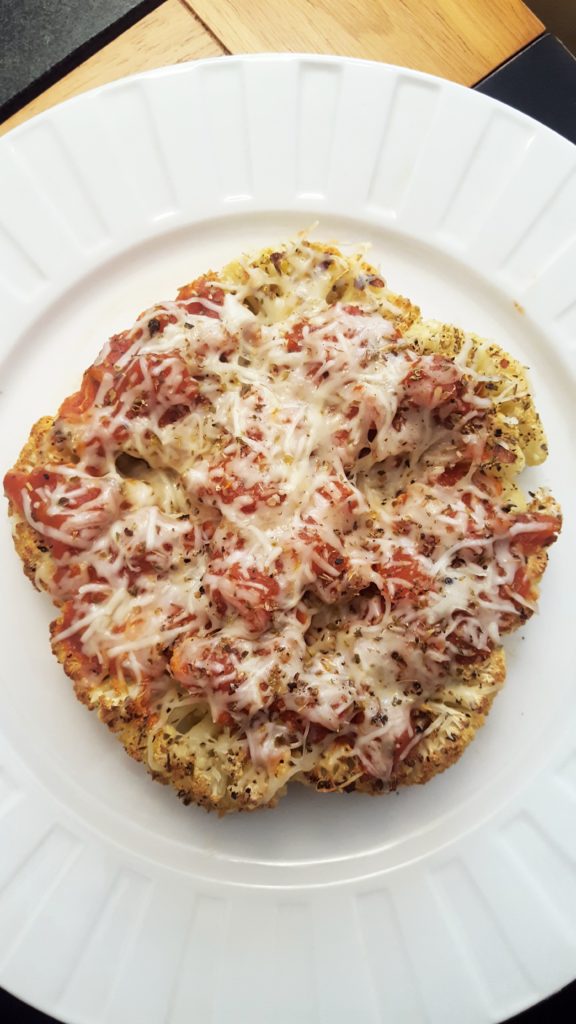
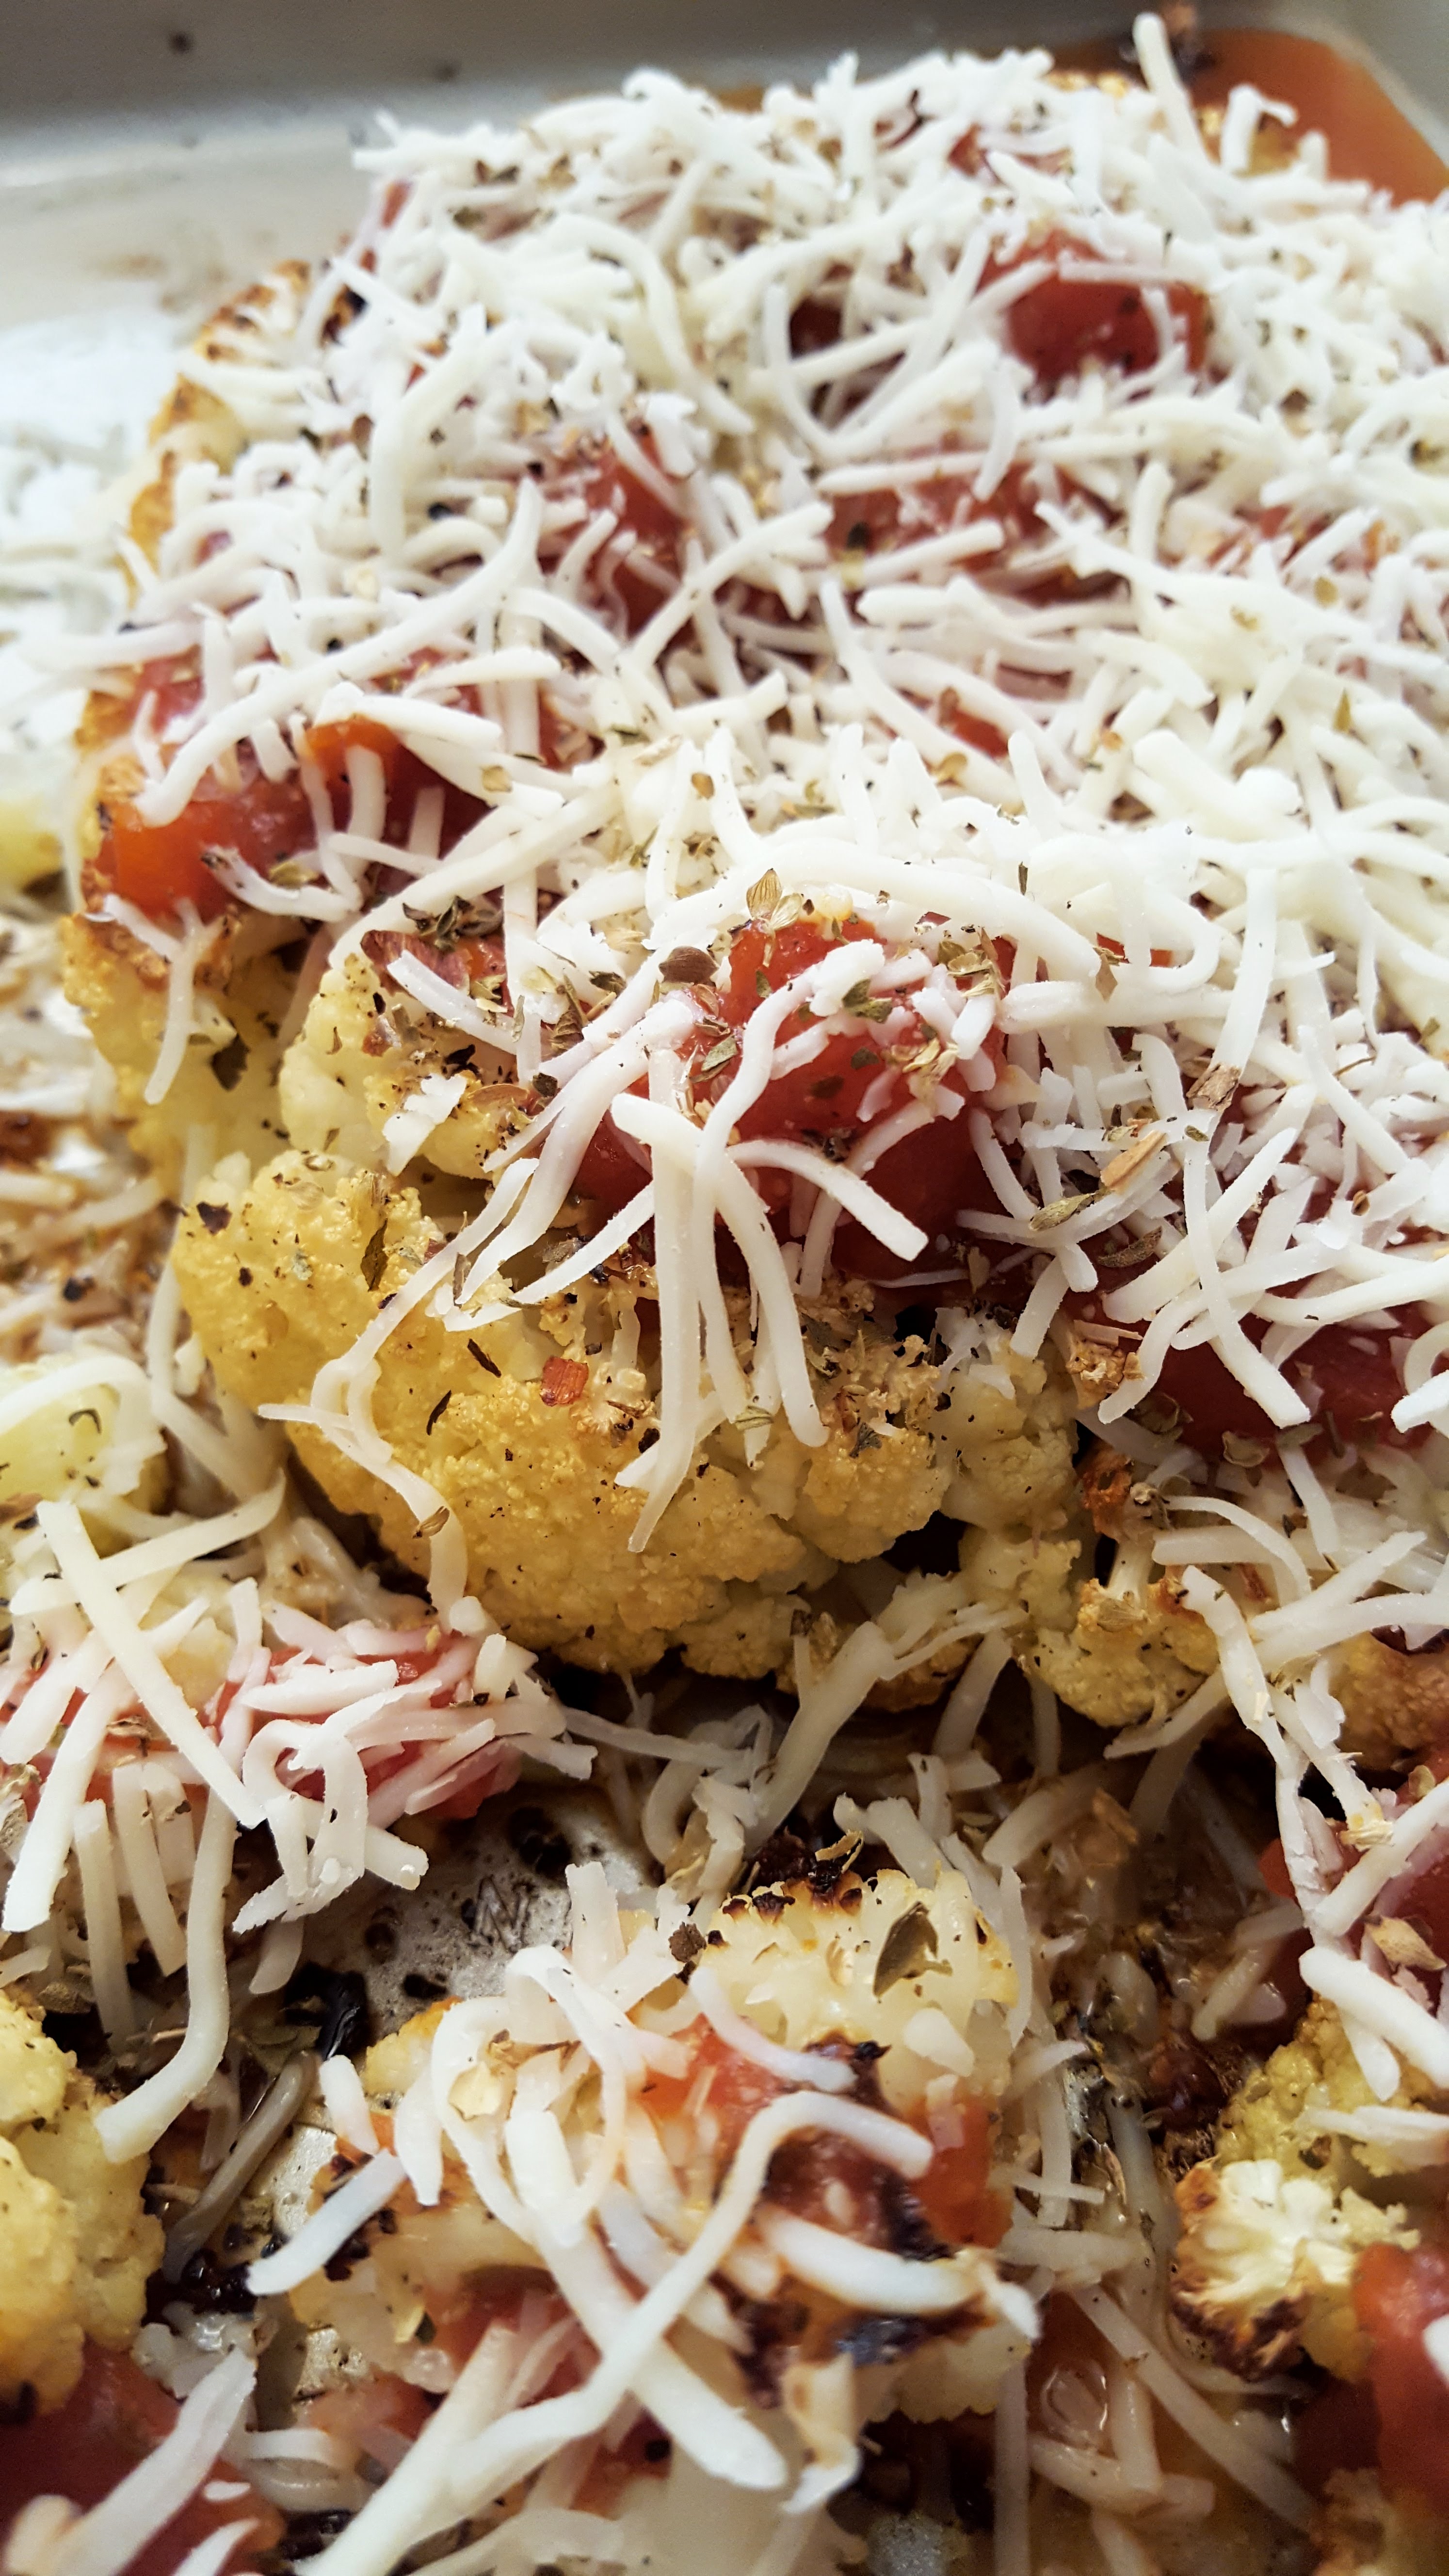
On any given week, roasted cauliflower is on the dinner menu as a side dish in our home. But this humble vegetable can be the star, especially all dressed up in spicy tomato sauce and bubbly, melty cheese.

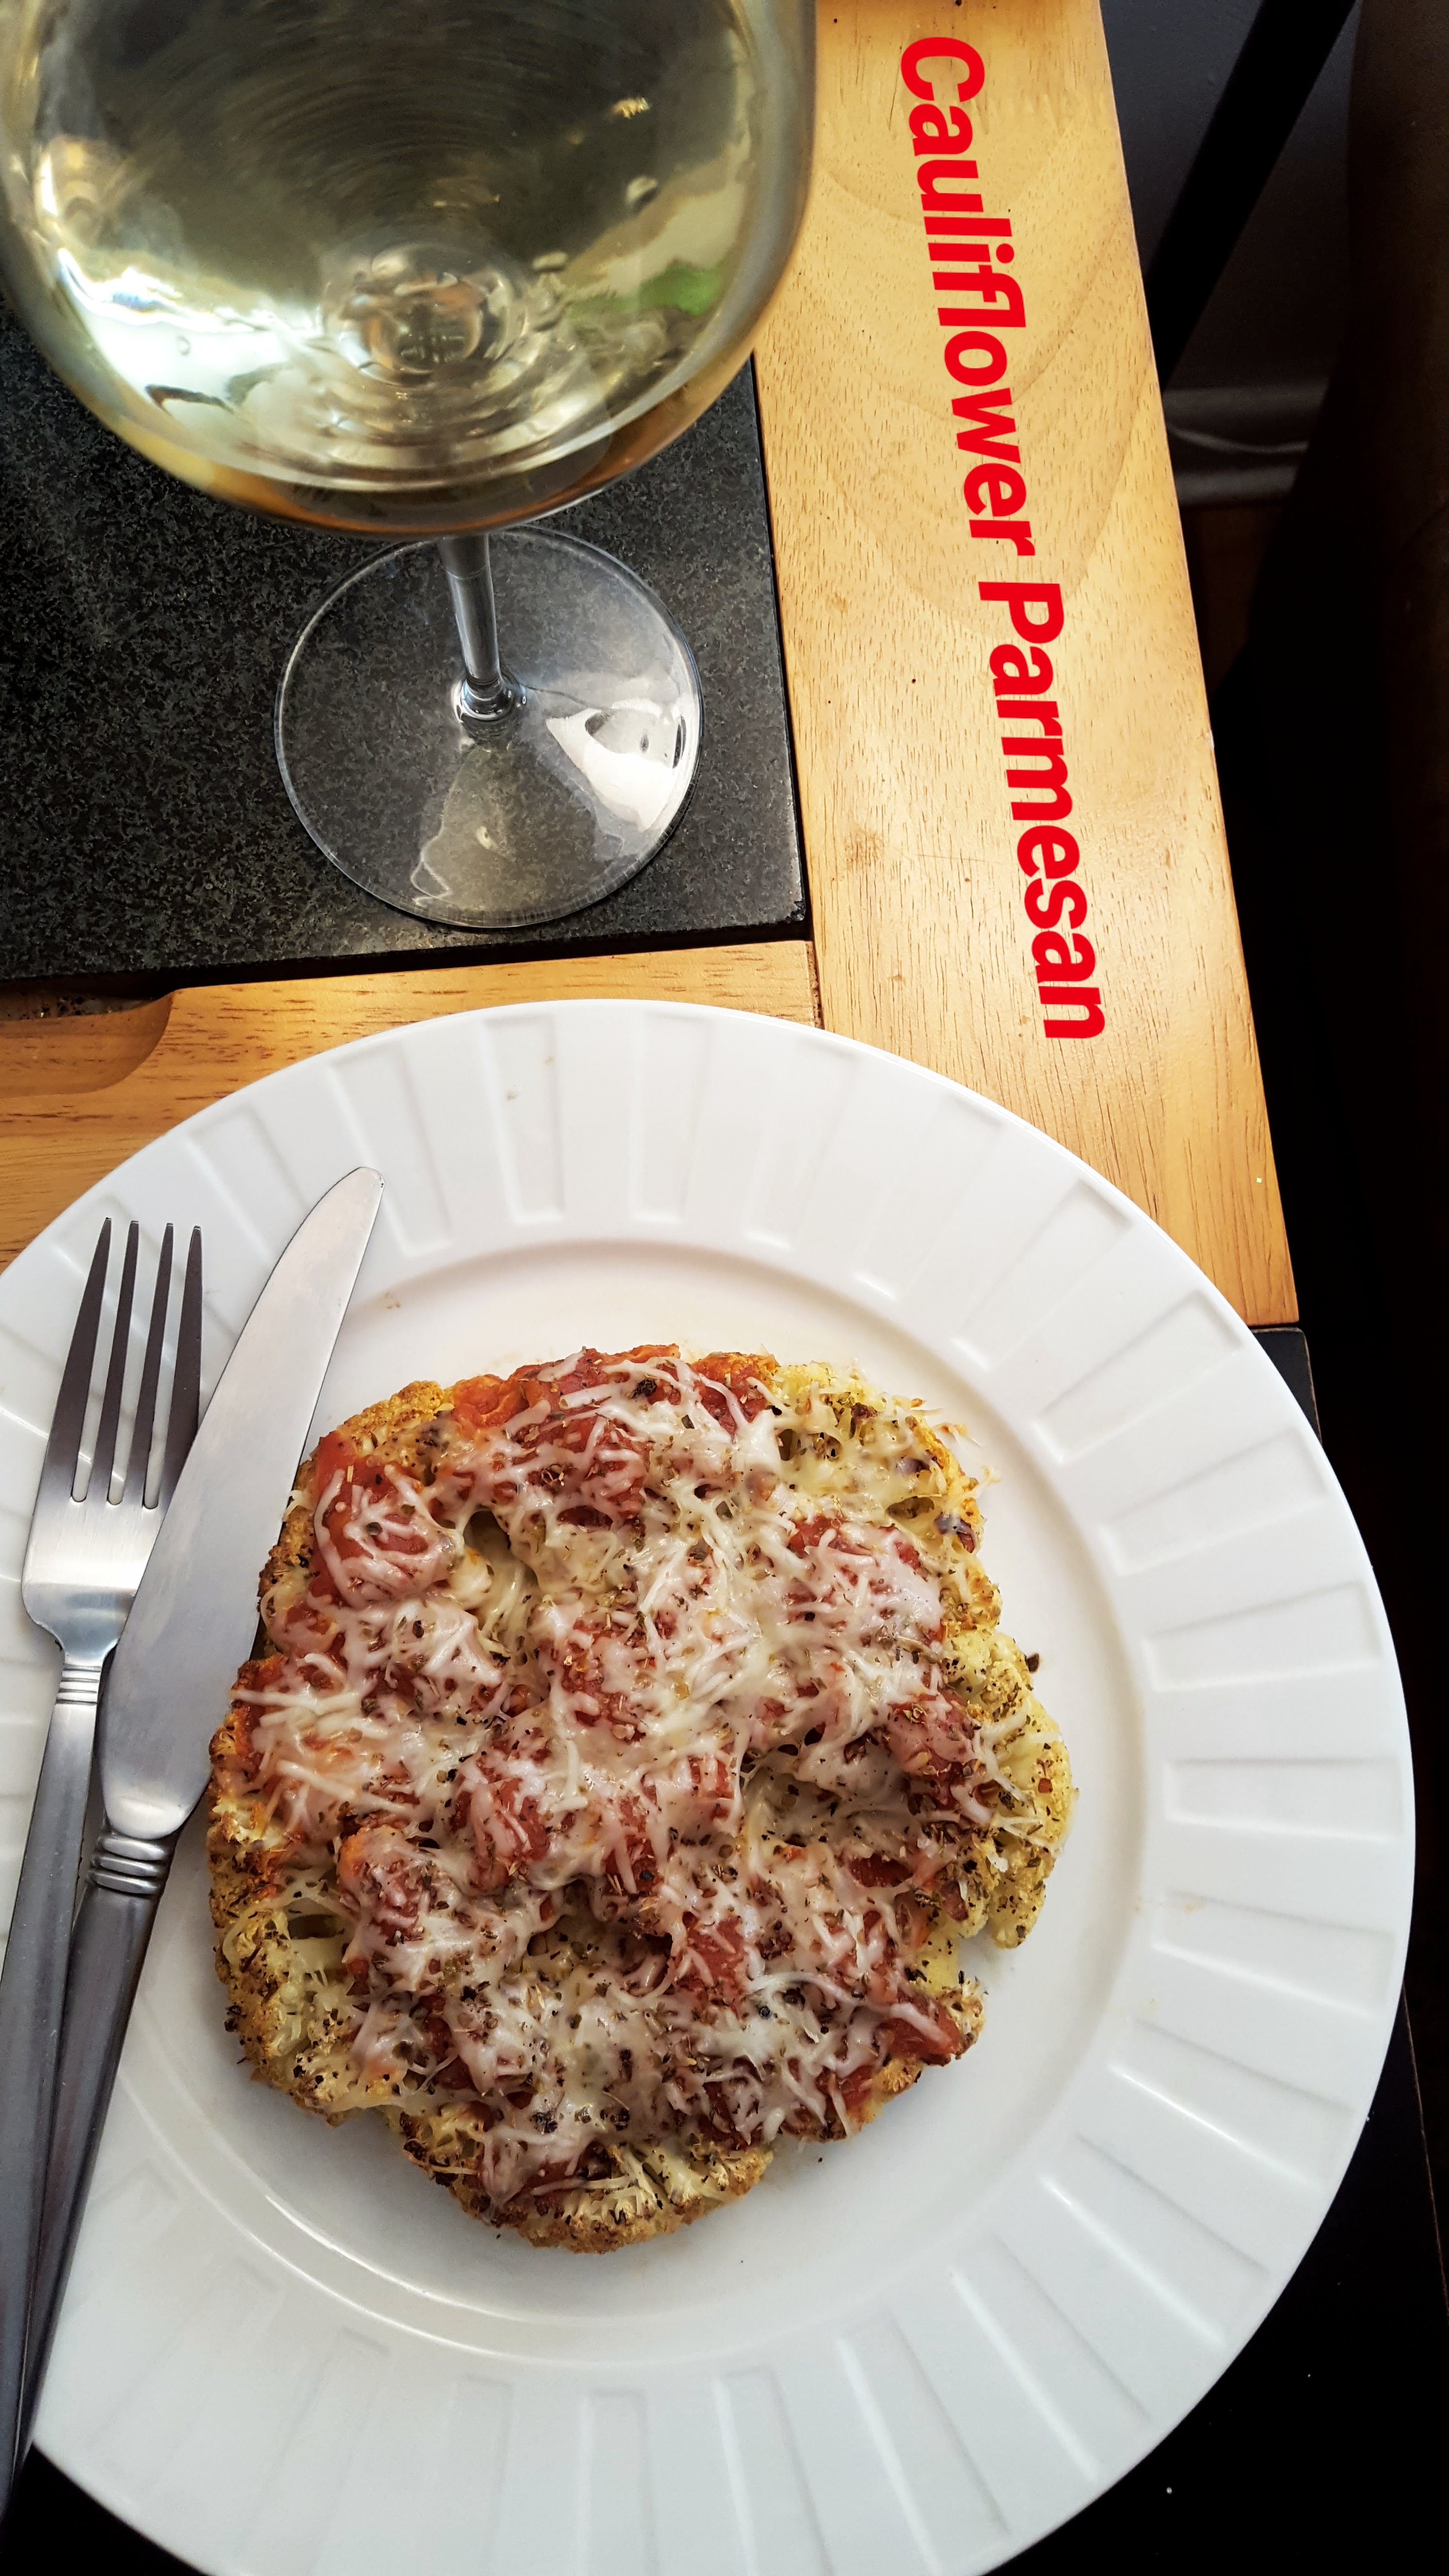
One of my personal favorite recipes, I present to you the Basil & Roses Beautiful Cauliflower Parmesan! It’s our healthy take on an eggplant or chicken Parm. Flavorful and satisfying with a lovely presentation for a feast for your eyes.

The presentation of this dish is simple but stunningly beautiful. Pair with a lovely Italian red wine like a Chianti Classico or Montepulciano and enjoy with someone special- or just make it for your own fabulous self and relish in the simple elegance of perfectly paired ingredients.

Ingredients:
1 whole head cauliflower
1 1/2 cups of your favorite tomato sauce ( I like Dave’s Gourmet Spicy Heirloom)
2-3 tablespoons Olive Oil
1 cup shredded Mozzarella Cheese
1/4  cup grated Parmesan cheese
1-2 teaspoons dried oregano
1/2 teaspoon dried garlic powder
1-2 teaspoons red pepper flakes (adjust to taste)
Kosher salt + pepper to taste

Directions:
Preheat oven to 425°.
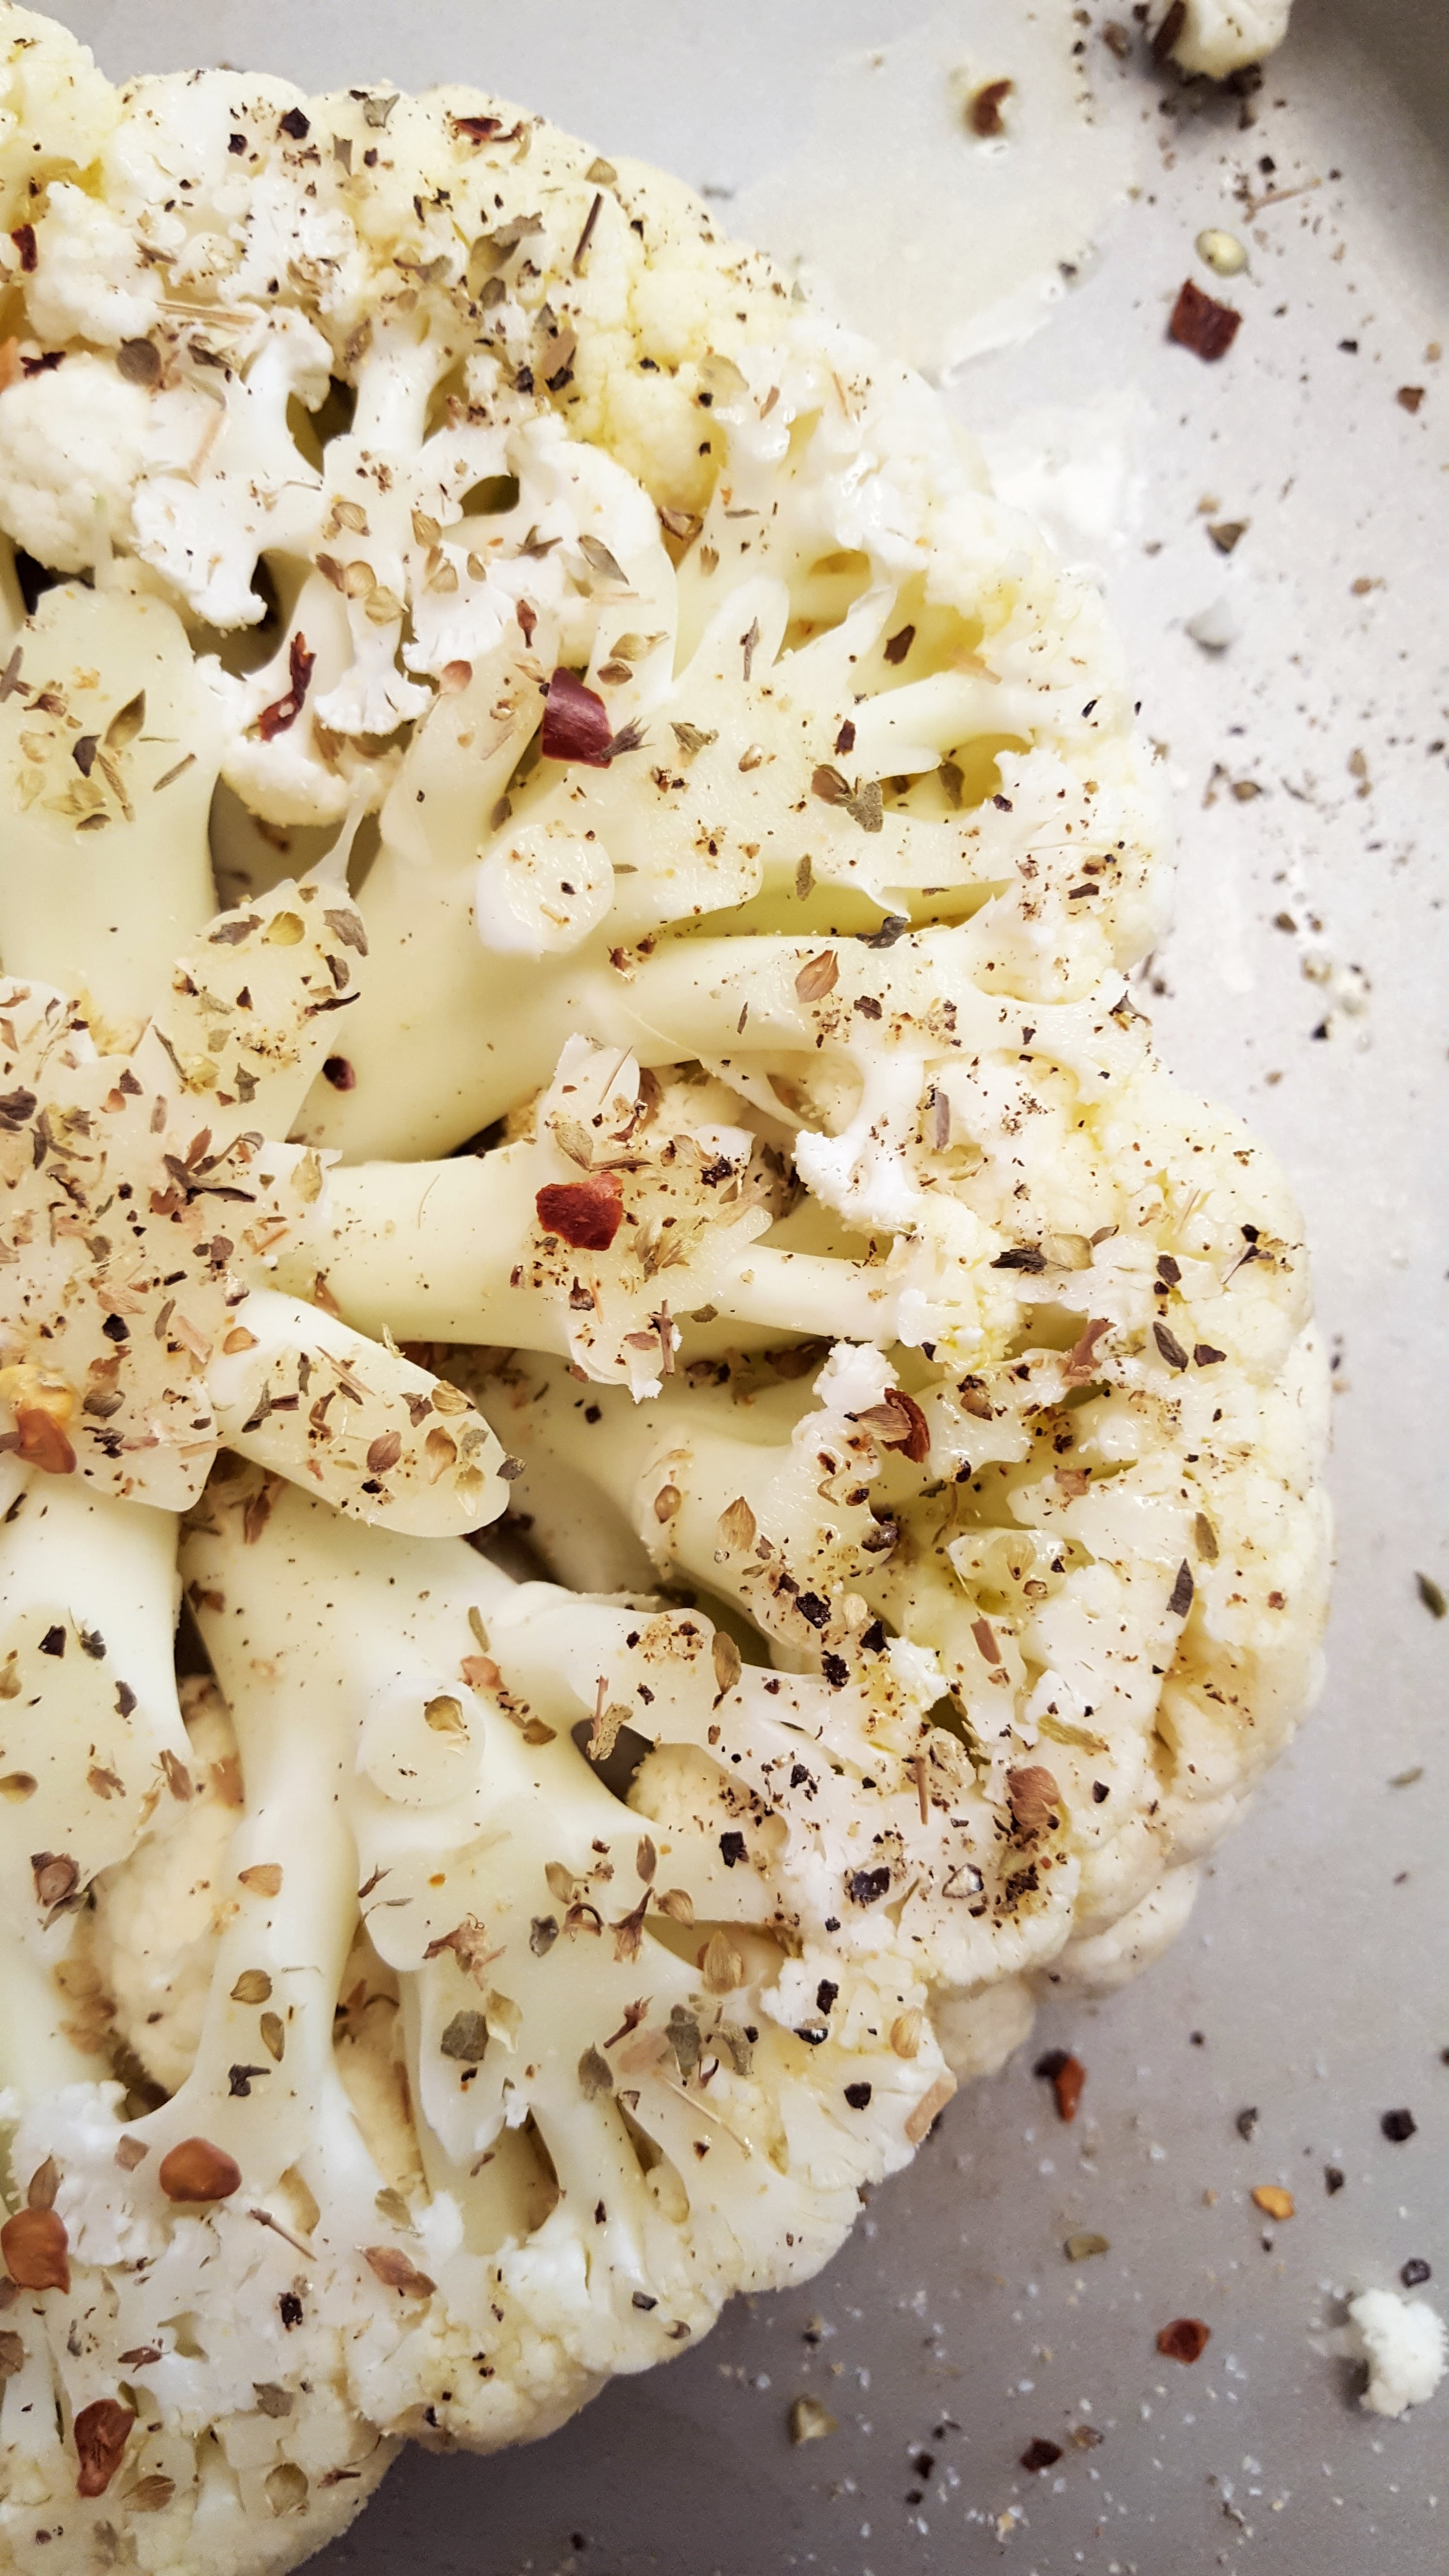
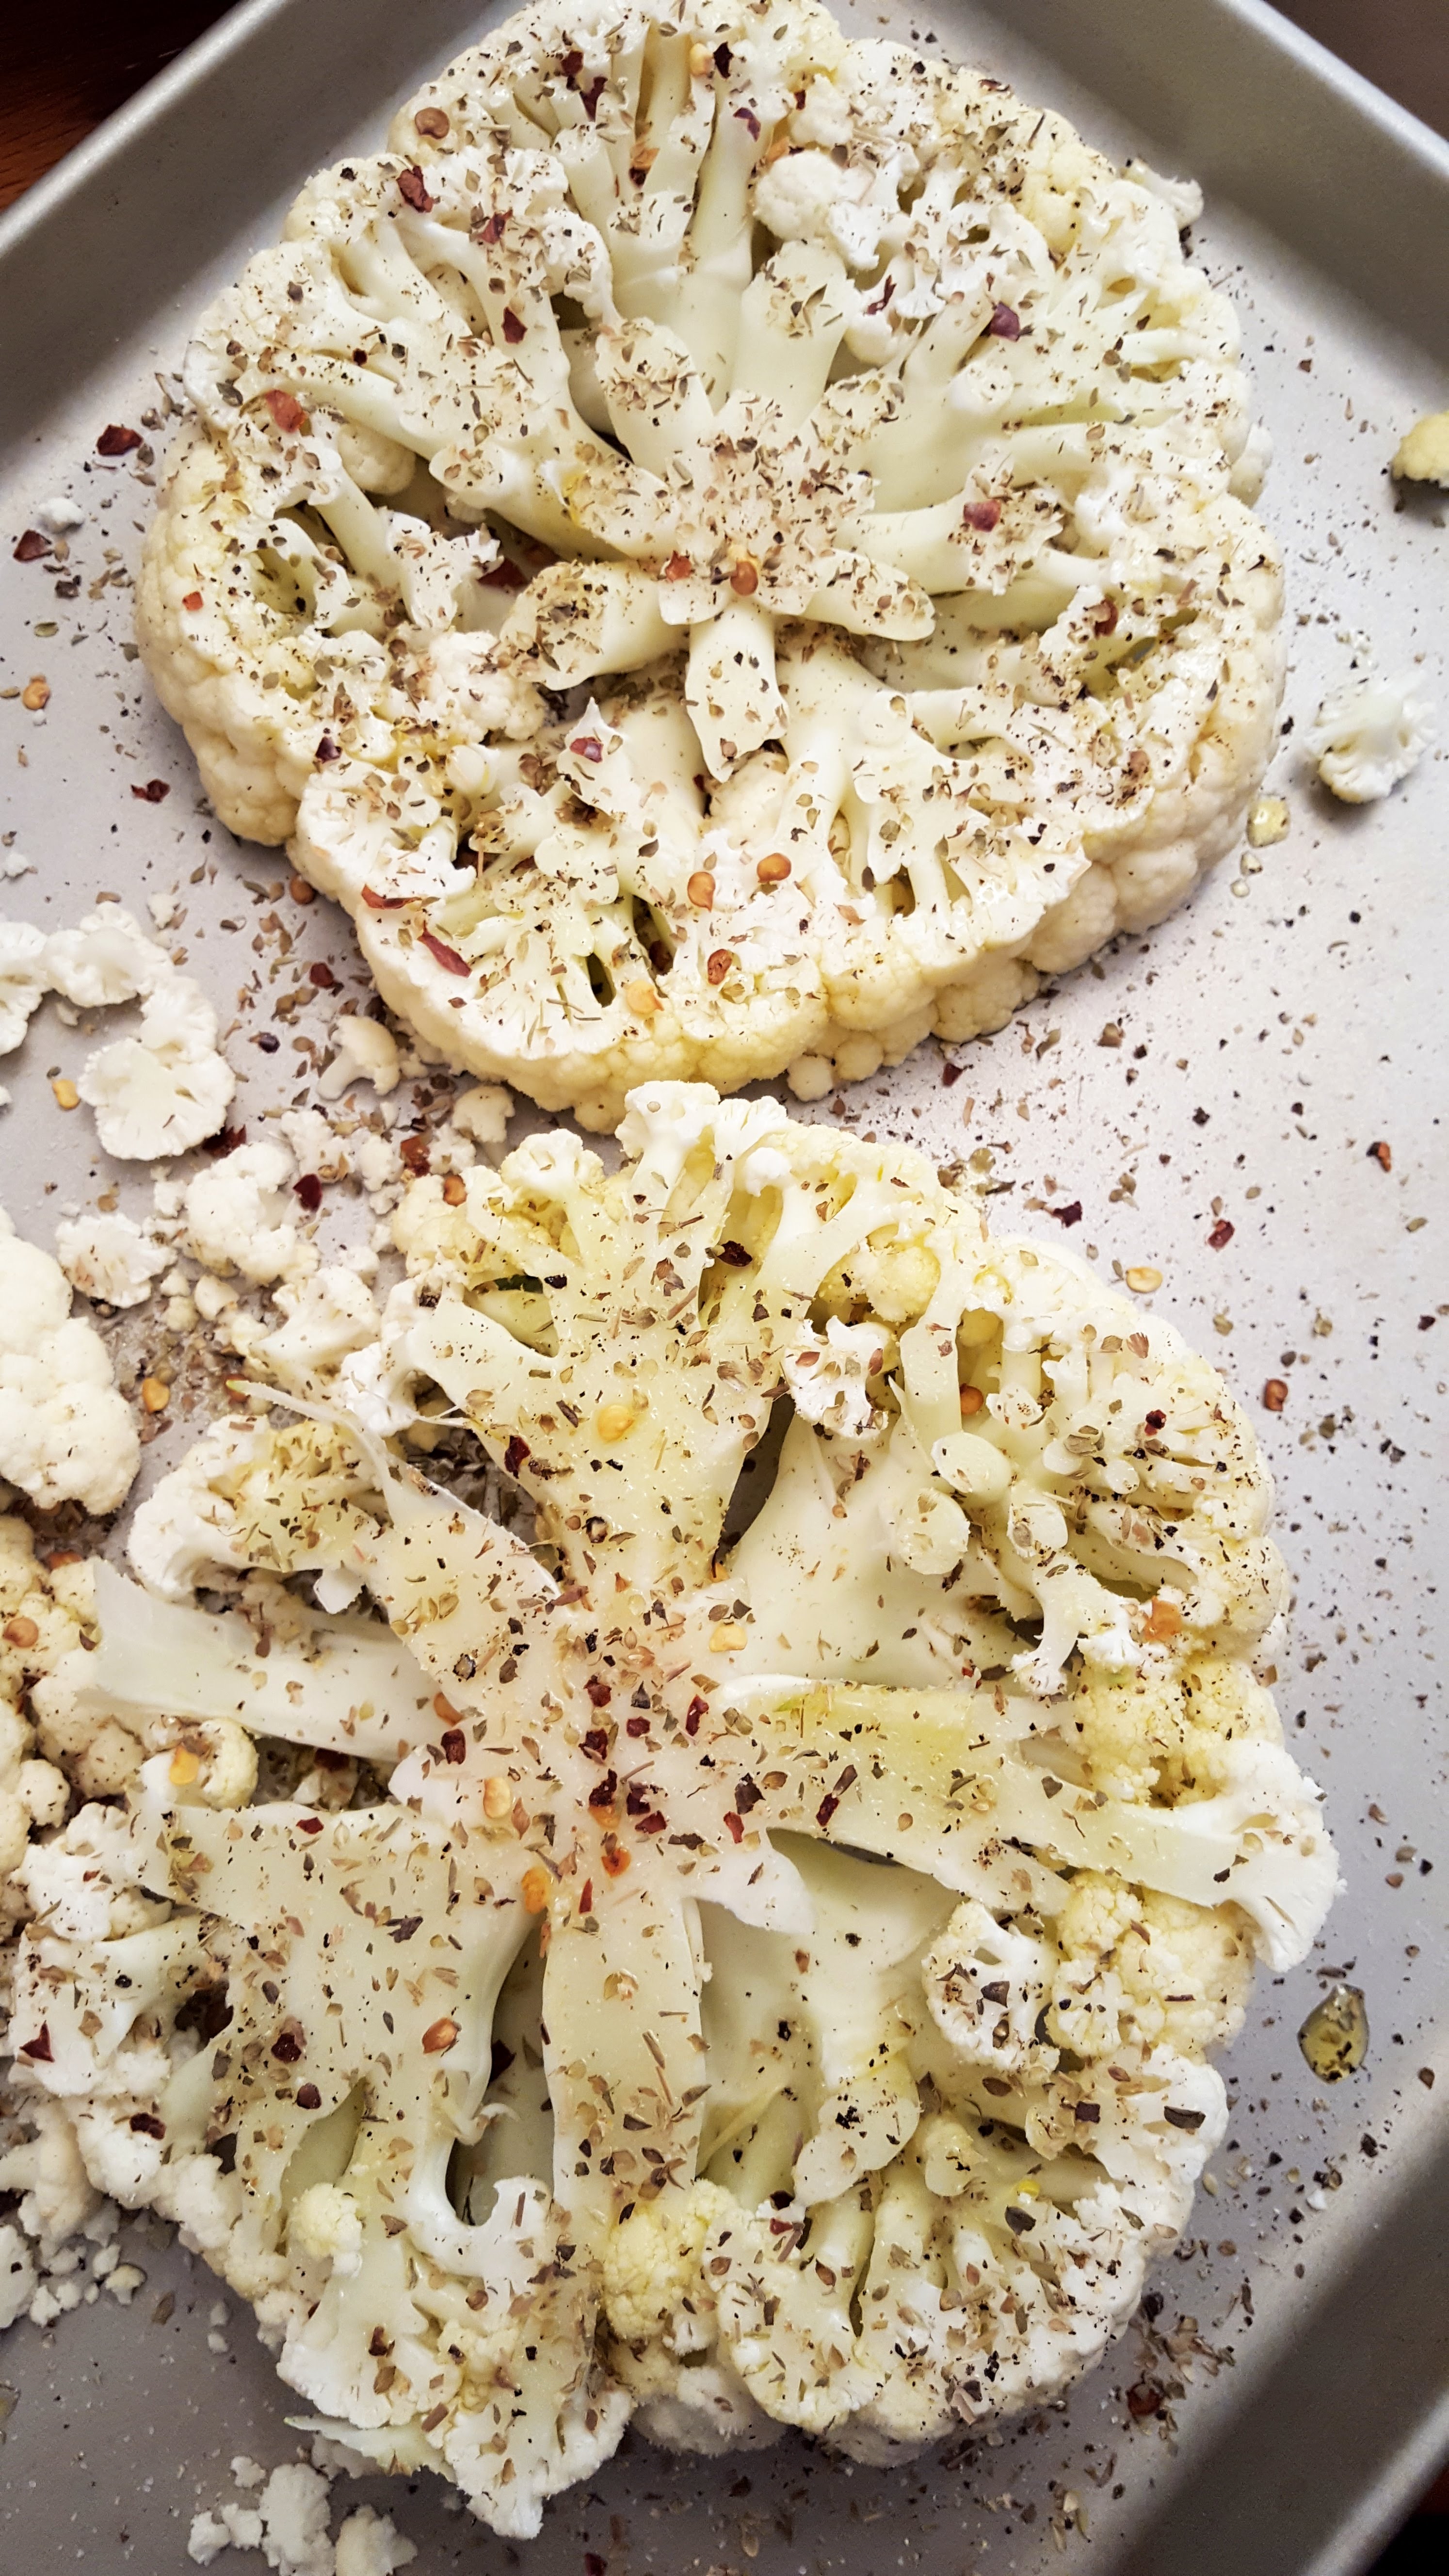
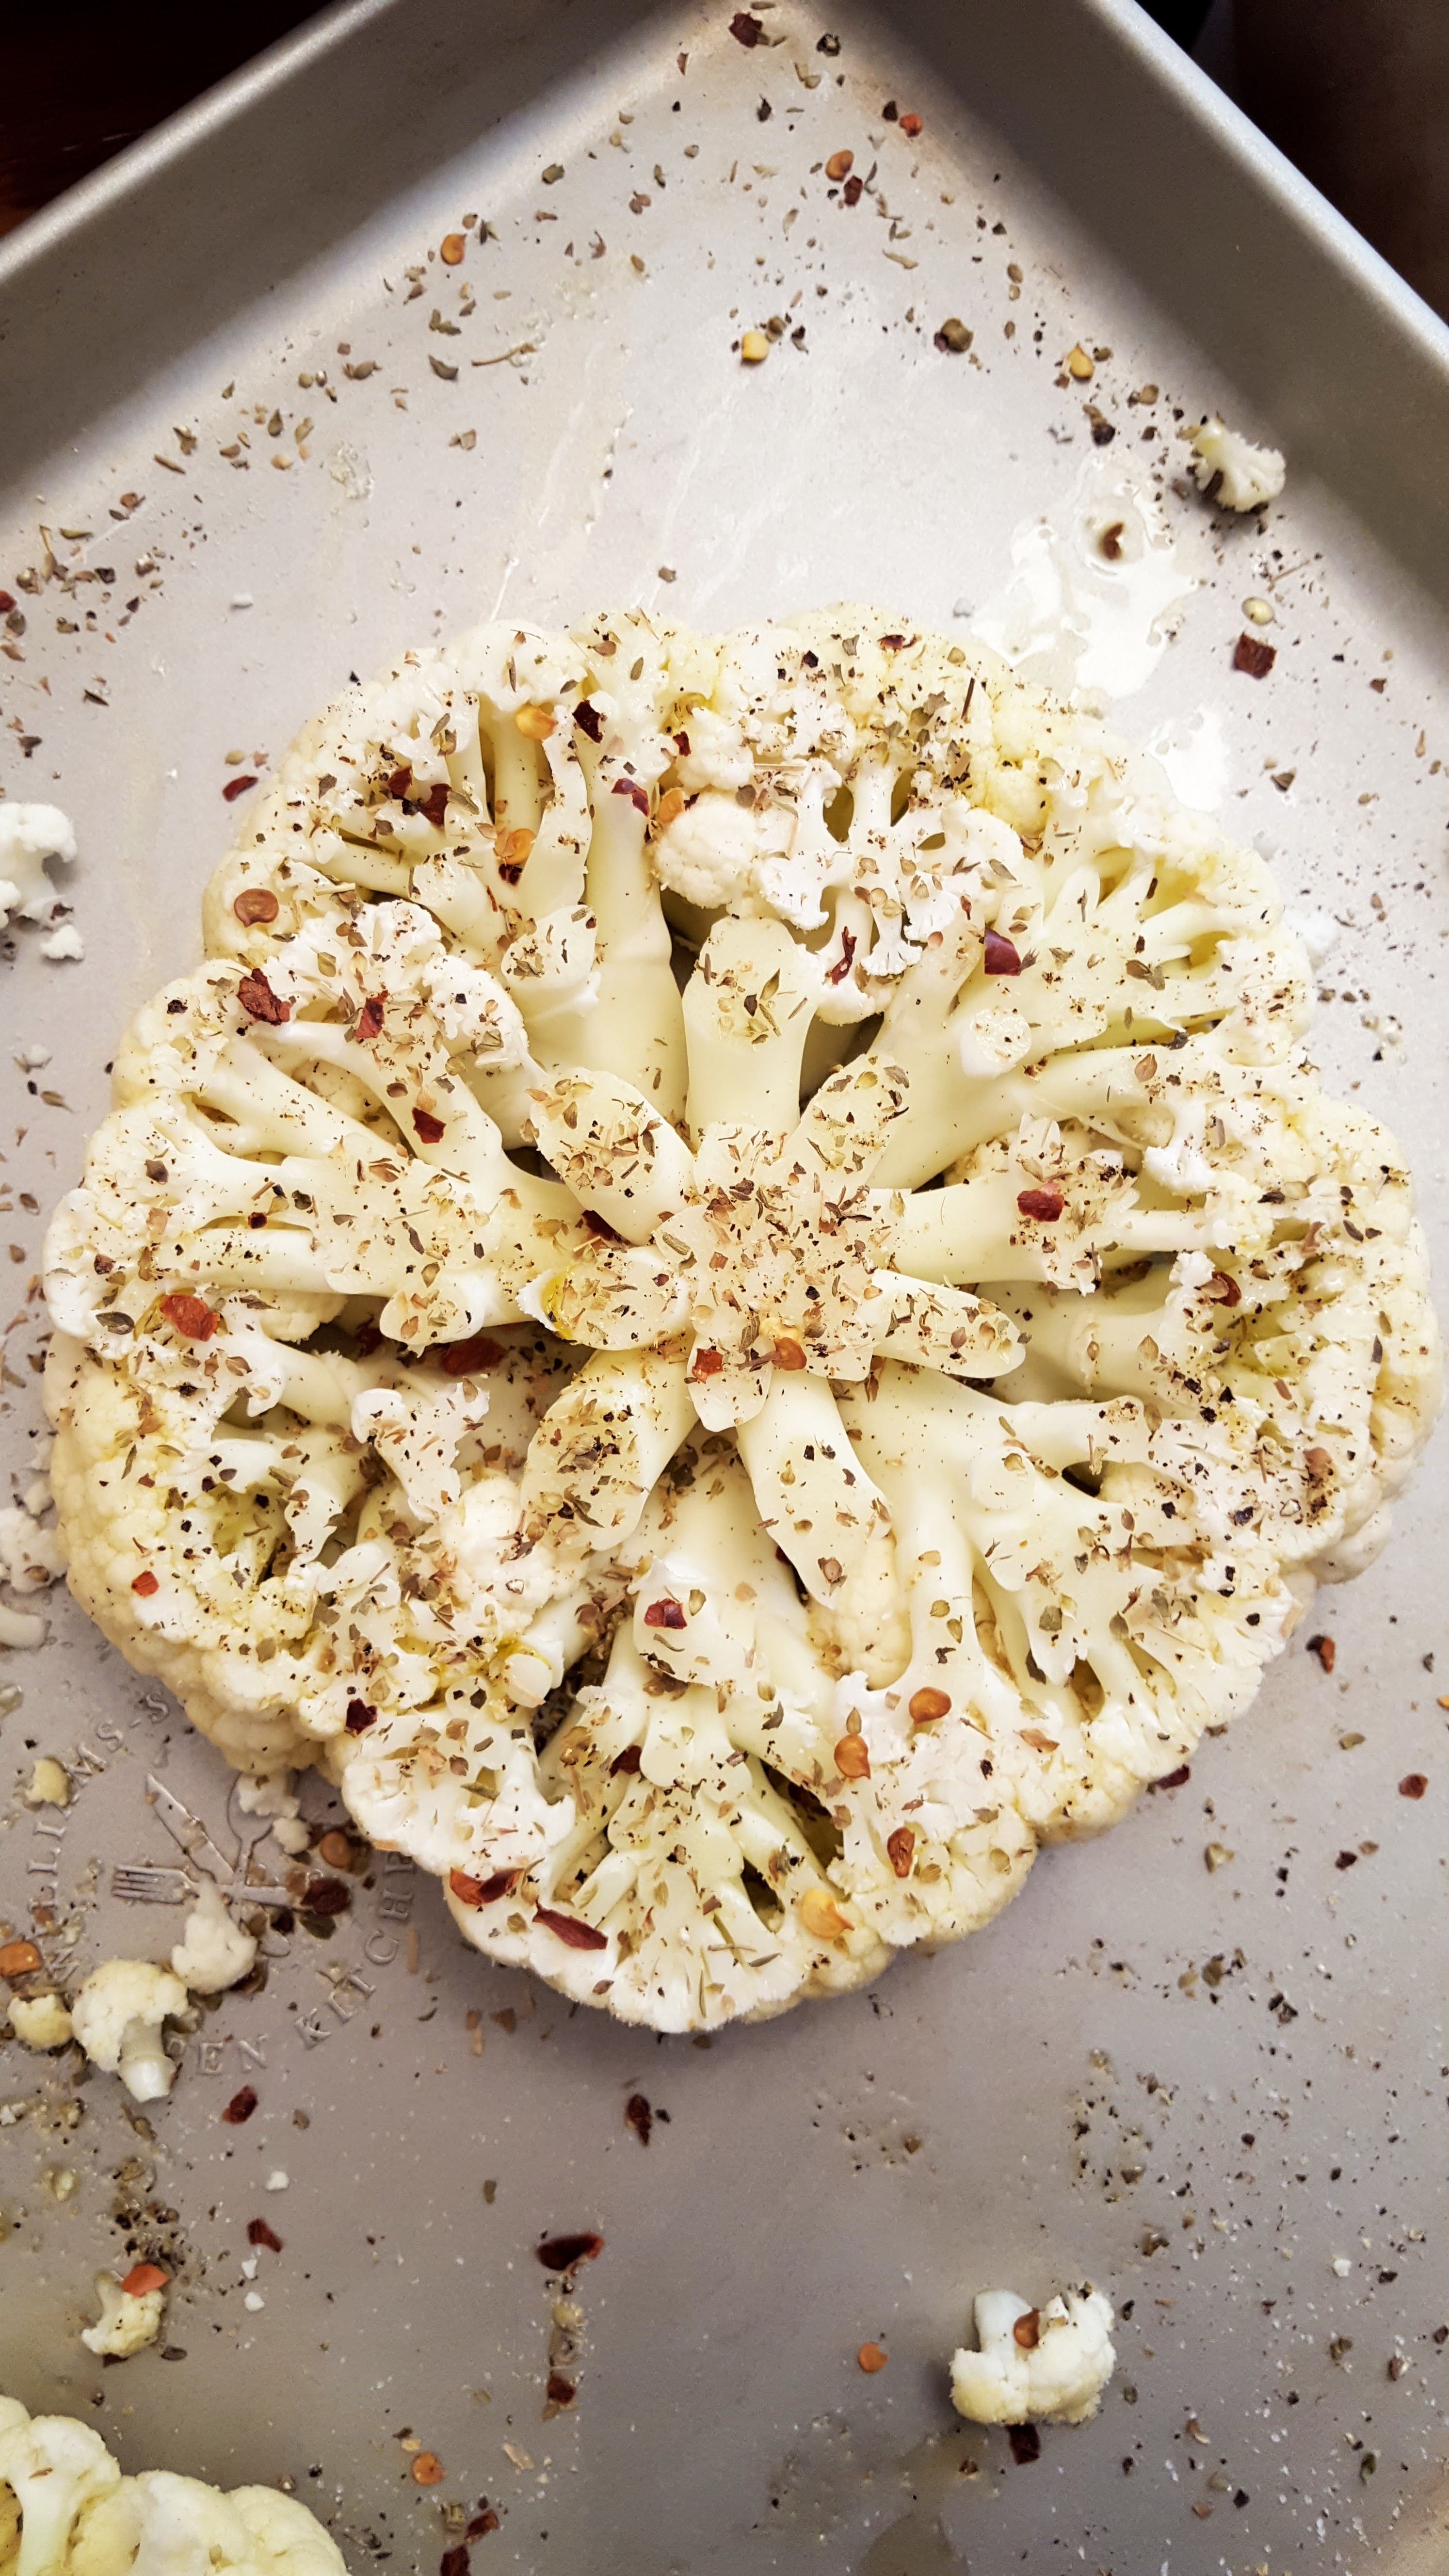
Carefully cut cauliflower into 3 thick pieces, holding carefully so florets don’t crumble.
Lay flat on cookie sheet and drizzle with olive oil.
Sprinkle with salt, pepper, red pepper flakes, oregano and garlic powder.
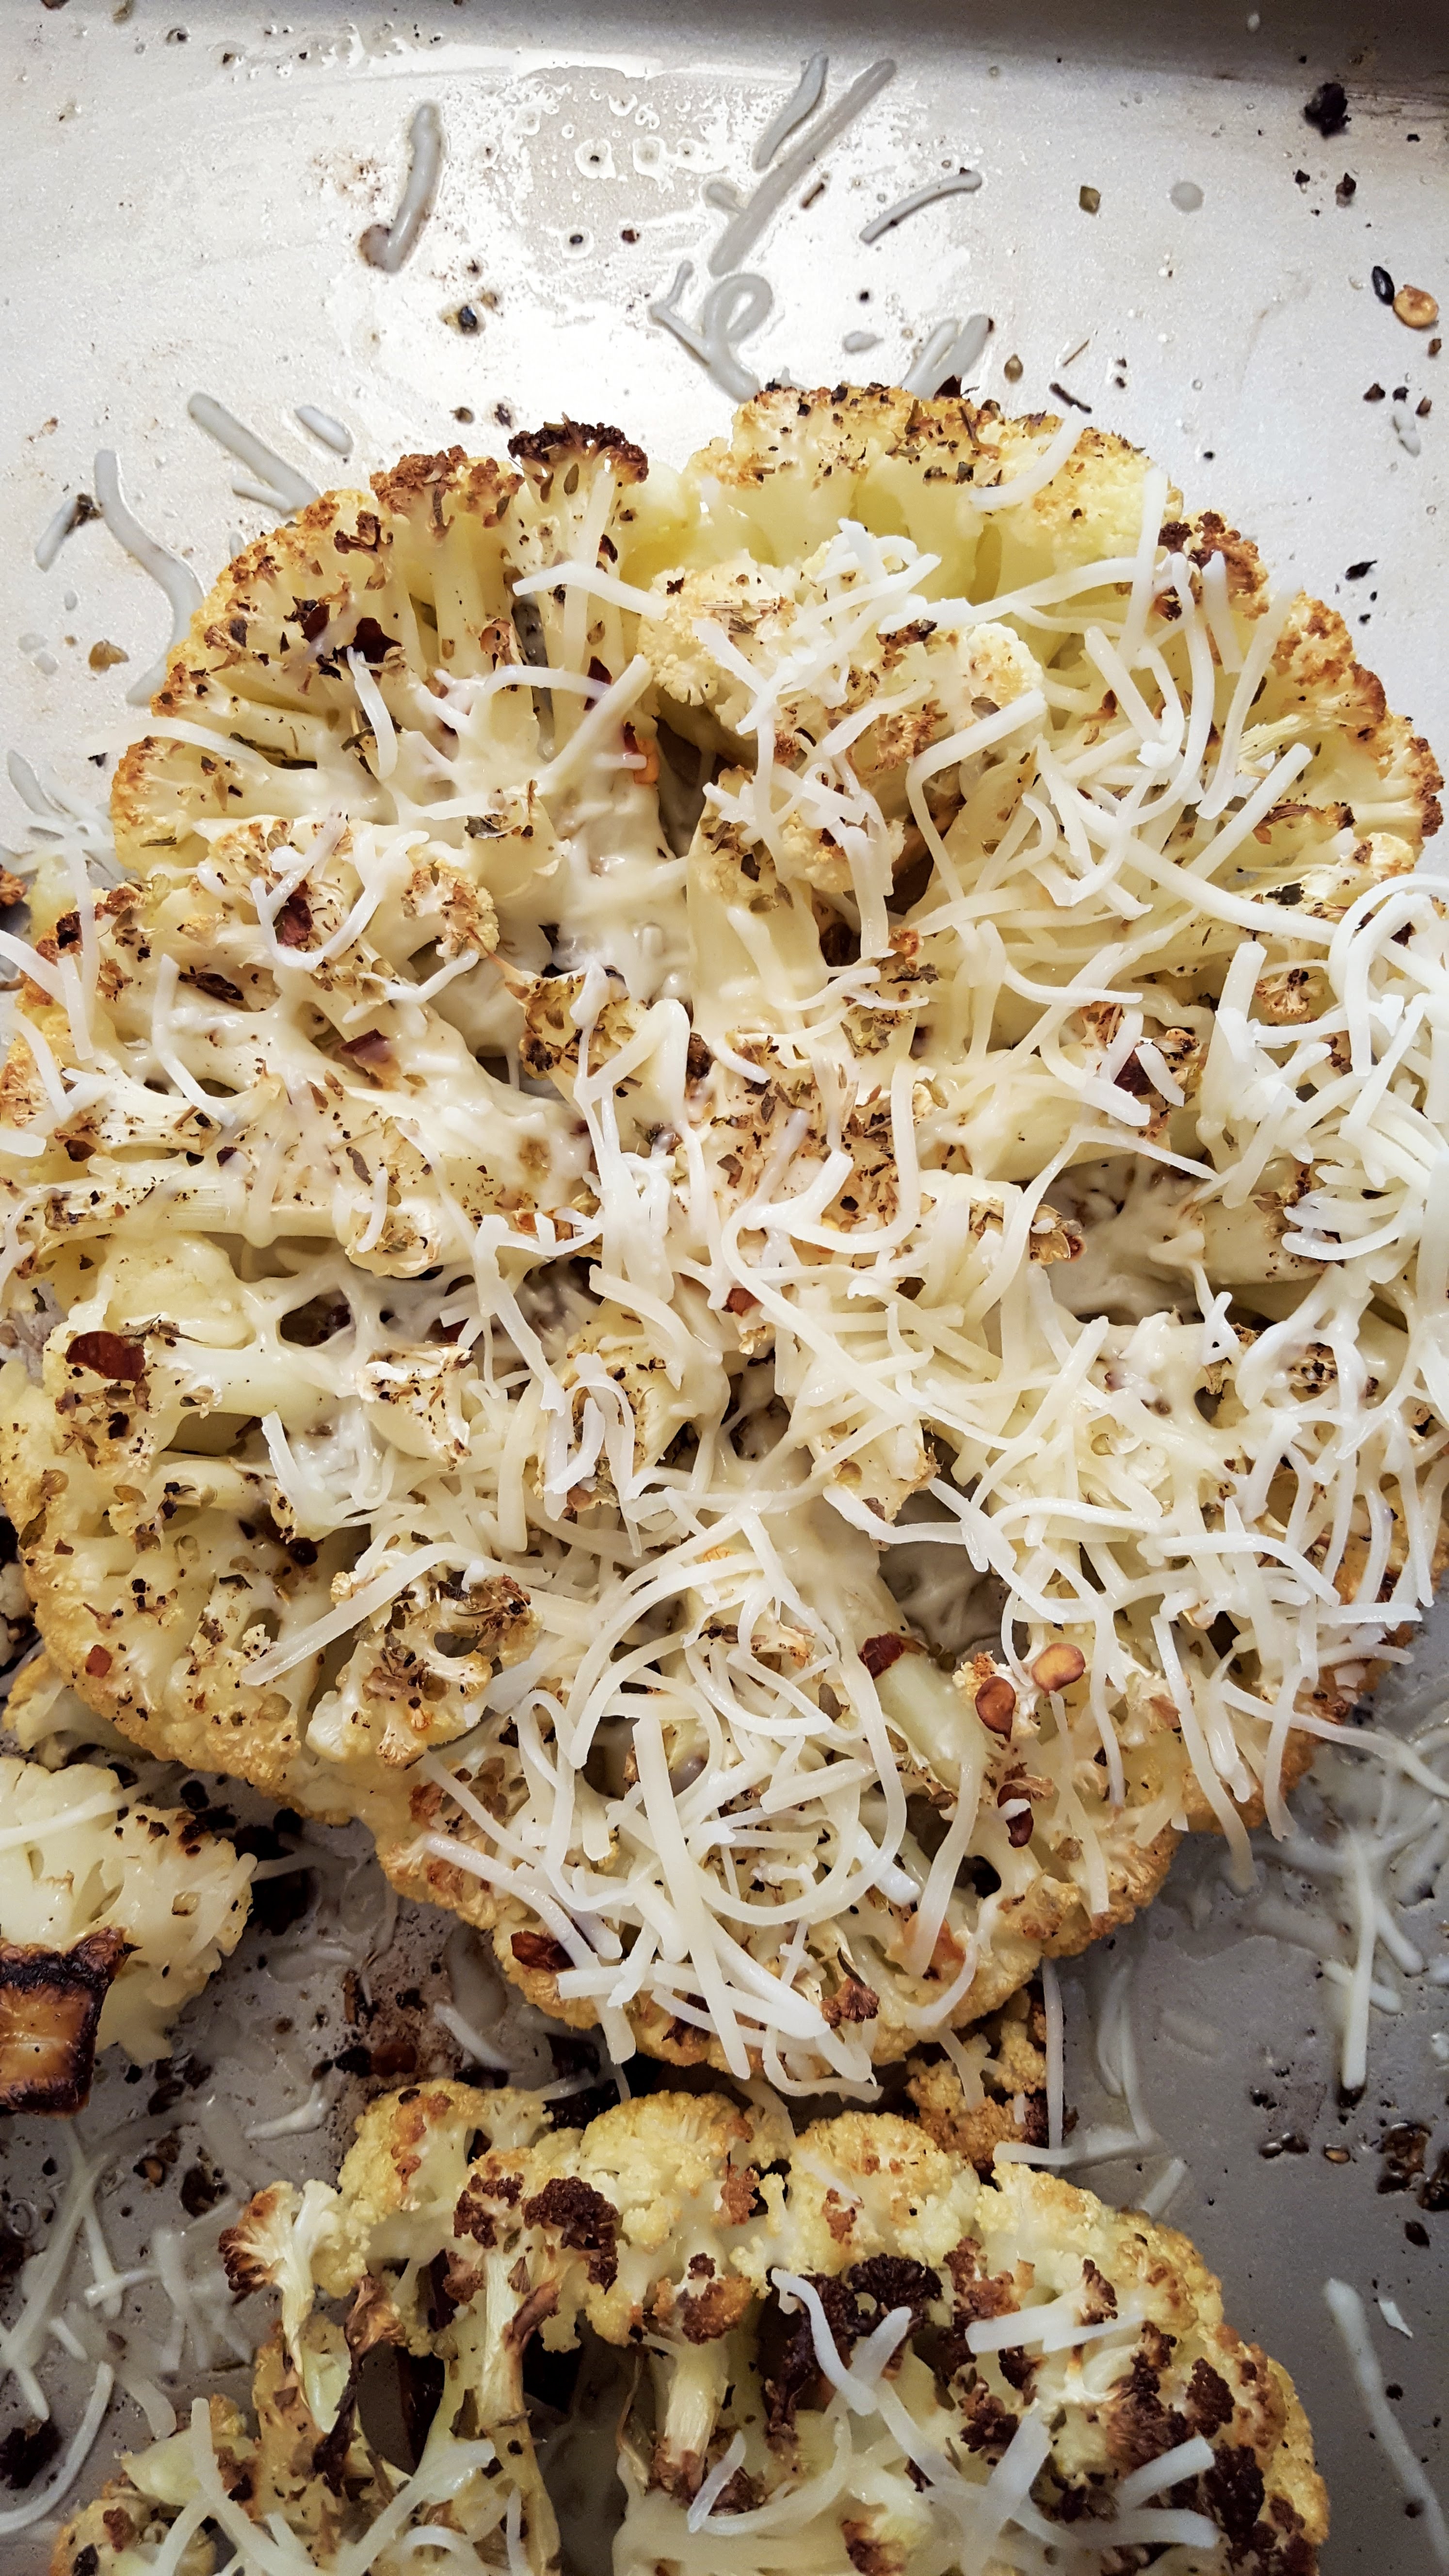
Roast for about 30 minutes or until slightly golden.
Remove from oven.
Sprinkle a thin layer of Mozzarella cheese.
Generously cover with Marinara sauce.
Sprinkle with a pinch more dried oregano.
Sprinkle remaining shredded Mozzarella cheese on top of sauce.
Place back in the over until cheese melts and is nice and bubbly.
Remove from oven, serve with grated Parmesan cheese and freshly gated black pepper.

Skillet Chicken Thighs With Shallot, Lemon & Herbs

Skillet Chicken Thighs With Shallot, Lemon & Herbs

A sophisticated yet humble approach to cooking is all you need for this recipe. It is about technique. A simple one which delivers results fabulous enough for a gathering, yet quick enough for a weeknight dinner.

I have always enjoyed the down-to-earth-ness of cooking with cast iron skillets. But in the past few months, I’ve learned it is more than a look or a feel. This tool delivers fantastic results- mainly because it retains heat within the metal, cooking food uniformly at hot temperatures, and leading to superior flavors.

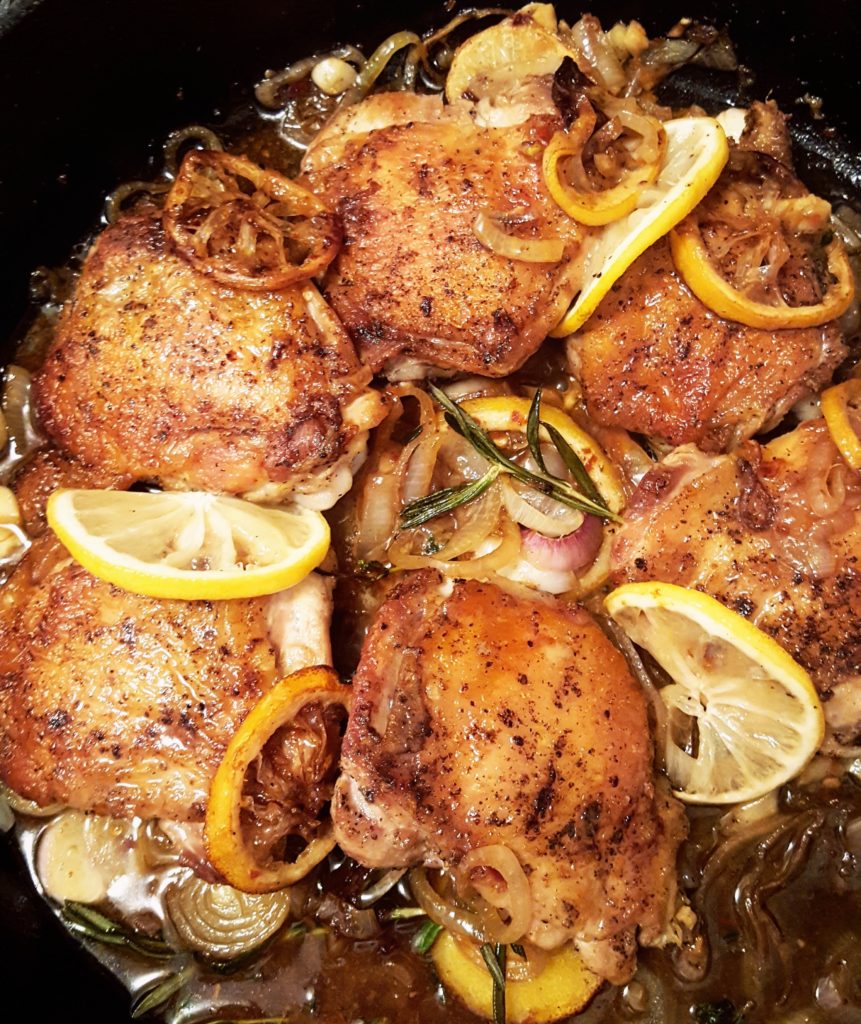
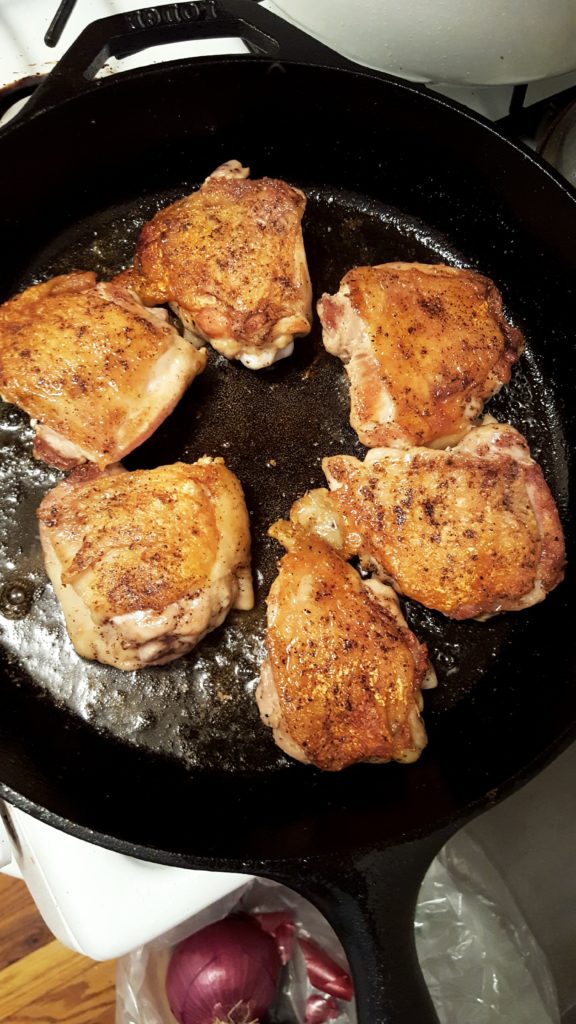
They are heavy in weight and require small maintenance (mainly to avoid rust), but the minor care is well worth the end results. I became a believer after making our “Best Steak of Your Life” recipe in a cast iron skillet. I’ve made many fantastic recipes since and my favorite go-to dish is Skillet Chicken Thighs! Regardless of what aromatics you use, the technique of cooking the chicken skin side down to render the natural fats, make the skin crispy and draws out phenomenal flavor!

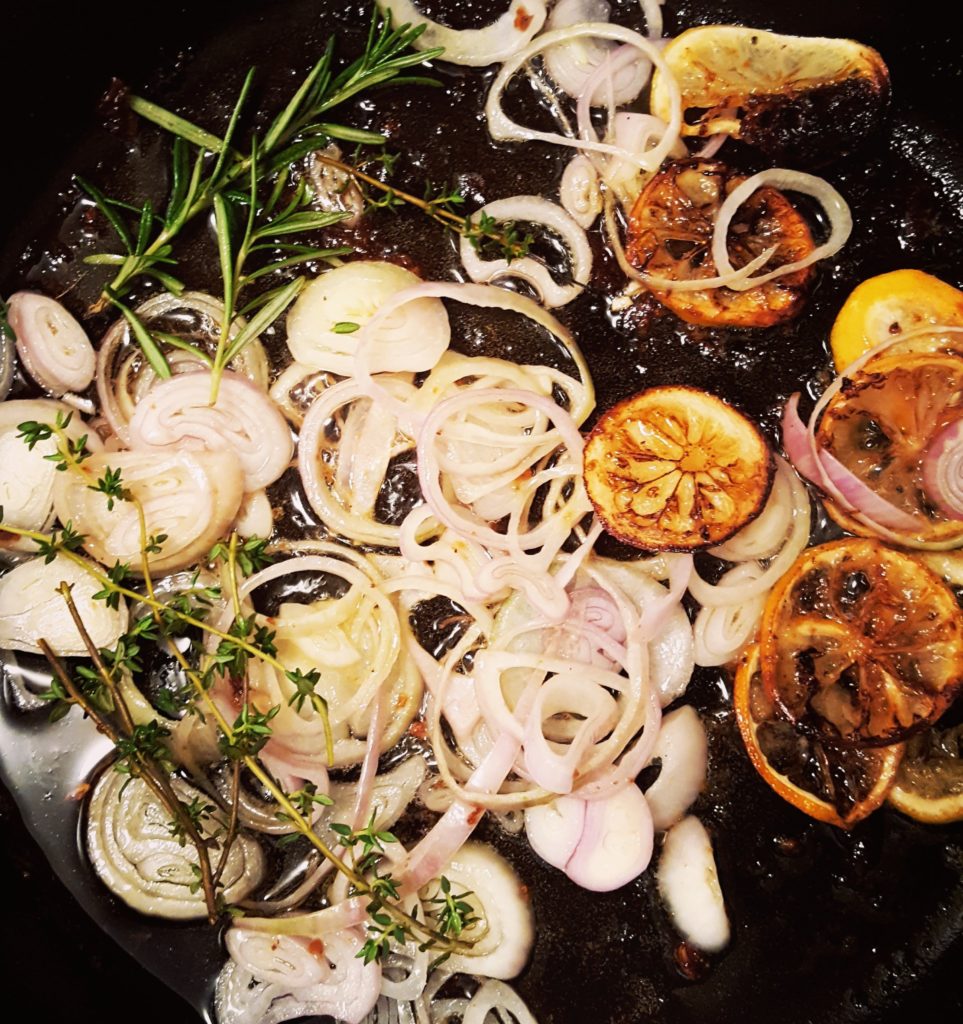
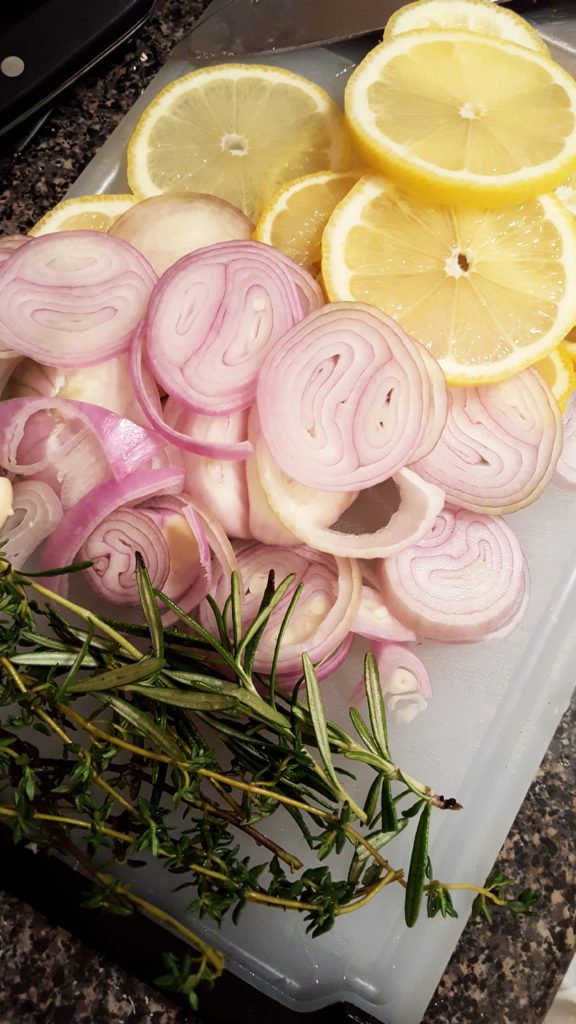
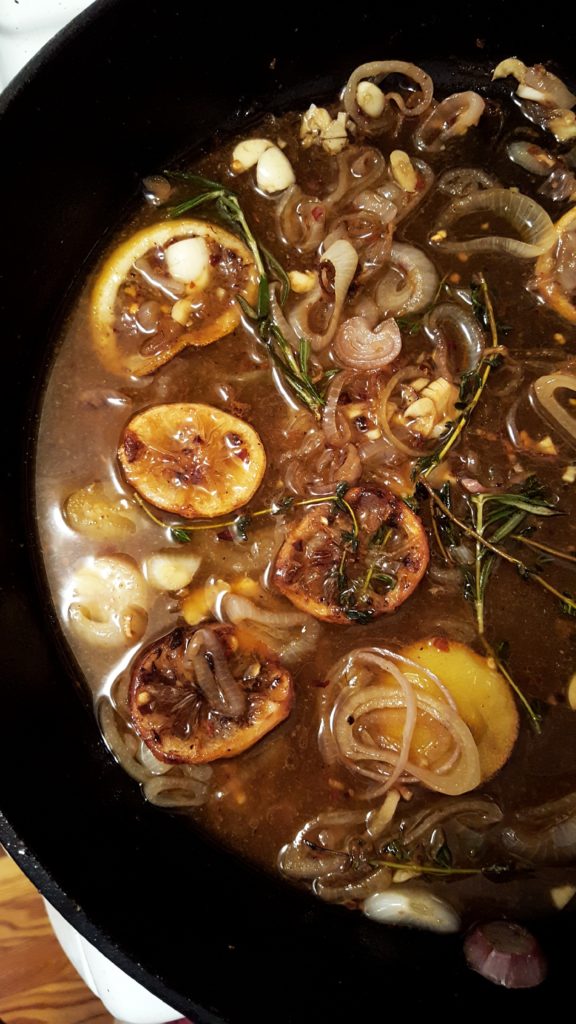
In this rendition I use shallots, rosemary, thyme and caramelize lemons. But this recipe is infinitely customizeable. Swap the rosemary for oregano, add mushrooms or sweet tender peas. Zucchini and squash take well to this rustic recipe as well. Get creative with your favorite veggies and herbs, you can’t mess this up!

Note- My favorite skillet is the Lodge Seasoned 12″ pan found here. The supplier Quiverr provides excellent customer service on how to best care for your cast iron.

Ingredients:
6 skin-on, bone-in chicken thighs (approximately 2.5 pounds)
1 large or 2 small lemons, sliced
1-2 small shallots, sliced
1 small garlic clove, roughly chopped
1/2 teaspoon crushed red chili flakes (adjust to taste)
4-5 sprigs fresh rosemary and thyme (if you don’t have fresh herbs, dried oregano works well too)
1/2 cup dry white wine
1-2 teaspoons vegetable oil
Kosher salt + freshly ground black pepper to taste

Directions:
Pre-heat oven to 425°.
Pat dry chicken with a paper towel (any water will cause messy splatter).
Season chicken generously with salt + pepper on both sides.
Slice the lemon, reserving some juice for later.

Heat skillet to medium after coating with 1 teaspoon of grape seed oil or any vegetable oil with a high smoke point. You can use olive oil, it only means you’ll have more smoke while cooking.

Add chicken skin side down and listen to the sizzle as the skin browns while the natural fat is rendered.
Cook chicken this way for 8-10 minutes or until halfway cooked through.
Transfer chicken from skillet to platter.

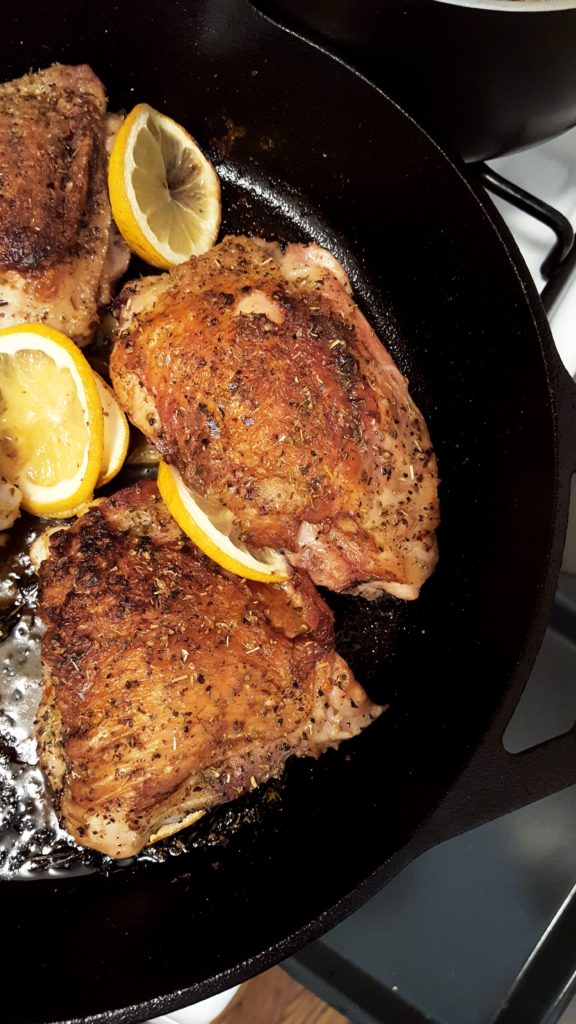
Layer 1/2 the lemon slices on bottom of skillet, add chicken back on top of lemons (skin side up), and add remaining lemon slices among chicken thighs.
Lemons on the bottom will beautifully caramelize while top lemons soften.
Transfer skillet to oven, allowing chicken to cook through (approximately 8 minutes).
Remove skillet from oven and move caramelized lemons and chicken to a plate.

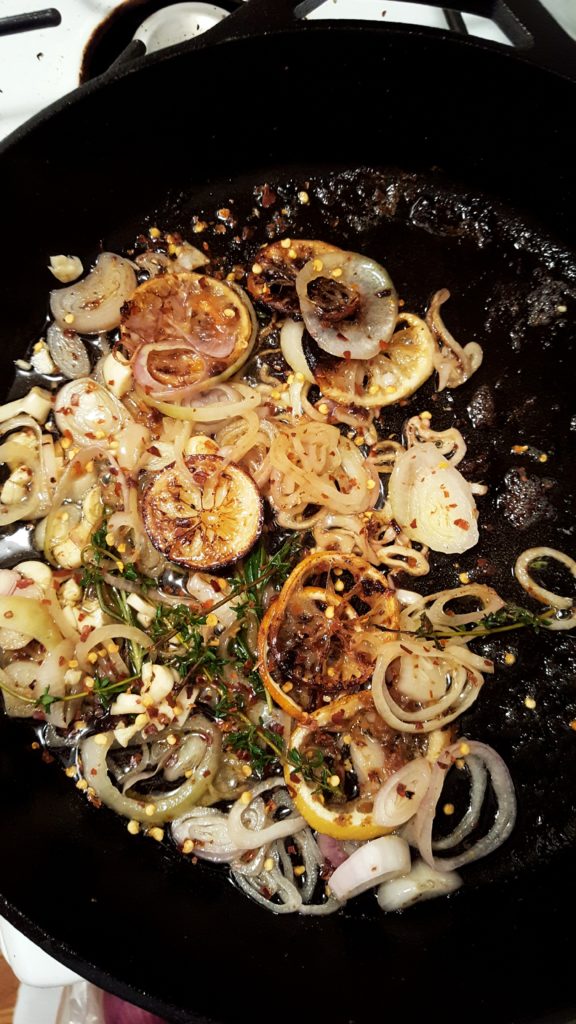
On medium heat, add shallots, garlic, herbs and red chili flakes to the soft lemons in the skillet.
Stir frequently for 1-2 minutes. The aromas will we wonderful at this point.
Add the wine to skillet to de-glaze the plan, scraping flavor-packed brown bits from bottom of pan.
Squeeze remaining lemon into sauce and season with salt + pepper.
Return chicken to skillet and nestle in the delicious sauce you just created.
Make sure thighs are not submerged in sauce to maintain crispiness.
Top with caramelized lemons and serve!